Creating a Local Server Configuration
A local server is a server that is running in a local or a mounted folder and whose document root is NOT the parent of the project root.
To configure access to the server in this set-up, you need to specify the following:
- The server configuration root folder and the URL address to access it.
- Correspondence between the project root folder, the folder on the server to copy the data from the project root folder to, and the URL address to access the copied data on the server. This correspondence is called mapping.
On this page:
- Creating a Server Configuration: Specifying Its Name, Type, and Visibility
- Specifying the Server Configuration Root and the URL Address to Access It
- Example of Specifying a Server Configuration Root
- Mapping Project Folders with Folders on the Server and the URL Addresses to Access Them
- Example of mapping project folders with folders on the server
Creating a Server Configuration: Specifying Its Name, Type, and Visibility
-
Open the Deployment page by doing one of the following:
- Open the Settings / Preferences Dialog by choosing for Windows and Linux or for OS X, and click Deployment under Build, Execution, Deployment.
- Choose on the main menu.
-
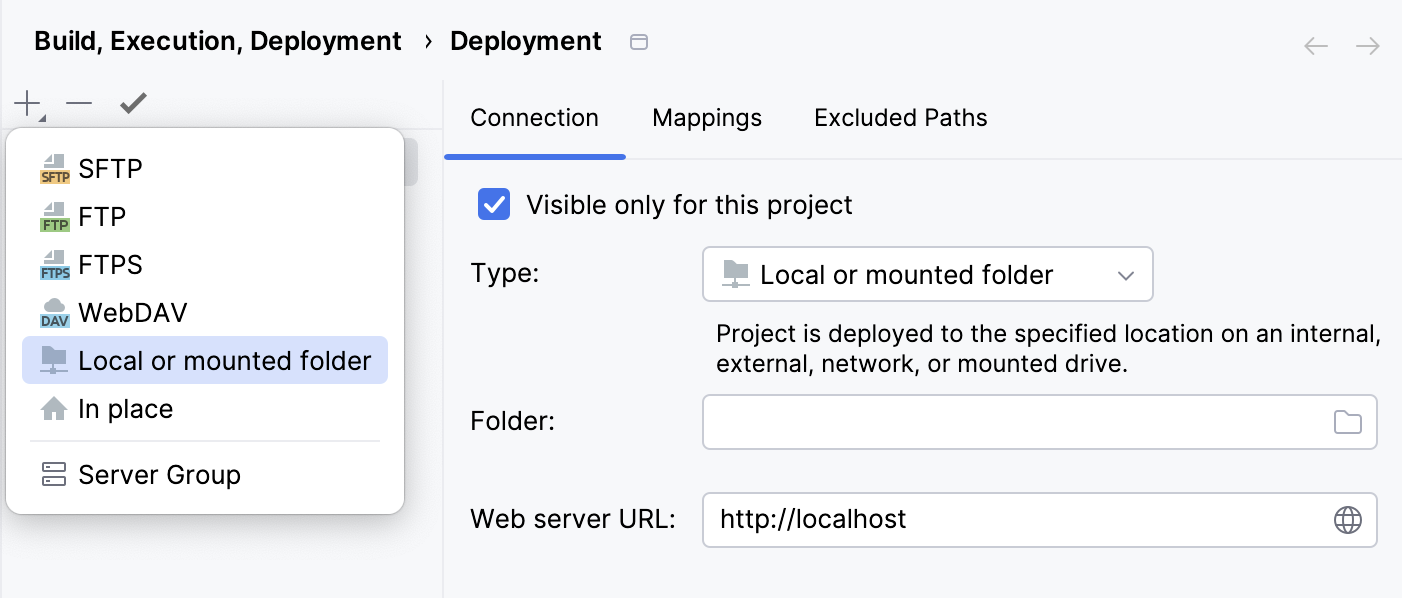
In the left-hand pane, that shows a list of all the existing server configurations, click the Add toolbar button
. The Add Server dialog box opens.
-
Specify the server configuration name in the Name text box.
From the Type drop-down list, choose the server configuration type Local or mounted folder.
When editing the server configuration name in the Name text box, use the Up and Down keys on your keyboard to change the preselected server access to type in the Protocol drop-down list.
-
Use the Visible only for this project check box
to configure the visibility of the server access configuration (deployment configuration).
- Select the check box to restrict the use of the configuration to the current project. Such configurations cannot be reused outside the current project, they do not appear in the list of available configurations in other projects.
- When the check box is cleared, the configuration is visible in all PhpStorm projects and the settings from, including SSH credentials, can be reused.
-
Click OK. The Add Server dialog box closes and you return to the Connection tab of the Deployment dialog box.
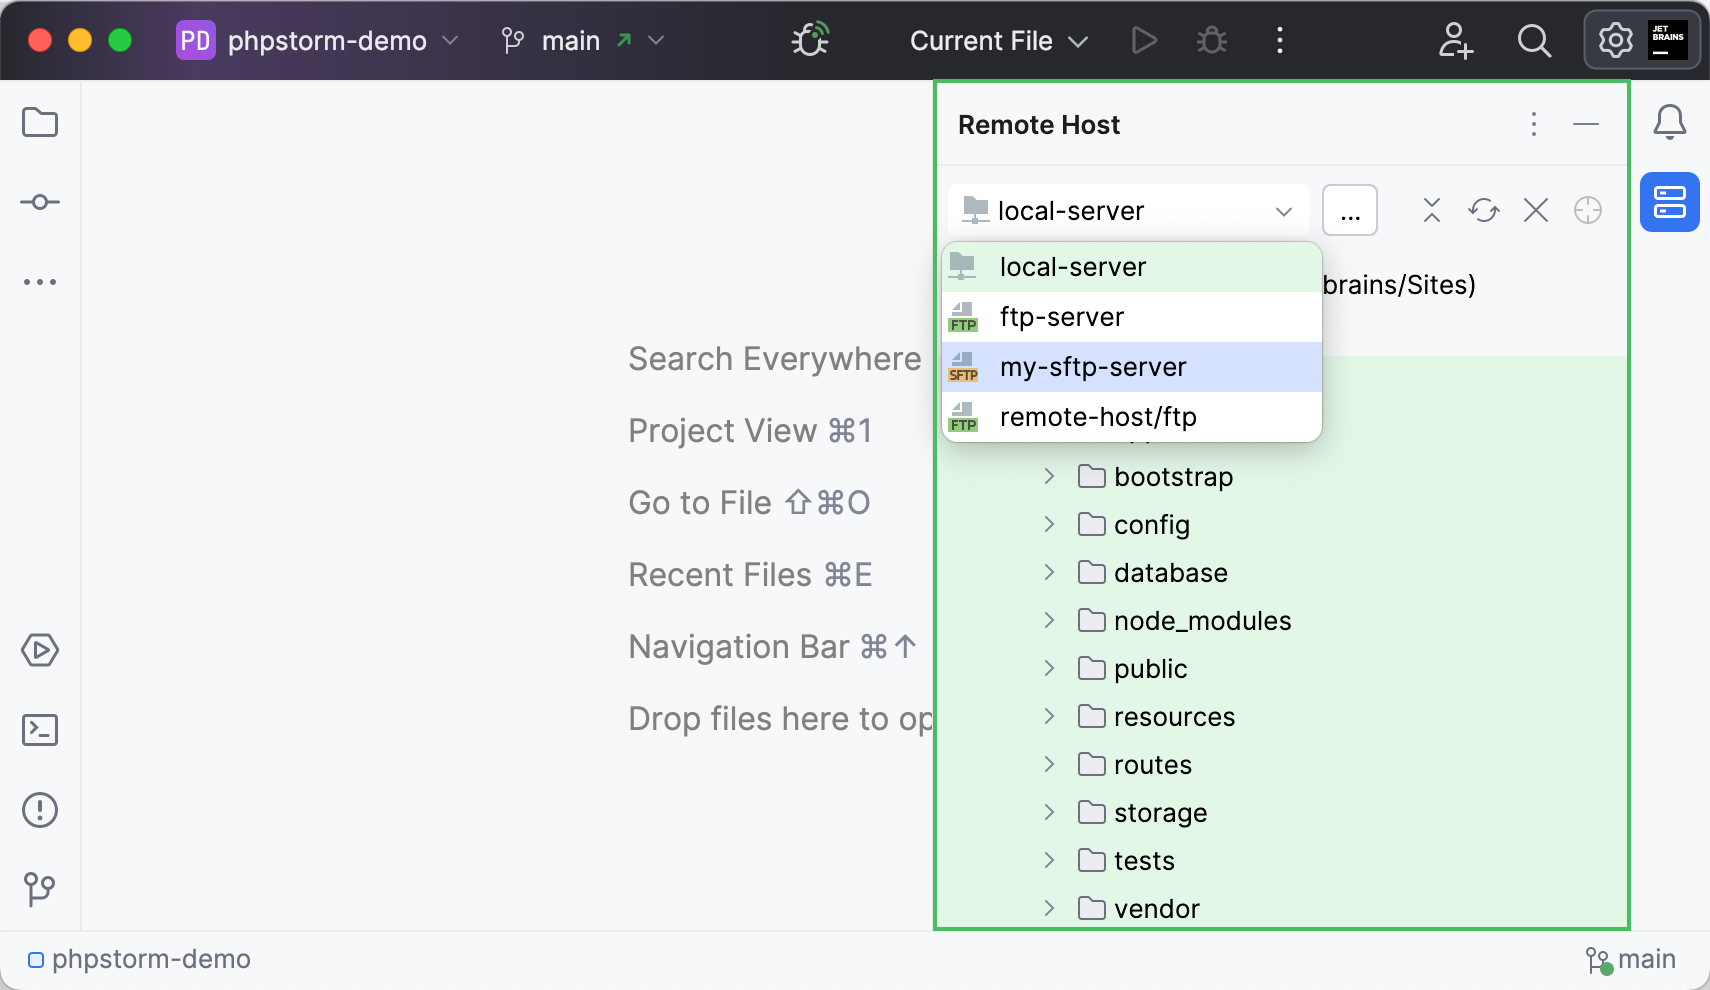
Click the Use as Default toolbar button
to have PhpStorm silently apply the current configuration in the following cases:
- Automatic upload of changed files.
- Manual upload of files without choosing the target host.
- Comparing local files and folders with their remote versions.
Specifying the Server Configuration Root and the URL Address to Access It
-
In the Folder text box of the Upload/download project files area,
specify the server configuration root.
The server configuration root is the highest folder in the file tree on the server that can be accessed through the server configuration. The easiest way is to use the document root of your Web server as defined in the Web server configuration file. However you can appoint any other existing folder under the document root.
-
In the Web server root URL text box of the Browse files on server area,
specify the URL address of the server configuration root.
This URL address will be the starting point for building the URL address of your application.
Depending on your choice of the server configuration root, do one of the following:
- Type the URL address associated with the document root of your Web server as defined in the Web server configuration file.
-
Type the URL address in the format
<URL of the server document root>/<path to the relevant folder relative to the server document root>
.
To access a server through HTTPS, you need to acquire a certificate file
<certificate_name>.cert
signed by a recognized authority and import this certificate in the truststore/keystore of the Oracle JRE (Java Runtime Environment) on which PhpStorm runs. Note that self-signed certificates are rejected as unsafe.To import a certificate in Oracle JRE:
-
Open the embedded Terminal and type the following command:
If you are using the Oracle JRE bundled with PhpStorm, the default path to the truststore/keystore is
<jre_home>/bin/keytool.exe -importcert -keystore <path to jre truststore/keystore> -file <full_path_to_<cert_name>.cert>
<%product_installation_folder>/jre/jre/lib/security/jssecacerts
or<%product_installation_folder>/jre/jre/lib/security/cacerts
.Otherwise it is
<jre_home>/jre/lib/security/jssecacerts
or<jre_home>/jre/lib/security/cacerts
. -
When asked to enter a password for the truststore/keystore, specify the default one
changeit
. -
Open the
PhpStorm.exe.vmoptions
file in the<PhpStorm_installation_folder>/bin
and add the following line to it:-Djavax.net.ssl.keyStore=<path to keystore>
- Restart PhpStorm.
Example of Specifying a Server Configuration Root
For example, the Apache httpd server configuration file is httpd.conf
,
according to it, the default document root is the htdocs
folder, and the default URL address to access the data in it is http://localhost
.
For the sake of simplicity, let's suppose that you are using the XAMPP package
and it is installed in the root of the C:/
drive.
So if you decide to copy your project files directly under the server document root,
your server configuration root will be C:\xampp\htdocs
and its URL will be http://localhost:<port>
.
You can establish a more complicated folder structure on the server, for example, to have MySite1
and MySite2
folders under the server document root.
In this case the you will have to decide which of these folders you will use in the current configuration, let it be MySite2
.
Accordingly, the server configuration root will be C:\xampp\htdocs\MySite2
and its URL address will be http://localhost:<port>\MySite2
.
Mapping Project Folders with Folders on the Server and the URL Addresses to Access Them
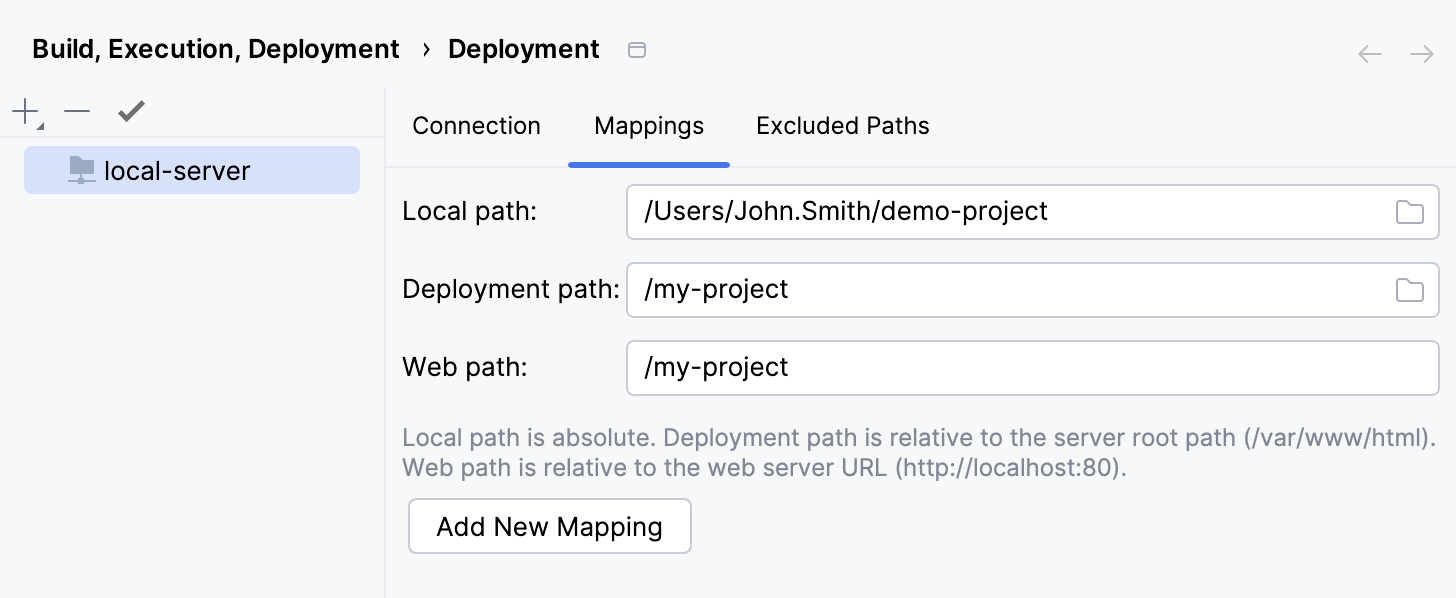
Configure mappings, that is, set correspondence between the project folders, the folders on the server to copy project files to, and the URL addresses to access the copied data on the server . The easiest way is to map the entire project root folder to a folder on the server, whereupon the project folder structure will be repeated on the server, provided that you have selected the Create Empty directories check box in the Options dialog box. "For more details, see Customizing Upload/Download.- Switch to the Mappings tab.
- In the Local Path text box, specify the full path to the desired folder in the project tree. In the simplest case it is the project root.
- In the Deployment Path text box, specify the folder on the server where PhpStorm will upload the data from the folder specified in the Local Path text box. Type the path to the folder relative to the server configuration root. If the folder with the specified name does not exist yet, PhpStorm will create it, provided that you have selected the Create Empty directories check box in the Options dialog box. For more details, see Customizing Upload/Download.
- In the Web Path text box, type the path to the folder on the server relative to the server configuration root. Actually, type the relative path you typed in the Deployment Path text box.
Example of mapping project folders with folders on the server
For example, if your project is C:\My_Projects\Mapping_project
, the server document root is C:\xampp\htdocs
,
the server configuration root is C:\xampp\htdocs\MySite2
, and its URL address is http://localhost:<port>\MySite2
,
fill in the fields as follows:
-
In the Local Path text box, type
C:\My_Projects\Mapping_project
. -
In the Deployment Path text box, type
Mapping_project
. -
In the Web Path text box, type
Mapping_project
.