Configure an interpreter using WSL
You can use Windows Subsystem for Linux (WSL) to work with a Python interpreter available in your Linux distribution.
Fulfill the preliminary steps
Ensure that you have downloaded and installed Python on your computer.
- Installing Python on Windows from Microsoft Store
If you are on Windows, you can download Python from the Microsoft Store and install it as a Python interpreter. Once the Python application is downloaded from the Microsoft Store, it becomes available in the list of the Python executables.
Note that interpreters added from the Microsoft Store installations come with some limitations. Because of restrictions on Microsoft Store apps, Python scripts may not have full write access to shared locations such as
TEMPand the registry.
Click the Windows button in the lower-left corner of the screen and start typing
System Information. To ensure that your system works well with WSL, upgrade your Windows to the latest available version.Install the Windows Subsystem for Linux and initialize your Linux distribution as described in the WSL Installation Guide.
If your Linux distribution doesn't come with rsync, you need to install it:
sudo apt install rsyncsudo pacman -S rsync
Configure an interpreter via WSL
Do one of the following:
Click the Python Interpreter selector and choose Add New Interpreter.
Press Ctrl+Alt+S to open Settings and navigate to .
Click the Python Interpreter selector and choose Interpreter Settings. Click the Add Interpreter link next to the list of the available interpreters.
Click the Add Interpreter link next to the list of available interpreters and select On WSL.
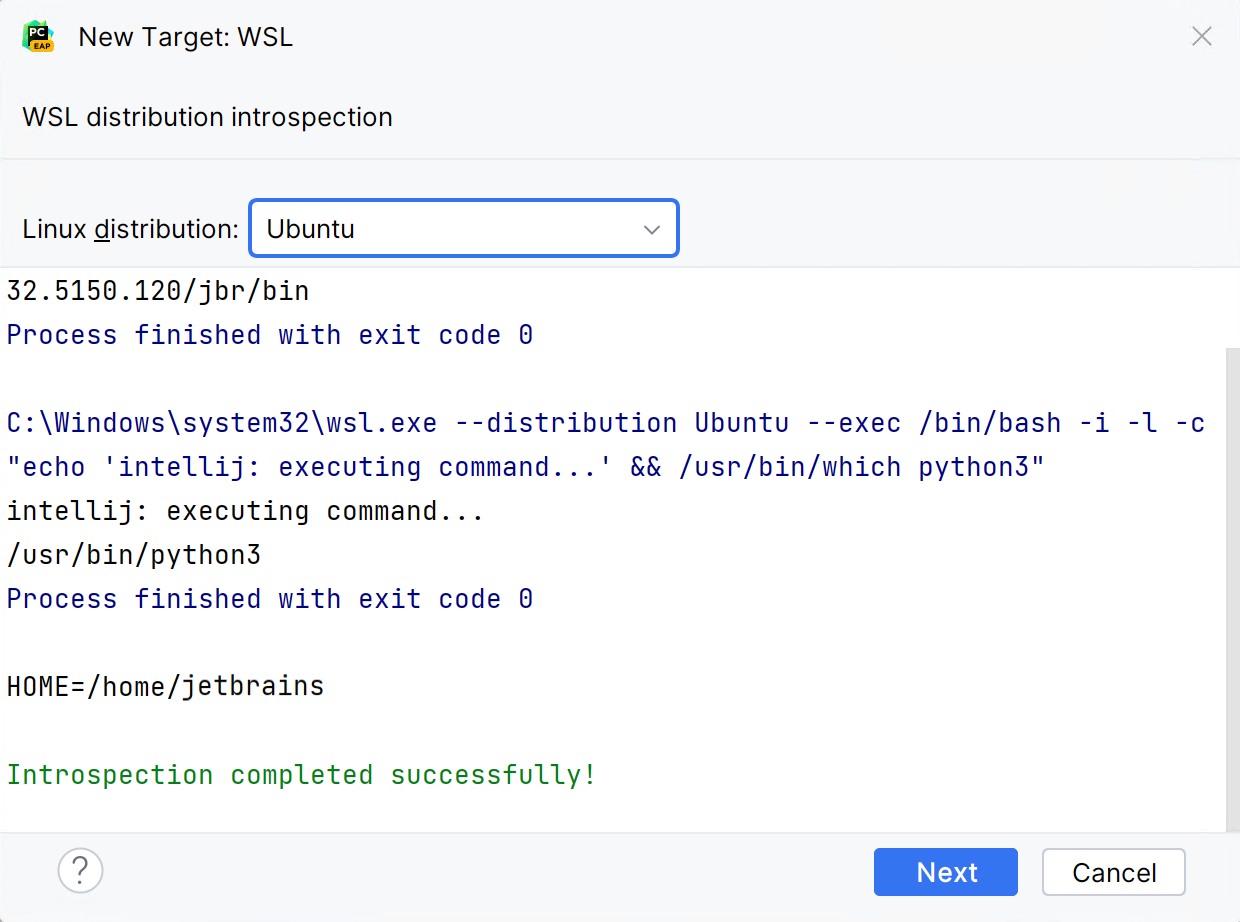
Wait until PyCharm detects Linux on your machine and completes introspection. Click Next to proceed:
In the left-hand pane of the dialog, select the type of the WSL interpreter you want to create: Virtual Environment, Conda Environment, or System Interpreter.
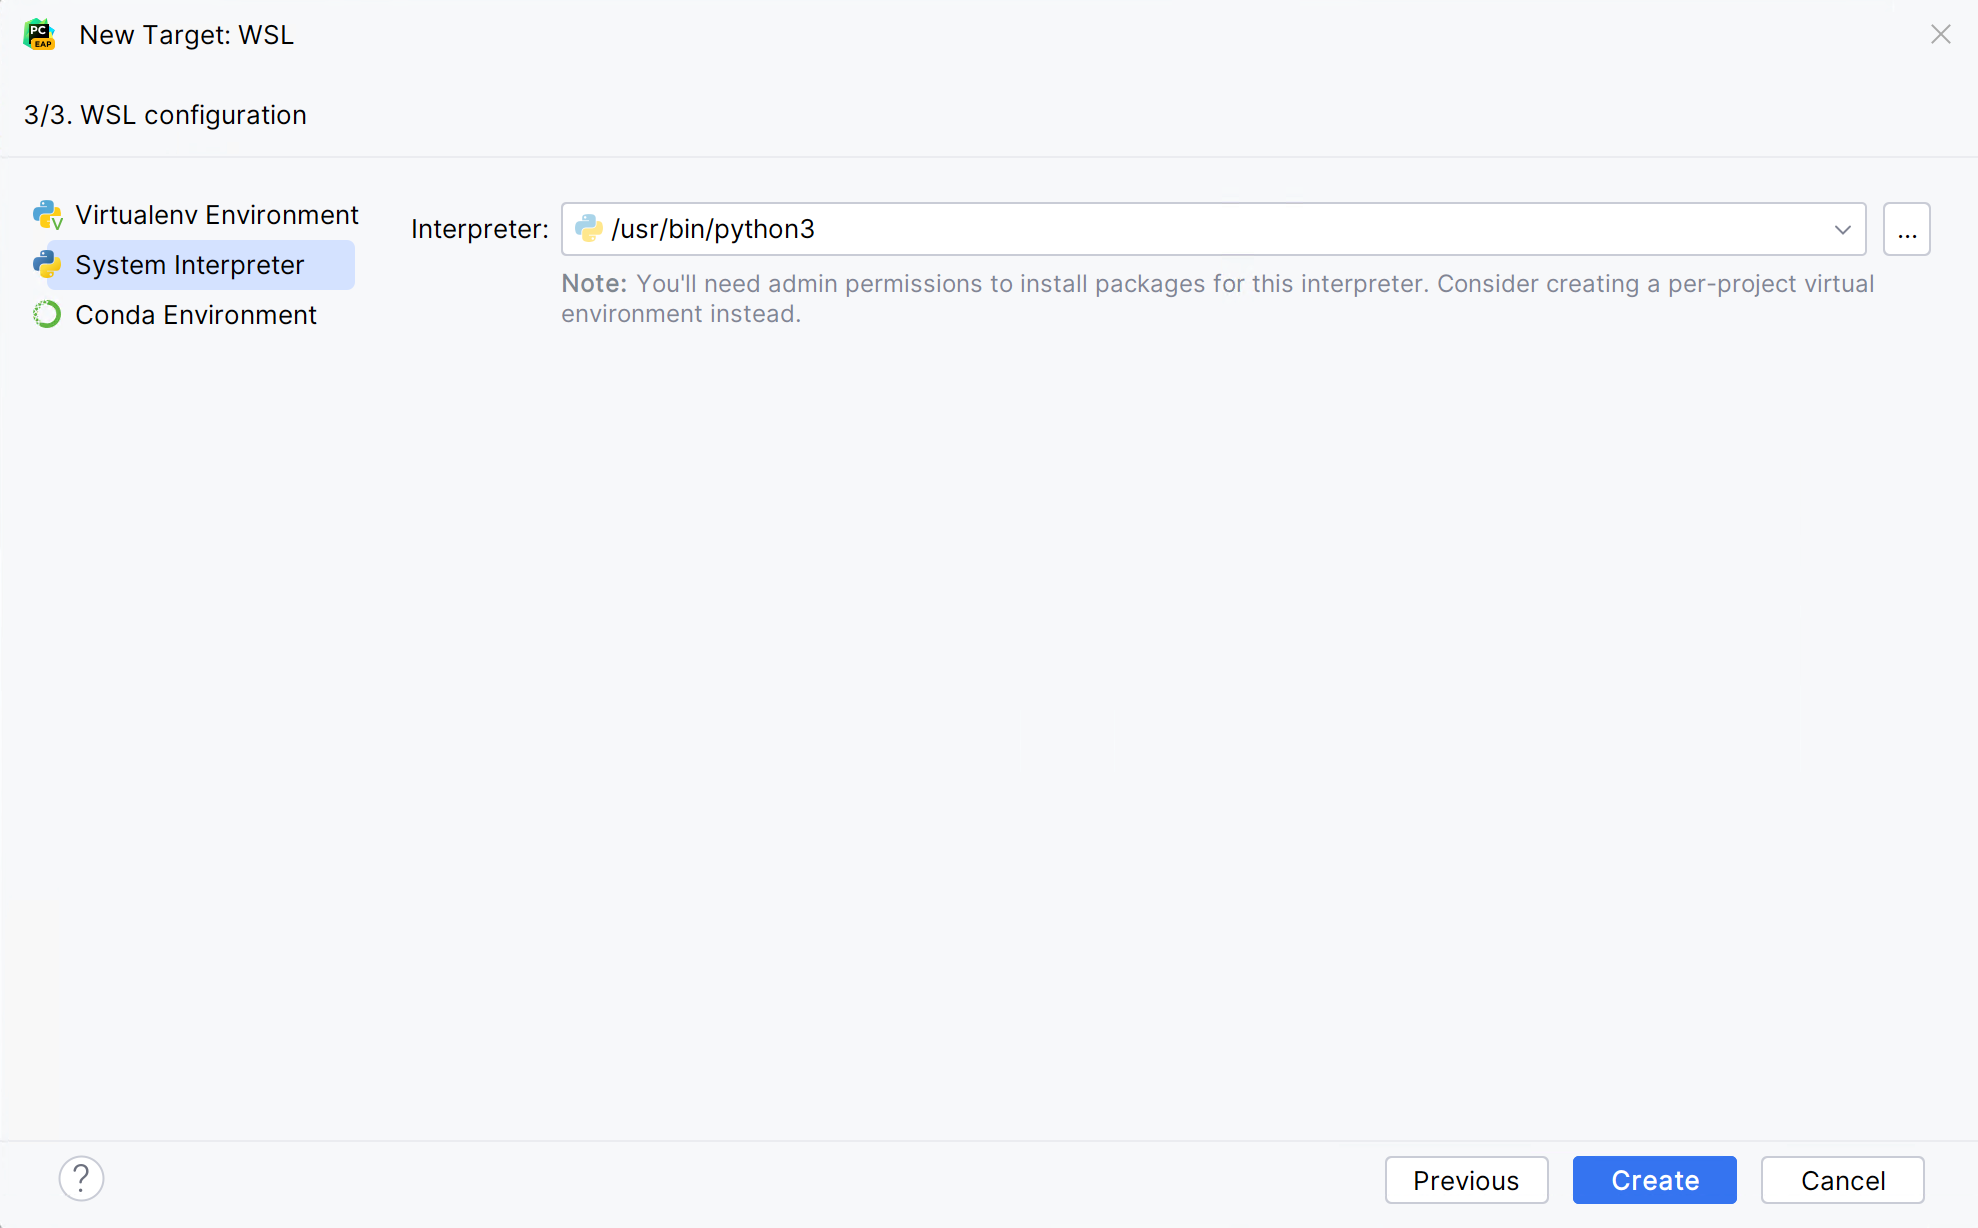
For a system interpreter, just provide the path to the Python executable in the selected Linux distribution.
For virtual and conda environments, you can provide a path to a Python executable of an existing environment in the selected Linux distribution or create a new environment based on the specified Python.
Once done, the new interpreter will be added to your project, and the default mnt mappings will be set.
PyCharm allows you to use custom Linux distributions run on WSL. PyCharm auto-detects such a distribution and adds it to the Linux Distribution list:
Create a WSL-based interpreter for a directory in \\wsl$
If you have any directory with some Python files in \\wsl$, you can open this directory in PyCharm. The IDE will create a project and suggest creating a WSL-based interpreter.
Select from the main menu. Choose a directory in
\\wsl$.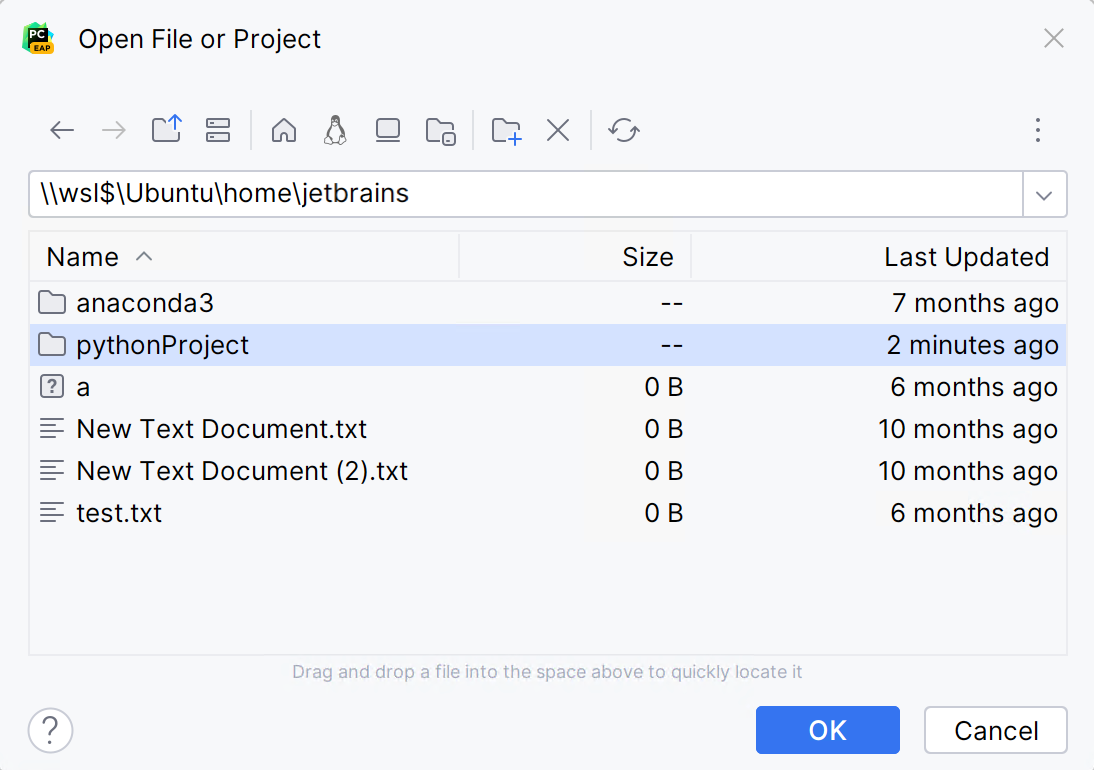
If PyCharm cannot discover any pre-configured WSL interpreter, you will see the banner prompting to discover Python in the Ubuntu installation:
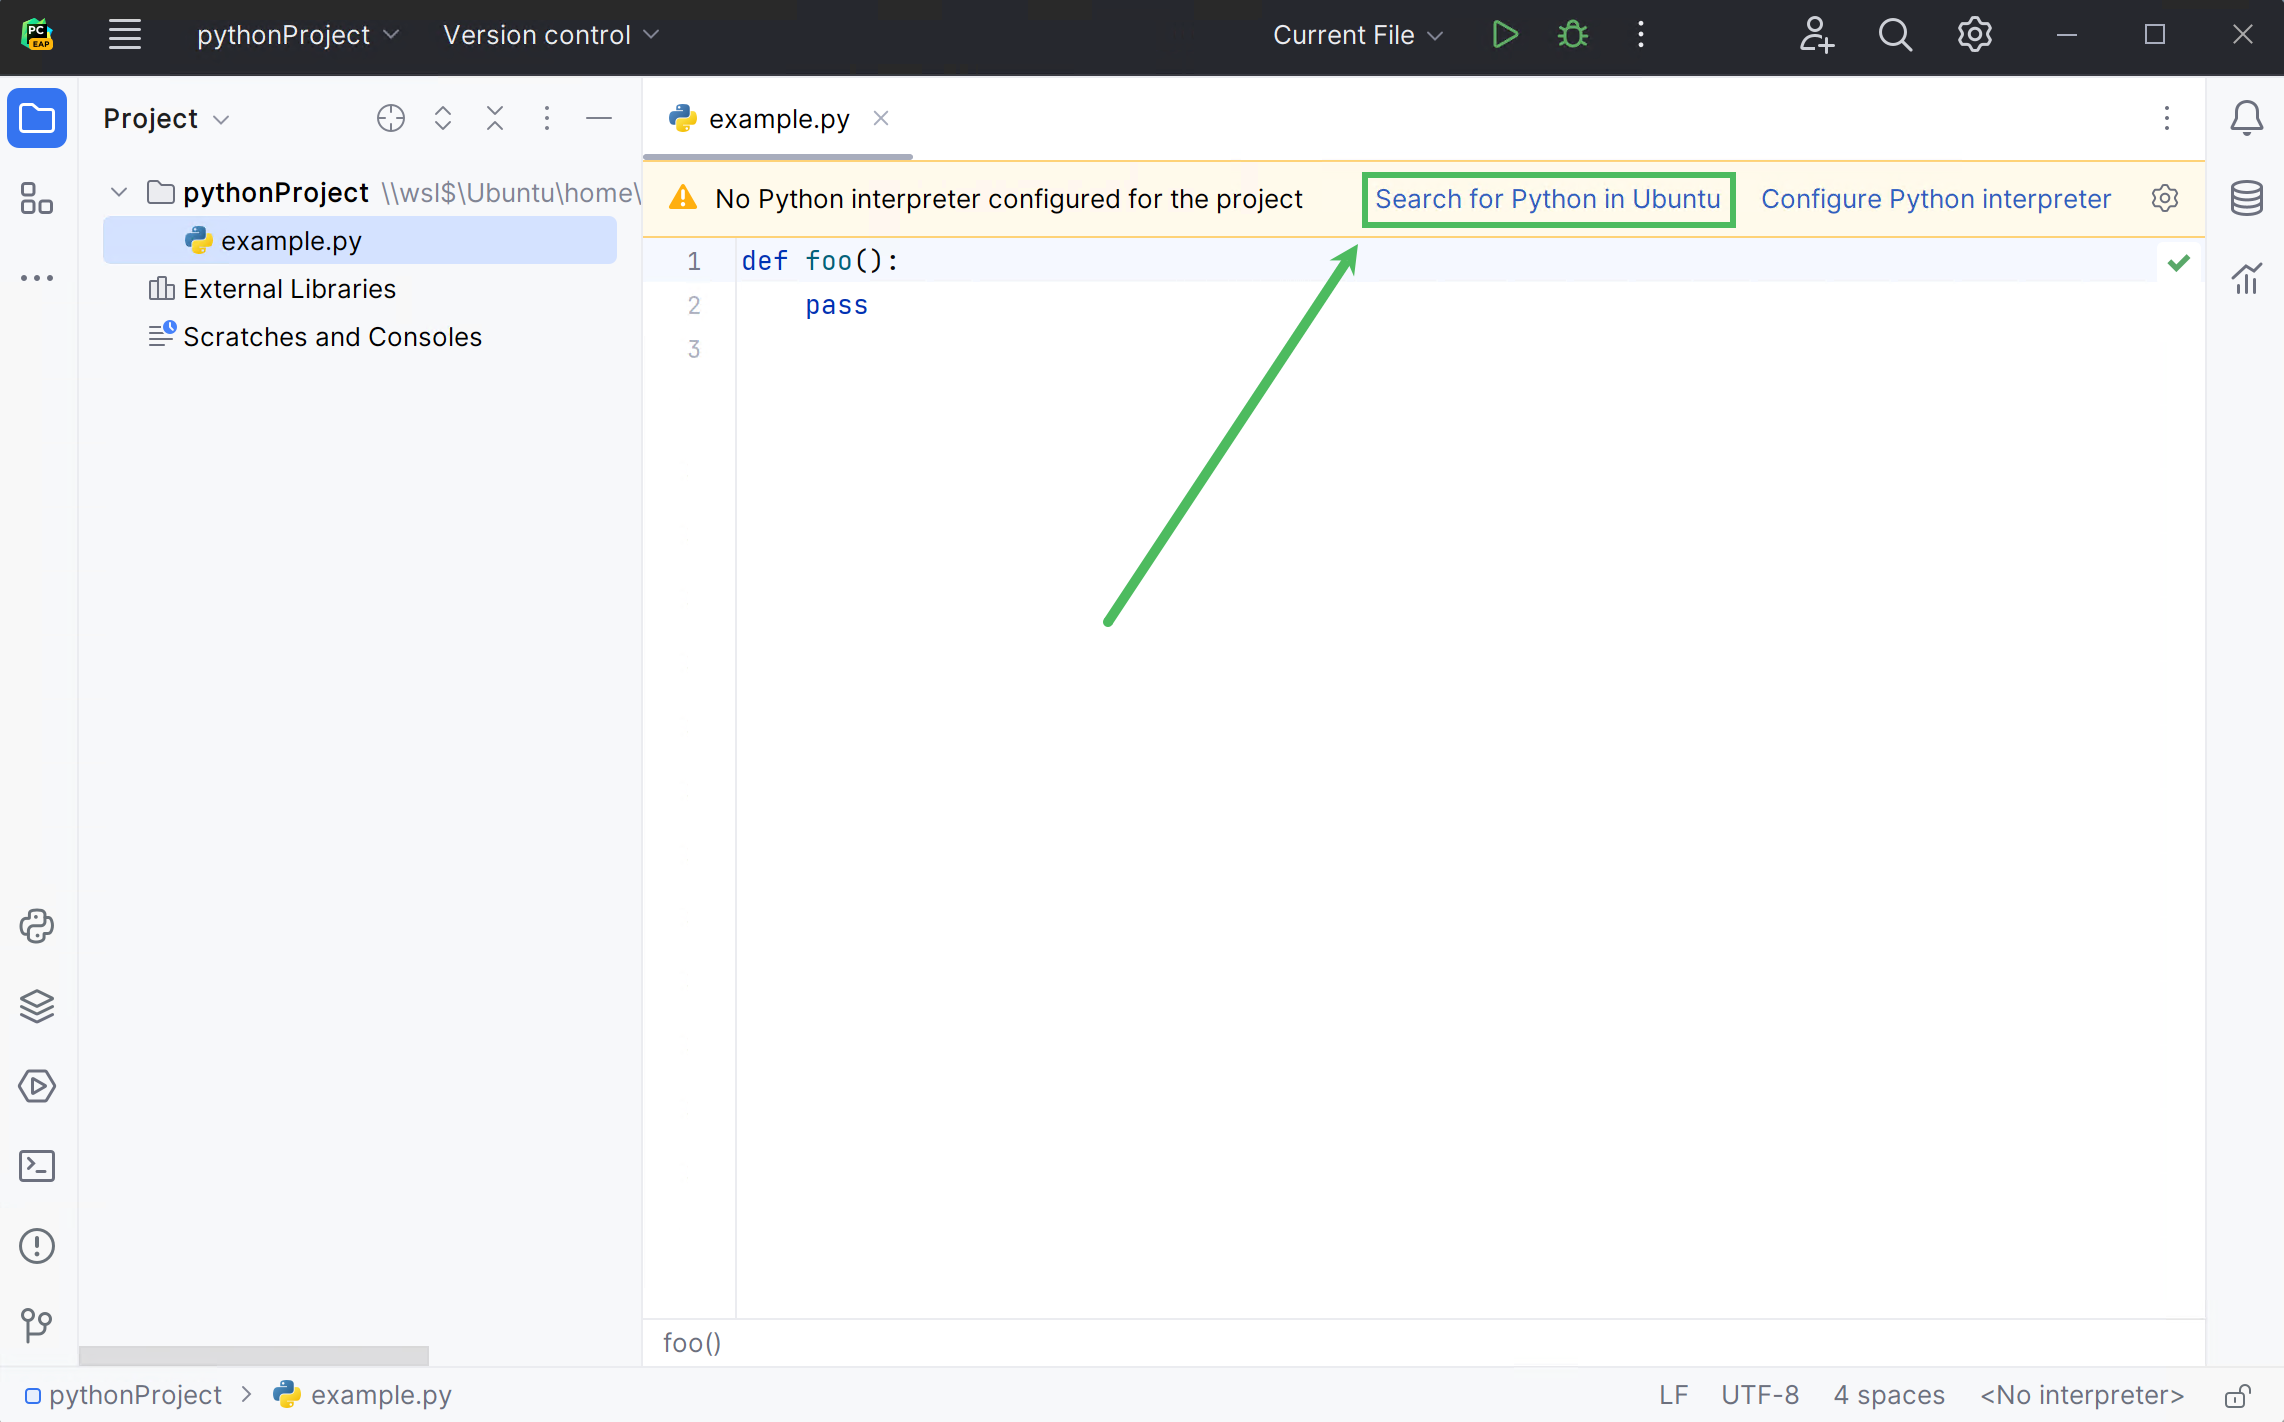
Click Search for Python in Ubuntu to find a Python executable and create a WSL-based interpreter.
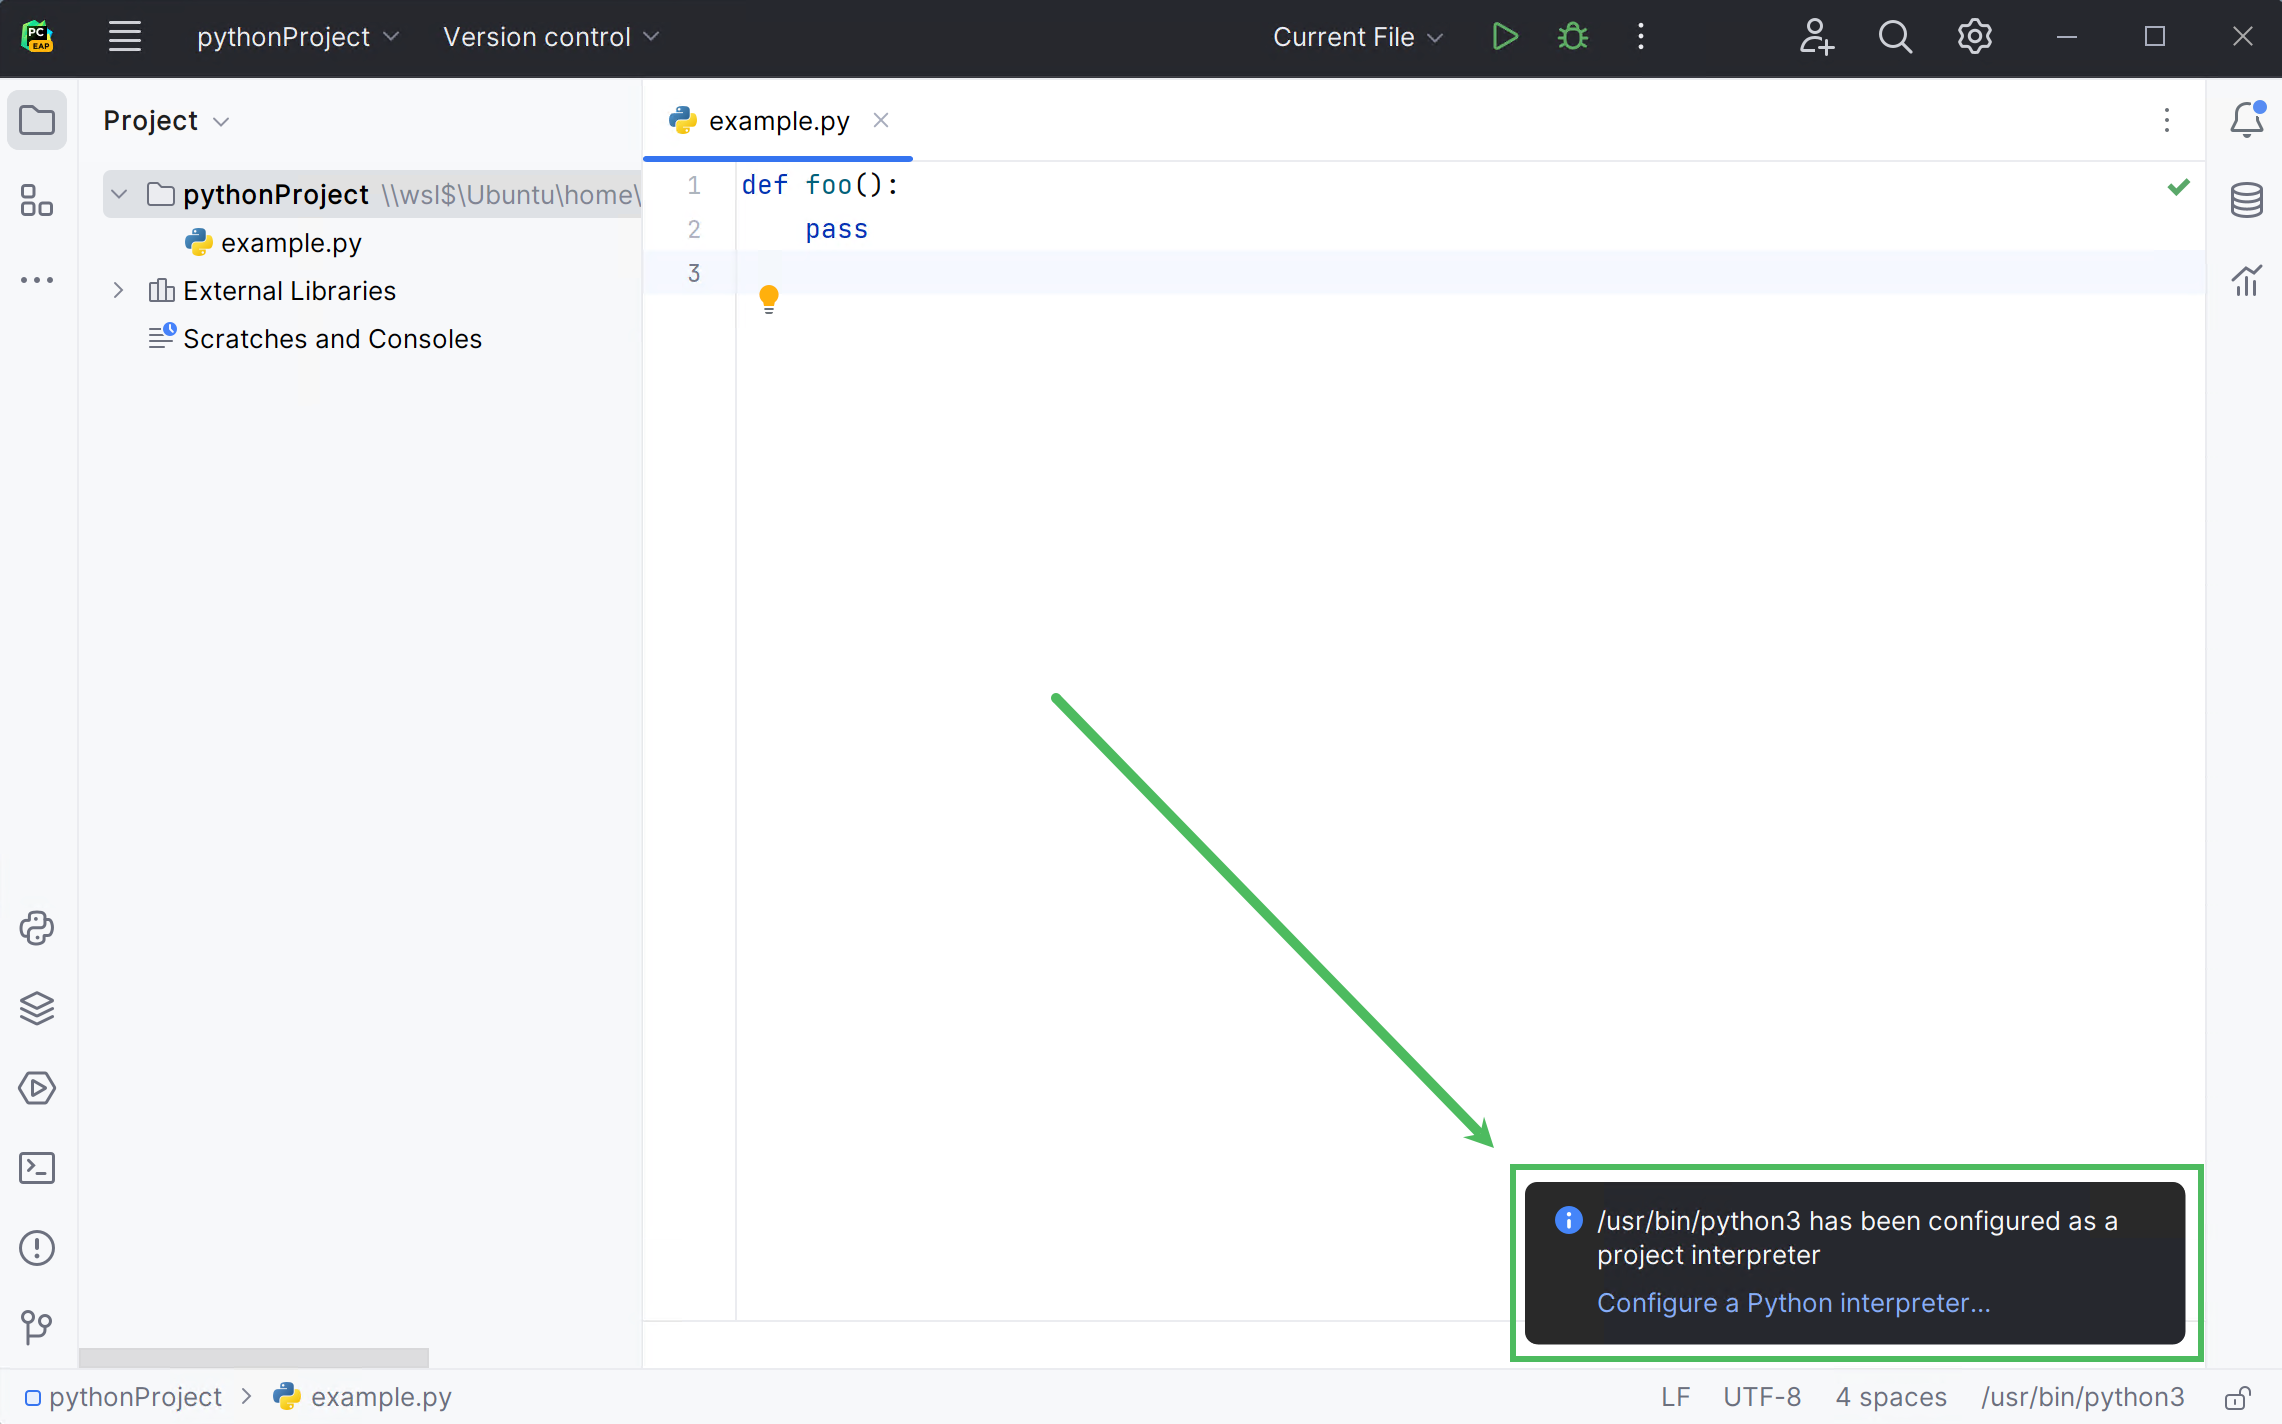
Once the interpreter is created, PyCharm notifies you.
Configure Terminal in WSL
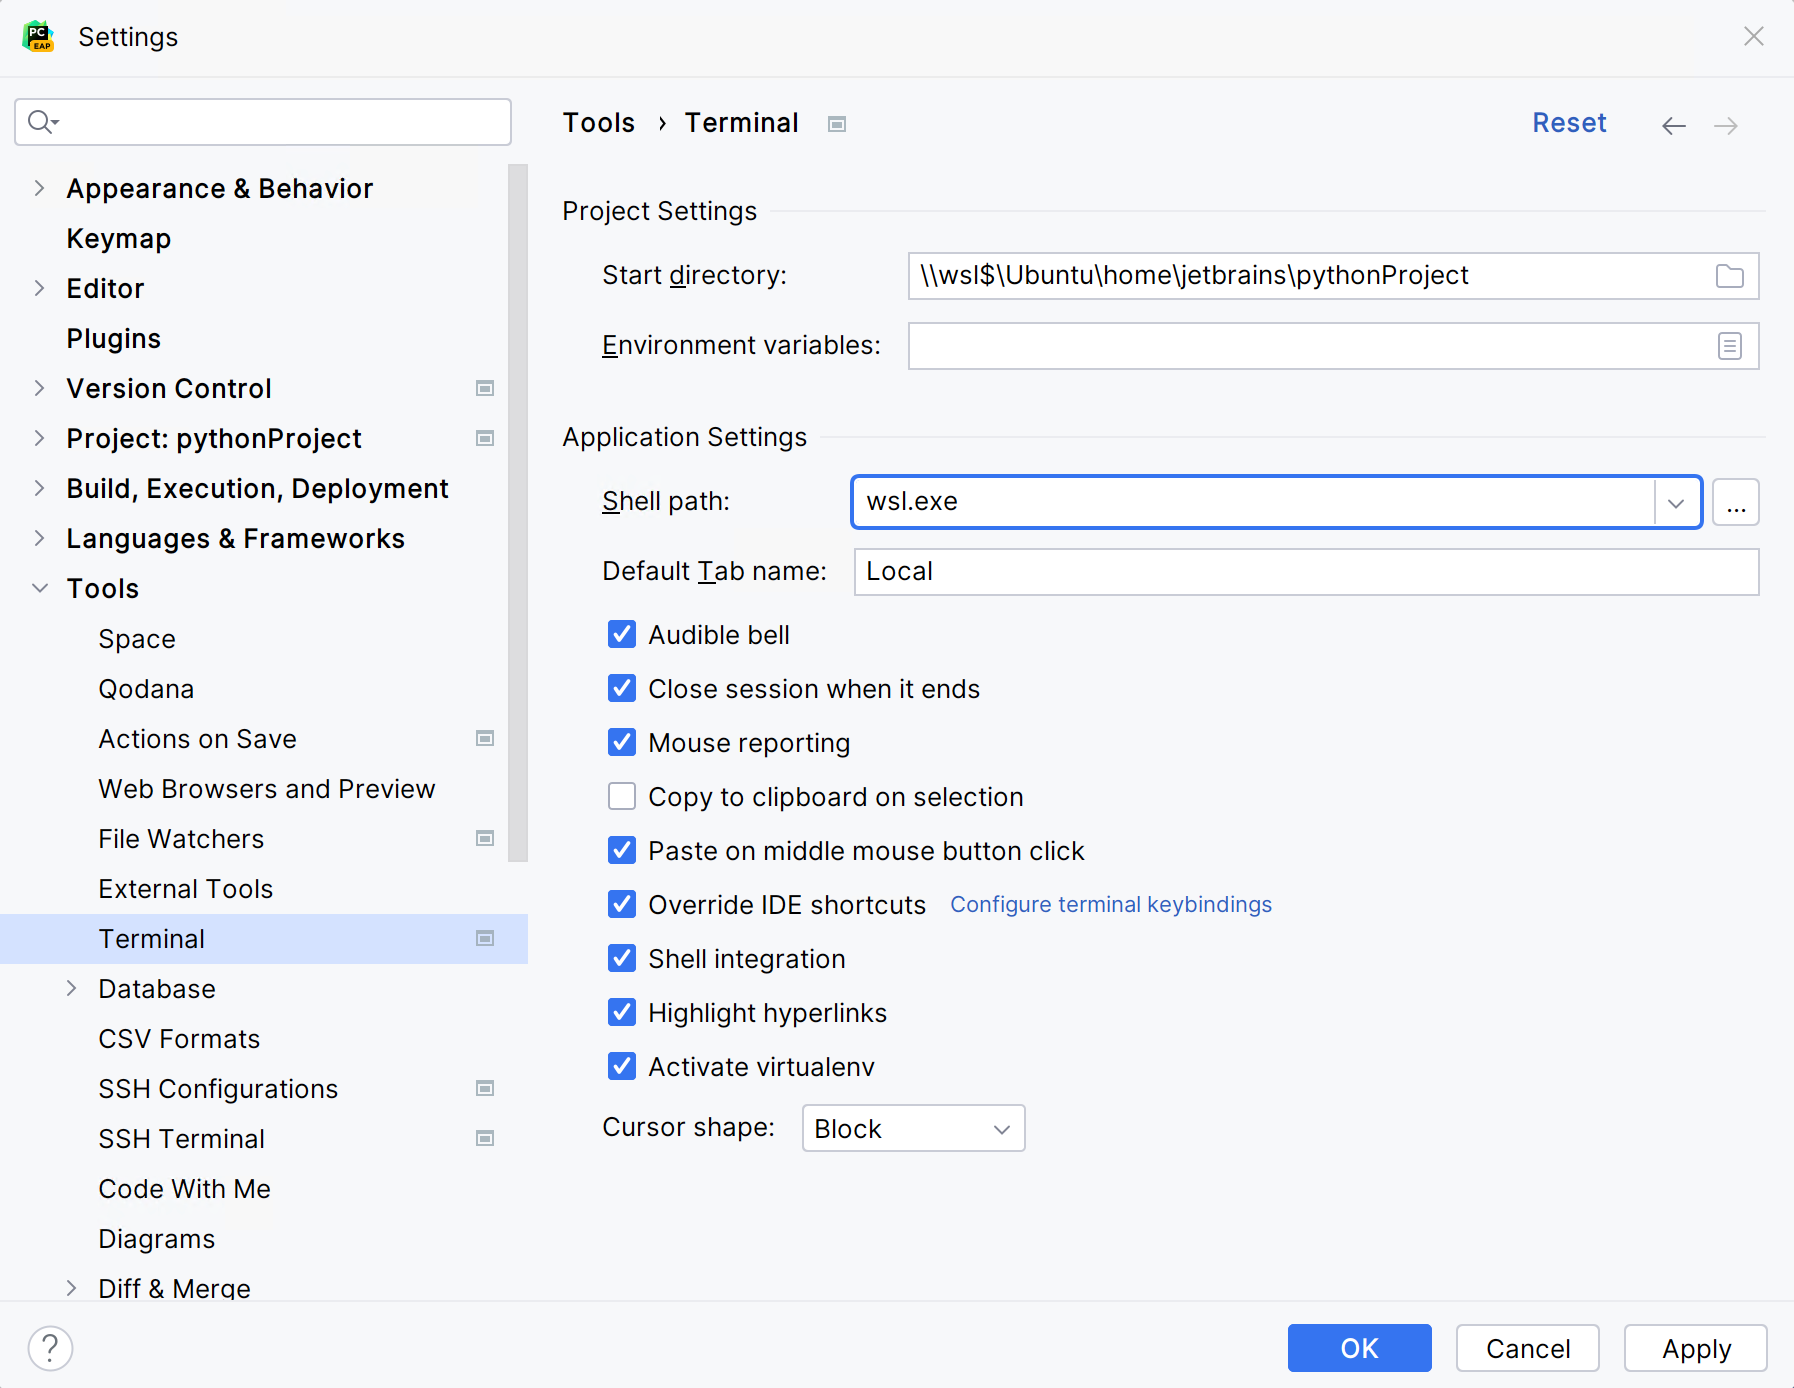
To run Terminal in WSL configuration, open project Settings/Preference (Ctrl+Alt+S) and go to .
Specify the command in the Shell path field:
wsl.exeto use the default Linux distributionwsl.exe -d <distribution name>to use a specific Linux distribution
Click OK to save changes.
