Configure an interpreter using SSH
Enable the FTP/SFTP/WebDAV Connectivity plugin
This functionality relies on the FTP/SFTP/WebDAV Connectivity plugin, which is bundled and enabled in PyCharm by default. If the relevant features are not available, make sure that you did not disable the plugin.
Press Ctrl+Alt+S to open settings and then select .
Open the Installed tab, find the FTP/SFTP/WebDAV Connectivity plugin, and select the checkbox next to the plugin name.
Configuring remote Python interpreters via SSH
Ensure that there is an SSH server running on a remote host, since PyCharm runs remote interpreters via ssh-sessions.
Do one of the following:
Click the Python Interpreter selector and choose Add New Interpreter.
Press Ctrl+Alt+S to open Settings and navigate to .
Click the Python Interpreter selector and choose Interpreter Settings. Click the Add Interpreter link next to the list of the available interpreters.
Click the Add Interpreter link next to the list of available interpreters and select On SSH.
Select an option to create a new SSH connection, then specify server information (host, port, and username).
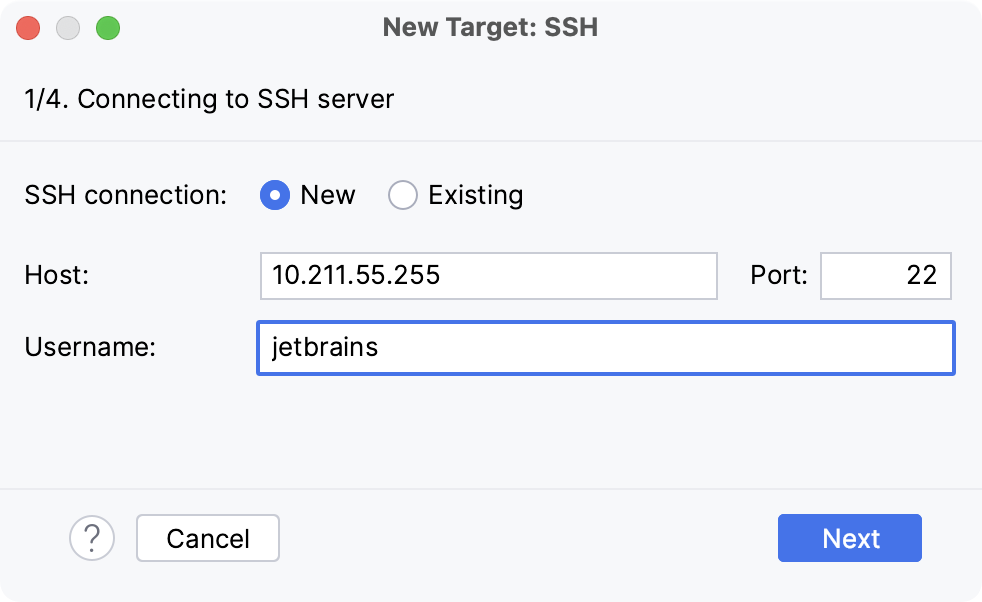
Alternatively, you can select Existing and choose any available SSH configuration from the list. To create a new SSH configuration, follow the steps below:
- Creating an SSH configuration
Click
next to the list of configurations:
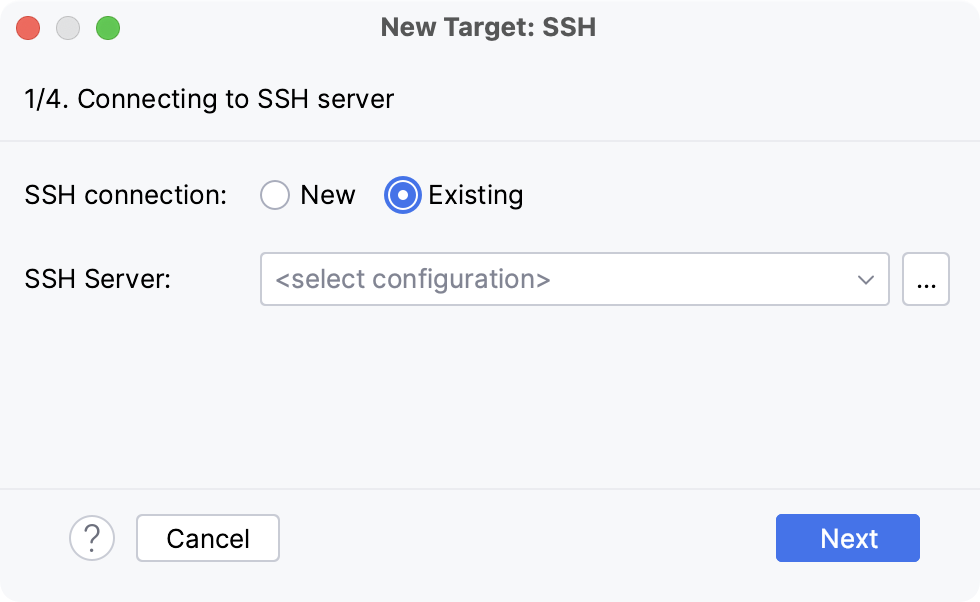
Click
, disable the Visible only for this project checkbox, and fill in the required fields:
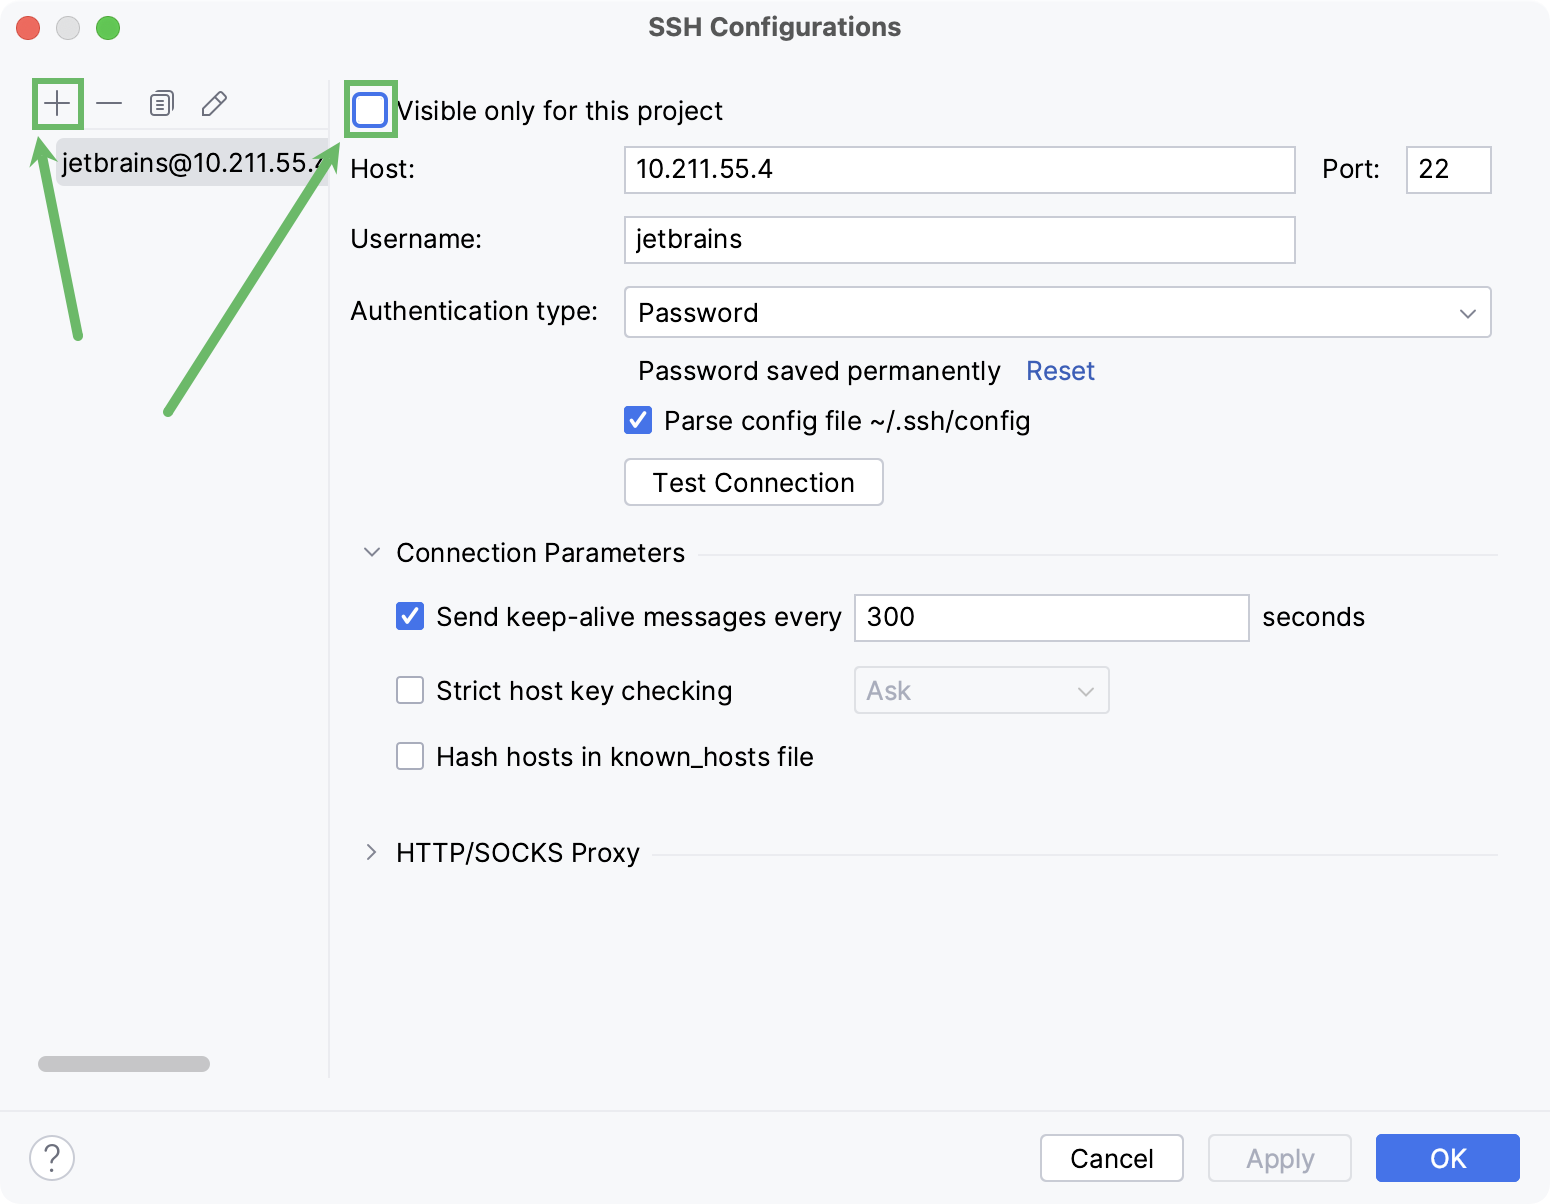
Once done, the newly created SSH configuration will appear in the list of available configurations. It will also become available in the SSH Deployment Configurations settings. Click Next to proceed:
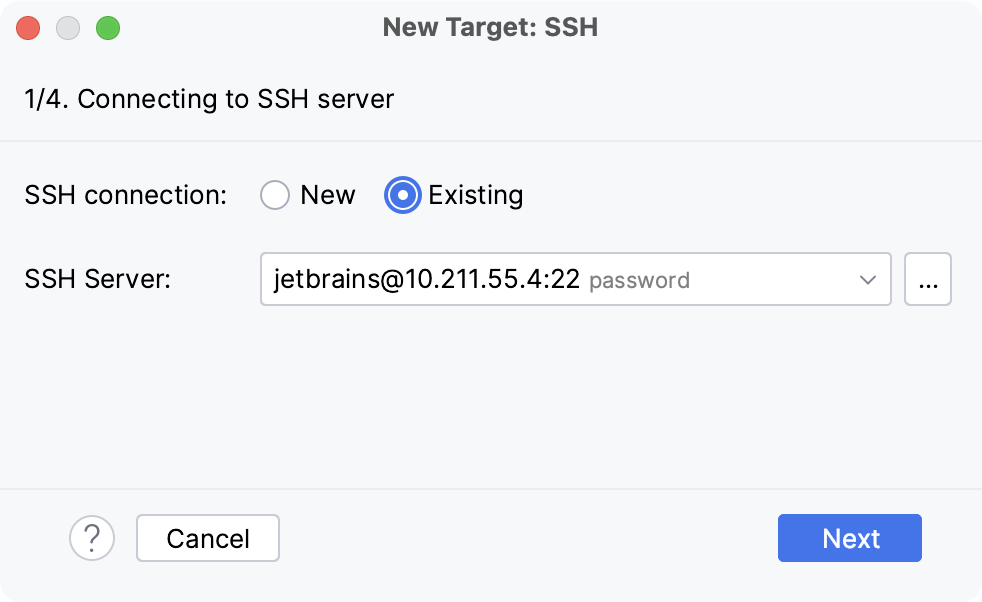
In the next dialog window, provide the authentication details to connect to the target server.
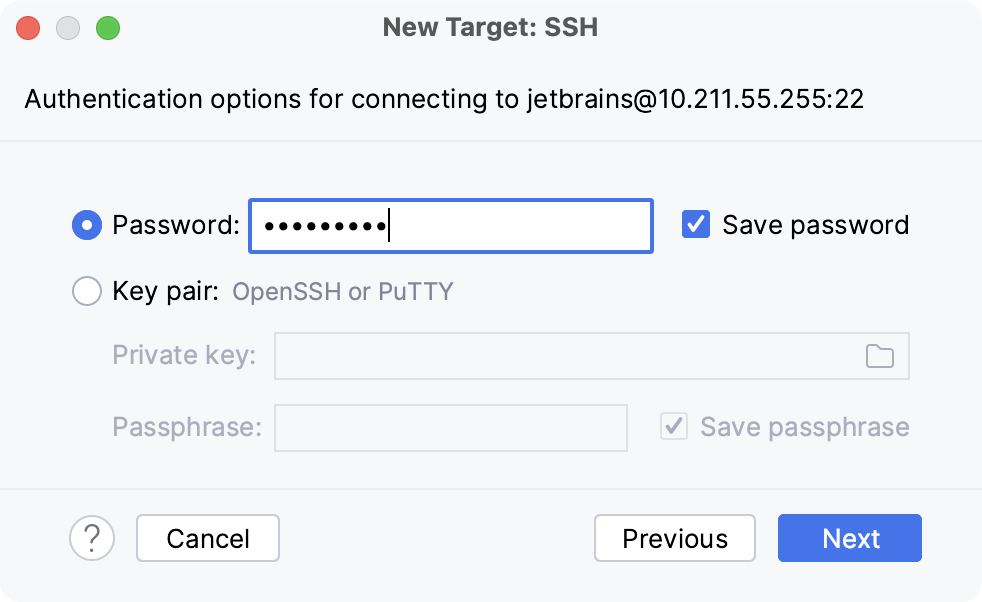
Select Password or Key pair (OpenSSH or PuTTY) and enter your password or passphrase. If Key pair (OpenSSH or PuTTY) is selected, specify:
Private key: location of the file with a private key
Passphrase: similar to a password, it serves to encrypt the private key.
Click Next to proceed.
Wait until PyCharm completes the introspection of the SSH server.
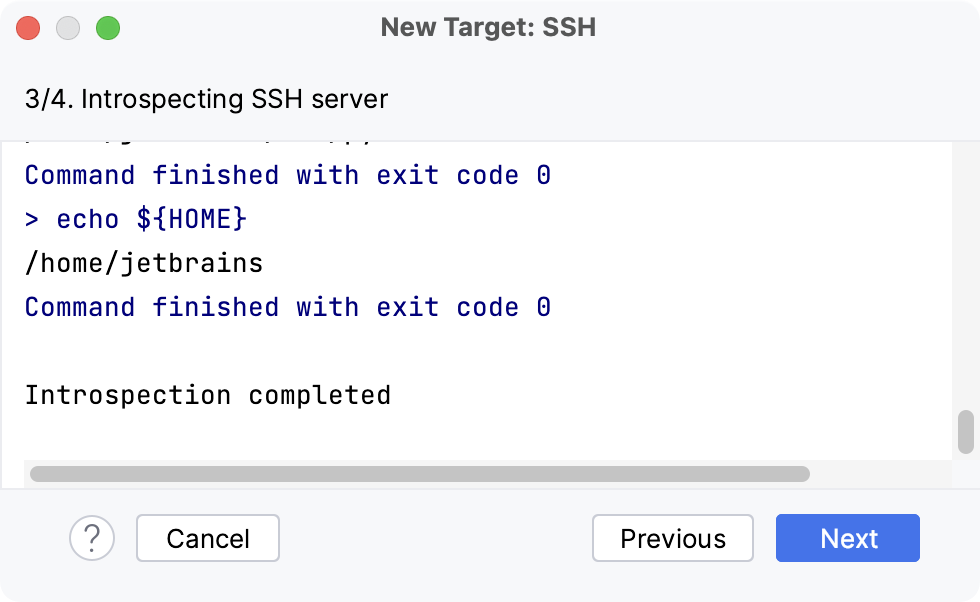
In the next dialog, select a type of Python environment to configure on the SSH server.
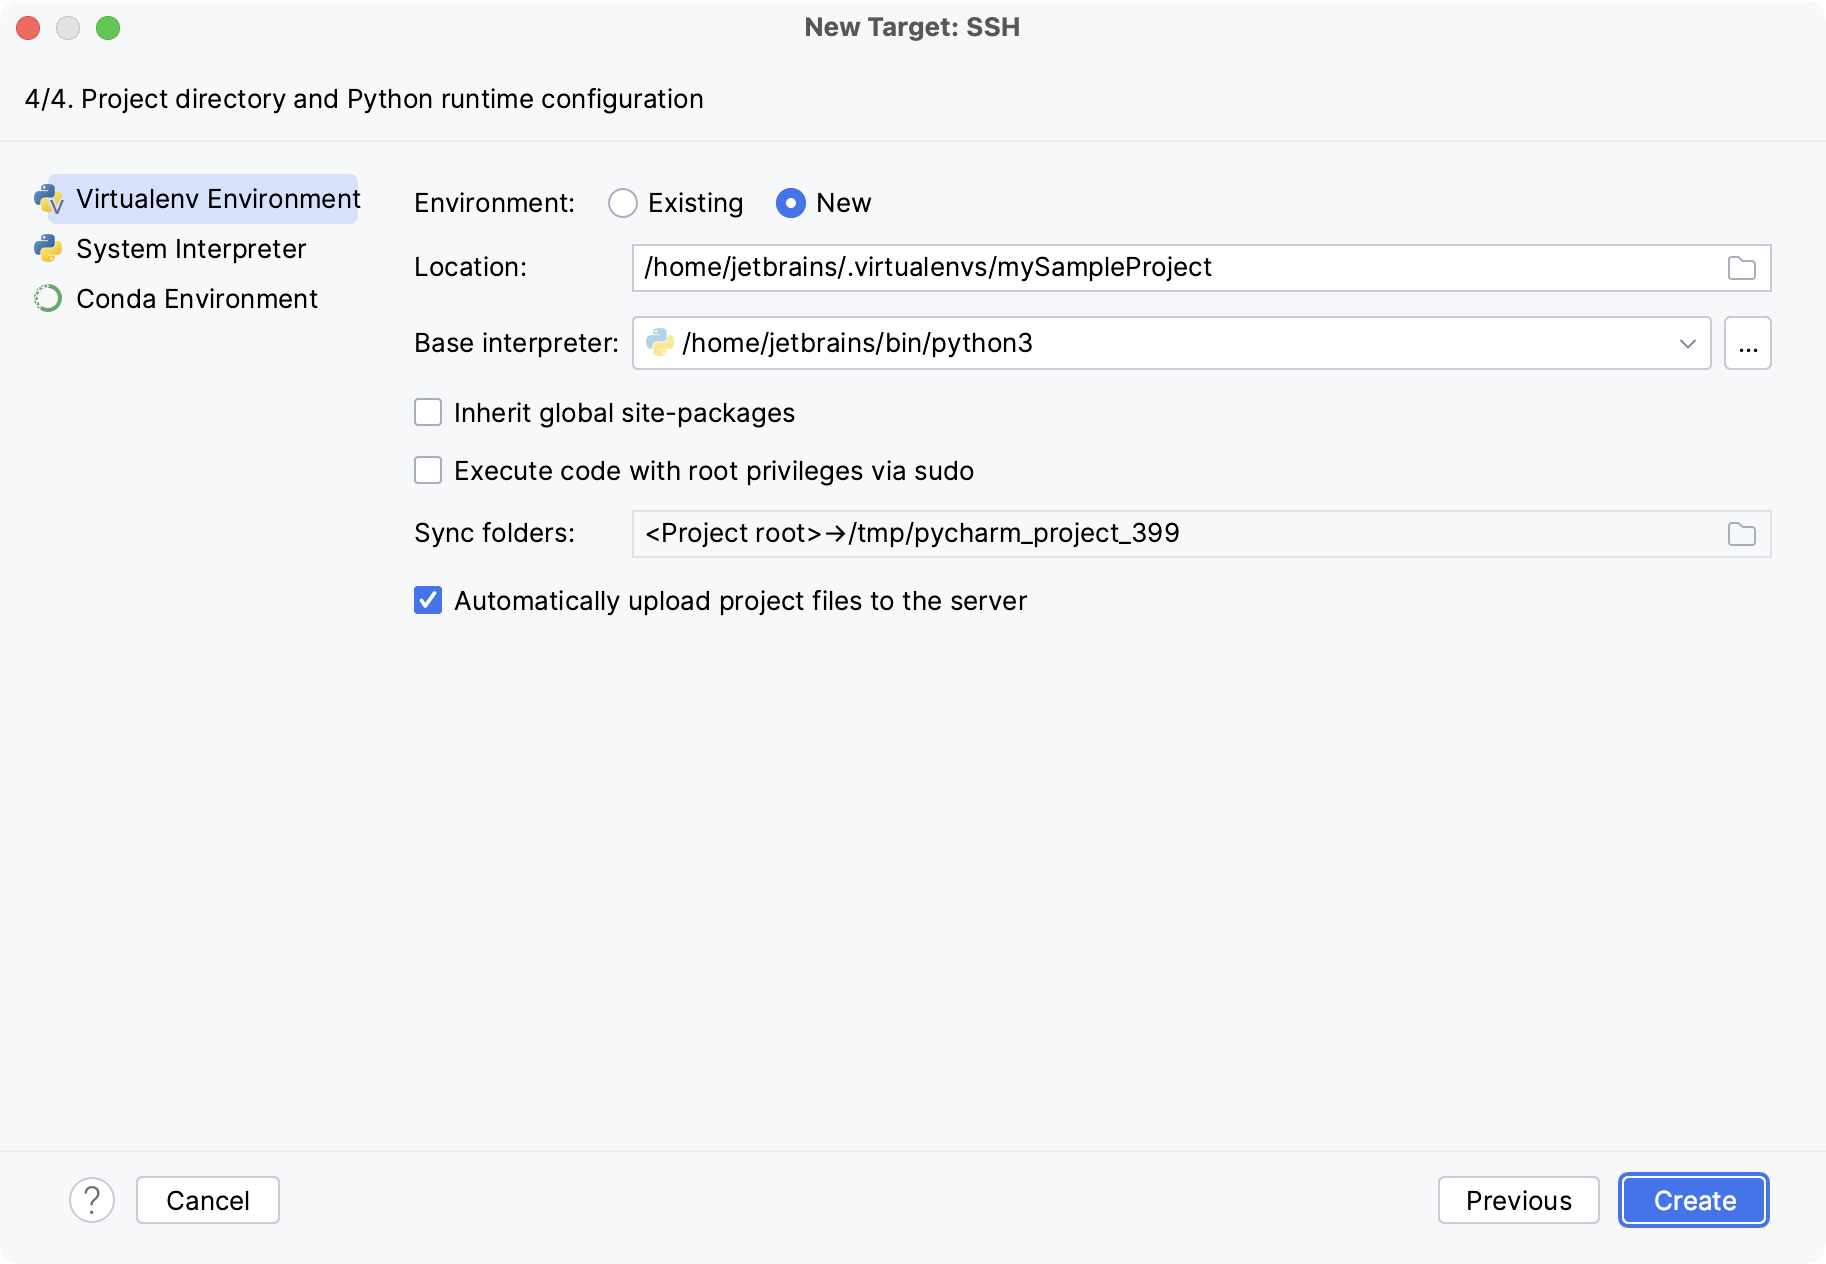
You can create a new virtual environment or сonda environment, select an existing one, or use a system interpreter.
Select the Inherit packages from base interpreter checkbox if you want all packages installed in the global Python on your machine to be added to the virtual environment you're going to create. This checkbox corresponds to the
--system-site-packagesoption of the virtualenv tool.If you need to execute your Python code on the SSH server as a sudo user, enable the Execute code with root privileges via sudo checkbox.
You can configure the path mappings between your local project and the server. To do that, click the Browse icon in the Sync folders field and enter the path to the local project folder and the path to the folder on the remote server.
Click Create to complete adding the interpreter.
Synchronizing project files when switching SSH interpreters
When you change the project interpreter and select an SSH interpreter, you might need to synchronize the local content with the target server. Mind a notification balloon in the lower-right corner:

You can choose to enable the automatic uploading of files to the server:
Click Auto-upload files to start uploading on the next save.
Click Sync and auto-upload files to immediately sync the files and upload them on every save in future.
To configure additional settings, select from the main menu.
Alternatively, go to .