Create a Django project
Django project is intended for productive web development with Django. PyCharm takes care of creating specific directory structure and files required for a Django application, and providing the correct settings.
Enable the Django plugin
This functionality relies on the Django plugin, which is bundled and enabled in PyCharm by default. If the relevant features are not available, make sure that you did not disable the plugin.
Press Ctrl+Alt+S to open settings and then select .
Open the Installed tab, find the Django plugin, and select the checkbox next to the plugin name.
Create a new Django project
Go to , or click the New Project button in the Welcome screen. The New Project dialog opens.

In the New Project dialog, do the following:
Specify project type Django.
Specify the project location.
Select Create Git repository to put the project under Git version control.
If you want to proceed with the Project venv, uv or Base conda interpreter, select the corresponding option and click Create.
- Project venv
PyCharm creates a virtualenv environment based on the system Python in the project folder.
- uv
PyCharm configures a uv environment as the project interpreter.
- Base conda
PyCharm configures a conda base environment as the project interpreter.
To configure an interpreter of another type or to use an existing environment, select Custom environment.
The following steps depend on your choice:
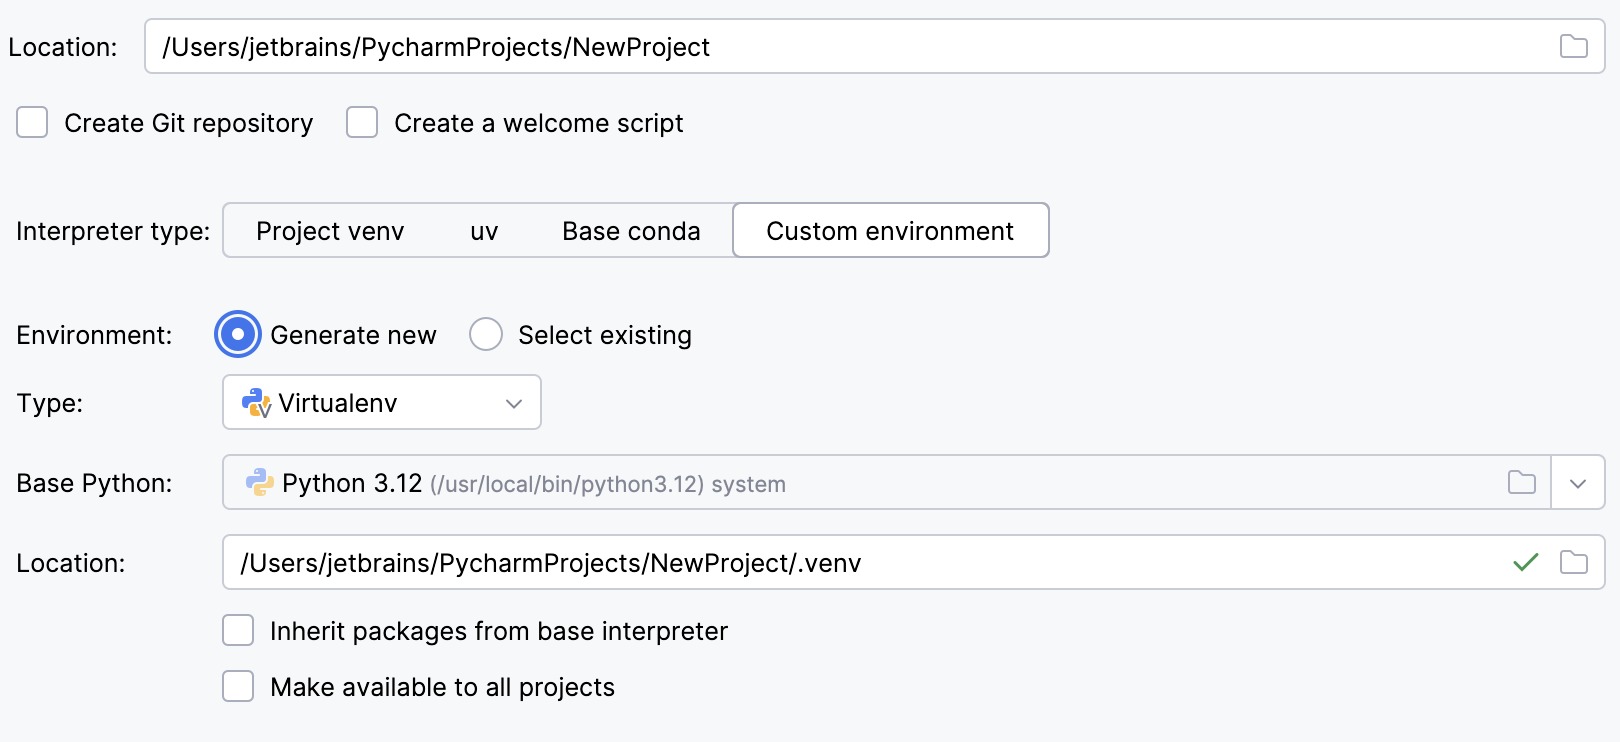
Select Virtualenv from the list of environment types.
Select the base interpreter from the list, or click
and find the Python executable in your file system.
Specify the location of the new virtual environment in the Location field, or click
and browse for the location in your file system. The directory for the new virtual environment should be empty.
Select the Inherit packages from base interpreter checkbox if you want all packages installed in the global Python on your machine to be added to the virtual environment you're going to create. This checkbox corresponds to the
--system-site-packagesoption of the virtualenv tool.Select the Make available to all projects checkbox if you want to reuse this environment when creating Python interpreters in PyCharm.
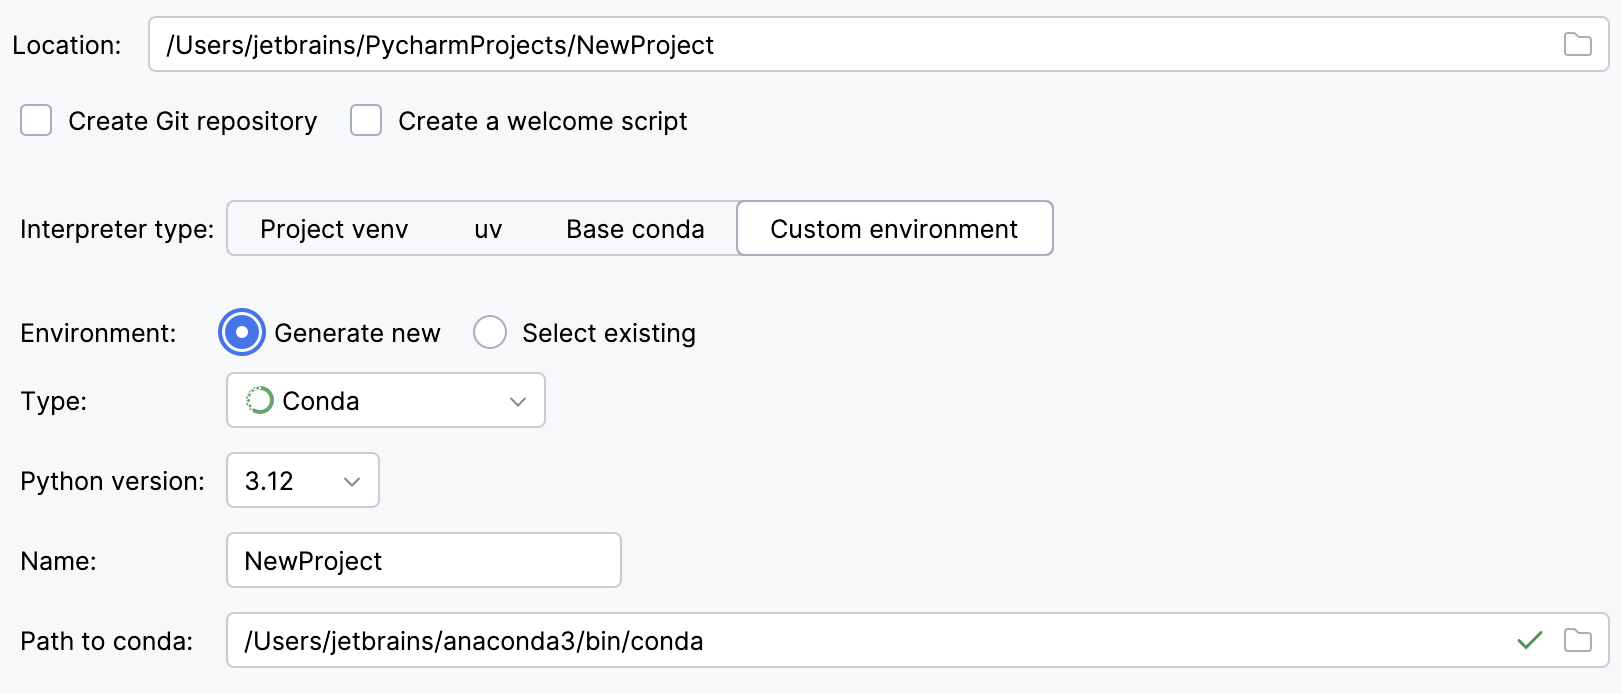
Select Conda from the list of environment types.
Select the Python version from the list.
Specify the environment name.
PyCharm will detect a conda installation.
If PyCharm did not detect the installation automatically, specify the location of the conda executable, or click
to browse for it.
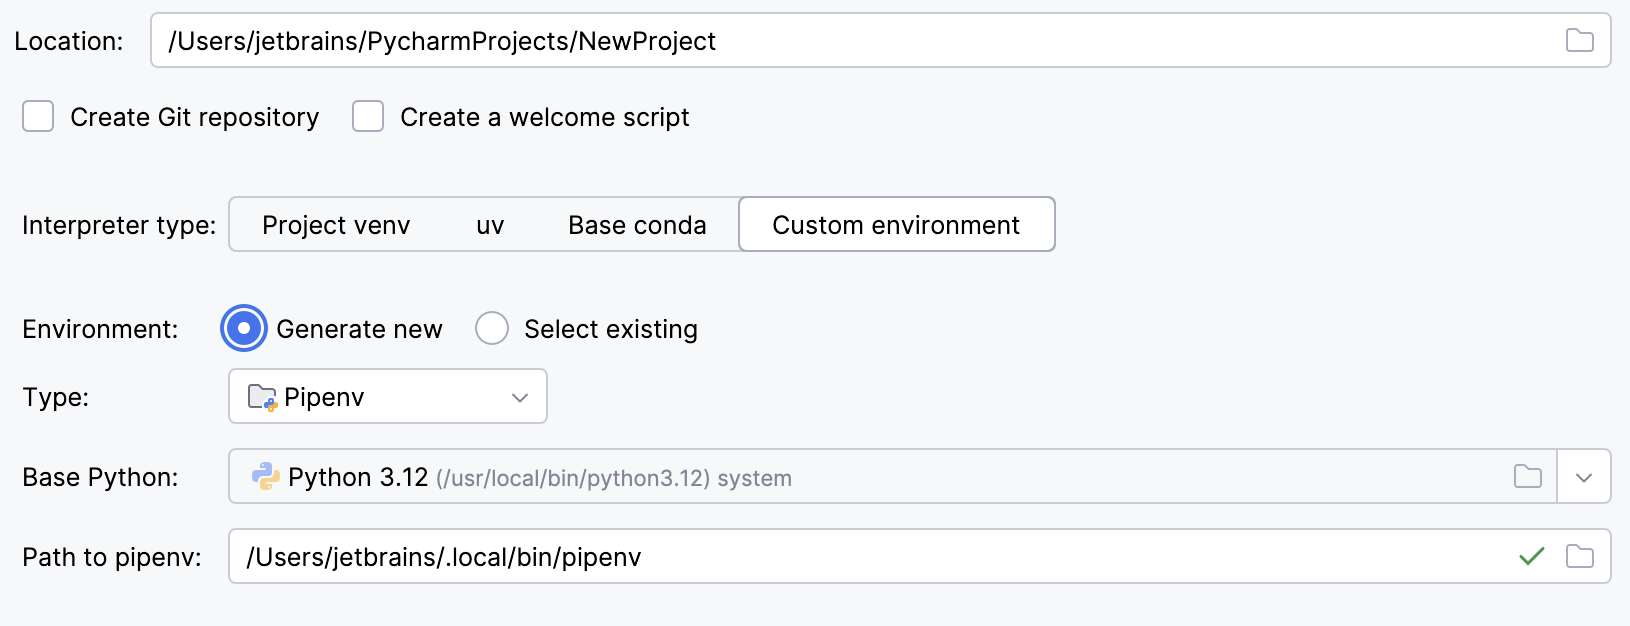
Select Pipenv from the list of environment types.
Select the base interpreter from the list, or click
and find the Python executable in your file system.
If you have added the base binary directory to your
PATHenvironmental variable, you do not need to set any additional options: the path to the pipenv executable will be autodetected.If PyCharm does not detect the pipenv executable, click Install pipenv via pip to allow PyCharm to install it for you automatically.
Alternatively, follow the pipenv installation procedure to discover the executable path and then specify it in the dialog.
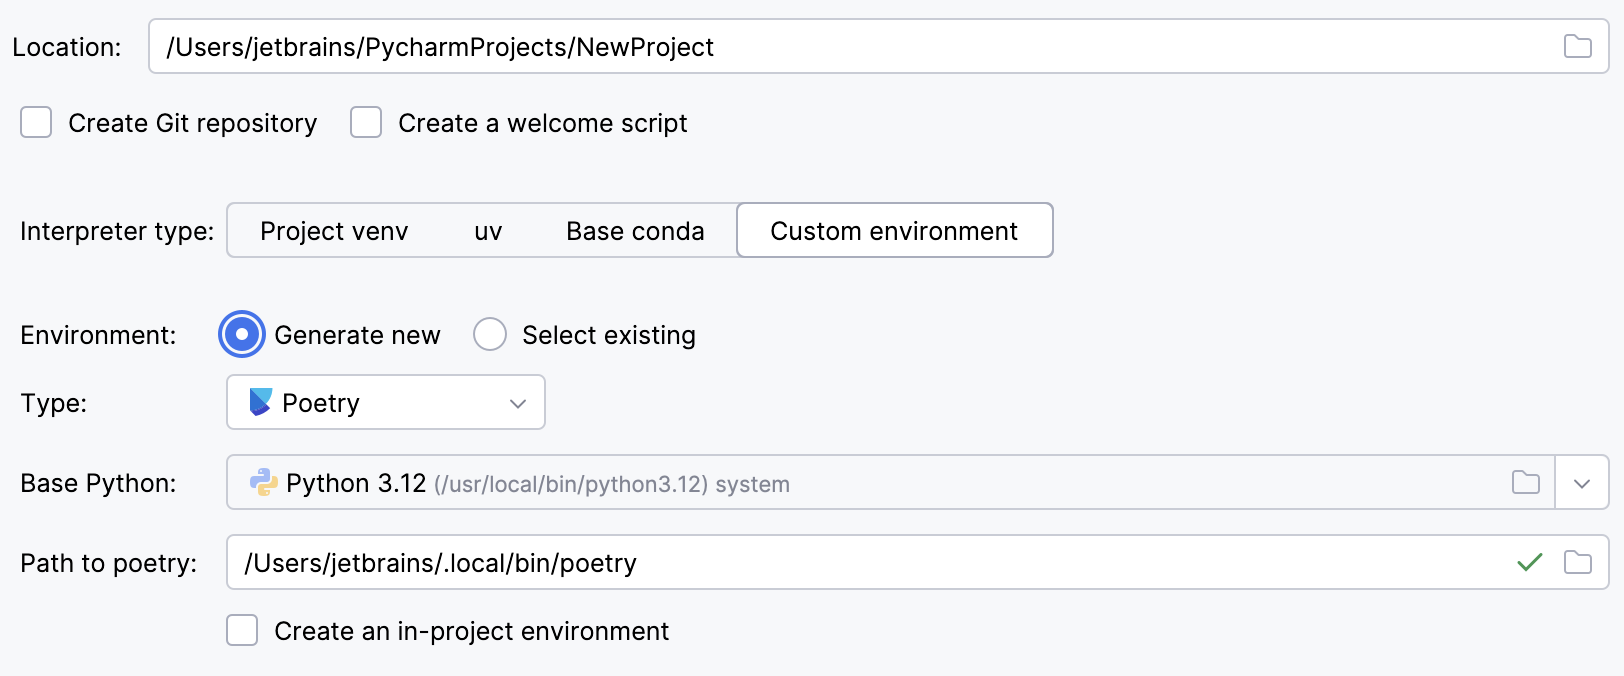
Select Poetry from the list of environment types.
Select the base interpreter from the list or click
and find the Python executable in your file system.
If PyCharm does not detect the Poetry installation, click Install poetry via pip to allow PyCharm to install Poetry for you automatically.
Alternatively, specify the location of the Poetry executable, or click
to browse for it.
To create a virtual environment within the project directory, select the Create an in-project environment checkbox.
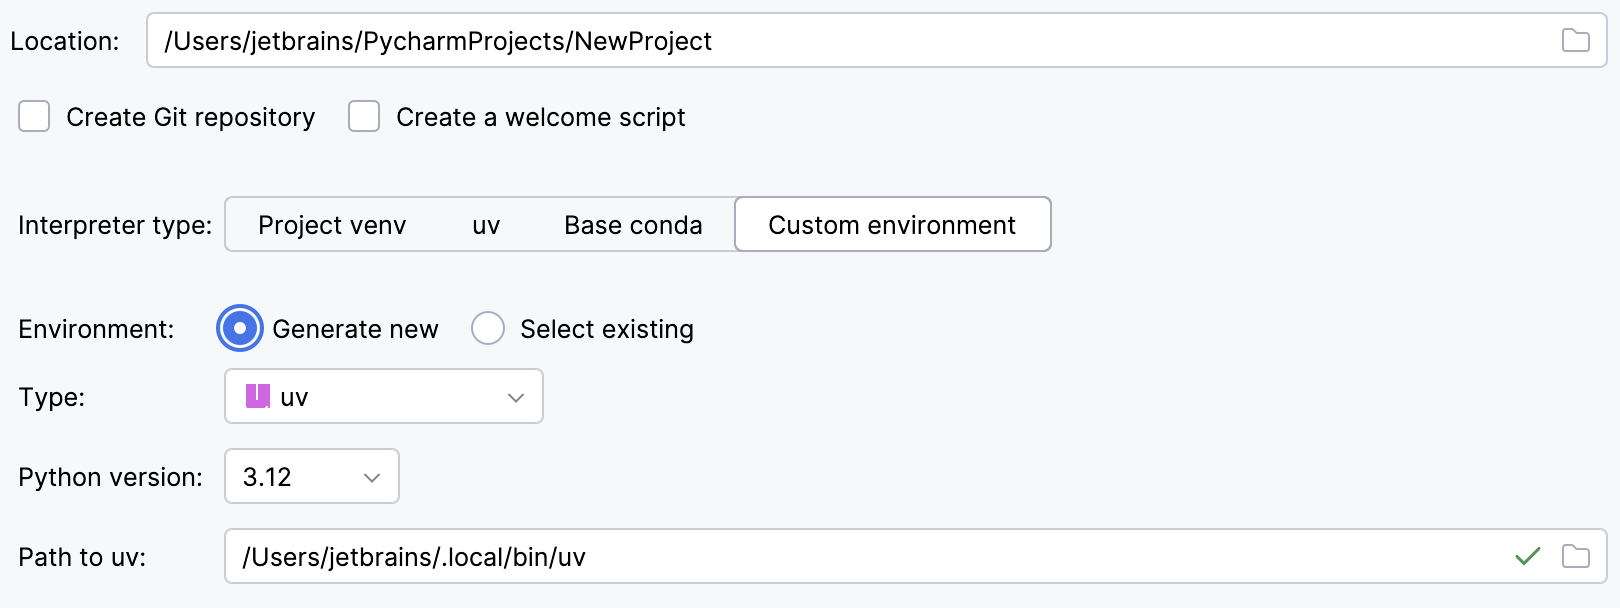
Select uv from the list of environment types.
Select the Python version from the list.
PyCharm will detect a uv installation.
Otherwise, specify the location of the uv executable, or click
to browse for it.
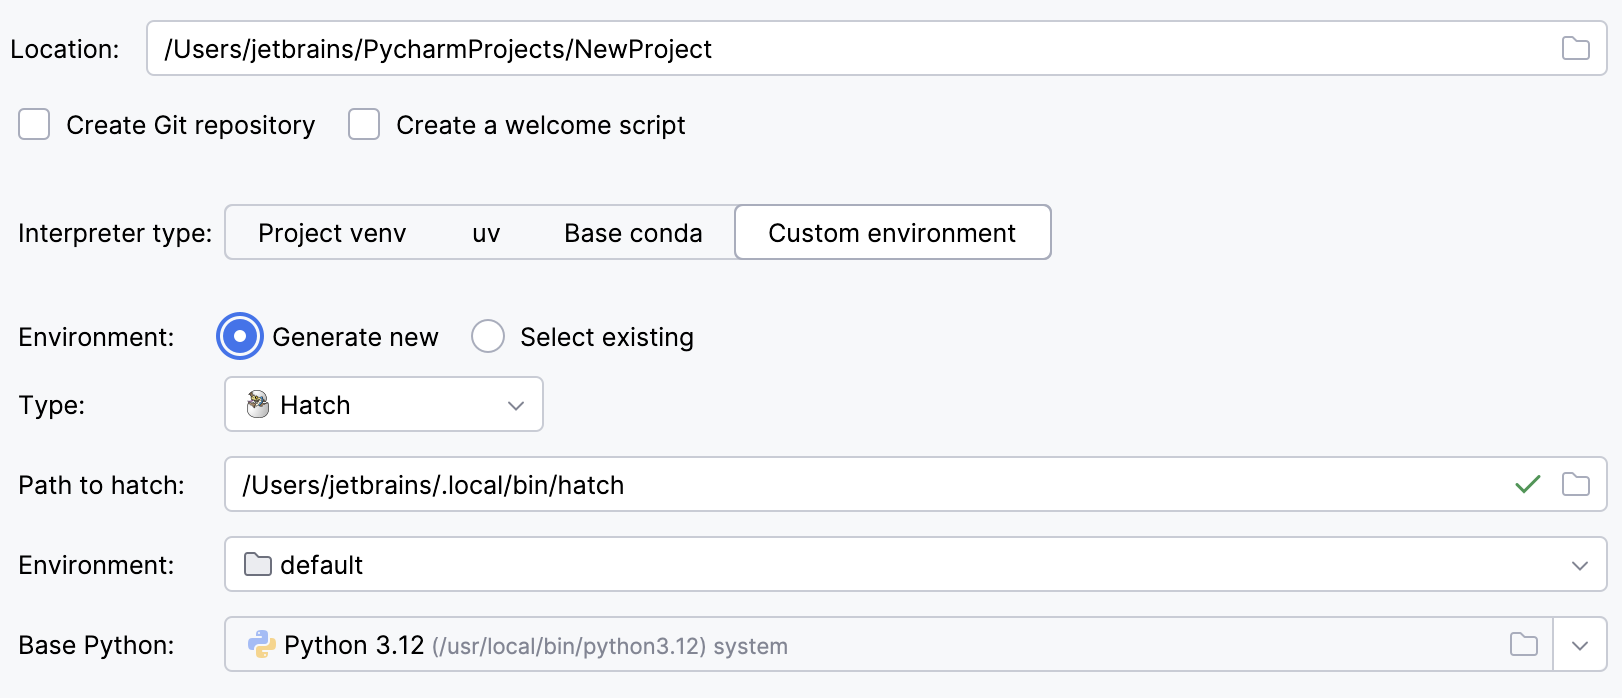
Select Hatch from the list of environment types.
PyCharm will detect a Hatch installation.
Otherwise, specify the location of the Hatch executable, or click
to browse for it.
Select an environment.
Hatch environments are workspaces designed for various project-specific tasks. If no environment is explicitly selected, Hatch will use the default environment.
Select the base interpreter from the list, or click
and find the Python executable in your file system.
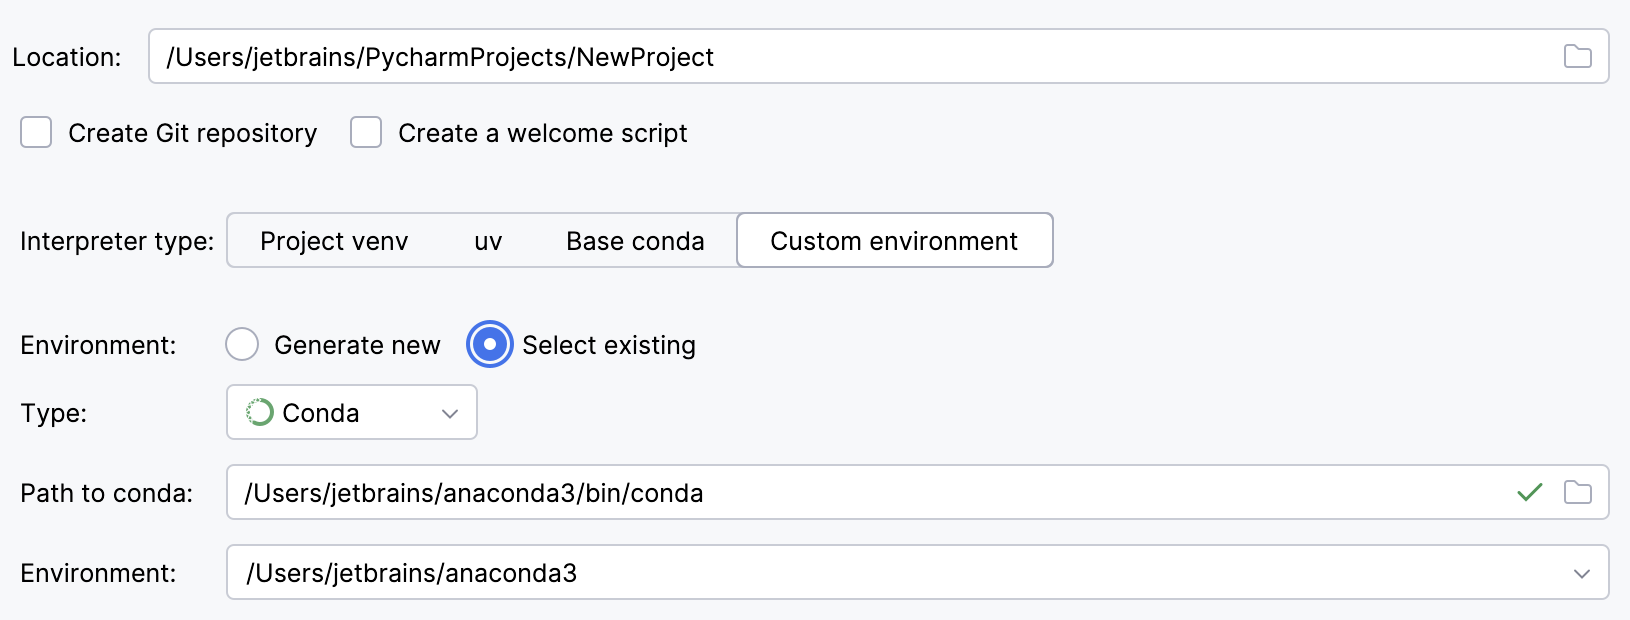
To reuse an existing conda environment:
Switch Type to Conda.
Specify the environment name.
PyCharm will detect a conda installation.
If PyCharm did not detect the installation automatically, specify the location of the conda executable, or click
to browse for it.
Select the environment from the list. If you specified the path to conda manually, you may need to reload environments.
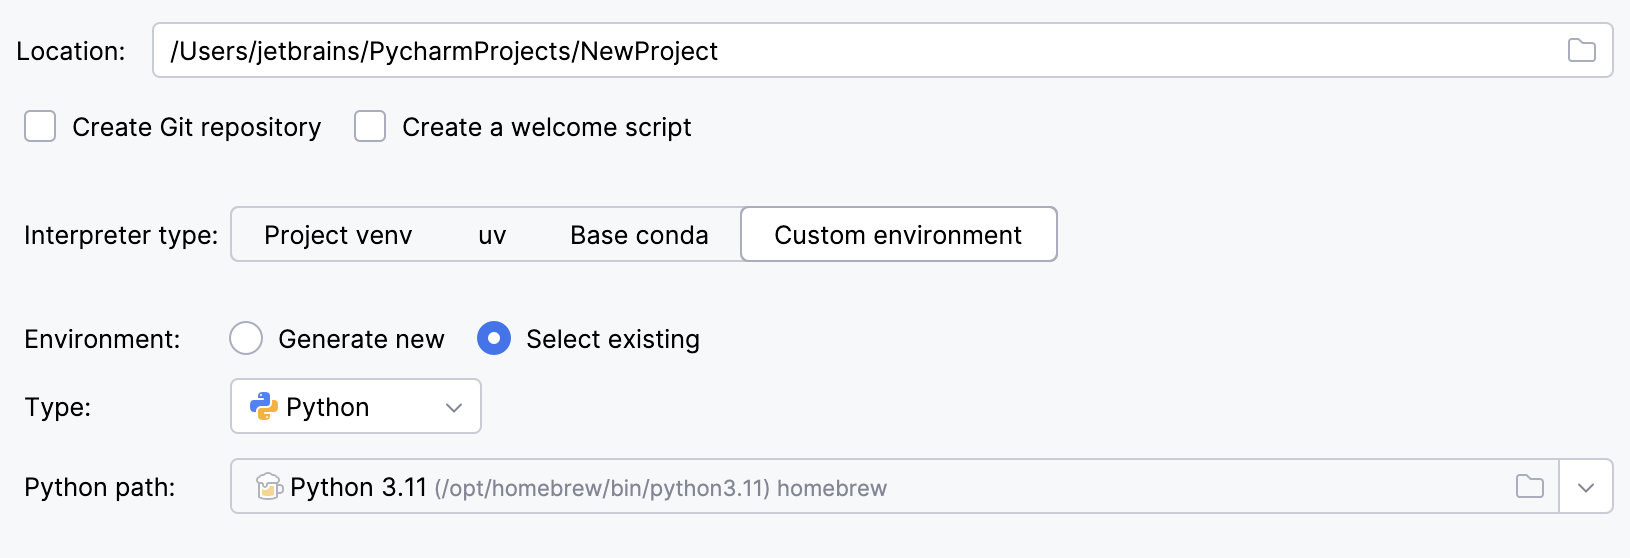
To reuse a different Python environment:
Switch Type to Python.
Select the Python executable from the list or click
to browse for it.
Click
More Settings, and specify the following:
From the Template language list, select the language to be used.
In the Templates folder field, specify the directory where the templates will be stored, and where they will be loaded from. You can specify the name of the directory that doesn't yet exist; in this case, the directory will be created.
In the Application name field, type the name of the Django application to be created.
If you need admin interface to be created, select the Enable Django admin checkbox.
Click Create.