Configure a Conda virtual environment
PyCharm supports creating virtual environments for Python with Conda. The following procedure applies to all supported operating systems. Use the platform switcher at the top of this page to view shortcuts specific to your operating system.

To create a Conda environment
Ensure that Anaconda or Miniconda is downloaded and installed on your computer, and you're aware of a path to its executable file.
Refer to the installation instructions for more details.
Do one of the following:
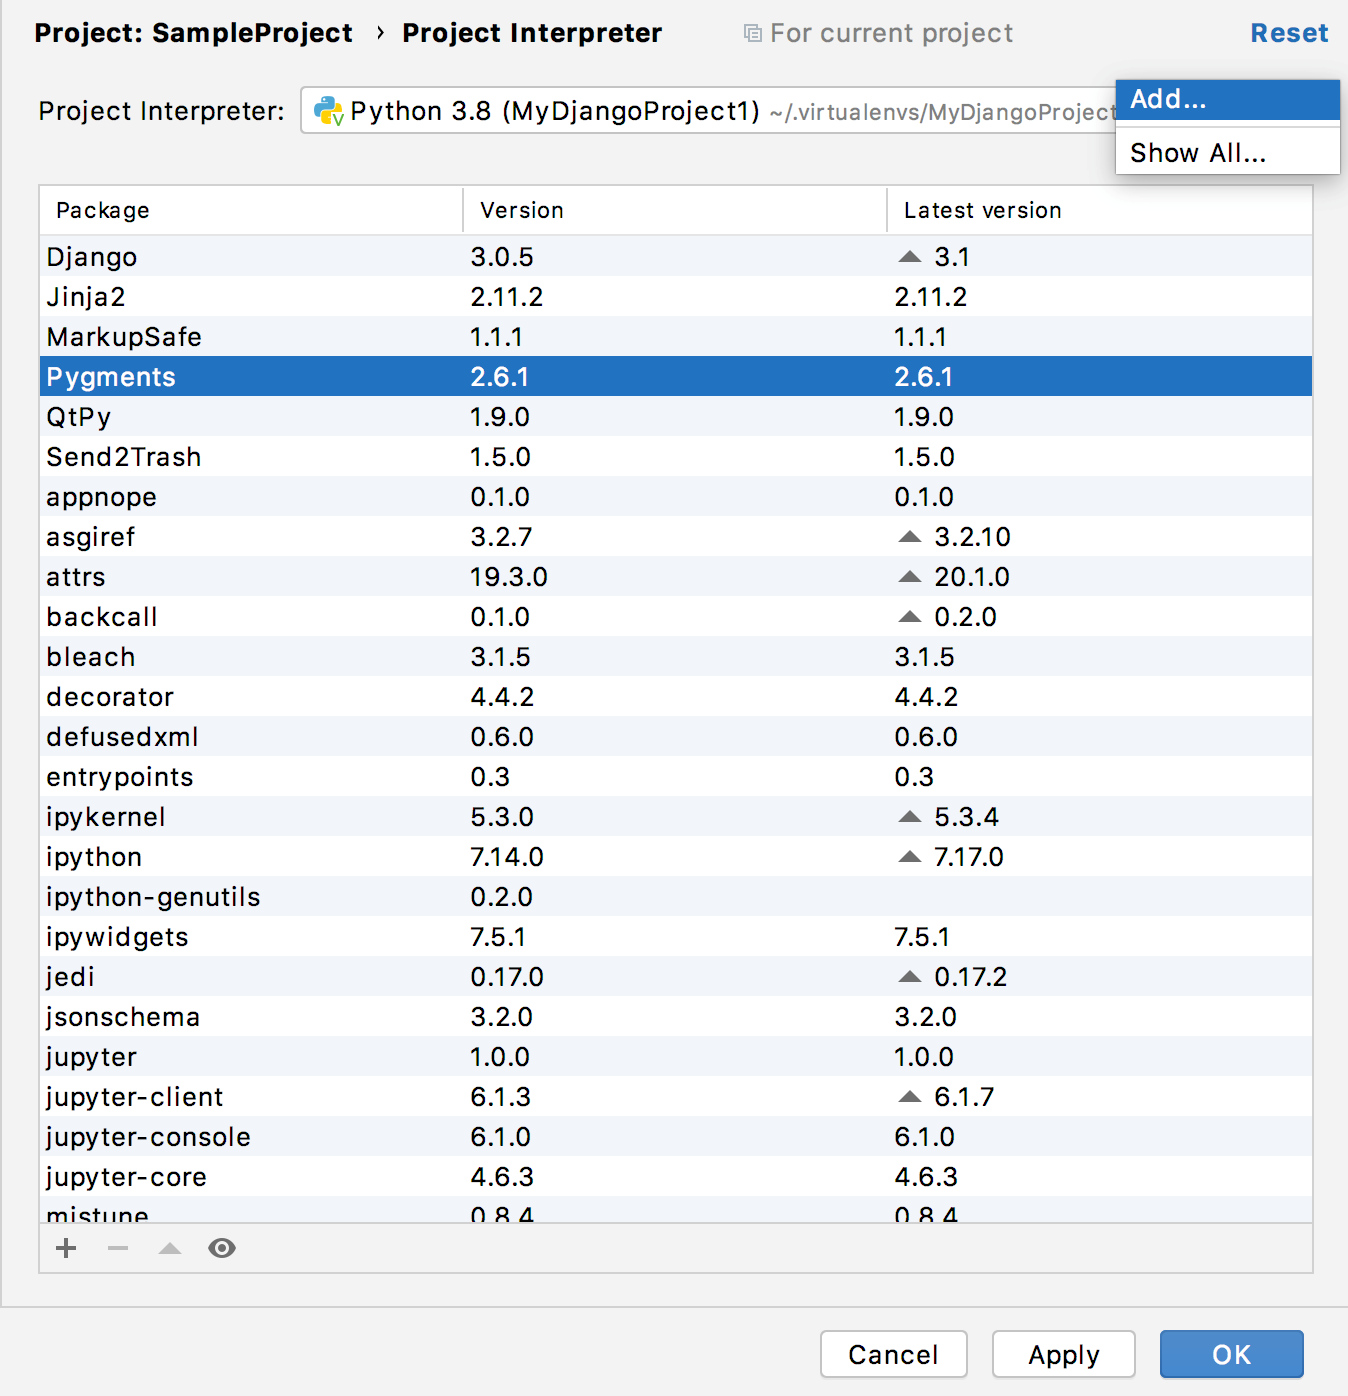
Click the Python Interpreter selector and choose .
Press Ctrl+Alt+S to open the project Settings/Preferences and go to . Then click the
icon and select Add.

In the left-hand pane of the Add Python Interpreter dialog, select Conda Environment. The following actions depend on whether the Conda environment existed before.
If New environment is selected:
Specify the location of the new Conda environment in the text field, or click
 and find location in your file system. Note that the directory where the new Conda environment should be located, must be empty!
Select the Python version from the list.
Specify the location of the Conda executable file in the text field, or click
 and find location in the Conda installation directory. You're basically looking for a path that you've used when installing Conda on your machine.
Select the Make available to all projects checkbox if you want to reuse this environment when creating Python interpreters in PyCharm.
If Existing environment is selected:
Expand the Interpreter list and select any of the existing interpreters. Alternatively, click
 and specify a path to the Conda executable in your file system, for example, C:\Users\jetbrains\Anaconda3\python.exe.
Select the Make available to all projects checkbox if you want to reuse this environment when creating Python interpreters in PyCharm.
Click OK to complete the task.
PyCharm can create a Conda environment for your project based on the environment.yml file.
Create a Conda environment using the environment.yml file
Open any directory with your source files that contains the environment.yml file: select from the main menu and choose the directory.

If no Conda environment has been created for this project, PyCharm suggests creating it:

Keep the suggested options, or specify an alternative Conda executable. Click OK to complete the task.
Once you click OK, PyCharm creates an environment and installs all the required packages.
Note that if you ignore a suggestion to create a Conda environment, PyCharm won't create a Python interperter for your project. So, any time when you open a .py file, you'll see the warning with the options for configuring a project interpreter: 
For any of the configured Python interpreters (but Docker-based), you can: