Creating and Opening Projects and Solutions
Creating projects and solutions
You can create a new project in a new solution using or add a new project to the existing solution by right-clicking the solution or solution folder node in the Solution Explorer, and choosing .
When creating a new solution or project, Rider gives you a number of pre-installed templates, which are grouped by framework. There are templates to create an empty project, standard .NET class libraries and applications, as well as test projects. It will also create .NET Core projects, as console applications, testing and class libraries.
In every template, you can specify a number of options:
- Solution/project name and folder
- An option to create a Git or Mercurial repository
- Language to use — many templates support C#, VB.NET and/or F#
- Target framework for the project. Note that for a framework to be available from this list, it has to be installed on our system.
- For Unity and Xamarin, several other options can be provided as well, for example the path to UnityEngine.dll, the target platform (Android or iOS), the type of app (blank, Android Wear, ...) Note that these options, too, depend on available frameworks on our system, such as the Mono/Android versions installed.
When you have specified the project options, just click Create. Once a project has been created, files can be added or removed by right-clicking on the project node in the Solution Explorer.
Installing custom project templates
Rider supports the template system used by the .NET tooling (dotnet new), which allows you to use project templates from the dotnet templates gallery or create your own templates.
There are two ways to install custom project templates.
- You can run
dotnet new --install [template package]in the command line, where[template package]is the template id from the dotnet templates gallery. - In the New Project/ New Solution dialog, click More Templates on the left, then click Install Template, and then choose a
.nupkgfile with the desired project template.
When the template installs, click Reload.
Opening existing projects and solutions
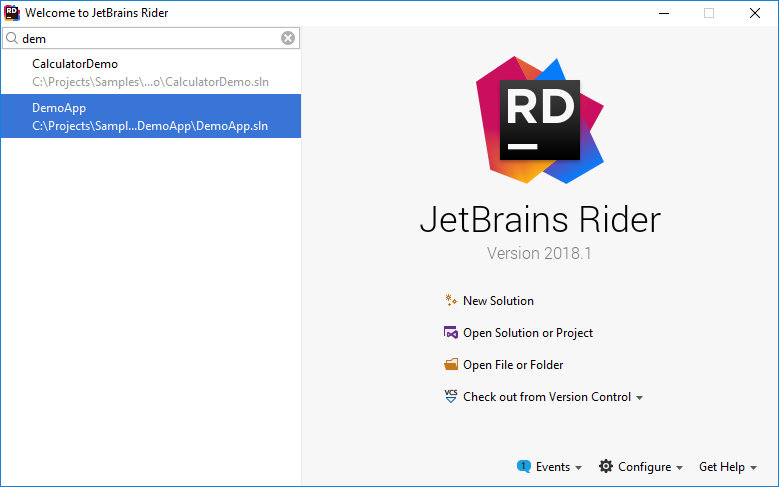
To open an existing project or solution, choose the corresponding item on the welcome screen. Existing solutions are listed in the left pane. You can search the list in case you have a lot of solutions — just start typing the solution name and a search field will appear.

If Rider is already running, press Ctrl+Shift+O or choose , or alternatively, choose one of the resent solutions under .
Rider will generate an .sln file and an .xproj file if necessary.
Rider also allows opening a project from source control. It can, for example, log in to GitHub, and clone a repo to the local file system. Once done, it will prompt you to open the folder.
When opening a .NET Core project, Rider will automatically restore all packages. Rider will also detect the list of target frameworks from .sproj, and display them in a chooser in the status bar. Selecting the current target framework sets the context for the editor — what compiler defines are active, and what packages and assemblies are referenced.
Rider allows opening several solutions simultaneously in different windows. By default, each time you open a solution while another one is opened, it prompts you to choose whether to open the project in the same window or in a new window. If necessary, you can set the default way of opening projects on the page of JetBrains Rider settings (Ctrl+Alt+S).
Managing recent solutions
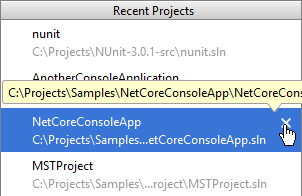
Each time you open a new solution, Rider saves it in its history and lets you quickly reopen it from the menu. If you want to remove a solution from your history, choose in the menu, then click x next to that solution or press Delete when it is selected.

Deleting solutions
If you want to permanently delete a solution from your hard drive, you need to use your file manager (e.g. Explorer, Finder, etc. — depending on your platform) and follow the steps outlined below.
To delete a solution:
-
Open the solution in Rider.
-
In the Solution window, right-click the solution and choose Show in Explorer from the context menu to locate the solution folder.
-
Choose from the Rider's main menu.
-
Go to your file manager and delete the folder that contains the solution files.
-
On Rider's Welcome screen, hover over the deleted solution name and click the cross to remove it from the list.