Using Continuous Testing
The concept of continuous testing implies that you have actual test results instantly, as soon as you've changed your code. Thus, there's no need to manually rebuild the project and re-run all tests after making changes: the impacted tests are run in the background automatically (the testing session is triggered by some explicit action, e.g., saving changes or building the project).
To enable continuous testing in a solution
Open continuous testing settings using the main menu . Specify when you need dotCover to rerun tests: either after you save the solution, or after you build it (the default option).

Create a new unit testing session, or open one that has the scope you want to cover by continuous testing. If you don't have any sessions yet, you can use the Unit Test Explorer window to create one.

-
In the opened session tab, select a continuous testing mode for your session. For example, if you want dotCover to autorun tests and get coverage each time you save or build the solution, select Cover New and Outdated Tests. Learn more about continuous testing modes.

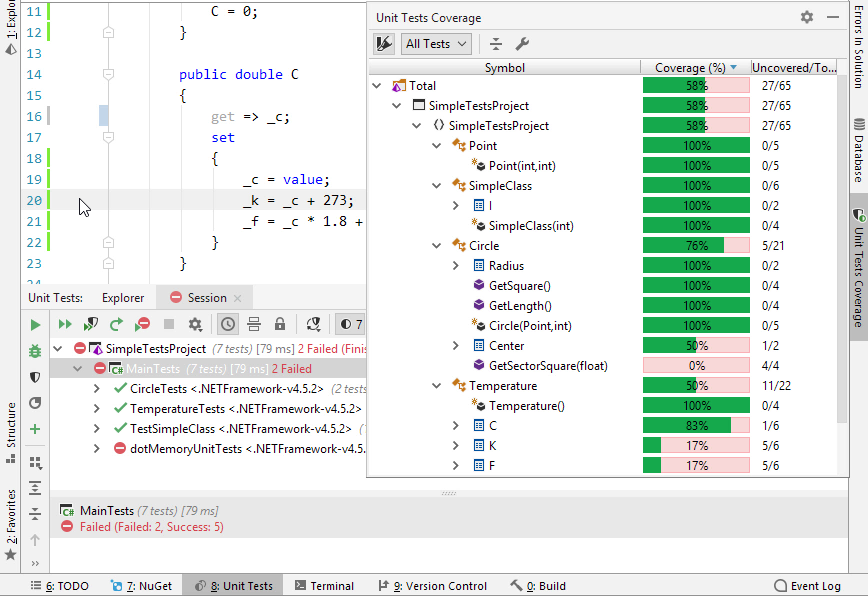
Coverage results will be shown in a separate Unit Tests Coverage window.

That's it! Now, simply start working as usual: change code, build or save (as needed), and see test results in real time.