Rows
Add a row
Click the Add New Row icon (
 ) on the toolbar. Alternatively, right-click the table and select Add New Row from the context menu.
Press Alt+Insert.
Delete a row
Select the row or rows that you want to delete.
To select rows, click numbers in the gutter. To select multiple rows, press Ctrl and click the necessary rows.
Click the Delete Row icon (
 ) on the toolbar. Alternatively, press Ctrl+Y or Delete.
Remove all rows in a table
Right-click a table and navigate to .

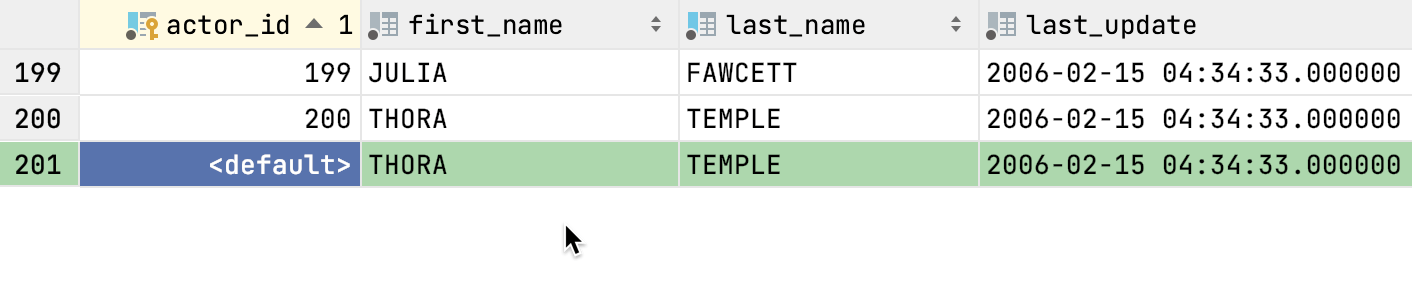
Clone a row
You can clone a selected row. The copy of the row is added to the end of the table.
To clone a row, right-click the row and select Clone. Alternatively, select the row and press Ctrl+D.
Navigate between subsets of rows
 : Navigates to the first page of the result set.
  : Navigates to the previous page of the result set. ( Ctrl+Alt+Up )
  : Navigates to the next page of the result set. ( Ctrl+Alt+Down)
  : Navigates to the last page of the result set.
Make all rows visible simultaneously
Open settings Ctrl+Alt+S and navigate to .
Clear the Limit page size to checkbox, and click OK.
Click the Refresh button
 or press Ctrl+F5 to refresh the table view.
Go to the specified row
To navigate to a row with a specified number, right-click the table and select Ctrl+G. In the Go to row dialog, specify the row number and click OK.

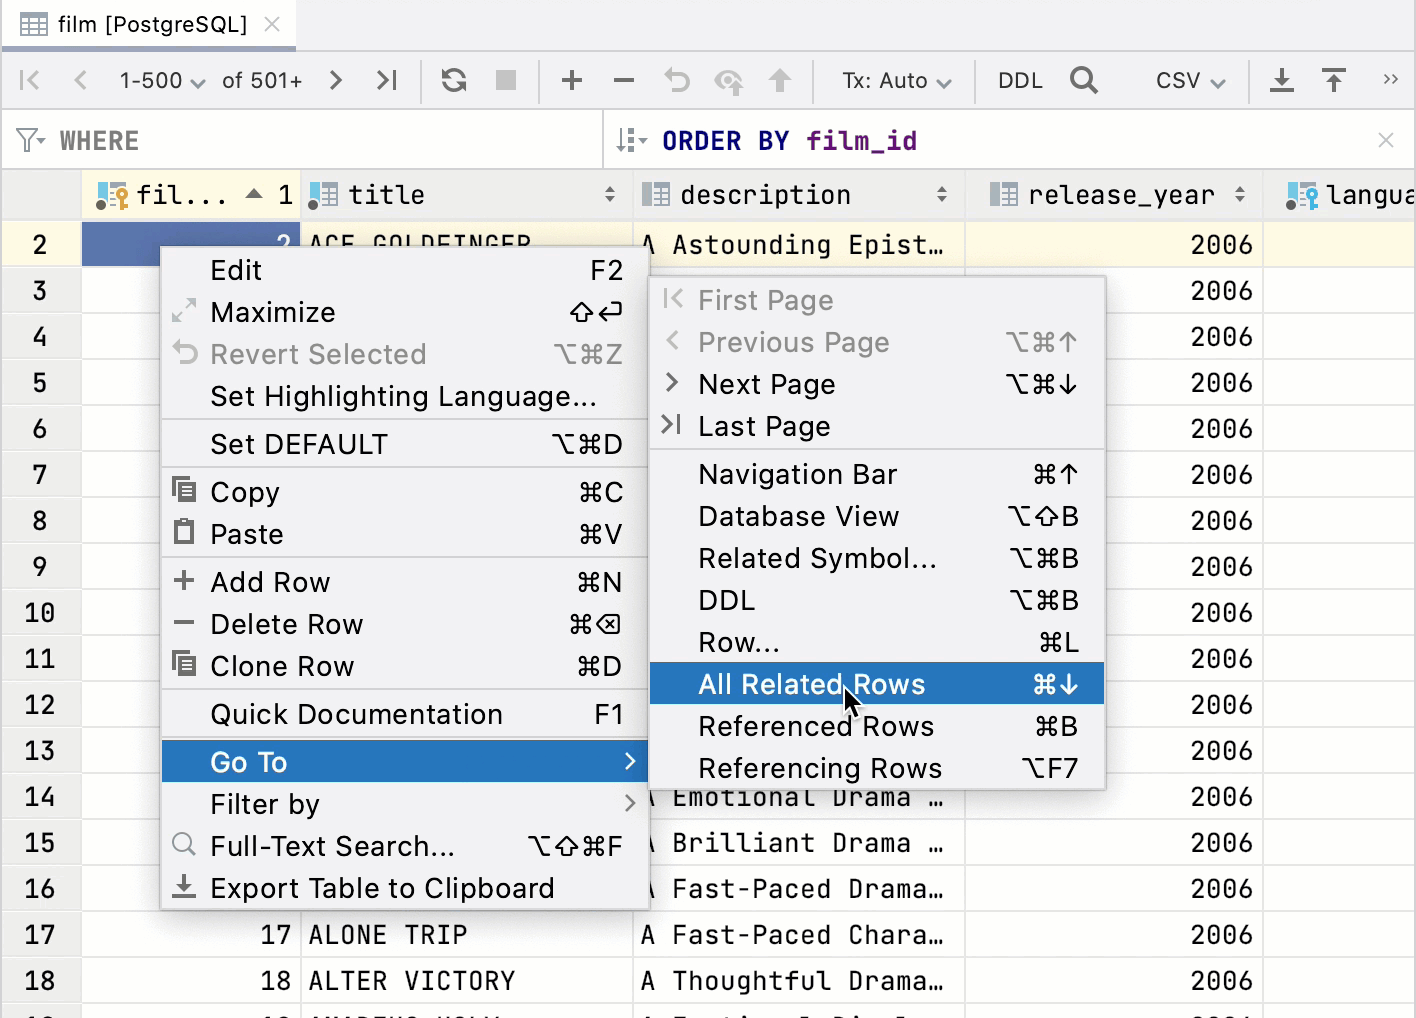
Navigate to a related object
Navigate between related data
You can navigate between different types of related data:
Referenced data: data that is referenced by the current object.
Referencing data: data that is referencing the current object.
Right-click the column in the table and navigate to Go To | Referenced Data Ctrl+B or Ctrl+Alt+Home.
If the Choose target popup appears, select the table and what rows to show:
First Referencing Row: all rows in the table. The first row that references the current row is selected.
Referencing Rows Only: only rows that reference the current row.
Press Enter.
Set a number of rows in the result set
By default, when you issue a query, the number of returned rows is limited to 500. This limitation is introduced to avoid an overload (for example, when your SELECT statement returns one million rows).
To change this limit, open settings settings Ctrl+Alt+S and navigate to . In the Limit page size to field, specify a new number. To disable the limitation, clear the Limit page size to checkbox.
Also, you can click the Change page size list in the editor, and select a predefined value.