C# Interactive
JetBrains Rider includes a Read–Eval–Print Loop (REPL), which lets you experiment with C# code without compiling it.
Start a new C# Interactive session
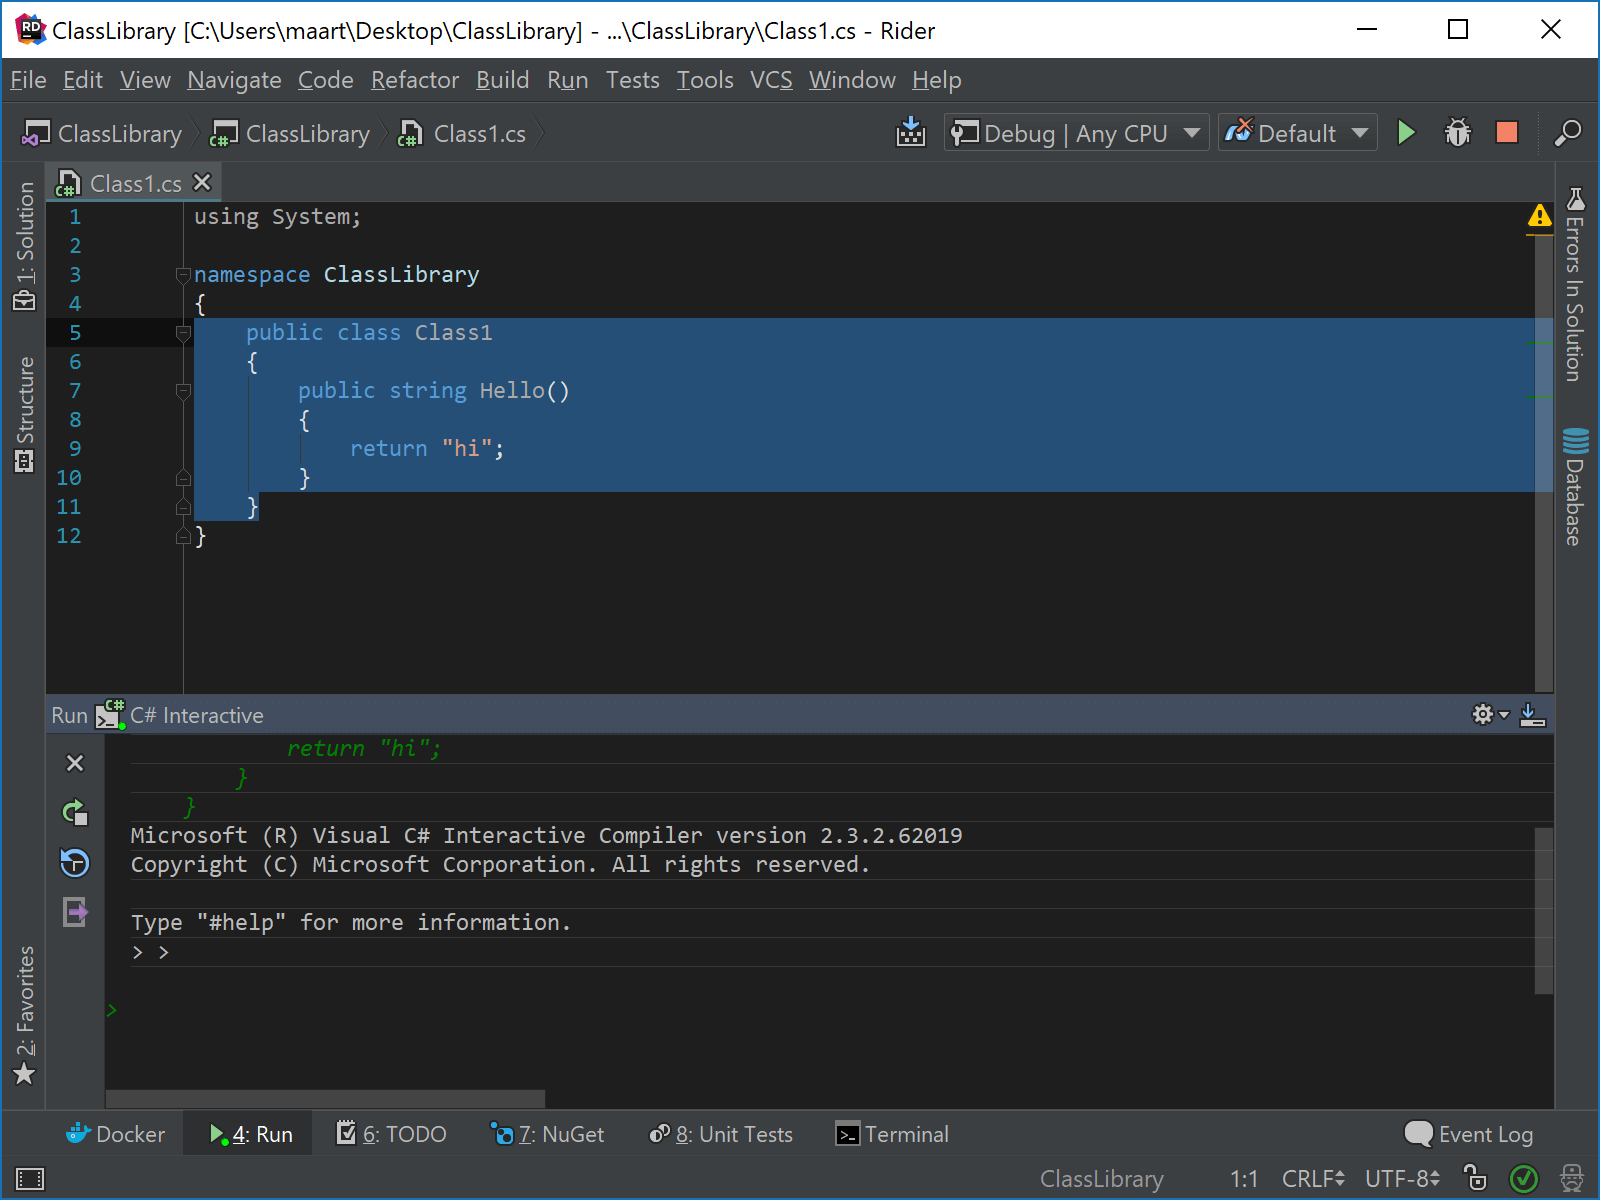
Select a block of code in the editor and press Ctrl+\ or alternatively, press Alt+Enter and then choose Send selection to C# interactive.
JetBrains Rider will start a new interactive session in a new tab of the Run window and send the selected code to this session. If a C# interactive session is already running, the selected code will be appended to this session.Choose from the menu.
In this case, JetBrains Rider will open an empty interactive session and reset the current C# interactive session if it is already running. You can also clear the current session at any time by clicking Reset on the toolbar.
You can also start a new session by referencing selected project(s) — choose the project in the Explorer window, right-click the selection and select Reference in C# Interactive from the context menu.
As soon as the C# Interactive is started, you can write any C# expressions and evaluate them by pressing Enter.
All expressions that you execute during the session are recorded in history. To find a previously executed statement, use the Up/ Down buttons or click Replay recent commands ![]() and choose the one you need.
and choose the one you need.
If your experiments resulted in some useful code, you can create a new scratch file with the full transcript of the session. To do so, click Export transcript to scratch file ![]() on the toolbar.
on the toolbar.
On Windows, JetBrains Rider will automatically detect and use the csi.exe executable that ships with MSBuild. On Mac OS X and Linux, JetBrains Rider defaults to Mono’s csharp. In case JetBrains Rider cannot find the correct executable or if you want to use another JetBrains Rider REPL, you can customize the tool path (and arguments) on the page of JetBrains Rider settings Ctrl+Alt+S.
Reference other projects and assemblies
If you want to use symbols from other projects and assemblies in your C# interactive session, you need to add a project or assembly reference.
Add a project or assembly reference
Click
 on the C# Interactive toolbar and select a project from the current solution.
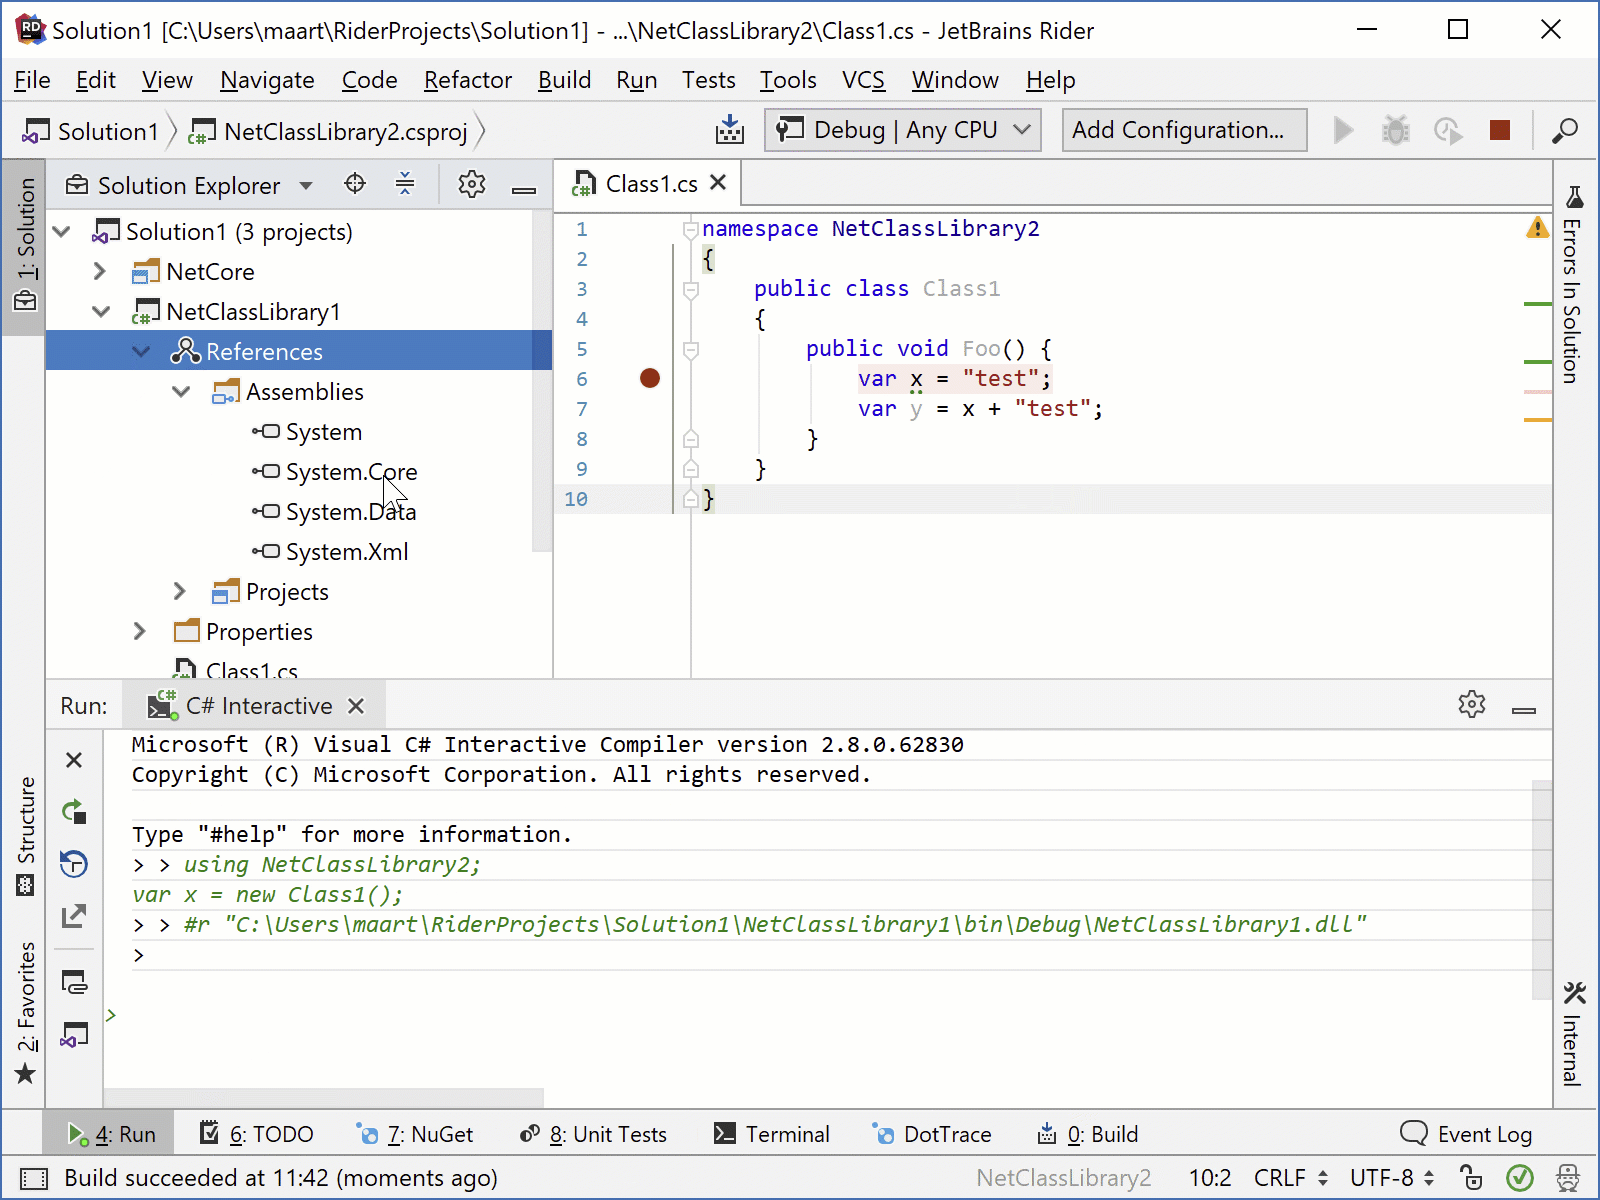
In the Solution Explorer, expand the References node under any project, select one or more references, right-click the selection and choose Reference in C# Interactive.
To add any assembly from disk, use the
#rdirective, for example:#r "C:\bin\myLib.dll"
If you are referencing projects from the current solution, they should be built because it is the compiled project assembly which gets referenced. To enable automatic build of projects when referencing them, use the corresponding option on the page of JetBrains Rider settings Ctrl+Alt+S.
When the assembly is referenced (you will see a line starting with #r and showing the assembly path), you need to type using [Namespace]; to use symbols from this namespace.
Attach C# Interactive to the debugger
You can attach C# Interactive to the current debug session to quickly get even deeper understanding on how our code behaves with different conditions and inputs.