Publish ASP.NET and ASP.NET Core Applications
Publish classic ASP.NET web applications
To deploy a classic ASP.NET project, right-click the project in the Solution Explorer and choose from the context menu. JetBrains Rider will generate a deployment package in the form of a .zip file, which you can then deploy using the MSDeploy command line.
Publish ASP.NET Core web applications
JetBrains Rider allows you to deploy your ASP.NET Core web application to a local or remote server using two run configurations:
Publish to IIS uses MSBuild and MSDeploy to package and publish our application. Note that this configuration only works on Windows.
Publish to custom server uses MSBuild and JetBrains Rider's built-in tooling to upload our application artifacts using FTP and FTPS/SFTP. This configuration works on Windows, macOS, and Linux.
Deploy an ASP.NET Core application
Create a new run configuration. Depending on the server where you want to publish your application, it can be of the Publish to IIS type or Publish to custom server type (see the differences above).
Give a name for the created run configuration and select your ASP.NET project in the configuration properties.
If you chose 'Publish to IIS', you will need a publish profile. You can use some of the existing profiles or create a new one.
If you chose 'Publish to custom server', you will need a sever configuration. You can see and manage the list of servers on the Build, Execution, Deployment | Deployment page of the IDE settings Ctrl+Alt+S or by clicking on the ... button.
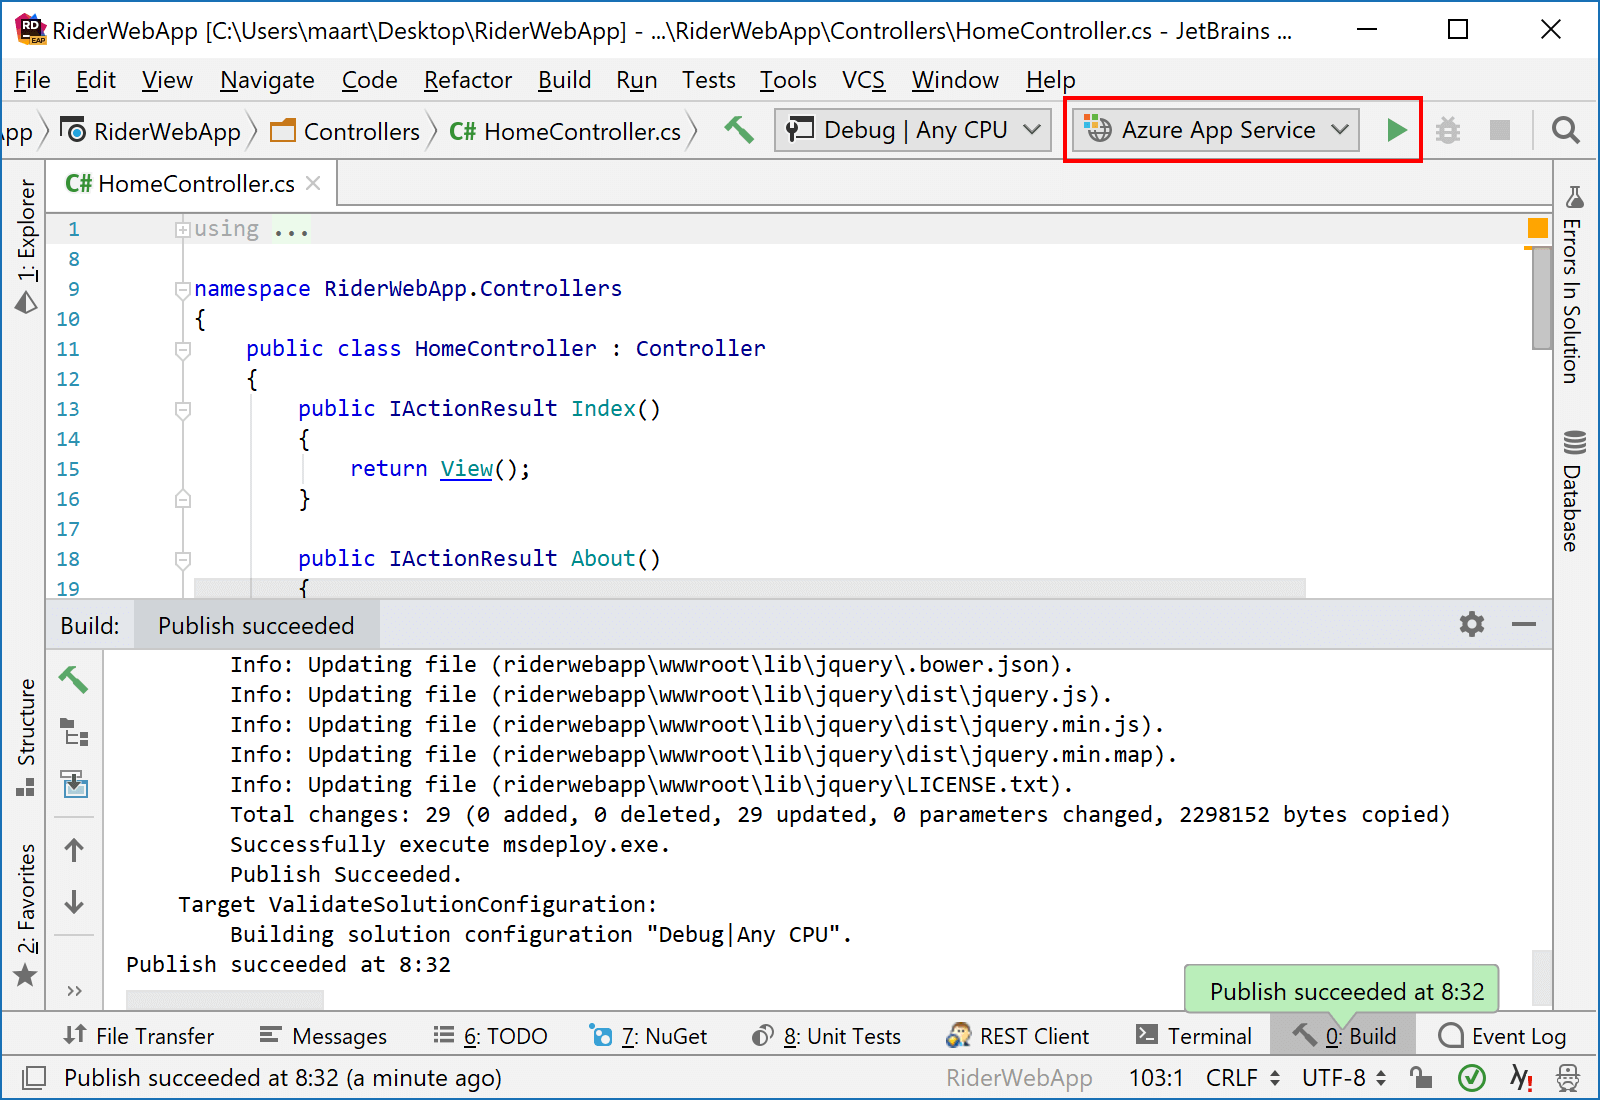
Note that some servers (like Azure Web Apps) require Passive mode to be used for uploading files. You can set this (and more) bu clicking Advanced options in the server configuration options.Once the configuration is created, you can perform deployment from the toolbar (or by pressing Shift+F10 when the deployment run configuration is selected).

Publish profiles
To deploy an ASP.NET Core application using IIS, you will need a publish profile. Publish profiles come as .pubxml files and contain the necessary parameters for MSDeploy.
You can have multiple publish profile with different settings in your project. JetBrains Rider comes with a few templates for generating .pubxml files.
Note that JetBrains Rider would create publish profiles using configurable file templates, which you can adjust on the Editor | File Templates | Other Languages page of the IDE settings Ctrl+Alt+S.
Create a new ASP.NET Core publish profile
- Do one of the following:
Select an ASP.NET Core project in the Solution Explorer, press Alt+Insert or right-click and choose Add, then select Publish XML.
If you are editing a run configuration of the Publish to IIS type, click + next to the Publish profile field.
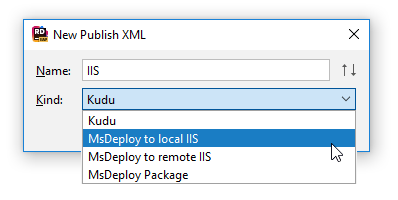
In the dialog that opens, specify a name for the profile and select its type:

JetBrains Rider will add the newly created profile as a .pubxml file under Properties\PublishProfiles for your project. It will also open the file for editing and highlight the required properties so that you could specify the proper values for them.
Note that publishing to an IIS server only works on Windows. It may also be required to start JetBrains Rider with elevated permissions. JetBrains Rider will suggest this when using a publish profile that targets a local IIS server.