Run/debug configurations
JetBrains Rider uses run/debug configurations to run, debug, deploy, and test your code. Each configuration is a named set of startup properties that define what to execute and what parameters and environment should be used.
There are two types of run/debug configurations:
Temporary — created every time you run/debug a .NET static method from the editor.
Permanent — created explicitly from a template or by saving a temporary configuration. Permanent configurations remain as part of your project until you remove them.
So whenever you run/debug or test your code, JetBrains Rider either uses an existing permanent run/debug configuration or creates a new temporary one.
Permanent configurations have opaque icons while the icons of temporary configurations are semi-transparent.
The maximum number of temporary configurations is 5. The older ones are automatically deleted when new ones are added. If necessary, you can increase this limit in .
Create permanent run/debug configurations
JetBrains Rider provides the following ways to create a permanent run/debug configuration:
Create from a template or copy an existing configuration.
Save a temporary configuration as permanent
Select a temporary configuration in the run/debug configuration switcher and then click Save Configuration.

Alternatively, select a temporary configuration in the Run/debug configurations dialog and click
 on the toolbar.
JetBrains Rider provides run/debug configuration templates for different languages, tools, and frameworks. The list of available templates varies depending on the installed and enabled plugins.
Create a run/debug configuration from a template
From the main menu, select . Alternatively, press Alt+Shift+F10, then 0.
In the Run/Debug Configuration dialog, click
 on the toolbar or press Alt+Insert. The list shows the run/debug configuration templates.
 Select the desired template. If you are not sure which template to choose, refer to Run/debug configurations dialog for more information on particular templates.
Specify the run/debug configuration name in the Name field. This name will be shown in the list of the available run/debug configurations.
Select Allow parallel run if you want to allow multiple instances of the configuration to run at the same time. If this option is disabled, attempting to re-run the configuration will terminate the active session.
Set the run/debug configuration parameters. The list of mandatory and optional parameters may vary depending on the selected run/debug configuration type.
For the detailed description of the selected template, see the respective section of run/debug configurations reference.
In the Before launch section, define whether you want to perform any specific actions before launching the application, for example, launch an external tool or another build configuration before run. To skip the build stage, remove Build from the Before launch list .
For information on particular Before launch activities, refer to Before launch
Apply the changes and close the dialog.
Share run/debug configurations
If you are working in a team, you might want to share your run/debug configurations so that your teammates could run the application using the same configuration or enable them to remotely attach to the process you are running.
For these purposes, JetBrains Rider provides a mechanism to store your run/debug configurations as project files and share them through VCS. The same mechanism can also be used when you want to send your configuration as a file to someone else. This saves a lot of time as run/debug configurations sometimes get sophisticated, and keeping them in sync manually would be tedious and error-prone.
From the main menu, select . Alternatively, press Alt+Shift+F10, then 0.
Select the run/debug configuration you want to share, enable the Store as project file option, and specify the location where the configuration file will be stored.
By default, shared configurations are saved in the .run folder in the solution directory.
Run/debug configuration templates
All run/debug configurations are based on templates, which implement the startup logic, define the list of parameters and their default values. The list of available templates is predefined in the installation and can only be extended via plugins. However, you can edit default parameter values in each template to streamline the setup of new run/debug configurations.
Configure the default values for a template
From the main menu, select . Alternatively, press Alt+Shift+F10, then 0.
In the left-hand pane of the run/debug configuration dialog, click Edit configuration templates….
In the Run/Debug Configuration Templates dialog that opens, select a configuration type.
Specify the desired default parameters and click OK to save the template.
Environment variables and program arguments
You can influence the runtime behavior of your app by adding program arguments and environment variables to run/debug configurations.
Add program arguments
From the main menu, select or choose Edit Configurations from the run/debug configurations selector on the toolbar.
In the Run/Debug Configurations dialog that opens, select a configuration where you want to pass the arguments.
Type the arguments in the Program arguments field. The arguments should be separated with spaces.

Click
 to expand the text field, so you can view and edit the whole list of arguments.
Add environment variables
From the main menu, select or choose Edit Configurations from the run/debug configurations selector on the toolbar.
In the Run/Debug Configurations dialog, select a configuration where you want to add the environment variables.
Type the variable name and value:
<name>=<value>. If you add several variables, they should be separated with semicolons.Alternatively, click
 and add the variable name and value to the User environment variables list.
In the dialog that opens, you can also see the list of available system environment variables. Clear the Include system environment variables checkbox if you don't want to use the system environment variables for the selected run/debug configuration.
Compound run/debug configurations
Suppose you would like to launch multiple run/debug configurations simultaneously. For example, you may want to run several configurations of different types or a group of test configurations. You can configure this behavior with a compound run/debug configuration.
Create a compound run/debug configuration
From the main menu, select . Alternatively, press Alt+Shift+F10, then 0.
In the Run/Debug Configurations dialog, click
or press Alt+Insert, then select Compound. Specify the run/debug configuration name in the Name field. This name will be shown in the list of the available run/debug configurations.
Select Store as project file to make this run/debug configuration available to other team members.
To include a new run/debug configuration into the compound configuration , click Add
and select the desired one from the list. Apply the changes.
Another case where the Compound run configuration could be very useful is running/debugging a front end web application and a backend REST service at the same time. With the debugger attached, this will let you set a breakpoint in any of the projects and debug the entire flow of the application: 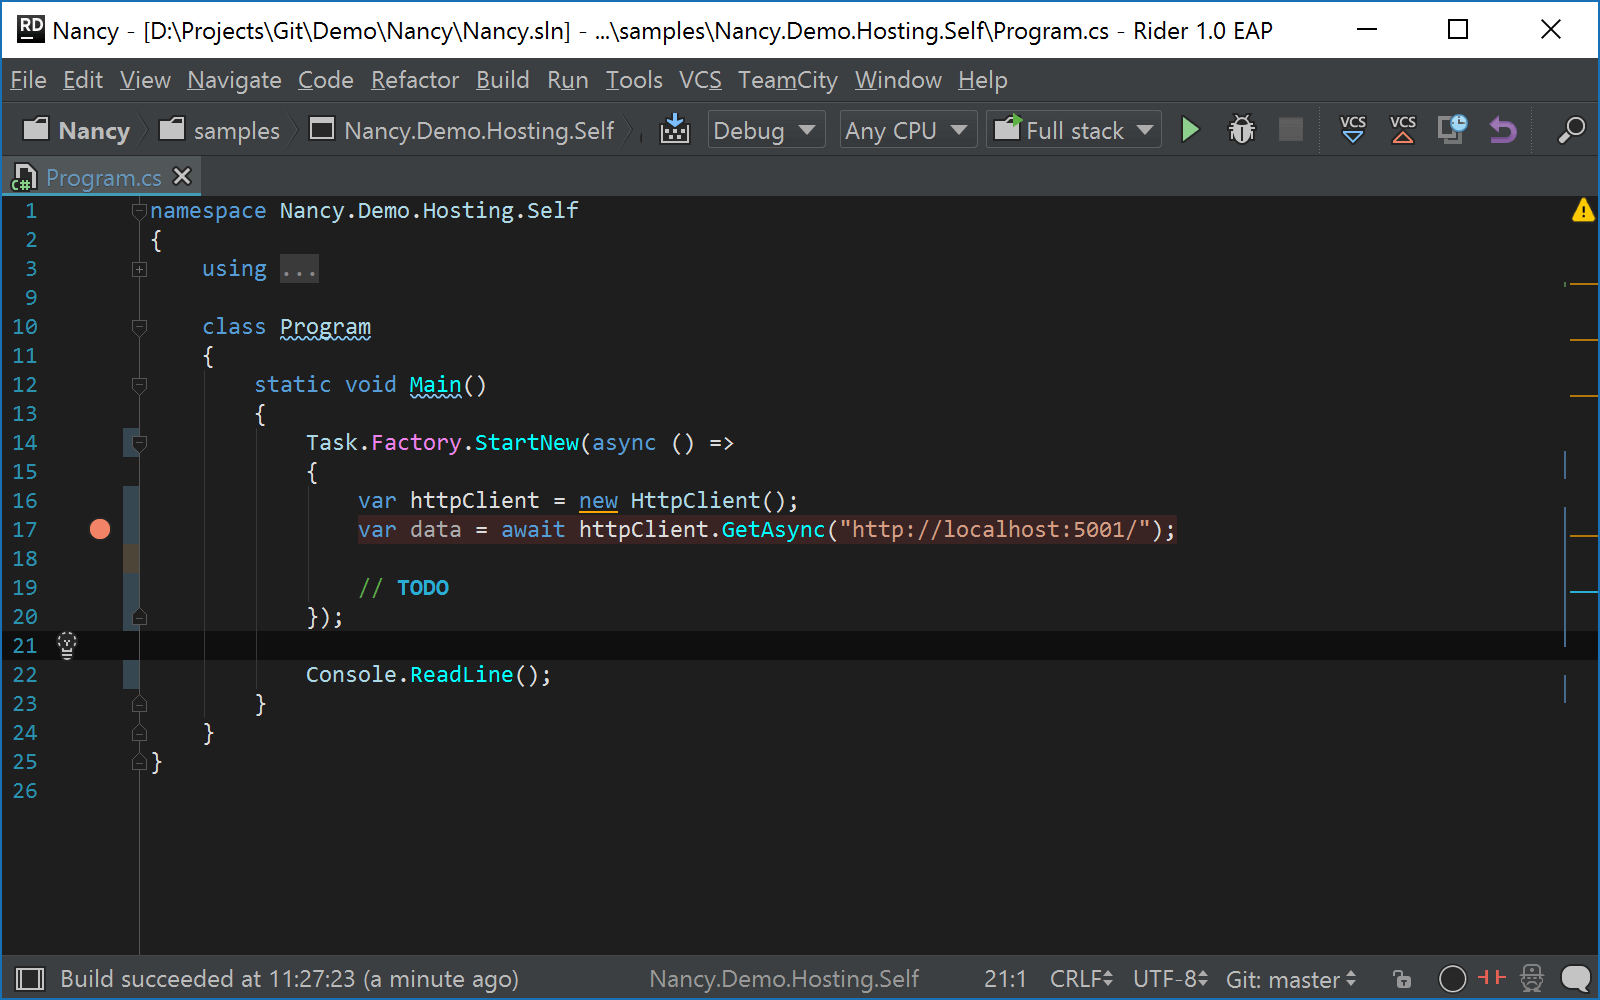
Run/debug configuration folders
When there are many run/debug configurations of the same type, you can group them in folders so they become easier to distinguish visually.
Once grouped, the run/debug configurations appear in the list under the corresponding folders.
Create a folder for run/debug configurations
From the main menu, select . Alternatively, press Alt+Shift+F10, then 0.
In the Run/Debug Configurations dialog, select a configuration type and click
 on the toolbar. A new empty folder for the selected type is created.
Specify the folder name in the text field to the right or accept the default name.
Select the desired run/debug configurations and move them under the target folder.
Apply the changes. If a folder is empty, it will not be saved.
When you no longer need a folder, you can delete it Delete. The run/debug configurations grouped under this folder will be moved under the root of the corresponding run/debug configuration type.
Run/Debug configurations in the Services tool window
You can manage multiple run/debug configurations in the Services tool window. For example, you can start, pause, and stop several applications, track their status, and examine application-specific details.
Add Run/Debug configurations to the Services window
Select from the main menu or press Alt+8.
In the Services tool window, click Add service, then select Run Configuration Type.

Select a run/debug configuration type from the list to add all configurations of this type to the window.
Note that the tool window will only display the configuration types for which you have created one or more configurations.
Execute tasks before launching a run/debug configuration
Most types of run/debug configurations have the Before Launch section where you can specify tasks that must be performed before executing the configuration. For example, you may want to automatically build your solution before starting the application.
To add a task, expand the Before Launch section, click Add ![]() , select the desired task type and specify its parameters if required.
, select the desired task type and specify its parameters if required.
You can execute the following tasks before launching a run/debug configuration:
Launch Web Browser | Opens the specified URL in the selected browser. |
Run External tool | Starts another application configured in External Tools. In the dialog that opens, select one or multiple applications you want to run. |
Run Another Configuration | Starts another run/debug configuration. In contrast to the Compound configuration, this way of running multiple configurations lets you define the order in which the configurations are started. |
Build Project | Builds any project from the current solution. If the configuration targets a specific project, you can choose Selected project to build the project selected in the configuration settings. If an error occurs during compilation, JetBrains Rider won't attempt to start the run/debug configuration. |
Clean Project | Removes all build artifacts — intermediate and output files of a specified project. |
Build Solution | Builds entire solution. |
Clean Solution | Removes all build artifacts — intermediate and output files from the solution. |
Publish Solution | |
Run File Watchers | Applies all currently active file watchers. |
Run Remote External tool | Executes a remote SSH external tool. |
Run Grunt task | Runs a Grunt task. |
Run Gulp task | Runs a Gulp task. |
Run npm script | Executes an npm script. |
Compile TypeScript | Runs the built-in TypeScript compiler and thus makes sure that all the changes you made to your TypeScript code are reflected in the generated JavaScript files. In the TypeScript Compile Settings dialog that opens, select or clear the Check errors checkbox to configure the behaviour of the compiler in case any errors are detected:
|
Generate CoffeeScript Source Maps | Generates the source maps for your CoffeeScript sources. In the dialog that opens, specify where your CoffeeScript source files are located. |
Show this page | Select this checkbox to show the run/debug configuration settings prior to actually starting the run/debug configuration. |
Activate tool window | By default this checkbox is selected and the Run or the Debug tool window opens when you start the run/debug configuration. Otherwise, if the checkbox is cleared, the tool window is hidden. However, when the configuration is running, you can open the corresponding tool window yourself by pressing Alt+4 or Alt+5. |