Node.js Runtimes Dialog
The following Node.js versions are supported in JetBrains Rider 2023.3 and later:
Node.js 22 - the Active Long Term Supported (LTS) version
Node.js 24 - the current version
Learn more from Supported Node.js versions.
Use this dialog to configure a local or remote Node.js runtime or a Node.js on Windows Subsystem for Linux.
The term local Node.js runtime denotes a Node.js installation on your computer. The term remote Node.js runtime denotes a Node.js installation on a remote host or in a virtual environment.
Before you start
Download and install Node.js.
Install and enable and enable the Node.js plugin on the Settings/Preferences | Plugins page, tab Marketplace, as described in Installing plugins from JetBrains Marketplace.
If you are going to configure a runtime, install the Node.js Remote Interpreter plugin on the Settings | Plugins page, tab Marketplace, as described in Installing plugins from JetBrains Marketplace.
Open the Node.js Runtimes dialog
The way you get to the Node.js Runtimes dialog depends on the type of runtime you want to use.
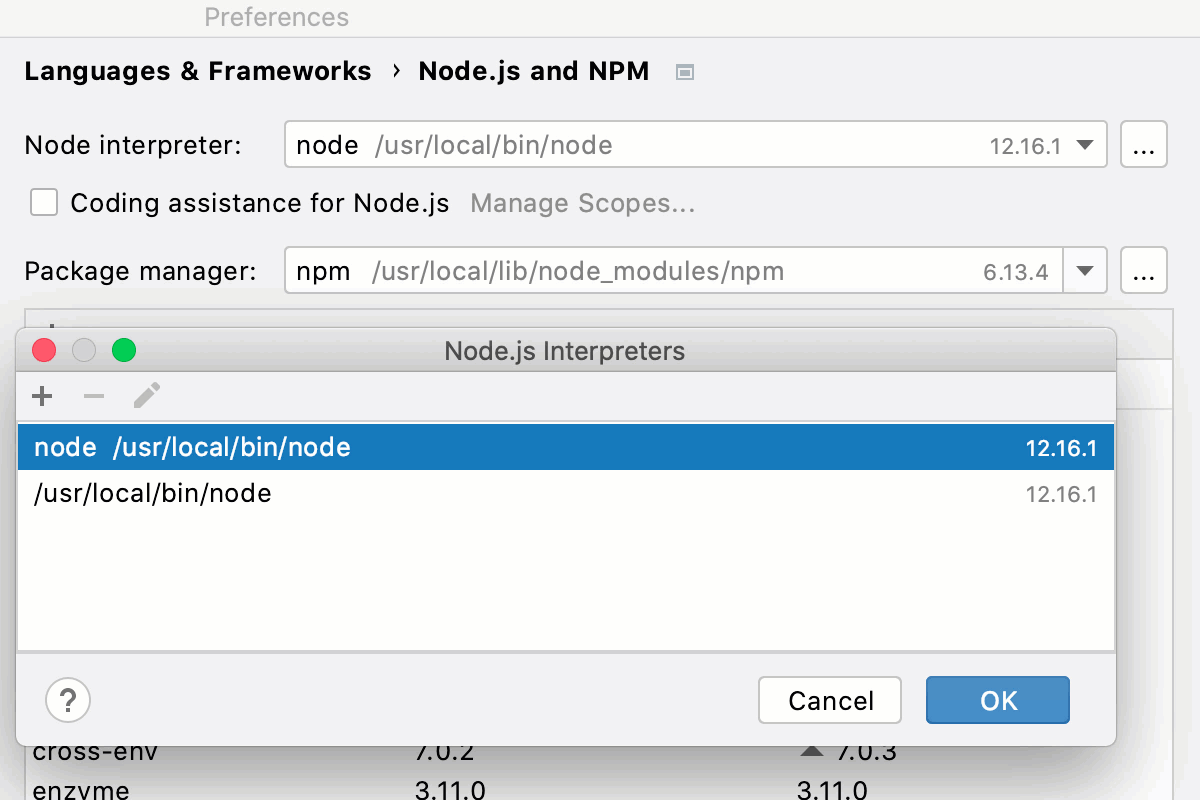
You need a local or a WSL Node.js runtime
Open the Settings/Preferences dialog (Ctrl+Alt+S) , go to .
Make sure that Node.js is selected in the Preferred runtime field.
Click
 next to the Node runtime field.
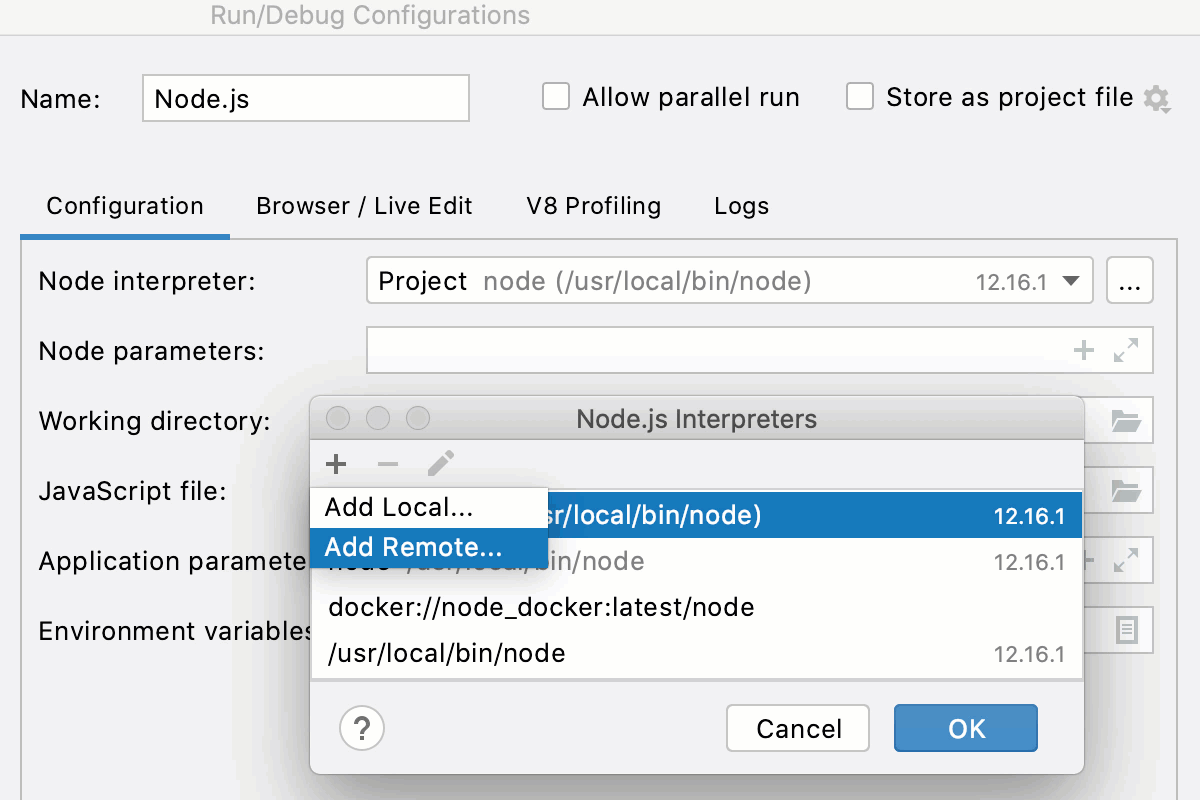
You need a remote Node.js runtime
Go to , then select the required Node.js run/debug configuration. For more information, refer to Working with run/debug configurations.
In the Run/Debug Configuration: Node.js dialog, click
next to the Node runtime field.
Configure Node.js runtimes
The Node.js Runtimes dialog lists all the configured local, WSL, and remote Node.js runtimes that are available in the current context.
You can open the dialog from the Node.js page or from a Node .js run configuration.
Use ![]() ,
, ![]() , and
, and ![]() to add and remove existing Node.js configurations as well as create new ones based on their settings.
to add and remove existing Node.js configurations as well as create new ones based on their settings.
| Add | Click this button to add a new Node.js runtime to the list and select Add Local, Add Remote, or Add WSL from the list. Depending on your choice, select the relevant local Node.js installation, or configure a remote runtime in the Configure Node.js Remote Runtime dialog, or specify the Linux distribution you’re using and the path to Node.js in the Add WSL Node Runtime dialog. |
| Delete | Click this button to remove the selected runtime from the list. |
| Edit | Click this button to create a new runtime with the settings copied from the selected one. |