Manage projects hosted on GitHub
Check out a project (clone)
You can clone a repository that you want to contribute to directly from RubyMine and create a new project based on it.
In the main menu, go to . If the Git menu is not available, choose .
In the Get from Version Control dialog, choose GitHub on the left.
Log in to GitHub by doing one of the following:
If you have a token, click Use token, then paste the token in the Token field, and click Log In.
Otherwise, click Log In via GitHub.
Enter your GitHub credentials in the browser window that opens. If you have two-factor authentication enabled, you will be asked to enter a code that will be sent to you by SMS or through the mobile application.
Select a repository from the list of all GitHub projects associated with your account and the organization that your account belongs to.
In the Directory field, enter the path to the folder where your local Git repository will be created.
If you want to perform shallow clone with a limited history, select the Shallow clone with a history truncated to checkbox and specify the number of commits that you want to clone.
You can fetch the rest of the history later by selecting Git | Unshallow Repository in the main menu.
Click Clone.
If you want to create a project based on these sources, click Yes in the confirmation dialog. RubyMine will automatically set Git root mapping to the project root directory.
Share a project on GitHub
You can add a remote GitHub repository for a project you are developing locally, so that others can view it or contribute to it.
Open the project you want to share.
If your project is already tracked by Git, go to in the main menu.
If you have not enabled Version Control Integration yet, go to in the main menu.
If you have already registered your GitHub account in RubyMine, a connection will be established using these credentials.
If you have not registered your account in RubyMine, the Login to GitHub dialog opens. Specify your access token or request a new one with your login and password.
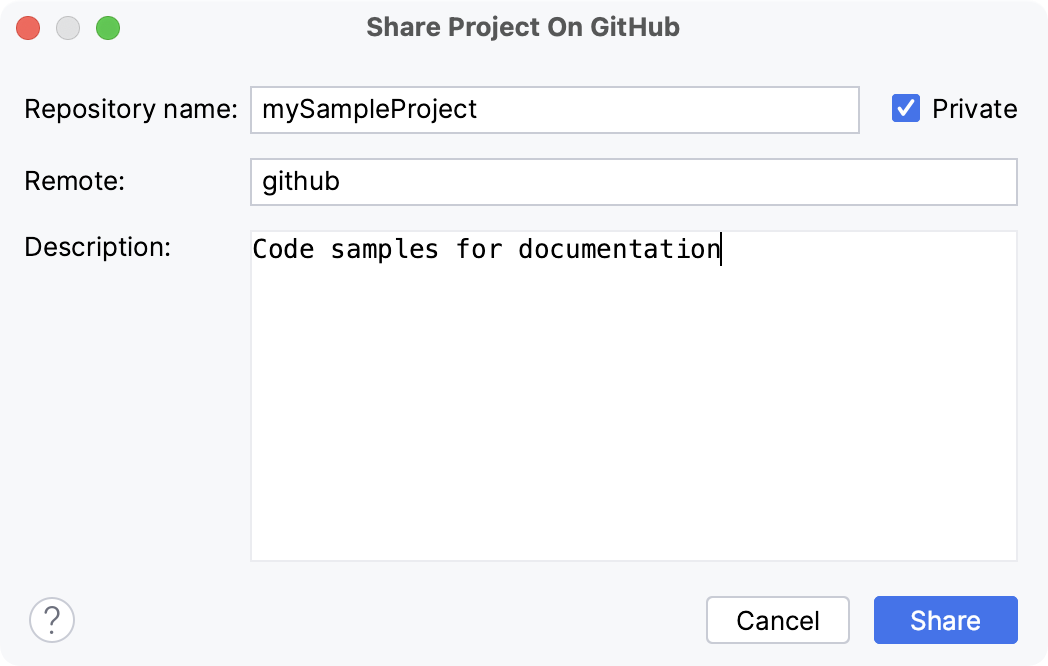
When a connection to GitHub has been established, the Share Project on GitHub dialog opens. Specify the new repository name, the name of the remote, and enter a description of your project.
You can select the Private option if you do not want to allow public access to your repository for other GitHub users.

The name that you specify in the Remote field will be further visible in the dialog. For more information, refer to Add a remote repository.
Click Share to initiate a new repository and upload project sources to it.
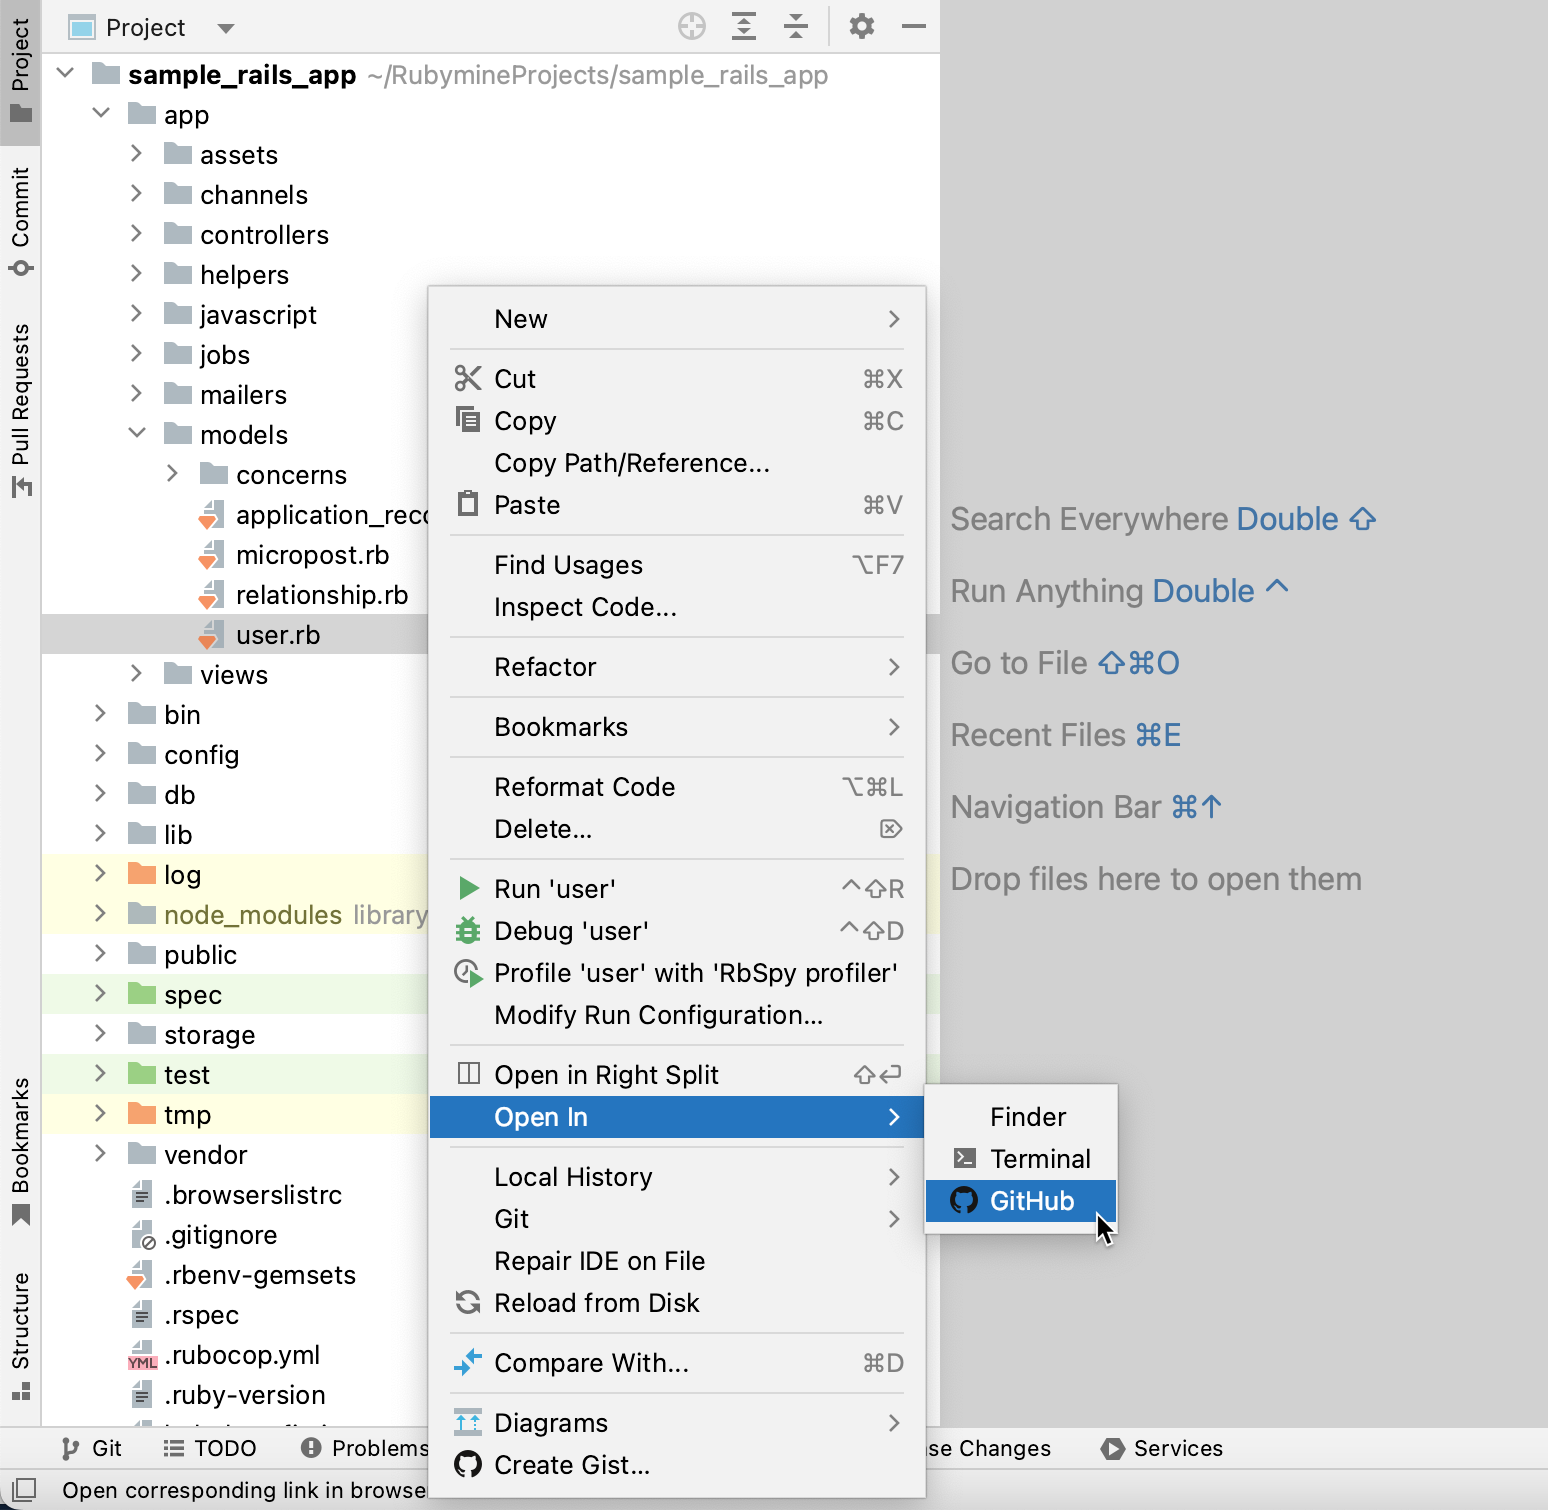
Jump to the GitHub version of a file
You can jump from RubyMine to the GitHub version of a file. RubyMine detects which branch is currently active as well as the latest revision of the file, and opens the GitHub copy of the selected file in the corresponding commit in your web browser.
Do one of the following:
Select from the main menu.
Select a file in the editor or in the Project view, and choose from the context menu.

Select the file in the Project view, press Ctrl+Shift+A, and type
Open on Github.
If you are signed in to GitHub, the remote version of the file will open in the browser.
Otherwise:
Enter your GitHub credentials in the browser window that opens. If you have two-factor authentication enabled, you will be asked to enter a code that will be sent to you by SMS or through the mobile application.
If you are opening the GitHub file version from the editor, the file will be also automatically scrolled to the current line.
If the file points to more than one remote, you will be prompted to select the appropriate repository.