Vagrant
Vagrant is a tool for building and managing virtual machine environments defined by Vagrantfile configuration files. RubyMine provides integration with Vagrant and allows you to perform all the required actions in your project - from initializing a Vagrant environment to executing Vagrant commands. Moreover, RubyMine allows you to use the running virtual machine as a remote interpreter. This means that you can run, debug, and test your application in an isolated environment right from the IDE.
In this topic, we'll cover the main Vagrant capabilities available in RubyMine: configuring Vagrant, adding and removing boxes, running Vagrant commands. We'll also show how to run the sample Rails application inside a virtual machine by configuring a remote interpreter.
Prerequisites
To start working with Vagrant, do the following.
Install Vagrant and VirtualBox.
Make sure that the Vagrant plugin is enabled.
If necessary, configure Vagrant settings.
Vagrant init
To initialize a Vagrant environment for the opened project, follow the steps below.
Go to .
In the invoked dialog, specify the box name and URL, for example:
Box name:
ubuntu/bionic64Box URL: https://app.vagrantup.com/ubuntu/boxes/bionic64
If you already have several Vagrant boxes, select the desired one in the invoked Select Vagrant Box popup.
Wait until RubyMine downloads the specified box and initializes a Vagrantfile.
Change the Vagrantfile in the following way:
Vagrant.configure("2") do |config| config.vm.box = "ubuntu/bionic64" config.vm.synced_folder ".", "/home/vagrant/sample_rails_app" config.vm.network "forwarded_port", guest: 3000, host: 3000 endThe following settings are specified in this configuration:
box: Specifies the box used to run the virtual machine.synced_folder: Configures a virtual machine folder to share your local project directory.network: Specifies options used to connect the virtual machine to the network. Here we've configured the port on the virtual machine to share via a port on the host machine.
Vagrant up
After initializing a Vagrant environment, you can create and run a virtual machine based on the Vagrantfile settings.
Go to .
In the browser, select the Vagrant file you configured.
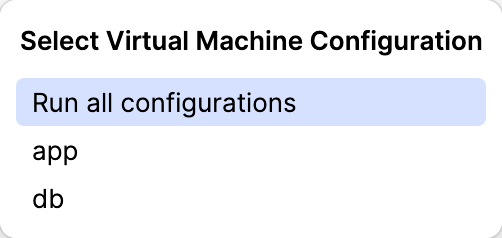
If several machines are defined in your Vagrantfile, select the desired machine.

Wait until RubyMine creates and runs the machine.

You can now connect to this machine using SSH to install additional libraries, run the application, and so on. Moreover, you can configure this machine as a remote interpreter to run, debug, and test your application in an isolated environment right from the IDE.
SSH into a running machine
To connect to the running virtual machine, follow the steps below.
Go to .
In the invoked popup, choose the desired Vagrant host.
(Optional) If several machines are running, select the desired one.
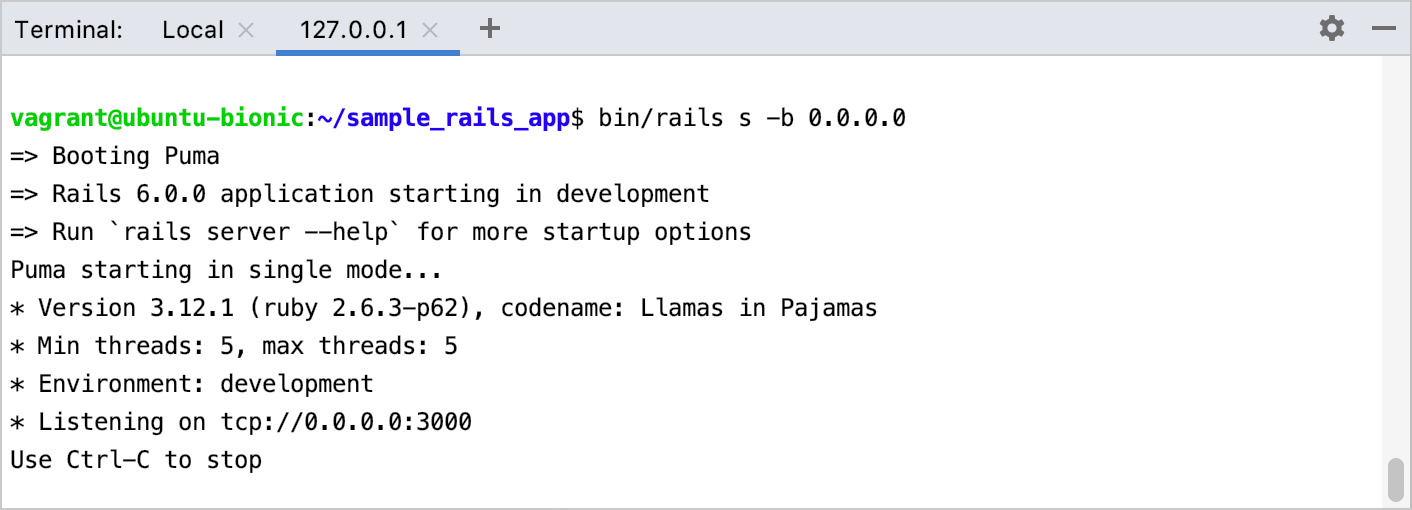
In the 127.0.0.1 tab of the opened Terminal window, you can execute a shell command, for example, you can install additional libraries, run the application, and so on.

Vagrant settings
You can configure the following Vagrant settings on the page of the Settings dialog Ctrl+Alt+S:
- Vagrant executable
Specify the Vagrant executable file if RubyMine didn't detect it automatically or you want to use a different one.
Example:
vagrant- Instance Folder
Specify the fully qualified path to the directory where the Vagrantfile is initialized and stored. By default, RubyMine uses the root of your current project to execute Vagrant commands. This directory is used when executing Vagrant commands, such as vagrant up, vagrant reload, vagrant halt, and so on.
Example: /Users/jetbrains/RubymineProjects/sample_rails_app
- Provider
Select the provider used as a backend to run a virtual machine. You can install the required provider as the Vagrant plugin on the Plugins tab.
Examples:
aws,libvirt- Environment variables
Environment variables enable you to pass the required values for configuring a provider. To specify environment variables, click the Browse button (Shift+Enter). For example, the vagrant-aws provider allows you to pass your AWS credentials using the AWS_ACCESS_KEY_ID and AWS_SECRET_ACCESS_KEY environment variables. You can read variable values in Vagrantfile when instantiating AWS instances.
config.vm.provider 'aws' do |aws| aws.access_key_id = ENV['AWS_ACCESS_KEY_ID'] aws.secret_access_key = ENV['AWS_SECRET_ACCESS_KEY'] # ... end- Boxes
This list shows the available Vagrant boxes. To add a new box, click the
button Alt+Insert and specify the box name and URL. For example:
Box name:
ubuntu/bionic64Box URL:
https://app.vagrantup.com/ubuntu/boxes/bionic64
To remove a selected box, click the
button Alt+Delete.
- Plugins
Use this table to add, remove, and update Vagrant plugins. For example, to install the vagrant-aws plugin, click the
button Alt+Insert, enter
vagrant-awsin the invoked dialog and click OK.