Creating Project Remotely
Introduction
If you don't have a Ruby interpreter on your local development machine, you can create a project remotely. Using RubyMine, create a new project, setting it up for running and debugging on a remote machine.
Configuring remote interpreter
It is important to configure the default interpreter that will be used for any newly created project.
To configure a remote interpreter, follow these general steps:
- On the main menu, choose , or on the Welcome screen, click the drop-down and choose .
- Open Settings/Preferences.
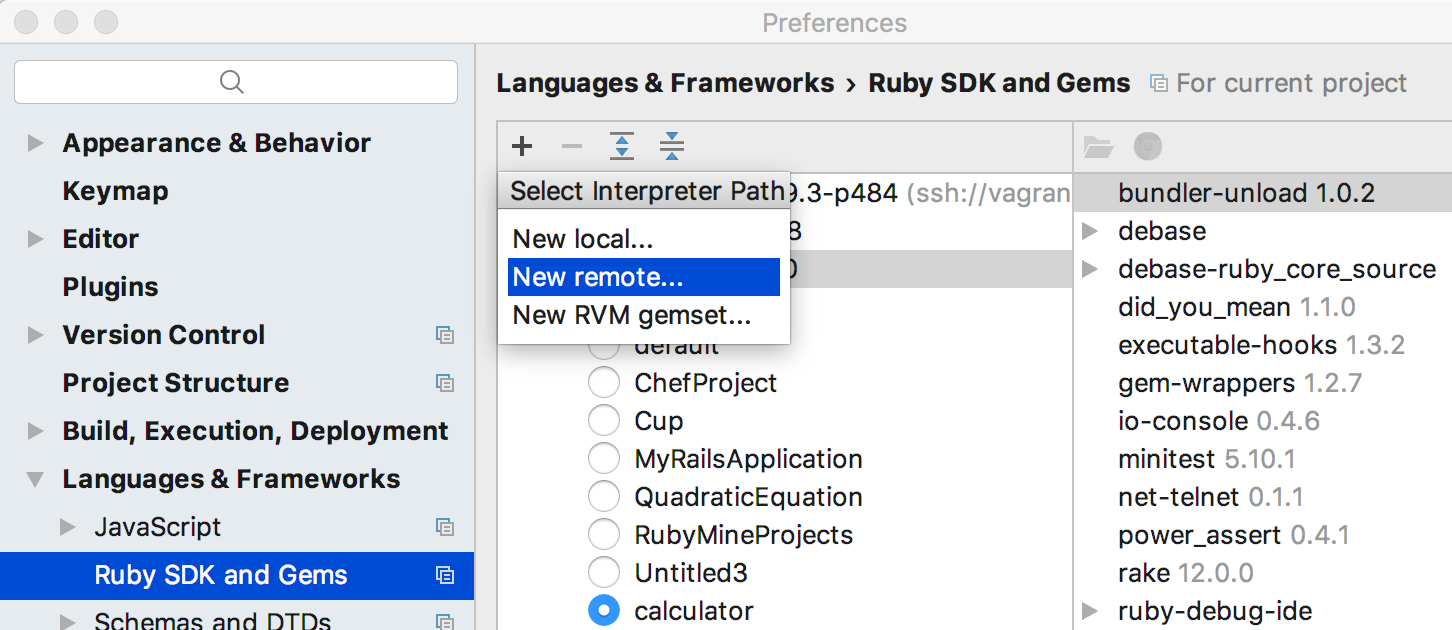
- In the Settings/Preferences dialog, click the Ruby SDK and Gems node.
- In the toolbar, click
 , and choose New remote...:
- In the Configure Remote Ruby Interpreter dialog box, select the desired option (Deployment configuration, SSH Credentials etc.).
Creating a project with the remote interpreter
Note that RubyMine allows creating both pure Ruby and Rails projects.
To create a remote project, follow these general steps:
- Do one of the following:
- On the Welcome screen, click the link Create New Project.
- On the main menu, choose .
- In the dialog box that opens, choose Ruby or Rails project type.

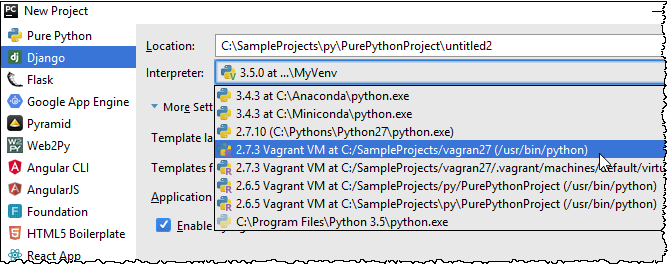
- In the Interpreter field, select the desired remote interpreter from the drop-down list.
Note that your remote interpreter is unable to sync a project outside of the mapped folders. If your project is located outside of the mapped folder, a red message is shown, until you specify the project location within the mapped folder.
- Specify the values under More Settings.
- Click Create.
Last modified: 4 April 2018