Using Docker as a Remote Interpreter
RubyMine provides various capabilities for working with Docker run on your machine. You can learn more in the Docker topic.
This tutorial describes how you can use Docker as a remote interpreter for the sample Rails application. This application consists of a database backend and a web frontend. We'll first set up and run the whole application in a single Docker container. Then we'll configure the application to run it using two separate services and try debugging capabilities. As a result, you'll get an idea of how you can use Docker with RubyMine.
Install Docker and open a sample application
In this tutorial, we’ll use Mac with macOS, with RubyMine installed. Moreover, the following prerequisites should be met to complete all steps:
Verify that Docker is installed and running.
Make sure that the Ruby Docker and Docker Integration plugins are enabled.
-
Open the following Rails application in RubyMine:
https://rubyminedoc@bitbucket.org/rubyminedoc/sample_rails_app_docker.git
Build a Docker image
First of all, we need to build a Docker image for our application. To do this, open the Dockerfile. Press Ctrl+Shift+N, type Dockerfile and press Enter. Here you can see instructions for dockerizing our application based on the ruby image.
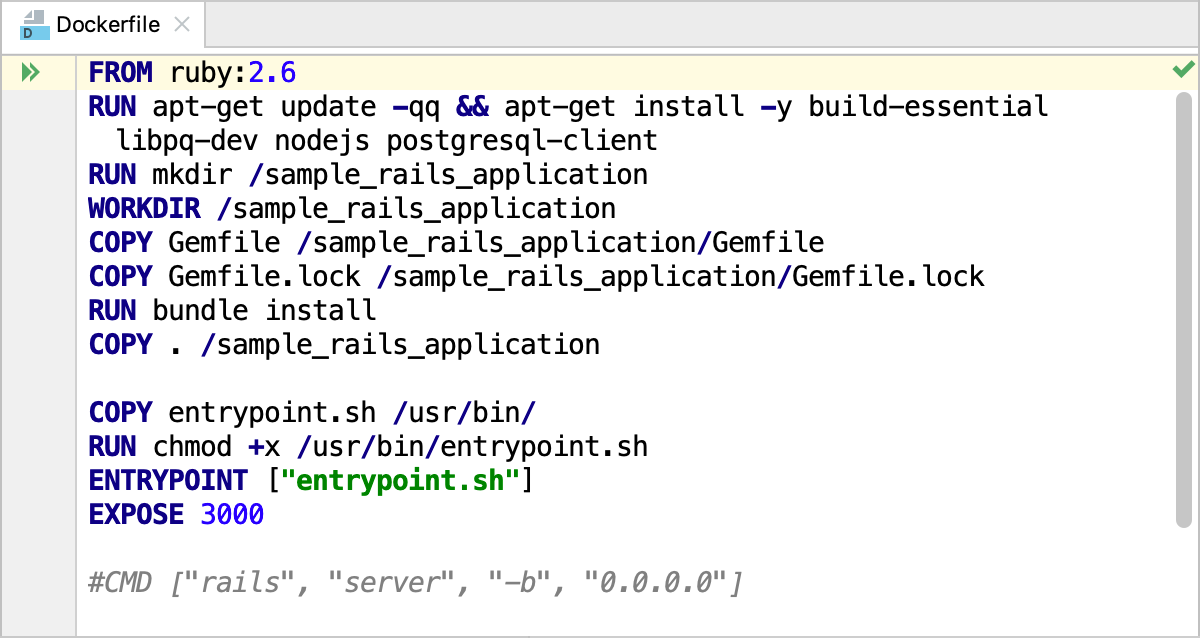
Perform the following steps:
-
Click
 in the gutter and select New Run Configuration from the menu.
 -
In the Edit Run Configuration dialog, specify the following settings:
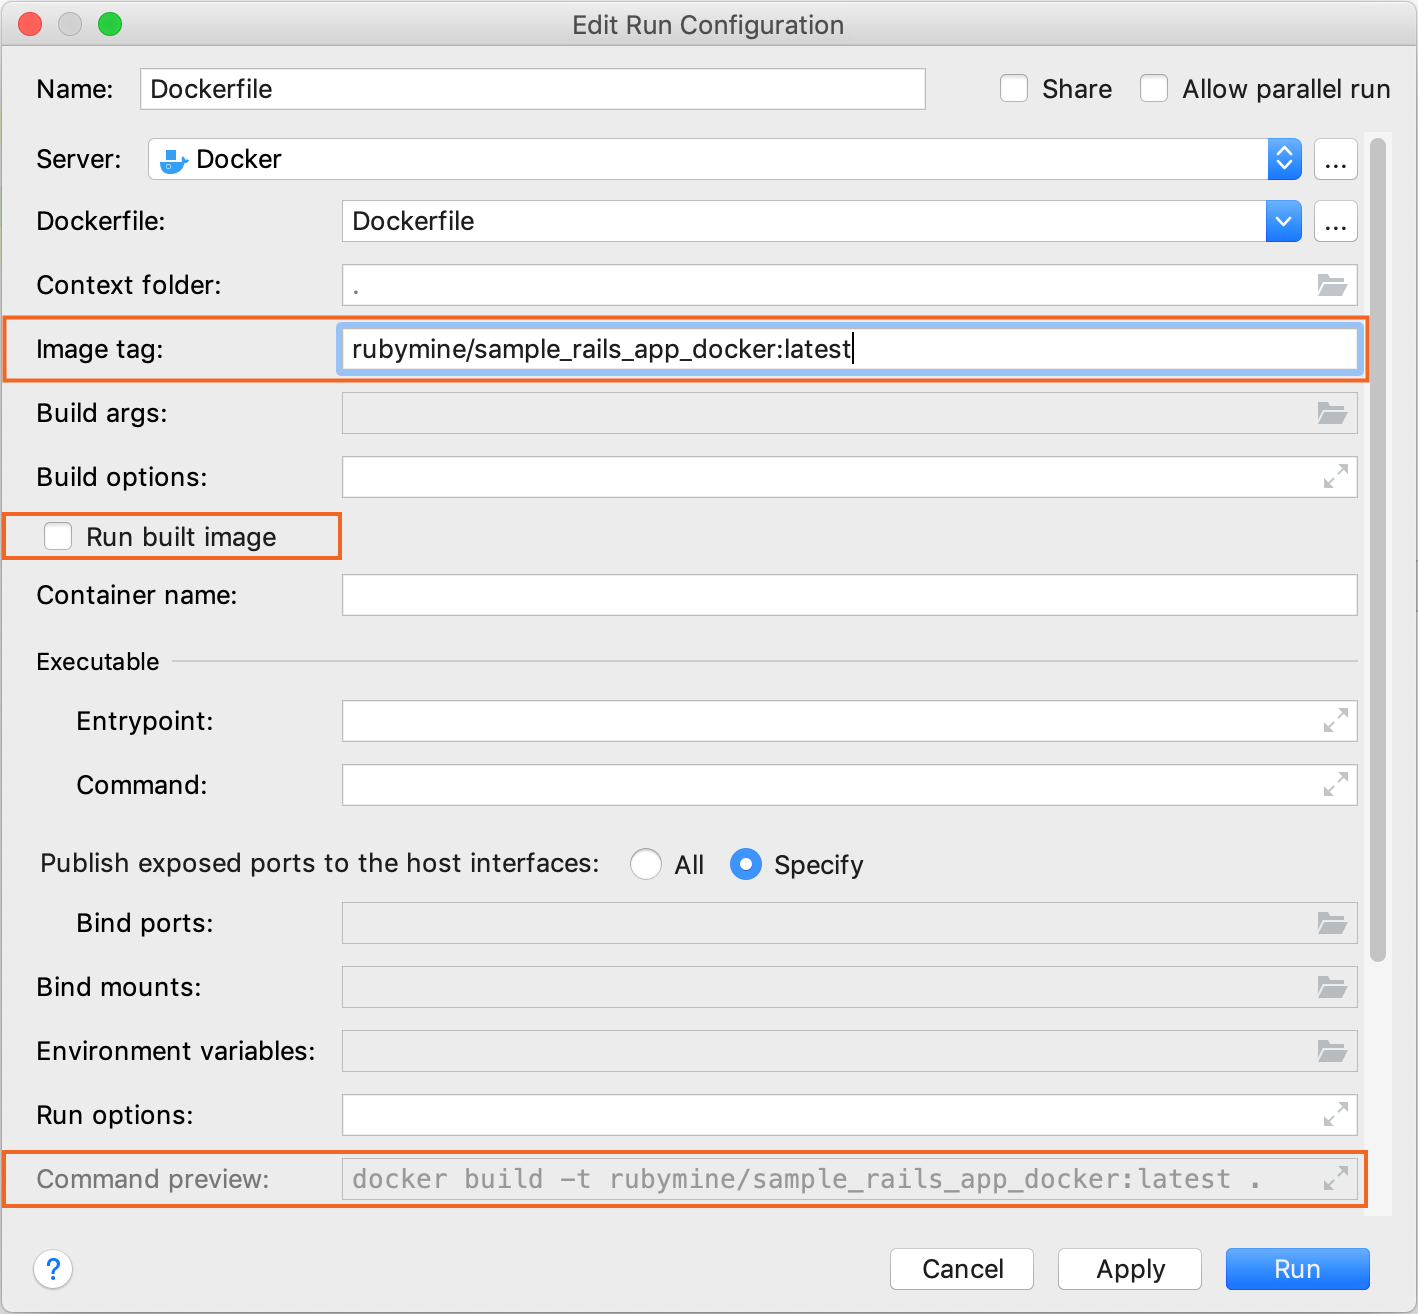
Specify the image name and tag in the Image tag field.
Disable the Run built image option because we'll run it later after assigning it as a remote interpreter.
Preview the resulting Docker command in Command preview.
Click Run to start building the image.
-
RubyMine displays the process of building the image in the Docker tool window.
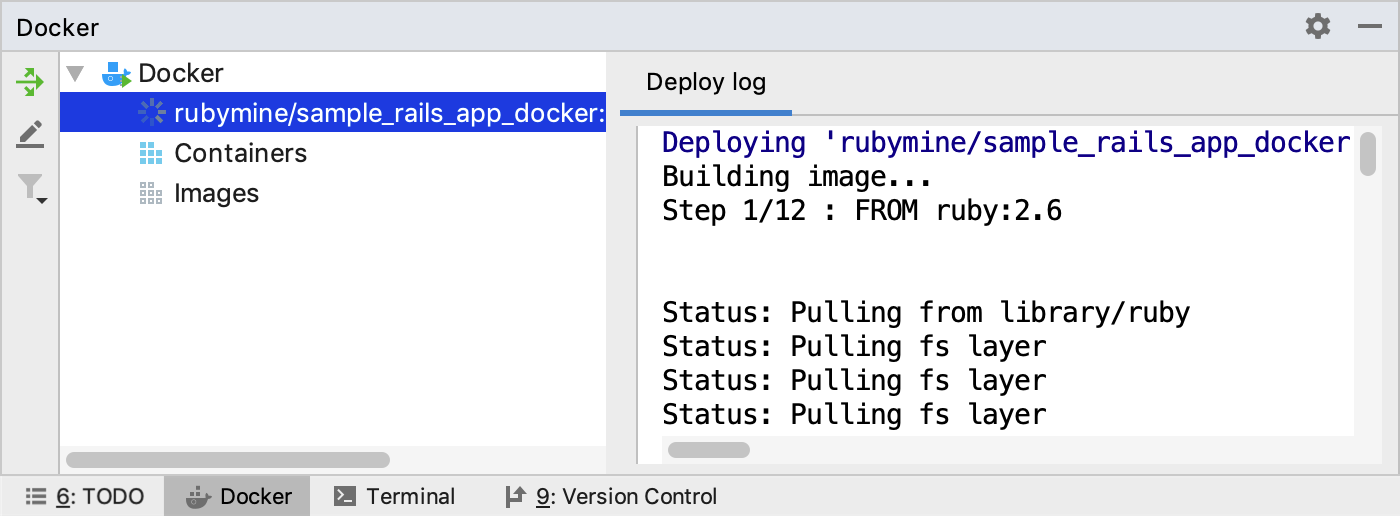
Wait until the image is built and displayed in the Images group.
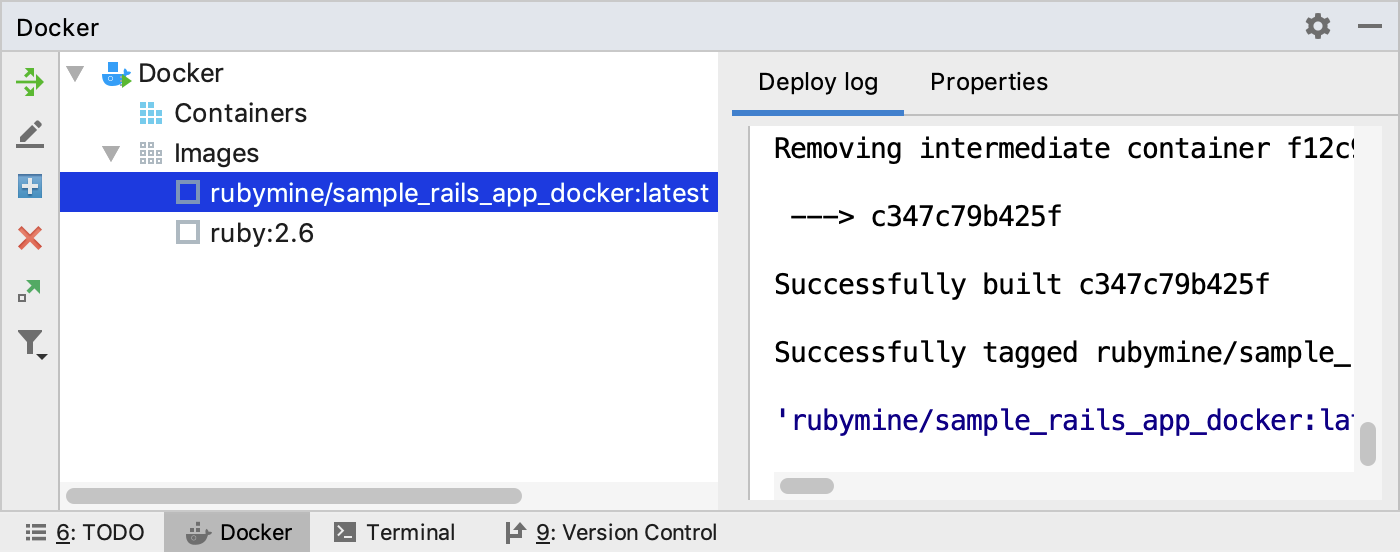
Configure Docker as a remote interpreter
Now we can use the built image to configure a remote interpreter for our application because the image has the Ruby interpreter and required gems installed. To configure Docker as a remote interpreted, do the following:
-
Open the Settings/Preferences dialog (Ctrl+Alt+S), go to the Language & Frameworks | Ruby SDK and Gems page.
-
Click
 and select New remote... in the drop-down.
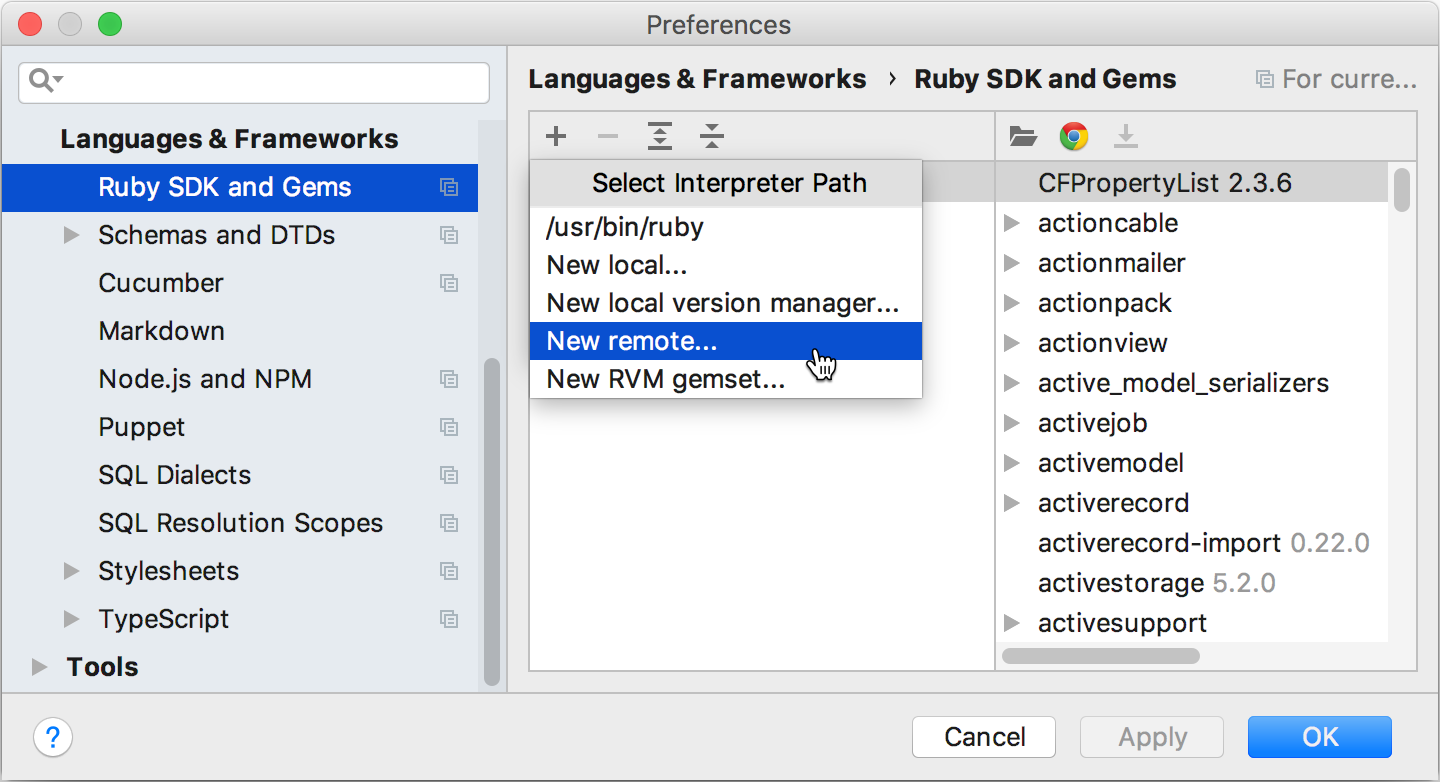
-
In the invoked dialog, select Docker and specify the following options:
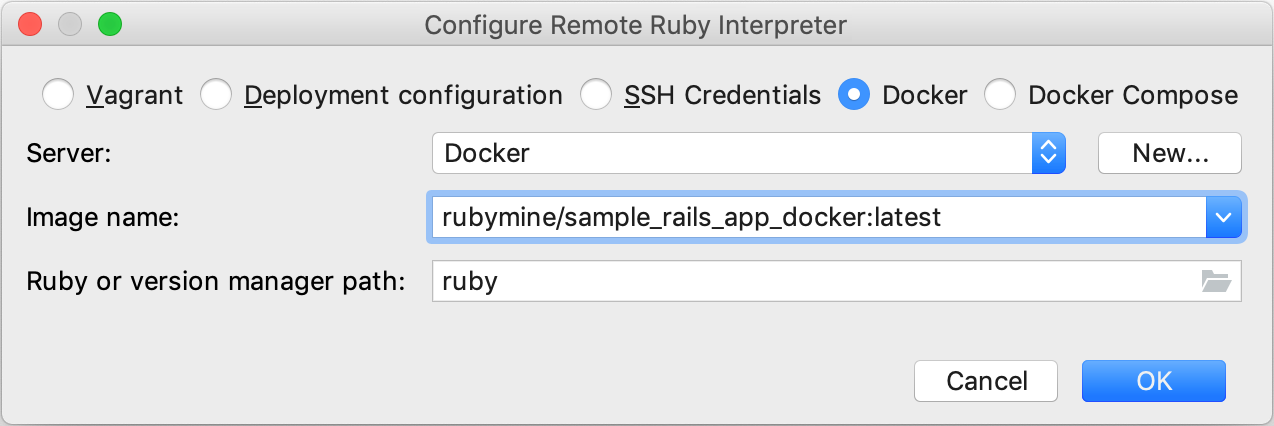
Server - This option specifies a Docker server used to run a container.
Image name - Select the image created in the previous chapter.
Ruby or version manager path - Leave the default ruby value to detect a path to the Ruby interpreter automatically. You can also manually specify the path to the interpreter or the version manager executable.
Click OK.
-
Select the added SDK in the Ruby SDK and Gems page and click OK.
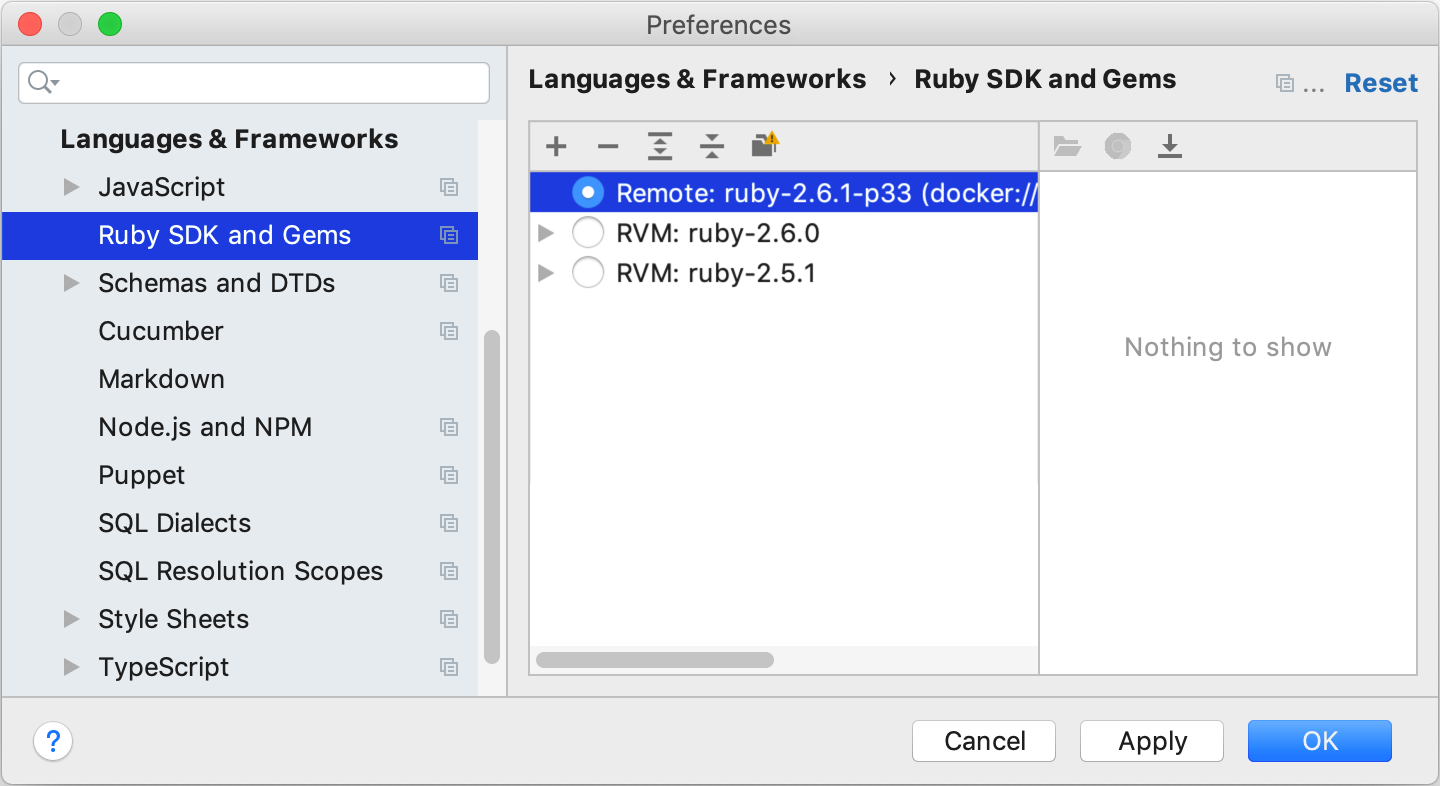
-
Wait until RubyMine finishes the indexing process and creates helper Docker images and containers.
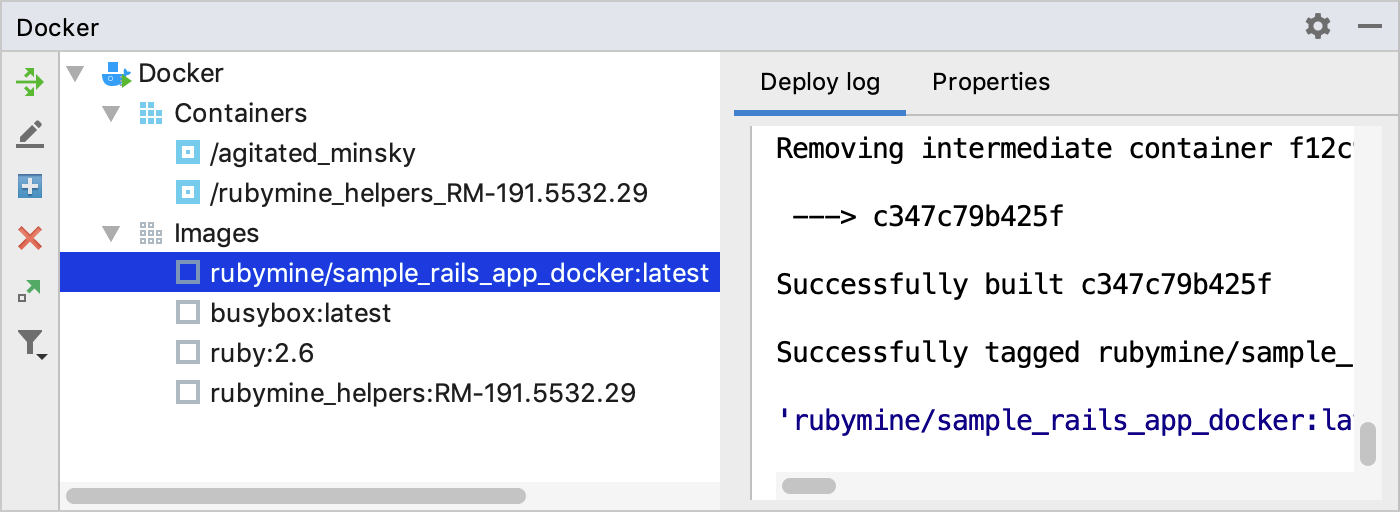
-
Migrate the database. To do this in RubyMine, press Ctrl twice and type db:migrate. Select
rake db:migratein the dropdown and press Enter. Leave the default settings in the invoked Execute 'db:migrate' dialog and click OK. -
Launch the application. Press Ctrl twice and start typing development. Select the Development: sample_rails_app_docker configuration from the list and press Enter. RubyMine will show the process of preparing the application to run in the Run tool window.
-
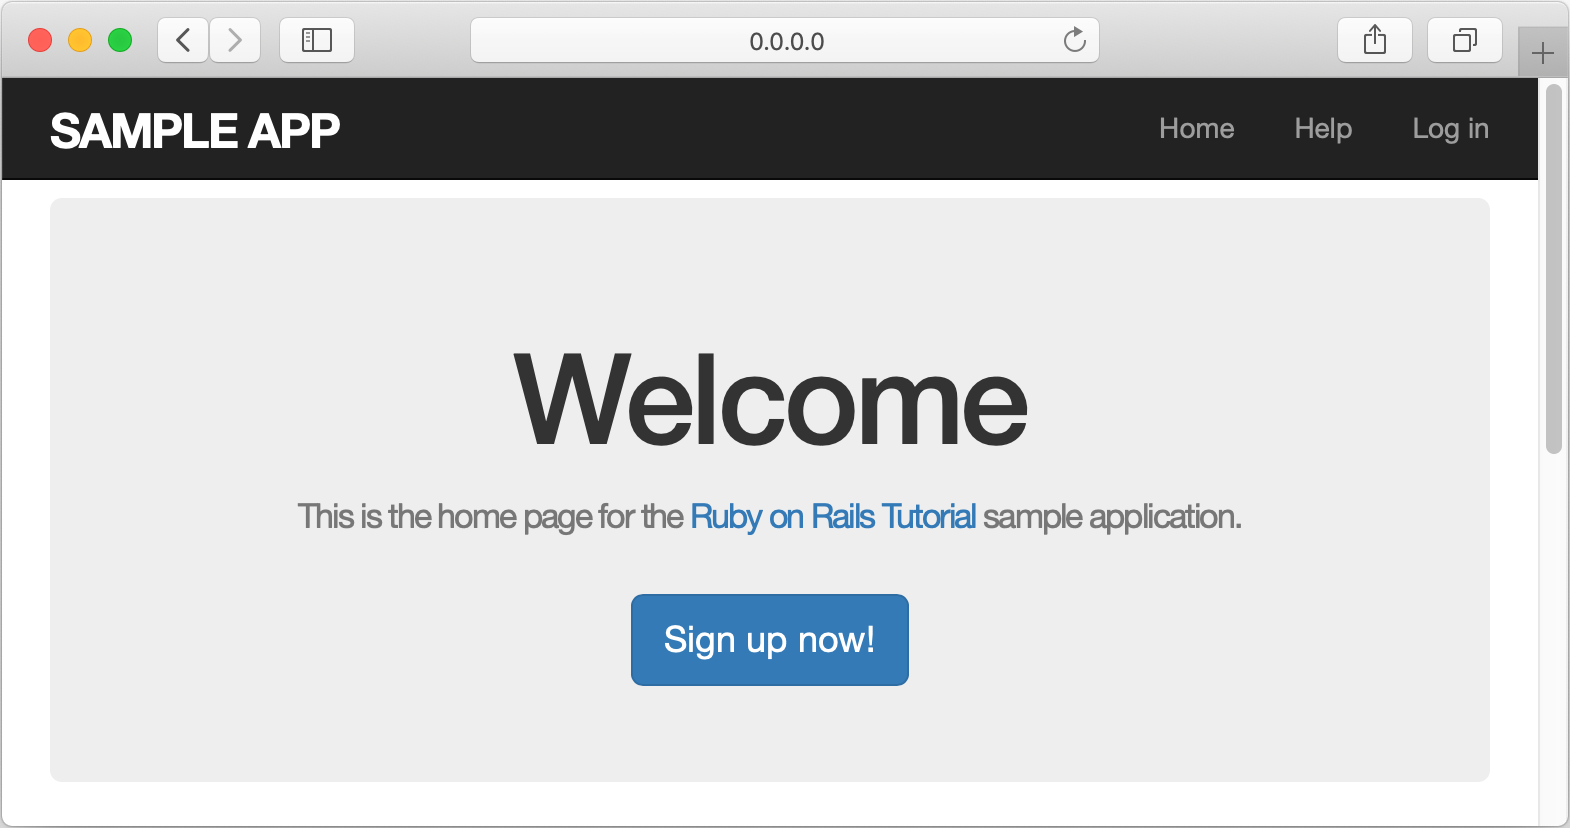
Open a browser, enter the 0.0.0.0:3000 address, and press Enter to see our working application.
Click
 (Ctrl+F2) to stop the application before you continue with Docker Compose.
Use Docker Compose to run the application
Let’s try to use Docker Compose to run our application in two separate containers: web for a front-end and db for a database.
To reconfigure database, prepare images, and run containers, perform the following steps:
-
Go to the config/database.yml file and comment (Ctrl+/) the following code:
development: <<: *default adapter: sqlite3 database: db/development.sqlite3 -
Uncomment (Ctrl+/) the part that configures using the Postgres database for the development environment:
development: <<: *default adapter: postgresql encoding: unicode host: db username: postgres password: database: sample_rails_app_db Open the docker-compose.yml file.
-
Click
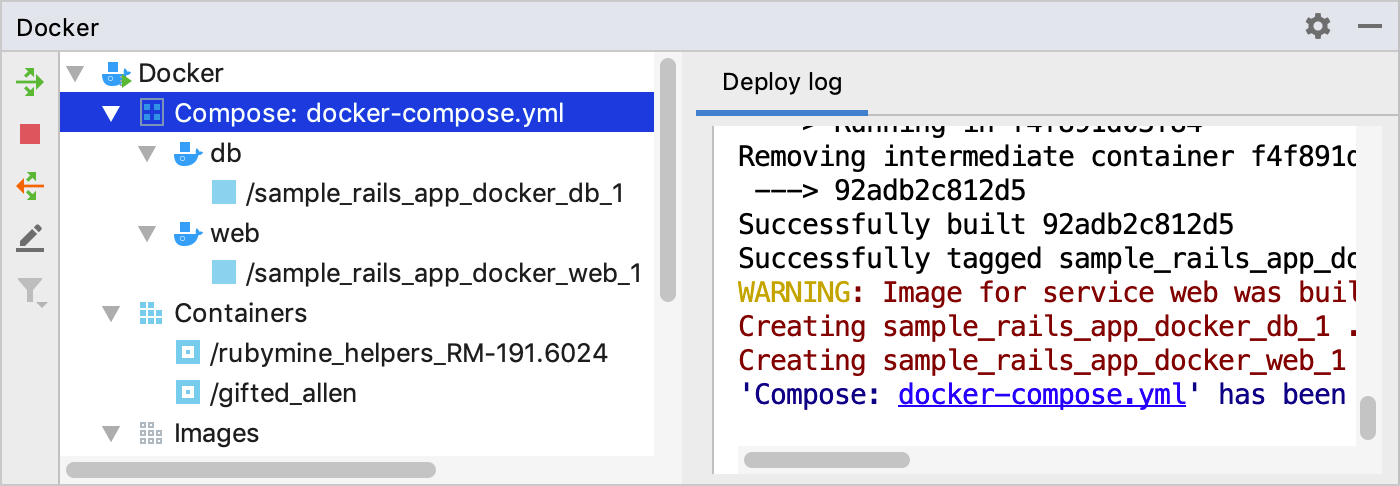
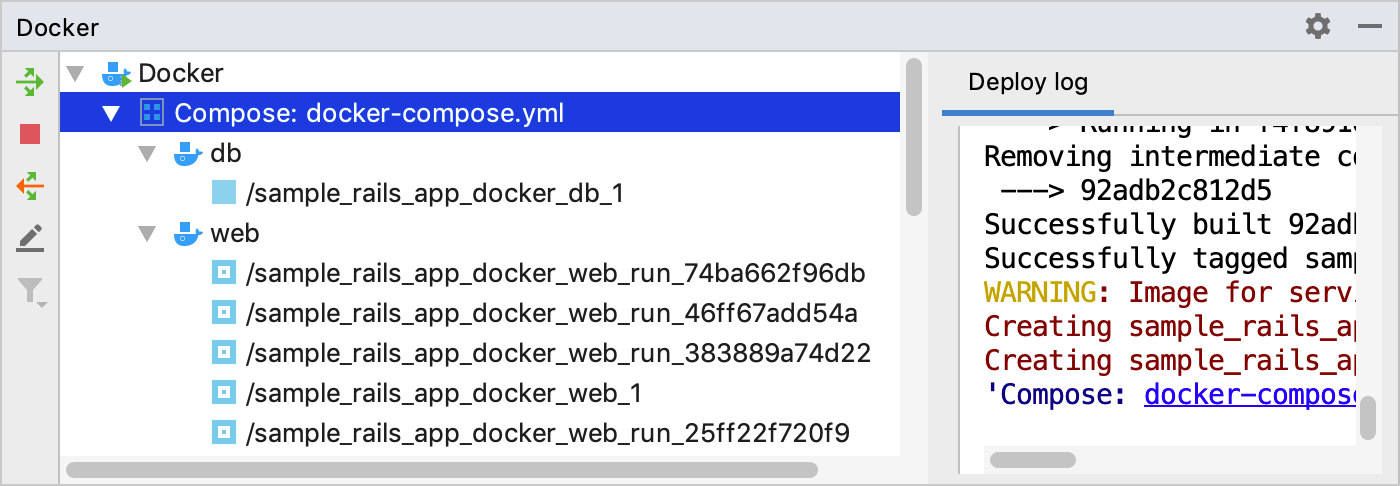
 in the gutter and wait until Docker Compose pulls/build the images and starts containers.
-
Right-click the sample_rails_app_docker_web_1 container and select Stop container. We’ll start a Rails server later after configuring Docker Compose as a remote interpreter.
Configure Docker Compose as a remote interpreter
-
Open the Settings/Preferences dialog (Ctrl+Alt+S), go to the Languages & Frameworks | Ruby SDK and Gems page.
-
Click
 and select New remote....
-
In the invoked dialog, select Docker Compose and specify the following options:
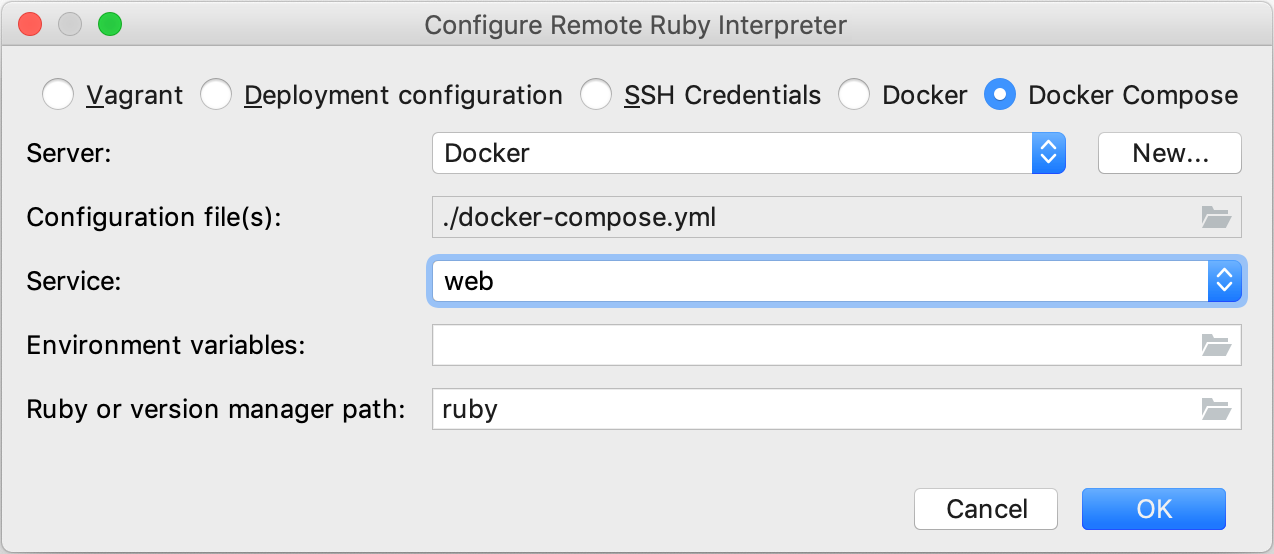
Server - This option specifies a Docker server used to run a container.
Configuration file(s) - Leave the docker-compose.yml file.
Service - Select the web service.
Ruby or version manager path - Leave the default ruby value to detect a path to the Ruby interpreter automatically. You can also manually specify the path to the interpreter or the version manager executable.
-
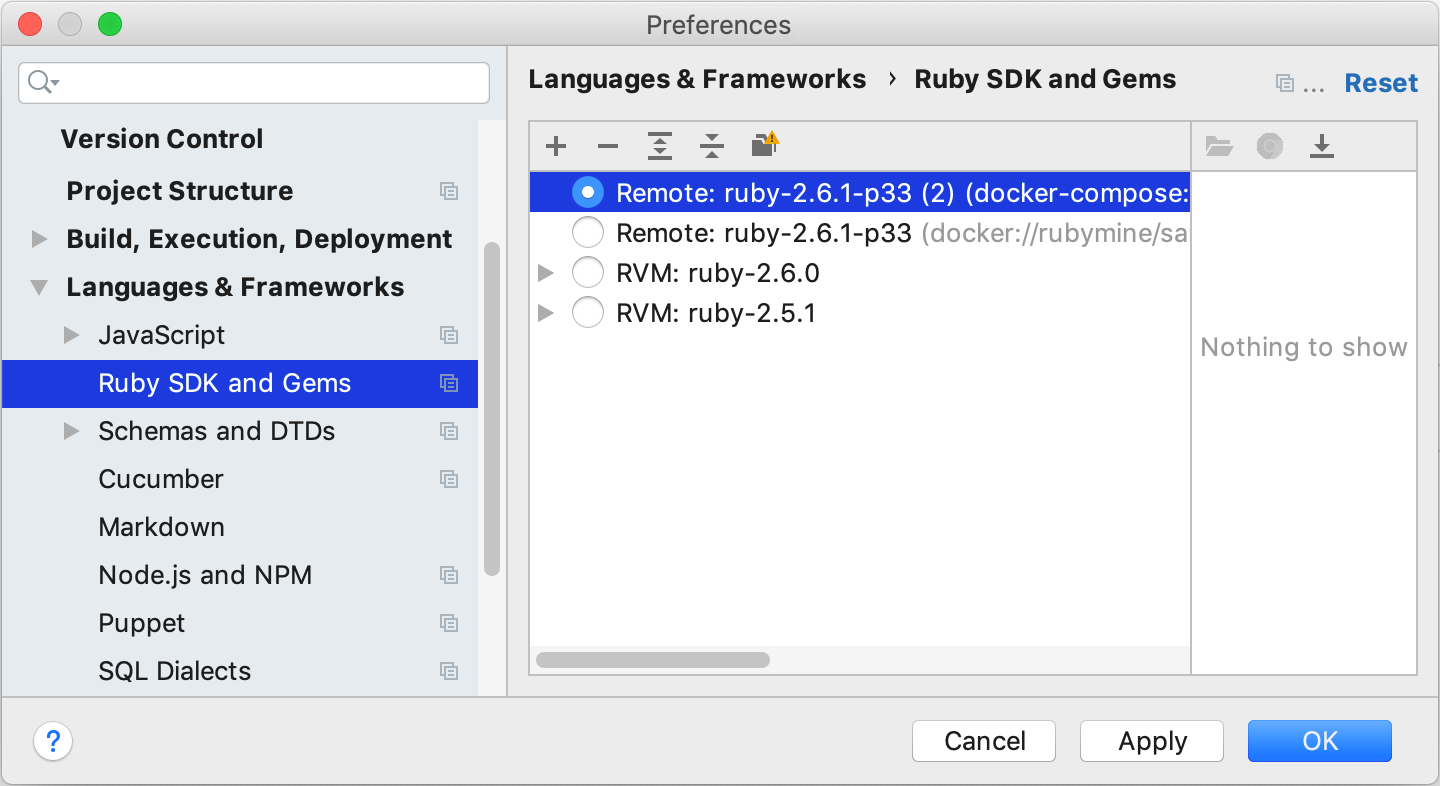
Select the added SDK in the Ruby SDK and Gems page and click OK.
-
Wait until RubyMine finishes the indexing process and creates helper Docker images and containers.
-
Before debugging our Rails application, we need to create the database. To do this in RubyMine, press Ctrl twice and type db:create. Select
rake db:createin the dropdown and press Enter. Leave the default settings in the invoked Execute 'db:create' dialog and click OK. -
Finally, to migrate the database, press Ctrl twice, type db:migrate, select
db:migratein the dropdown and press Enter. Click OK in the invoked dialog.
Debug the application with Docker Compose
To debug the application with Docker Compose, we need to install debugging gems to our remote interpreter. Perform the following steps:
-
Open the Gemfile and uncomment (Ctrl+/) the following lines of code:
gem 'debase' gem 'ruby-debug-ide' -
Place the caret at any of these gems and press Alt+Enter. In the popup, select Install missing gems using 'bundler' gem, press Enter and wait until RubyMine installs these gems.
-
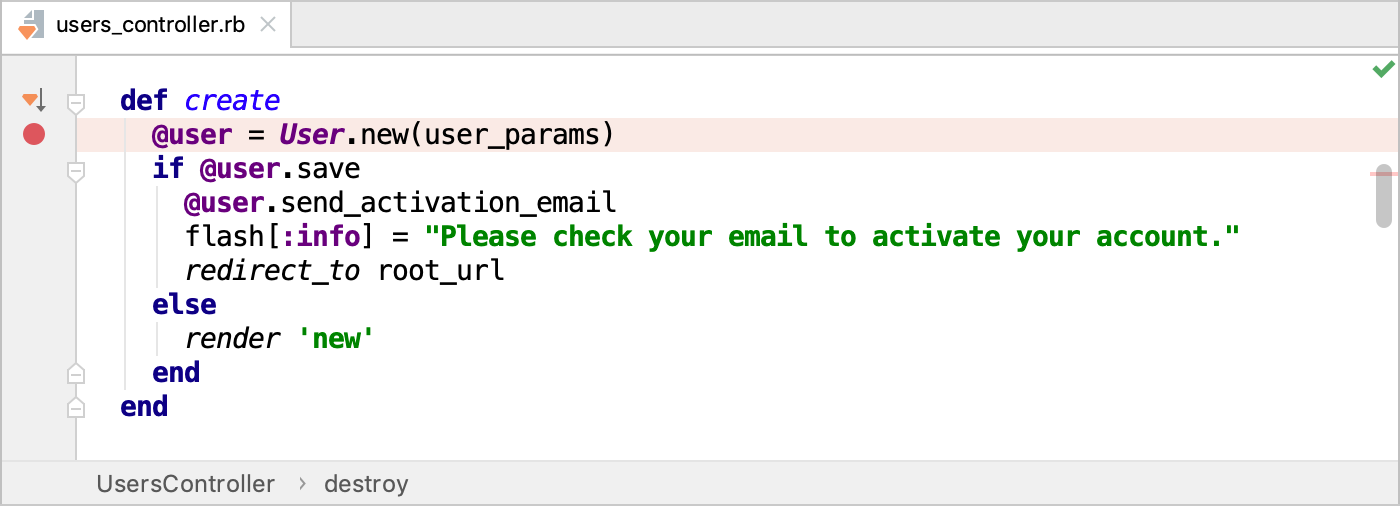
Open the users_controller.rb file and set a breakpoint within the create method next to the line where a new user is created.
-
Click
 (Shift+F9) to start debugging. In the invoked dialog, select Patch project config.
 -
Open a browser and specify the application address (0.0.0.0:3000).

-
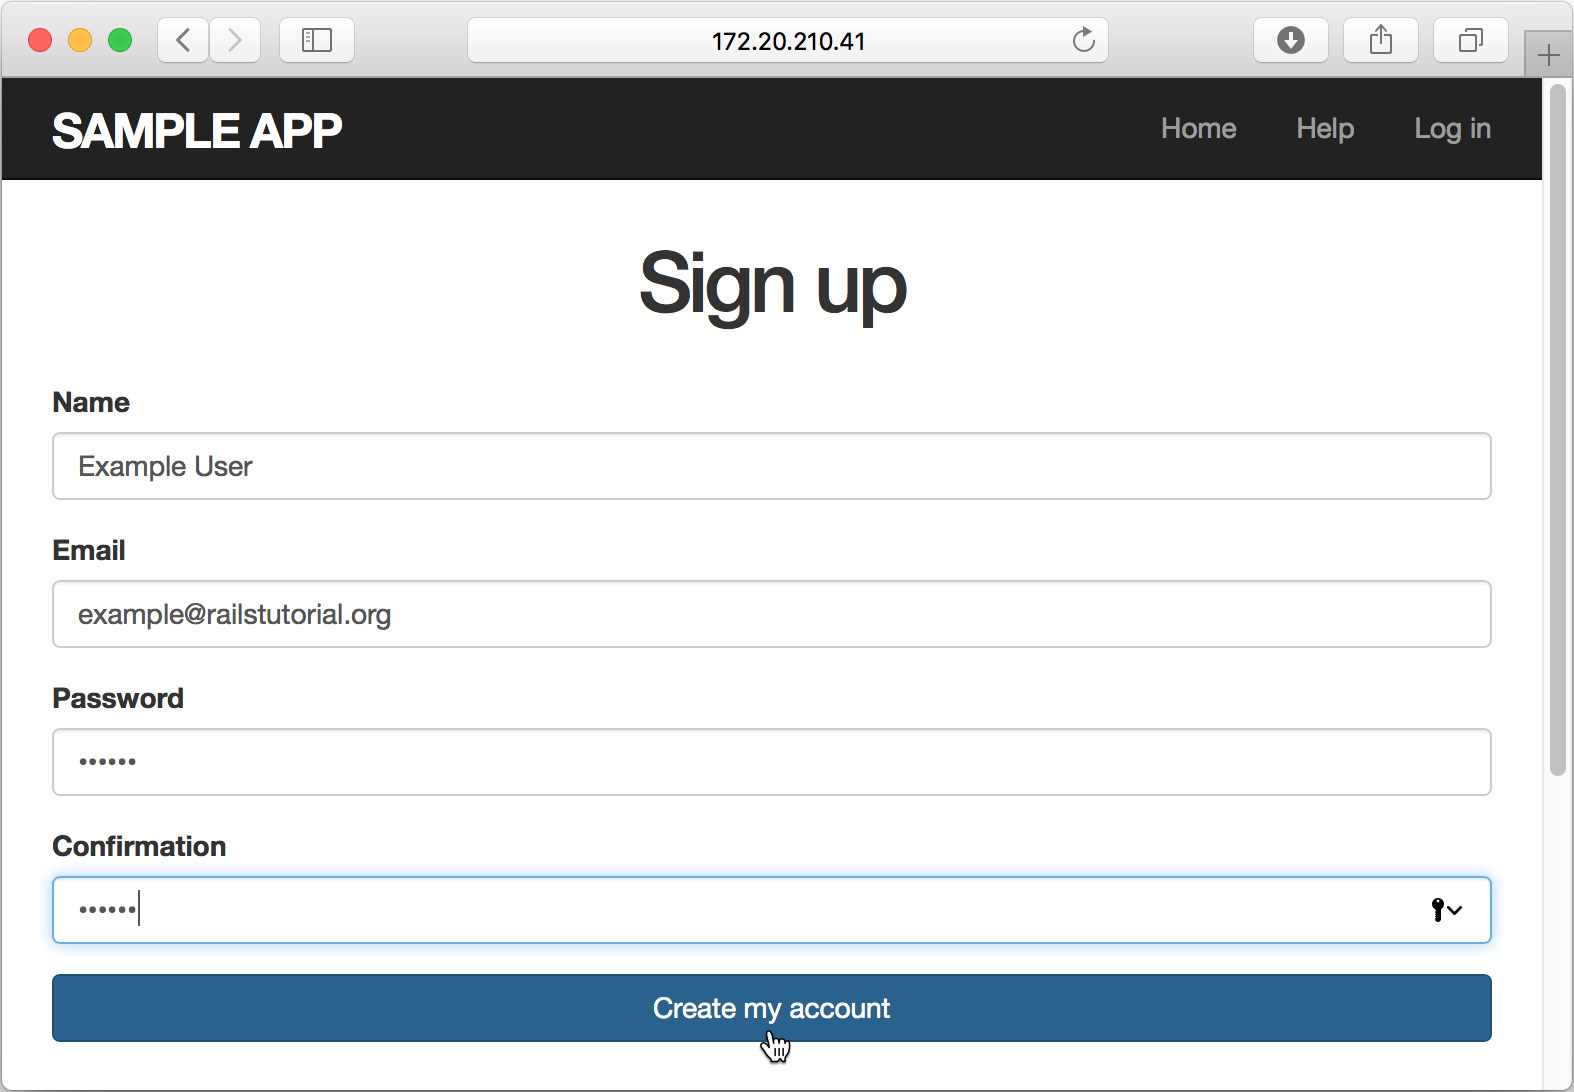
Click the Sign up now! button. On the Sign up page, enter the required user parameters and click Create my account.
-
The debugger pauses its session on a breakpoint and enables you to examine the application state.
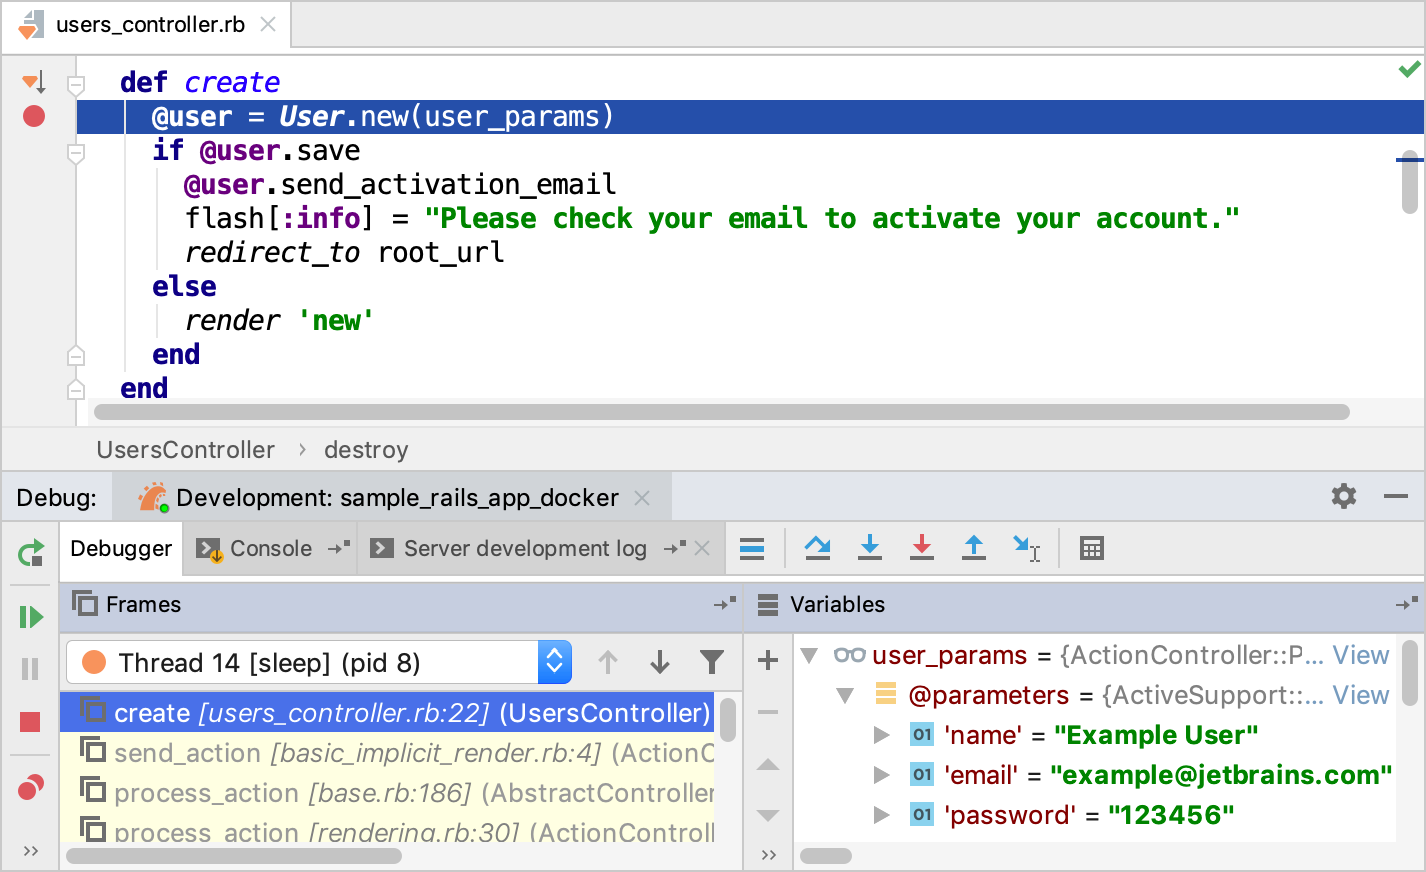
For instance, you can check user parameters specified on the Sign up page.