Tutorial: Docker as a remote interpreter
Docker is a tool for building, sharing, and running containerized applications. RubyMine provides integration with Docker and allows you to perform all the required actions in your project - from building images to executing commands inside running containers. Moreover, RubyMine enables you to use the running Docker container as a remote interpreter. This means that you can run, debug, and test your application in an isolated environment right from the IDE.
This tutorial describes how you can use Docker as a remote interpreter for running, testing and debugging a sample Rails application.
In this tutorial, we’re using macOS, with RubyMine installed. Before you begin, make sure to configure Docker integration.
Prerequisites
In this tutorial, we’ll use Mac with macOS, with RubyMine installed. Moreover, the following prerequisites should be met to complete all steps:
Verify that Docker is installed and running.
Make sure that the Docker plugin is enabled.
Install debugging gems
We will debug the application with Docker, so we need to install the debugging gems to our remote interpreter:
Open the Gemfile and uncomment Ctrl+/ the following lines of code:
gem 'debase' gem 'ruby-debug-ide'Press Ctrl twice. In the invoked popup, start typing bundler, select
bundle installand press Enter.
Build a Docker image
First of all, we need to build a Docker image for our application.
Open the Dockerfile. Press Ctrl+Shift+N, type Dockerfile and press Enter.
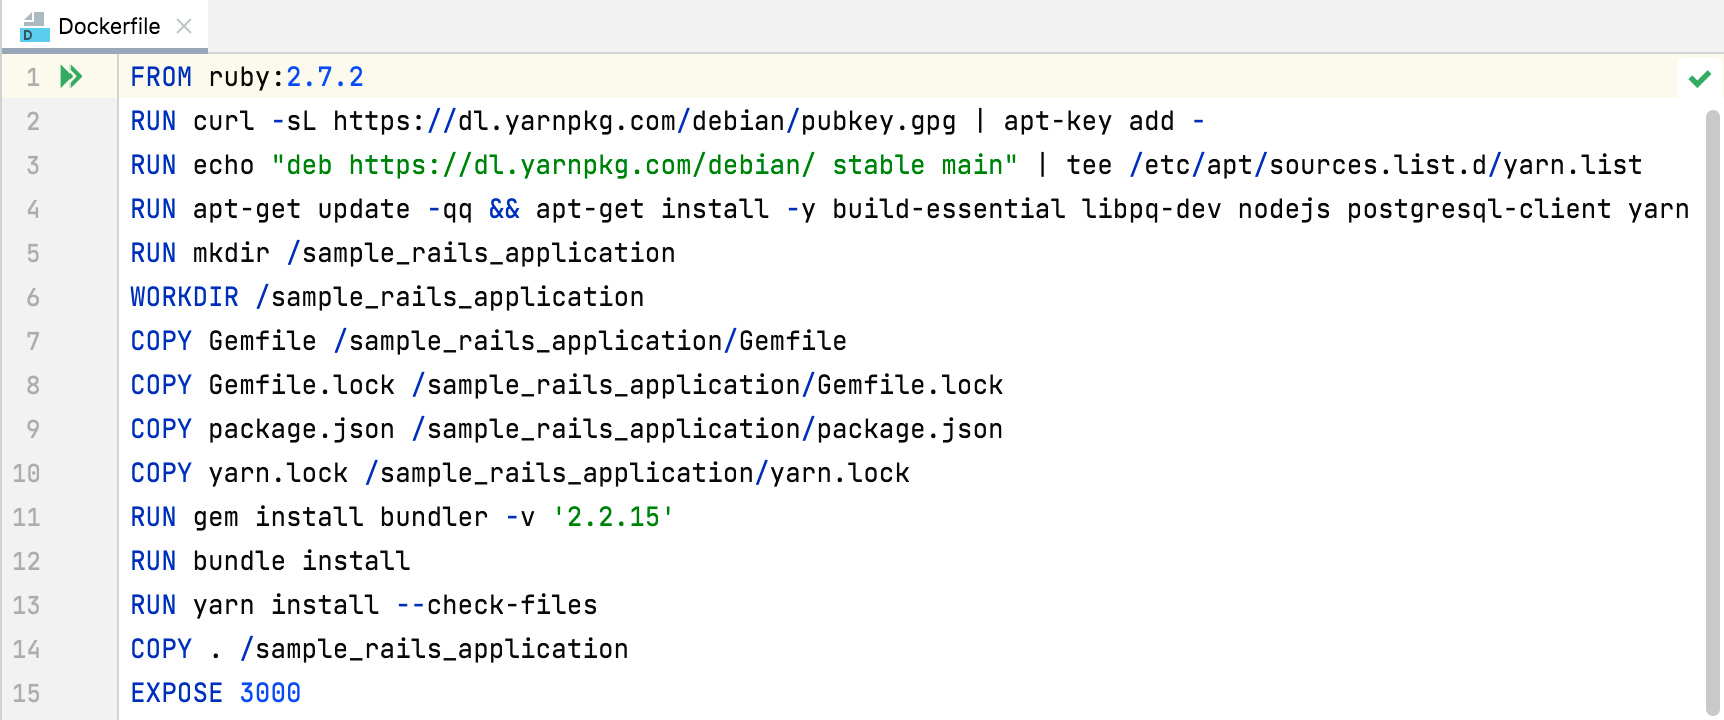
Click
in the gutter and select New Run Configuration from the menu.
In the Edit Run Configuration dialog, specify the image name in the Image tag field.
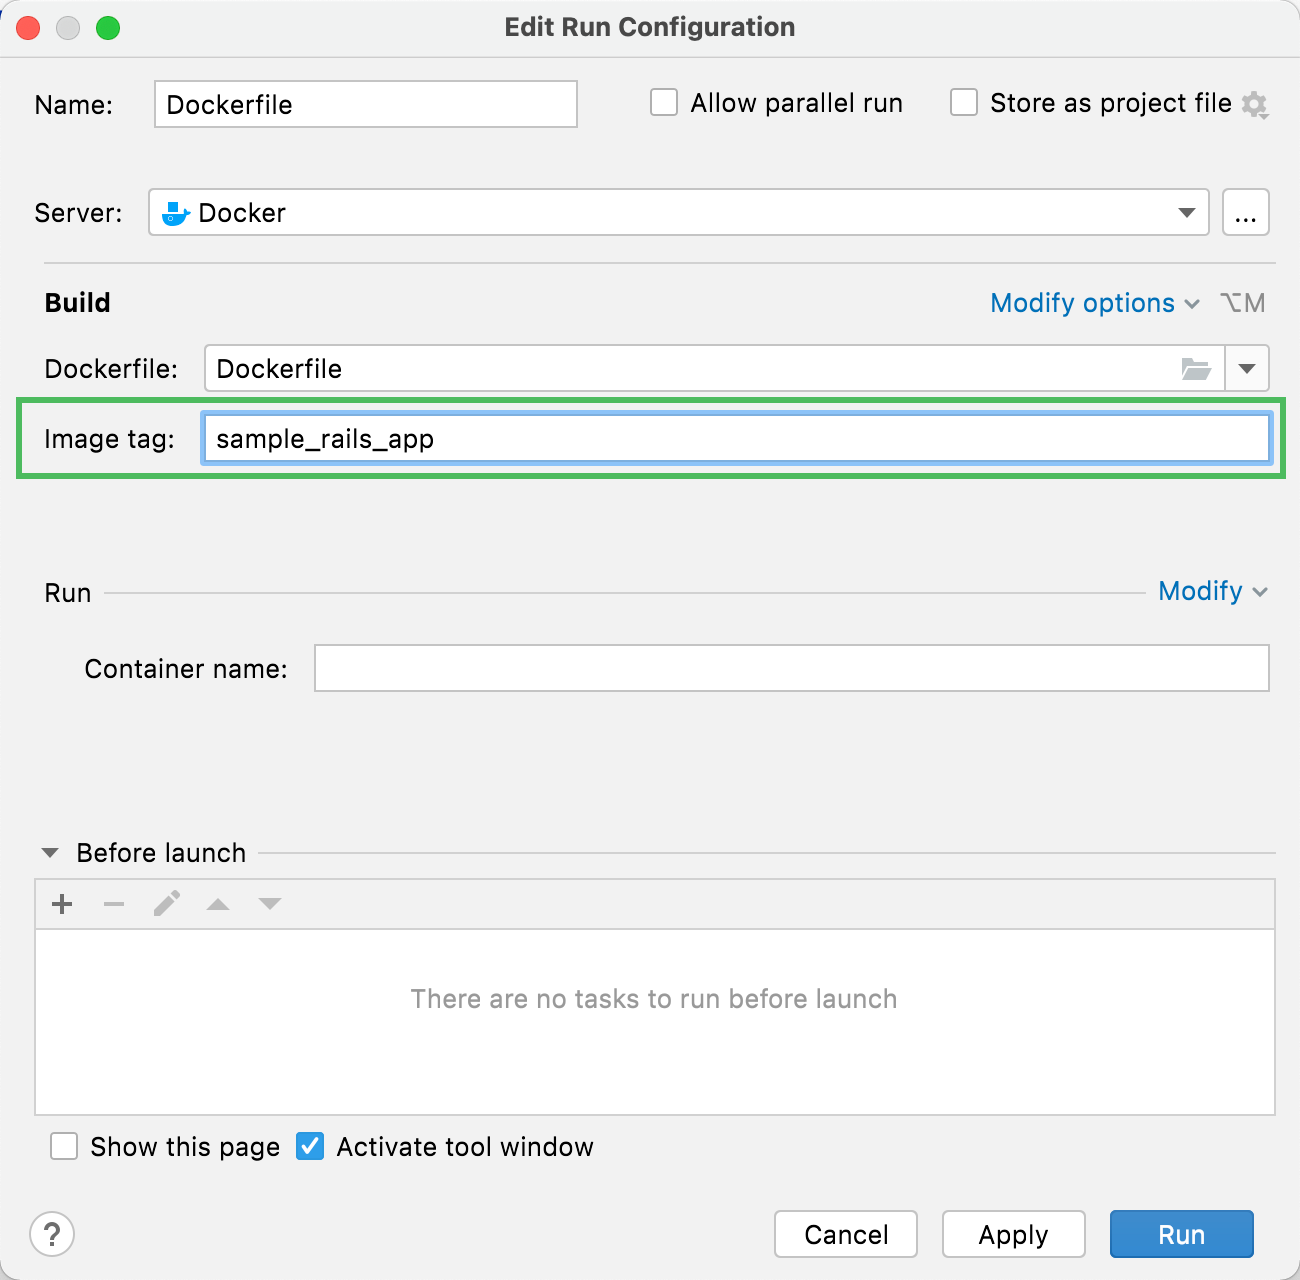
Click Run to start building the image.
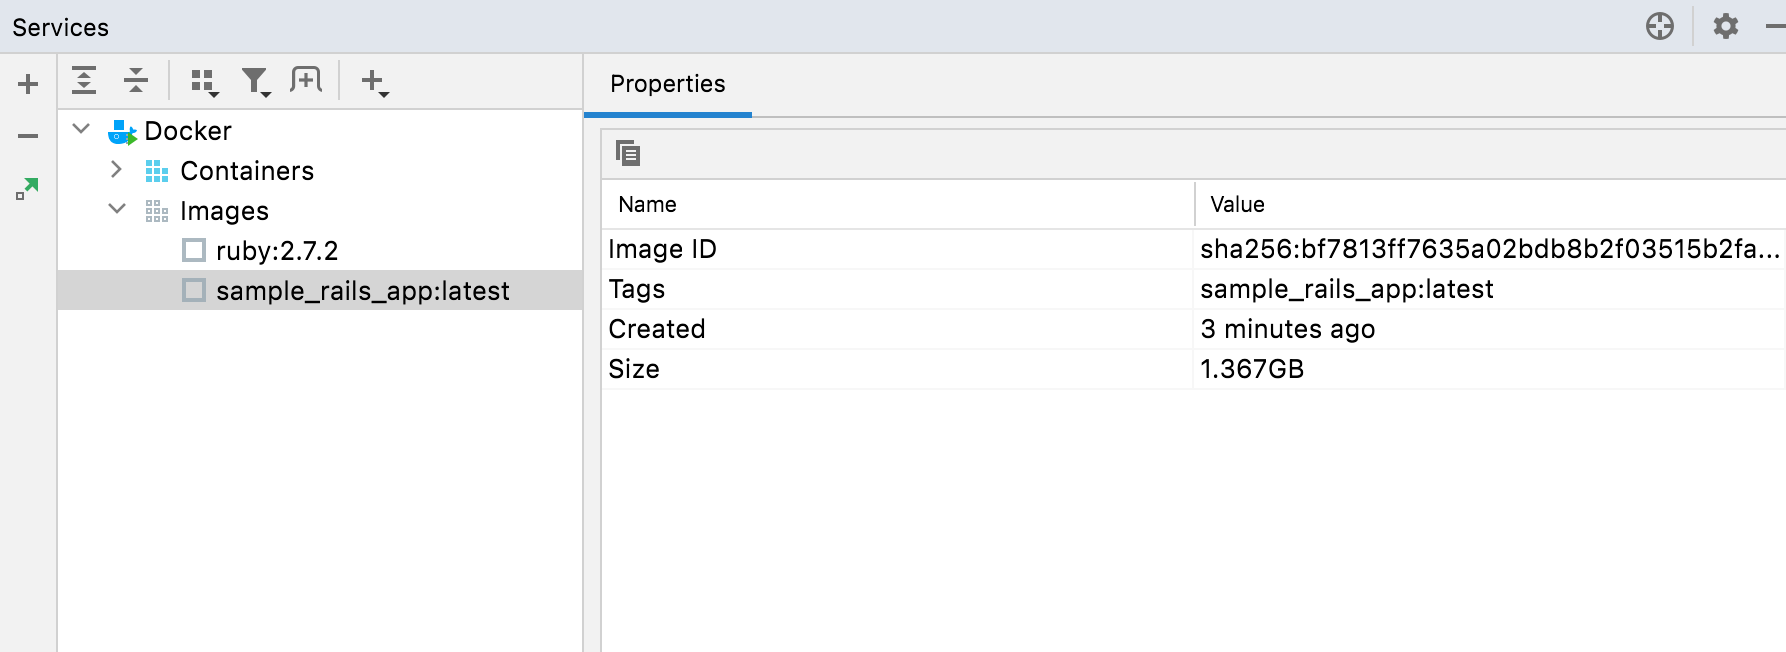
RubyMine displays the process of building the image in the Services tool window. Wait until the image is built and displayed in the Images group.
Configure Docker as a remote interpreter
Now we can use the built image to configure a remote interpreter for our application because the image has the Ruby interpreter and required gems installed. To configure Docker as a remote interpreter, do the following:
Open the Settings/Preferences dialogCtrl+Alt+S, go to the Language & Frameworks | Ruby SDK and Gems page.
Click
and select Remote Interpreter or Version Manager in the drop-down.
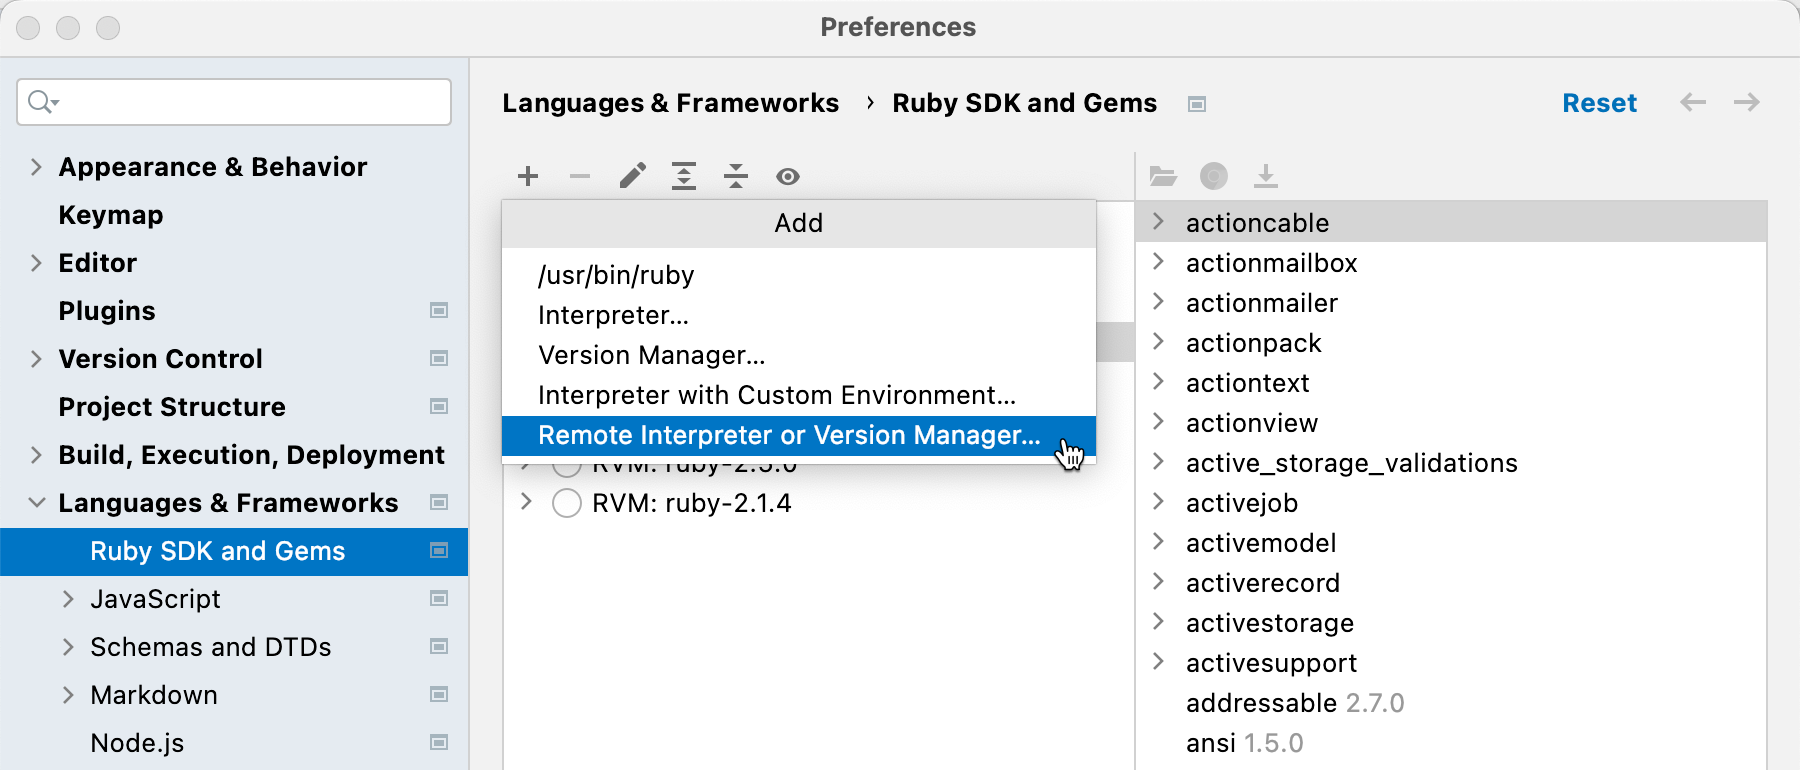
In the invoked dialog, select Docker and specify the following options:
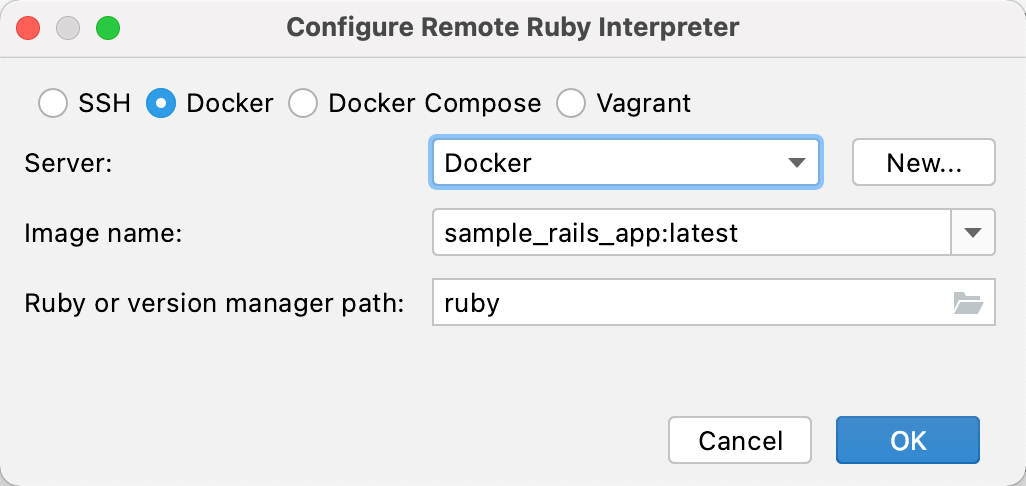
Server: Specify a Docker server used to run a container.
Image name: Select the image created in the previous chapter.
Ruby or version manager path: Leave the default ruby value to detect a path to the Ruby interpreter automatically.
Click OK.
Select the added SDK in the Ruby SDK and Gems page and click OK.

Wait until RubyMine finishes the indexing process and creates helper Docker images and containers.

Run migrations
Before running our Rails application, we will run migrations to prepare the database.
Press Ctrl twice and type db:migrate. Select
rake db:migratein the dropdown and press Enter.
Leave the default settings in the invoked Execute ‘db:migrate’ dialog and click OK.

This creates the development.sqlite3 database in the db folder.
Run
rake db:migrateone more time as described in the first step. This time, set the Environment option to test in the Execute ‘db:migrate’ dialog and click OK. The created test.sqlite3 database will be used to run tests.
Run tests
Let's run tests for our application. RubyMine enables you to use different testing frameworks for this purpose, including Minitest, RSpec, and Cucumber.
Our project contains Minitest tests in the test folder.
Run all tests
Open the Project view Alt+1.
Right-click the test folder and select from the context menu.

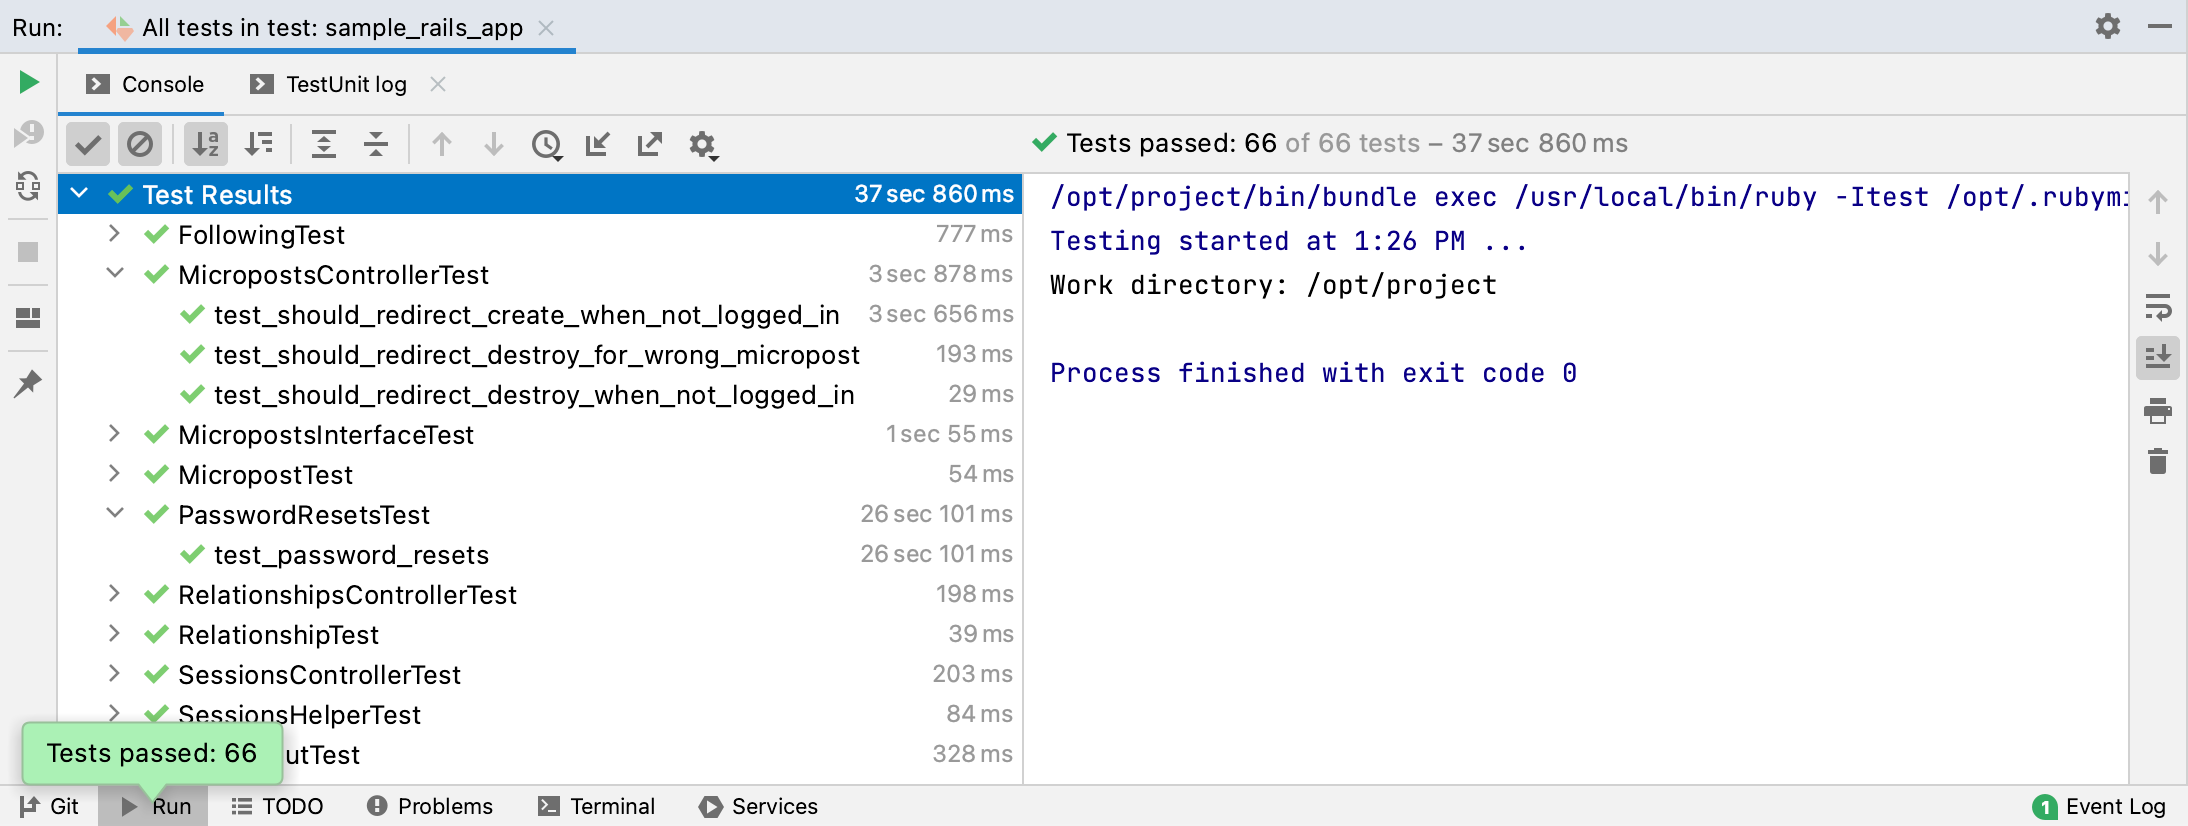
RubyMine will run and display test results in the Run tool window.
Now let's try running a specific test.
Run a specific test
Open the users_controller_test.rb file and scroll down to the should redirect index when not logged in test.
Click
in the gutter and select in the invoked menu.

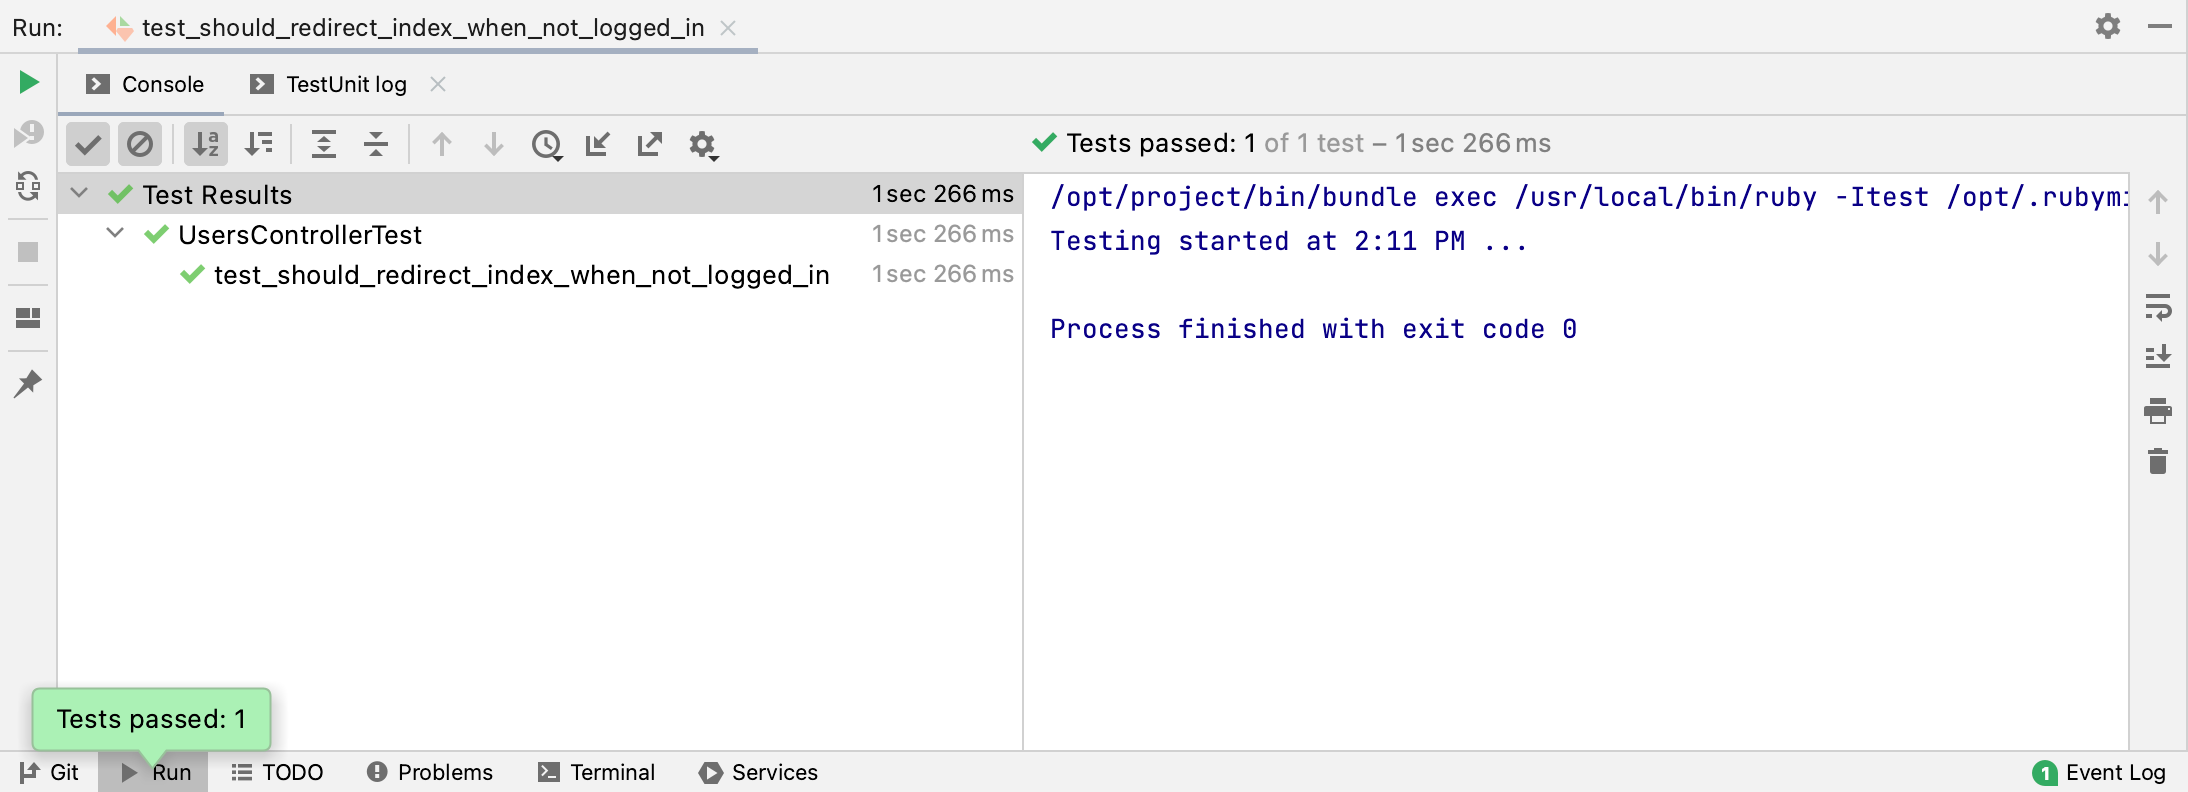
RubyMine will display the result for this test.
Run the application
Now we can run our application using the configured remote interpreter.
Select the Development configuration on the toolbar and click
Shift+F10.

Open a browser, enter the 0.0.0.0:3000 address, and press Enter to see our working application.

To stop the application, click
Ctrl+F2 on the toolbar.
Debug the application
Now we are ready to debug the application:
Open the users_controller.rb file and set a breakpoint within the create method next to the line where a new user is created.

Select the Development run/debug configuration and click
Shift+F9 to start debugging.

In the invoked dialog, select Patch project config.
Open a browser and specify the application address 0.0.0.0:3000.

Click the Sign up now! button. On the Sign up page, enter the required user parameters and click Create my account.
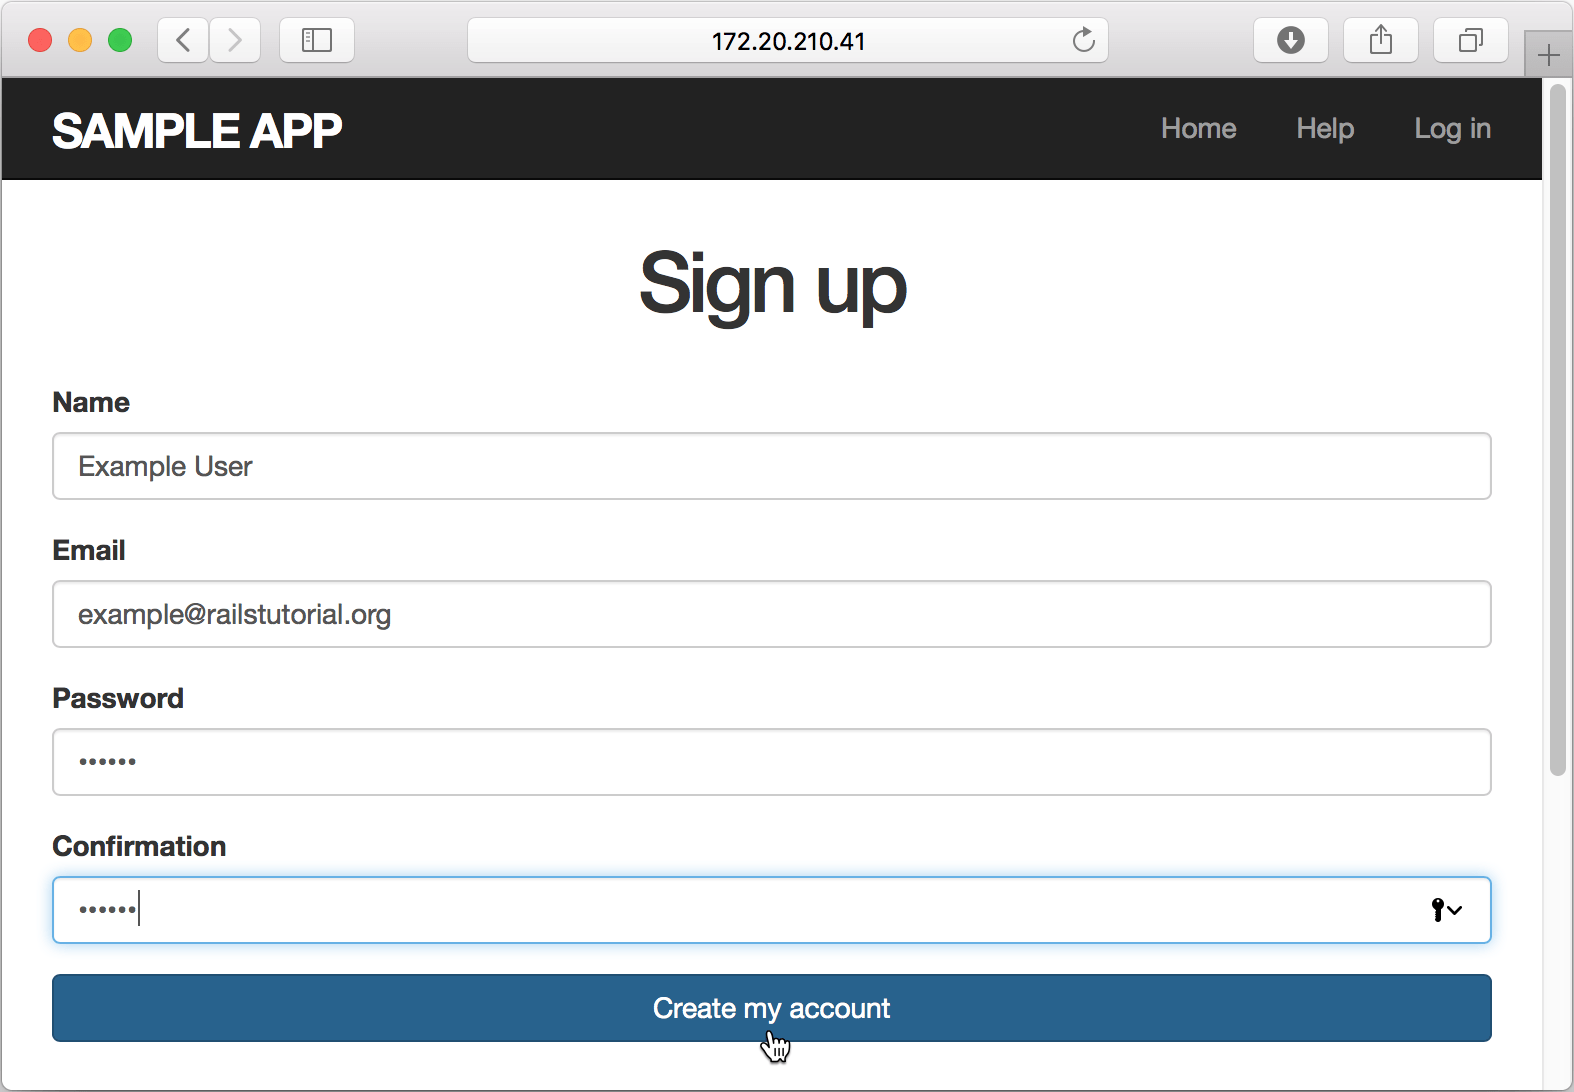
The debugger pauses its session on a breakpoint and enables you to examine the application state.
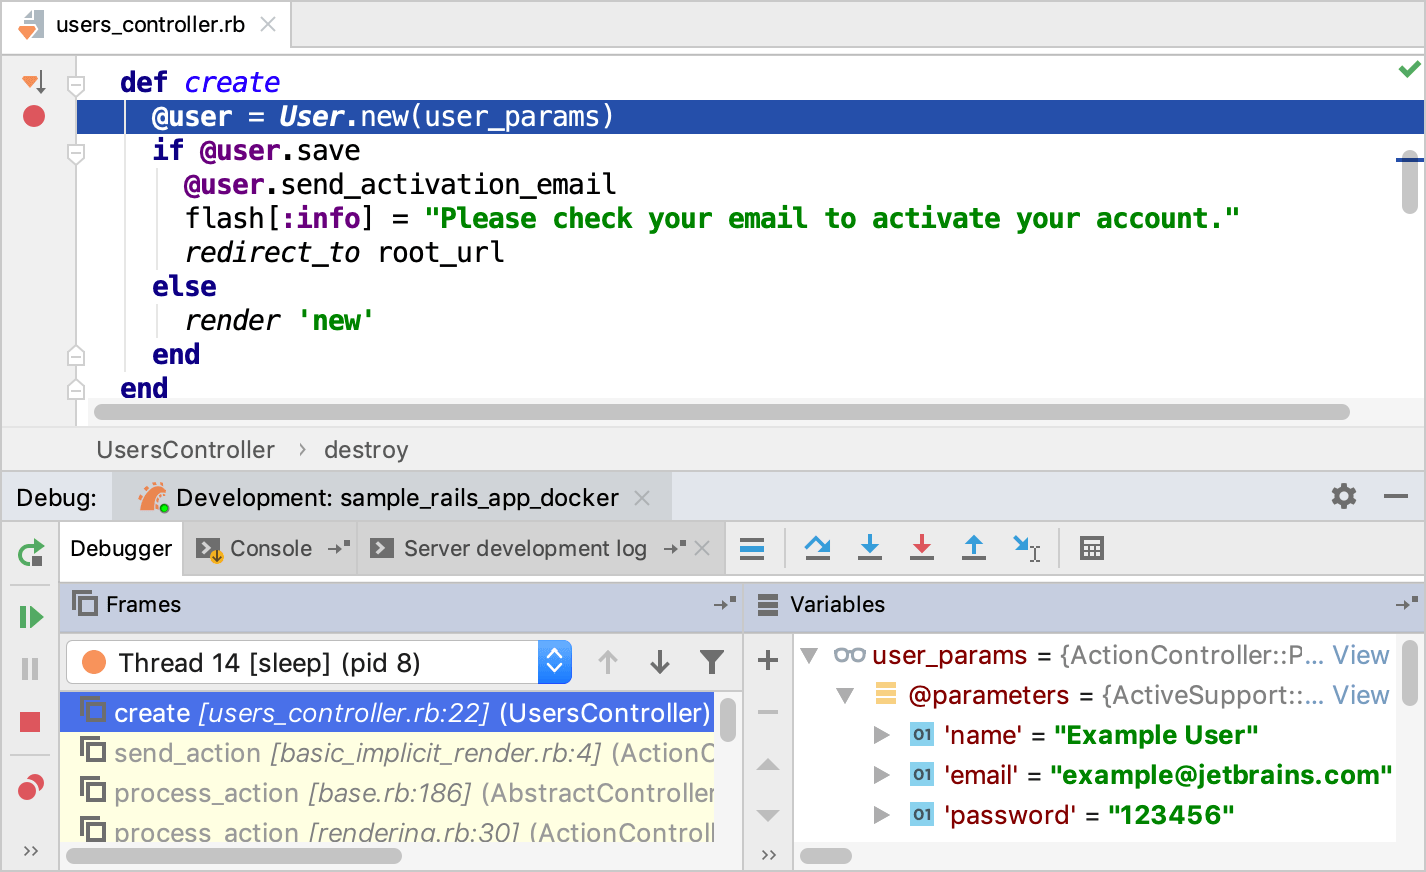
For instance, you can check user parameters specified on the Sign up page.