Liquid
RubyMine supports the Liquid template language and includes the following capabilities:
Syntax and error highlighting
Auto-closing of the curly brace delimiters
Auto-completion for Liquid tags (including Shopify and Jekyll tags) and filters
Commenting/uncommenting lines and blocks of code with Ctrl+//Ctrl+Shift+/
Live templates (code snippets)
Install and enable the Liquid plugin
Before working with the Liquid template language in RubyMine, make sure that the Liquid plugin is installed and enabled.
Supported file types
RubyMine supports Liquid syntax for the following file types:
*.liquid files (processed as HTML files with Liquid code)
*.html.liquid, *.md.liquid, *.css.liquid, and so on
If you want your .html or and .md files to be processed as Liquid files, you can configure file type associations. Note that file type associations apply to all projects in your IDE.
Associate an HTML file with Liquid
Open an HTML file, press Ctrl+Shift+A, and type Associate with File Type.
In the Register New File Type Association window that opens, select Liquid template.
The file that was open in the editor will be now processed as a Liquid file.
Associate all HTML files with Liquid
Press Ctrl+Alt+S to open settings and then select .
From the Recognized File Types list, select Liquid template.
In the File name patterns section, enter a pattern, for example
*.html.If the pattern that you entered matches an existing pattern (for example,
*.htmlmatches the HTML file type), you will be prompted to confirm the reassignment.
Create a Liquid file
To create a new Liquid file in RubyMine, follow the steps below:
Open the Project view Alt+1 and select the desired directory.
Go to . As an alternative, press Alt+Insert and select Liquid File in the New list.
Specify the filename and press Enter.
Live templates
You can use live templates to insert Liquid code constructs into your code, such as if blocks, assign tags, and so on.
Expand a live template
To expand a live template, type the corresponding template abbreviation and press Tab. Let's see how to insert the if block using the predefined if template.
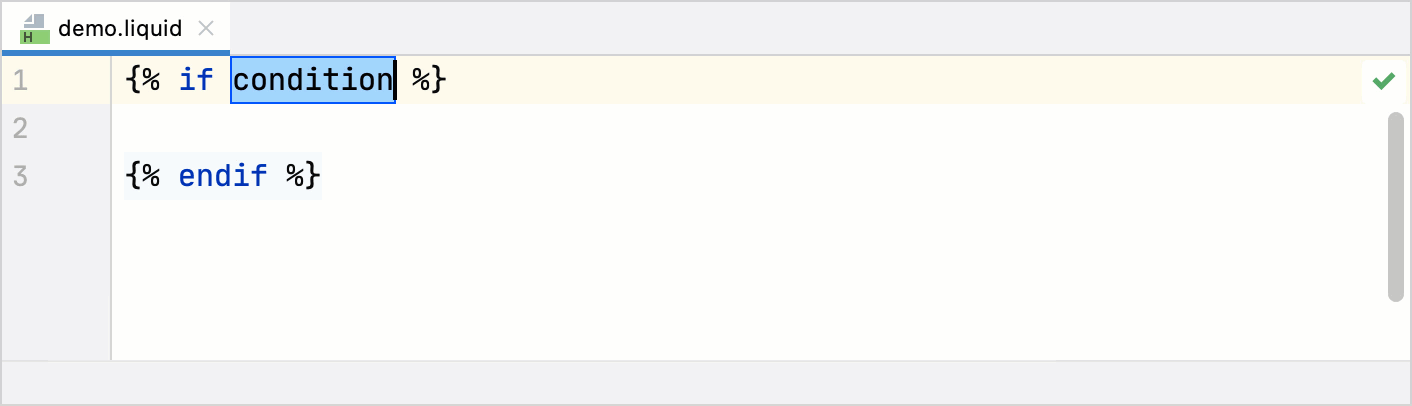
In a Liquid file, type
ifand press Tab.Specify the required condition and press Tab to move to the next statement.
Type the desired code for the specified condition.
Configure live templates
To configure Liquid-specific live templates:
Open Settings Ctrl+Alt+S.
Go to the Editor | Live Templates page and select the desired template in the Liquid group. You can learn how to configure live templates from Live template settings.
Configure code style settings
To customize code style settings for Liquid:
Press Ctrl+Alt+S to open settings and then select .
Configure syntax highlighting
You can configure Liquid-aware syntax highlighting according to your preferences and habits.
In the Settings dialog (Ctrl+Alt+S) , go to .
Select the color scheme, accept the highlighting settings inherited from the defaults or customize them as described in Colors and fonts.