Tutorial: Debug an application using 'Ruby remote debug'
RubyMine offers you two ways to debug applications that are run on the remote machine:
Add a remote Ruby interpreter, configure mappings between files of the local and remote project, and start a debugging session.
Run the application on the remote machine, add a remote Ruby interpreter, configure mappings, and attach to a running process.
The specified ways may not suit for debugging some projects, for example, SketchUp. In such cases, you can use the Ruby remote debug run/debug configuration.
In this tutorial, we'll show you how to debug a sample Rails application using Ruby remote debug.
Prerequisites
In this tutorial, we'll use two machines to demonstrate debugging of the remote application:
Local machine: Mac with macOS, with RubyMine installed.
Remote machine: The Ubuntu machine with enabled SSH access and the Ruby interpreter installed.
In our tutorial, the remote computer has the sample-web-server name.
On both machines, we’ll use the jetbrains user’s home directories to store source code.
Create the 'Ruby remote debug' configuration
At first, let's create and set up the Ruby remote debug configuration in RubyMine:
Go to in the main menu, click
, and select Ruby remote debug from the list.
Specify the following settings:
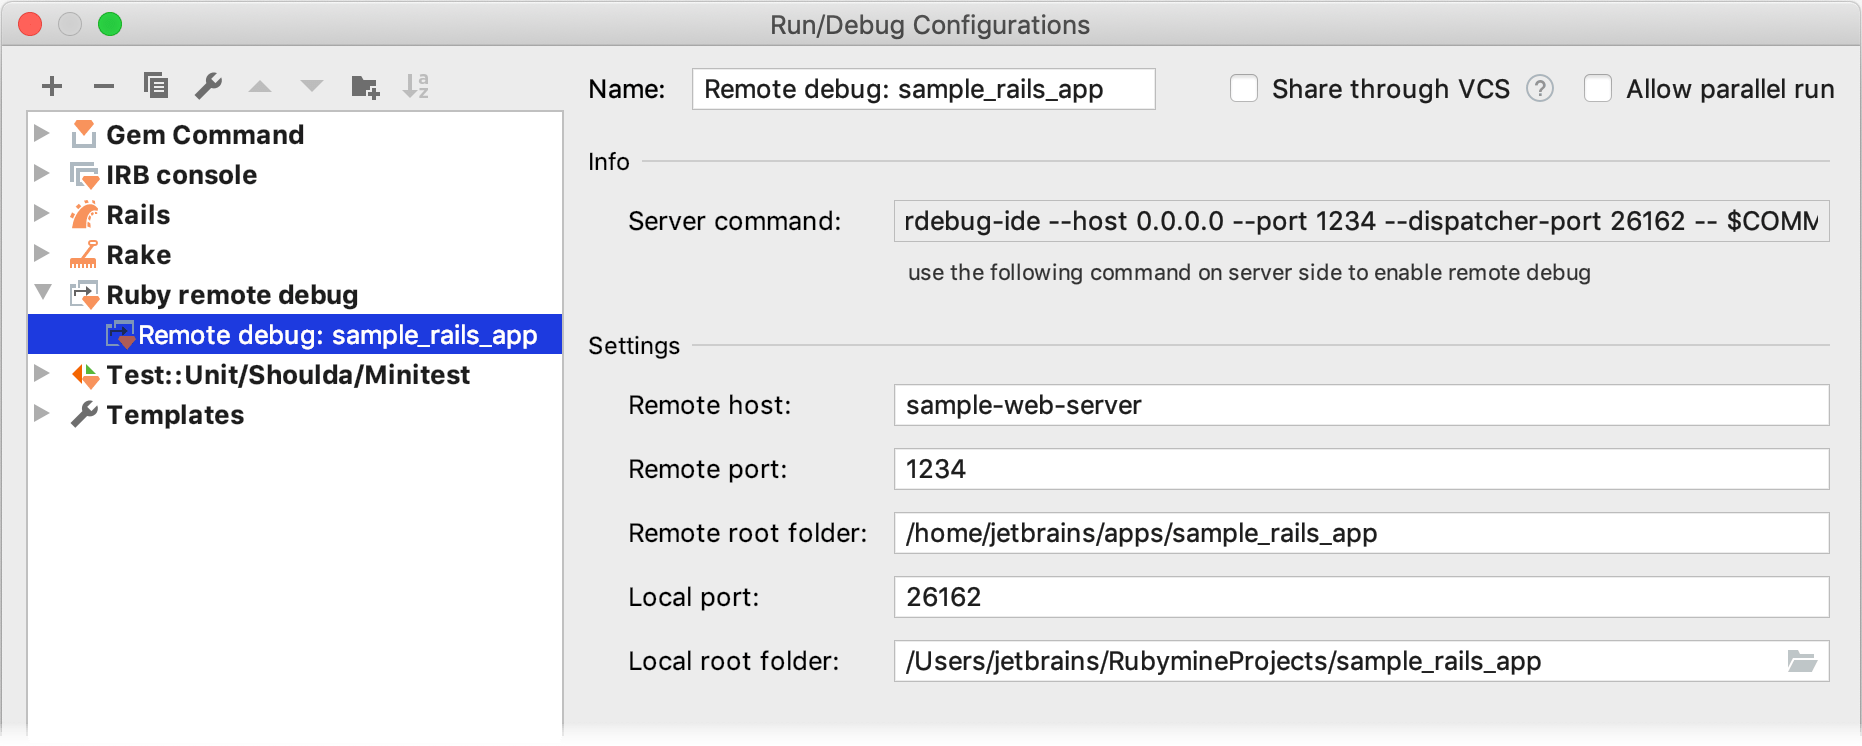
Name: Enter a run/debug configuration name.
Example: Remote debug: sample_rails_app
Remote host: Specify a hostname or IP address of the remote machine.
Examples: sample-web-server, 172.30.163.90
Remote port: Specify a remote port used to establish a connection between the IDE and debugger.
Example: 1234
Remote root folder: Specify a root folder on the remote machine, where the application to be debugged is located.
Example: /home/jetbrains/apps/sample_rails_app
Local port: Specify a local port used to establish a connection between the IDE and debugger.
Example: 26162
Local root folder: Specify an application's root folder on the local machine.
Example: /Users/jetbrains/RubymineProjects/sample_rails_app
After you've specified all the settings, copy the command generated in the Server command field to the clipboard.
rdebug-ide --host 0.0.0.0 --port 1234 --dispatcher-port 26162 -- $COMMAND$It will be used later to start the debugger on a remote machine. The $COMMAND$ part will be replaced with the actual command for running the application.
Click OK in the Run/Debug Configurations dialog.
Configure a remote interpreter
In this part, we’ll configure a remote interpreter using SSH.
Open the Settings dialog Ctrl+Alt+S, go to the Language & Frameworks | Ruby Interpreters page, click the
button and select Remote Interpreter or Version Manager from the list:
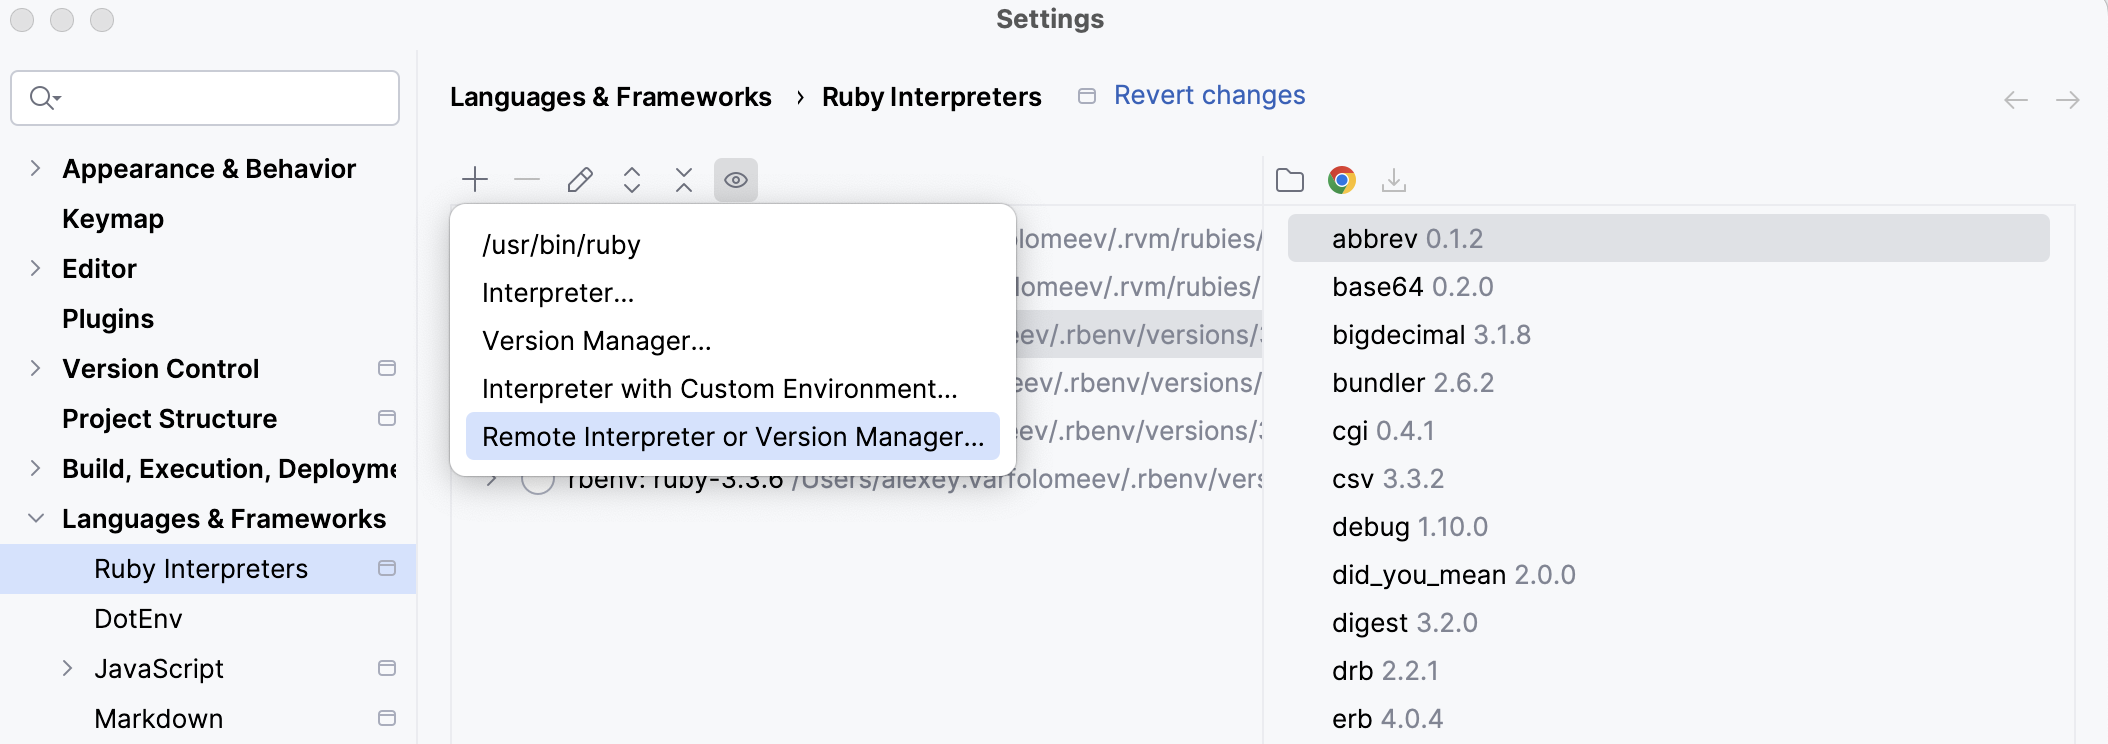
In the invoked dialog, select SSH Credentials and specify parameters in the following way:

SSH configuration: Click the ellipsis button to create an SSH configuration for connecting to a remote machine.
Ruby or version manager path: Here you should specify the path to the Ruby interpreter or the version manager executable. In this tutorial, we use rbenv on a remote machine.
After you have specified all the settings, click OK.
If you specified a path to the version manager executable in the previous dialog, RubyMine suggests selecting the required Ruby interpreter. In this step, you need to choose the interpreter used to run a remote application.
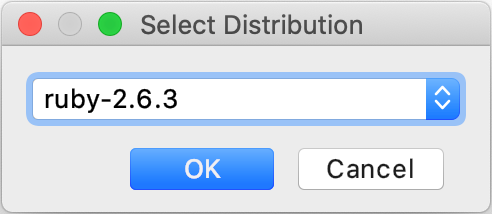
Click OK and select the added interpreter in the Ruby Interpreters page.
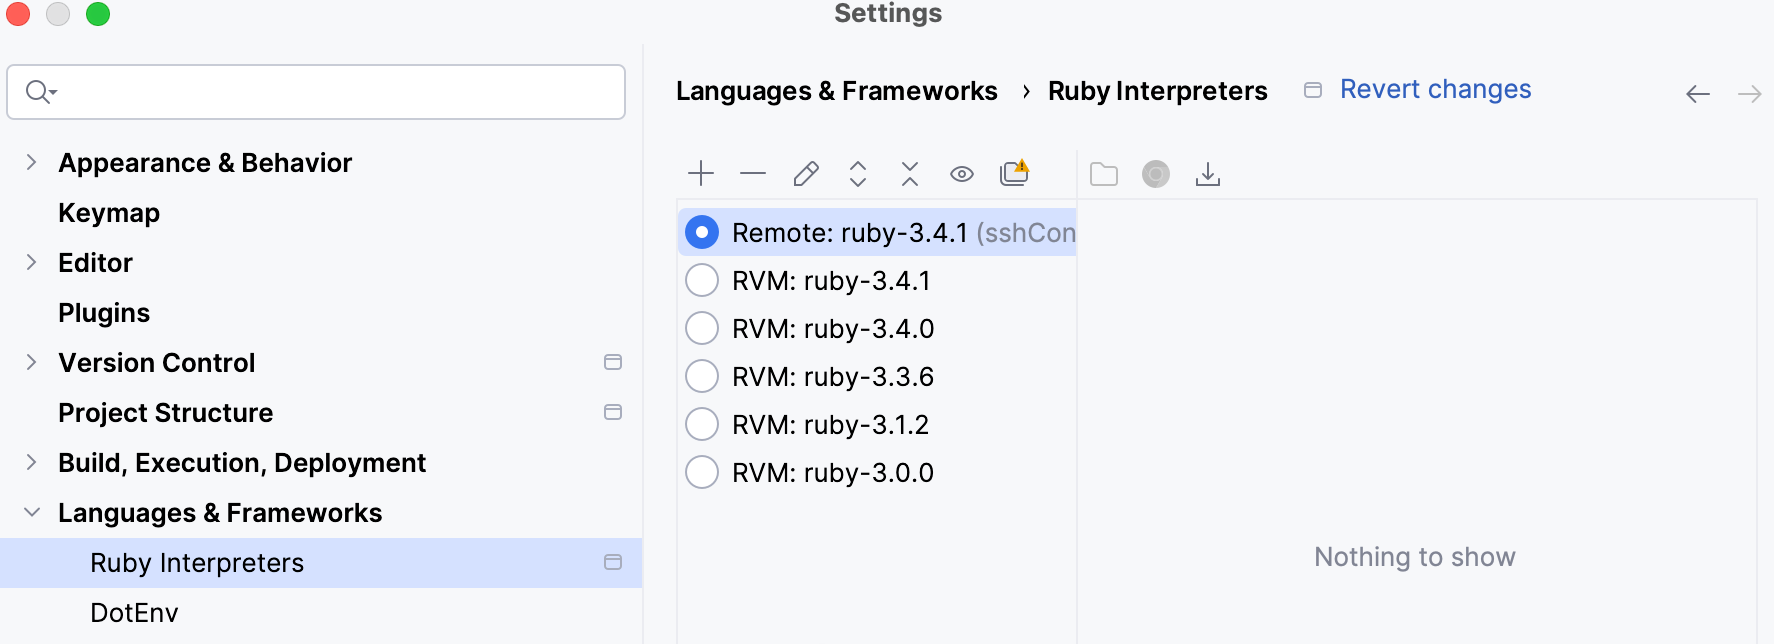
The final thing you need to do is to specify mappings between files of a local and remote project. To do this, click the Edit Path Mappings
button. In the Edit Project Path Mappings dialog, specify the local and remote project root paths.
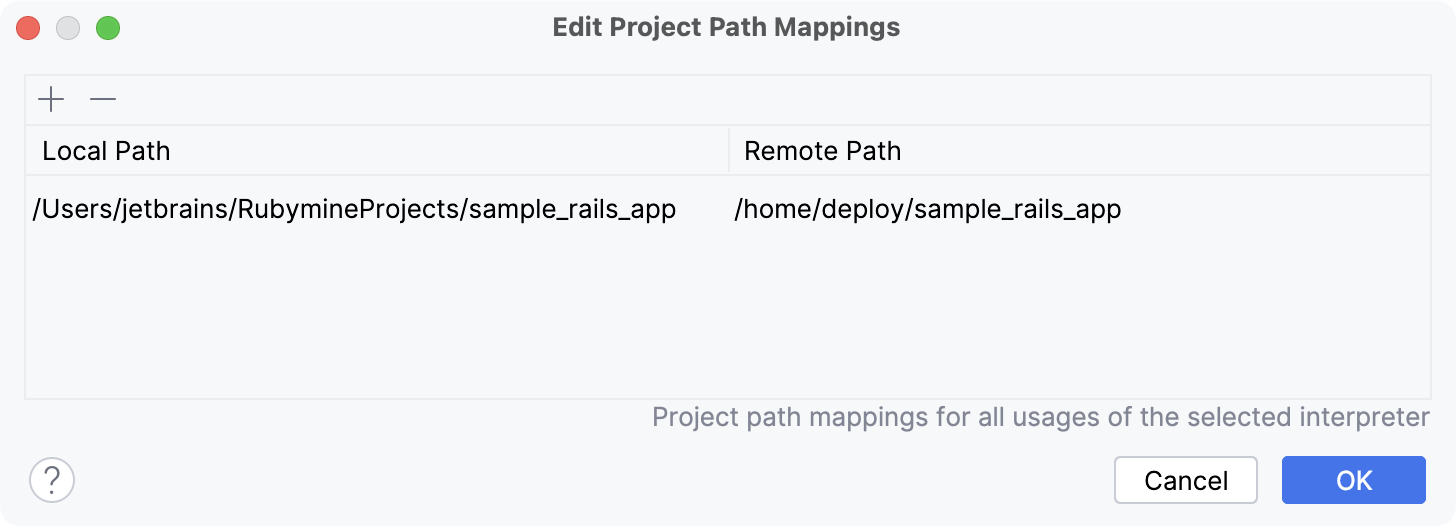
In our case, the paths will look as follows:
Local Path: /Users/jetbrains/RubymineProjects/sample_rails_app
Remote Path: /home/deploy/sample_rails_app
Click OK in this dialog and then click OK in the Settings dialog. Now we are ready to attach to a remote process and debug the application.
Start debugging on the remote machine
In this part, we'll install the debugging gems and start a debugging session on the remote machine.
(Optional) RubyMine allows you to debug Rails applications with Spring. This may require updating a system or project Spring configuration file to load the debugger into every process forked by Spring. To do this, add the following code to ~/.spring.rb or config/spring.rb file:
Spring.after_fork do if ENV['DEBUGGER_STORED_RUBYLIB'] ENV['DEBUGGER_STORED_RUBYLIB'].split(File::PATH_SEPARATOR).each do |path| next unless path =~ /ruby-debug-ide/ load path + '/ruby-debug-ide/multiprocess/starter.rb' end end endInstall the debugging gems to the target Ruby interpreter. To do this, add the debase and ruby-debug-ide to the Gemfile and run
bundle install.gem 'debase' gem 'ruby-debug-ide'Go to the application's folder and run it with the debugger attached using the following command.
rdebug-ide --host 0.0.0.0 --port 1234 --dispatcher-port 26162 -- bin/rails s
Start debugging on the local machine
Now we are ready to start debugging in the IDE.
Set the breakpoints in your application.
Run the debugging session. To do this, press Ctrl twice and type the configuration name (Remote debug: sample_rails_app) in the popup. Press and hold down the Shift key (the dialog title changes to Debug) and press Enter.