Upgrade from ZIP to Docker
Follow this instruction to upgrade your existing ZIP installation with a Docker distribution.
Before proceeding with the installation:
Make sure you have the latest version of Docker installed on your host machine.
If your current Upsource installation is set up to work with a stand-alone (external) Hub, make sure you have the latest version of Hub installed and upgrade if necessary.
1. Back up your data
Create a backup while your existing Upsource installation is running.
2. Stop Upsource
Stop Upsource:
<upsource_home>\bin\upsource.sh stopUse your operating system's tools to make sure that all Java processes launched by Upsource are no longer running. (On Windows, you can use Process Explorer .)
If there are no Upsource-related Java processes outstanding, proceed to the next step.
If there are Upsource-related Java processes still running:
(Optional, Windows only) Please consider taking thread dumps from those processes using the jstack tool (on Windows, it's available under <upsource_home>/internal/java/windows-amd64/bin) and provide the thread dumps to JetBrains for investigation.
Kill the outstanding process trees.
3. Pull Upsource image
Pull an image of the latest Upsource version from the Docker Hub Repository:
docker pull jetbrains/upsource:<version> Where <version> is a full version number of an Upsource build.4. Prepare folders
Create empty directories on the host machine to store Upsource data, configuration, log, and backup files:
mkdir -p -m 750 <path to data directory> <path to logs directory> <path to conf directory> <path to backups directory>These directories will be passed to the Upsource container as volumes.
It's recommended that you name the folders correspondingly:
data
config
logs
backups
(Linux or macOS only) The Upsource service runs inside the Docker container under a non-root account 13001:13001 (group:id). Give that account read/write permissions to access the directories you've created:
chown -R 13001:13001 <path to data directory> <path to logs directory> <path to conf directory> <path to backups directory>Locate the last backup you created in Step 1 (it'a date-specific directory inside the backups folder) and copy it from the old installation to the empty backups folder you've just created for your new installation.
5. Run new Upsource installation
Use the following command to run a container with Upsource server and map Upsource data volumes and port:
Where:
<upsource-server-instance> is a name you give to the container.
-v <path to data directory>:/opt/upsource/data maps the data directory in the container to the data directory you've created on the host machine. The same mapping is set for the other directories: conf, logs, backups.
-p <port on host>:8080 this port mapping instructs your host machine to listen on <port on host> and propagate all traffic to port 8080 inside the Docker container.
Windows only: add -u root after -p <port on host>:8080 \.
jetbrains/upsource:<version> points to the correct image with the Upsource build.
Upsource service is started on {0.0.0.0:8080} inside the Docker container, and port 8080 is mapped to <port on host> you've specified. This way the service may be accessed from any machine that has network access to <port on host> of your host machine. For instance, if FQDN of the host machine is host.mydomain.com and the <port on host> is 7777, then the service will be available at http://host.mydomain.com:7777
6. Follow the wizard
On the first run, Upsource service will start with Configuration Wizard at the address mentioned above.
On the first page of Configuration Wizard click Upgrade:

Select the location of the last backup of your old installation (a date-specific directory inside the backups folder):

Click Next.
Now you can verify your system settings and location of system directories. You can also switch from the HTTP to HTTPS mode and vice-versa regardless of your previous set-up:

Click Upgrade when you're done.
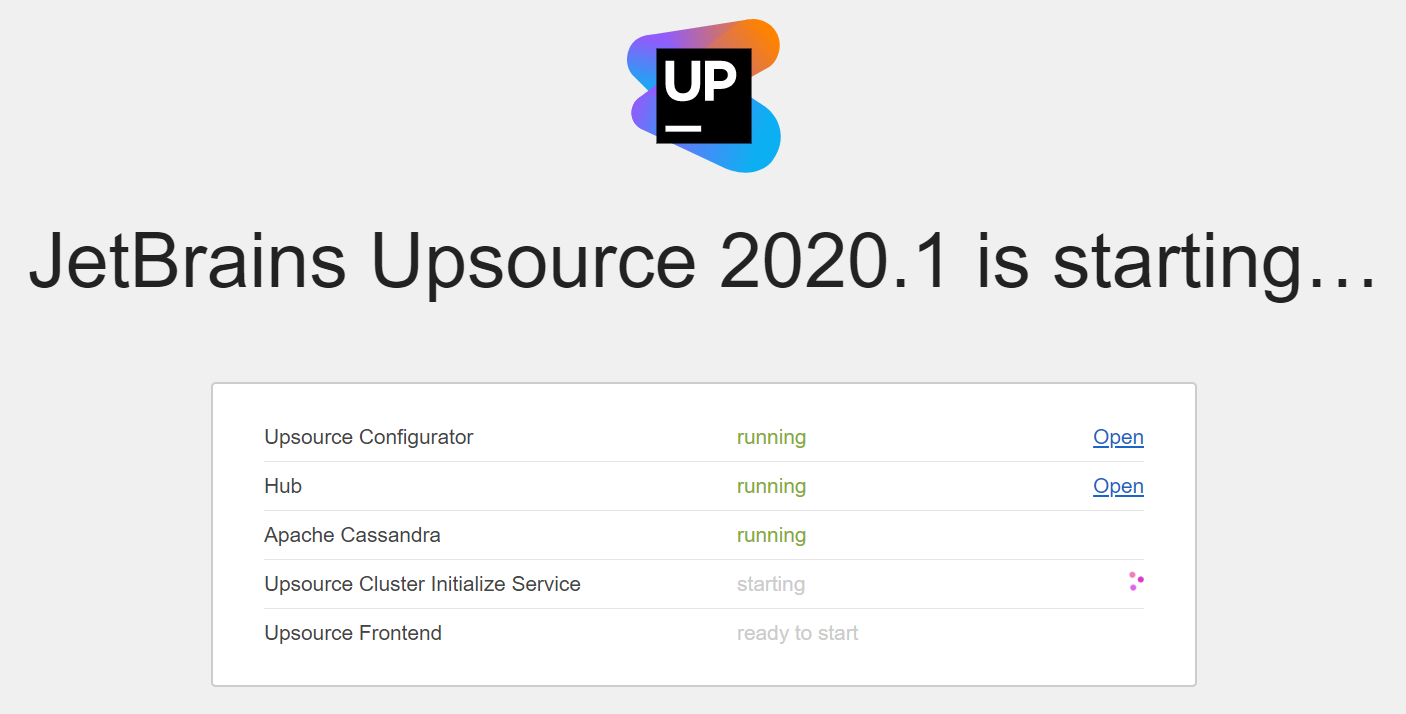
Wait a little for Upsource to launch its components:

As soon as it's done, it will open its welcome page.
7. Manage your Upsource instance
Regular commands
Start Upsource:
docker start <containerId>Stop Upsource:
docker exec <containerId> stopor:
docker stop -t 1800 <containerId>To ensure graceful Upsource shutdown and avoid potential data loss, do not run this command without the required timeout value.
List available commands:
docker run -it jetbrains/upsource:<version> help
Changing base URL
If you ever need to change the base URL for your running Upsource instance, proceed as follows:
Stop Upsource:
docker exec <containerId> stopRun the following command:
docker run -it -v <path to data directory>:/opt/upsource/data \ -v <path to conf directory>:/opt/upsource/conf \ -v <path to logs directory>:/opt/upsource/logs \ -v <path to backups directory>:/opt/upsource/backups \ -p <port on host>:8080 \ jetbrains/upsource:<version> \ configure --base-url=http://upsource.mydomain.com:XXXXWindows only: add
-u rootafter-p <port on host>:8080 \.Start Upsource:
docker start <containerId>
Containers that are run to configure your installation are disposable and can be safely removed afterwards with the docker rm command.
To see all stopped containers, run docker ps -a
Recovering a deleted container
If you've deleted a container with Upsource installation, just run the same command you used for the first start: