Create a remote server configuration
In a remote server configuration, the server runs on another computer (a remote host). To access files on the remote server, use FTP/SFTP/FTPS/WebDAV protocols.
To create a remote server configuration in WebStorm, you need to:
Authenticate with the remote host and set up connection between the web server installed on it and WebStorm.
Configure mapping between the WebStorm project and the project folder on the host and its corresponding URL path.
Press Ctrl+Alt+S to open the IDE settings and then select .
Alternatively, go to in the main menu.
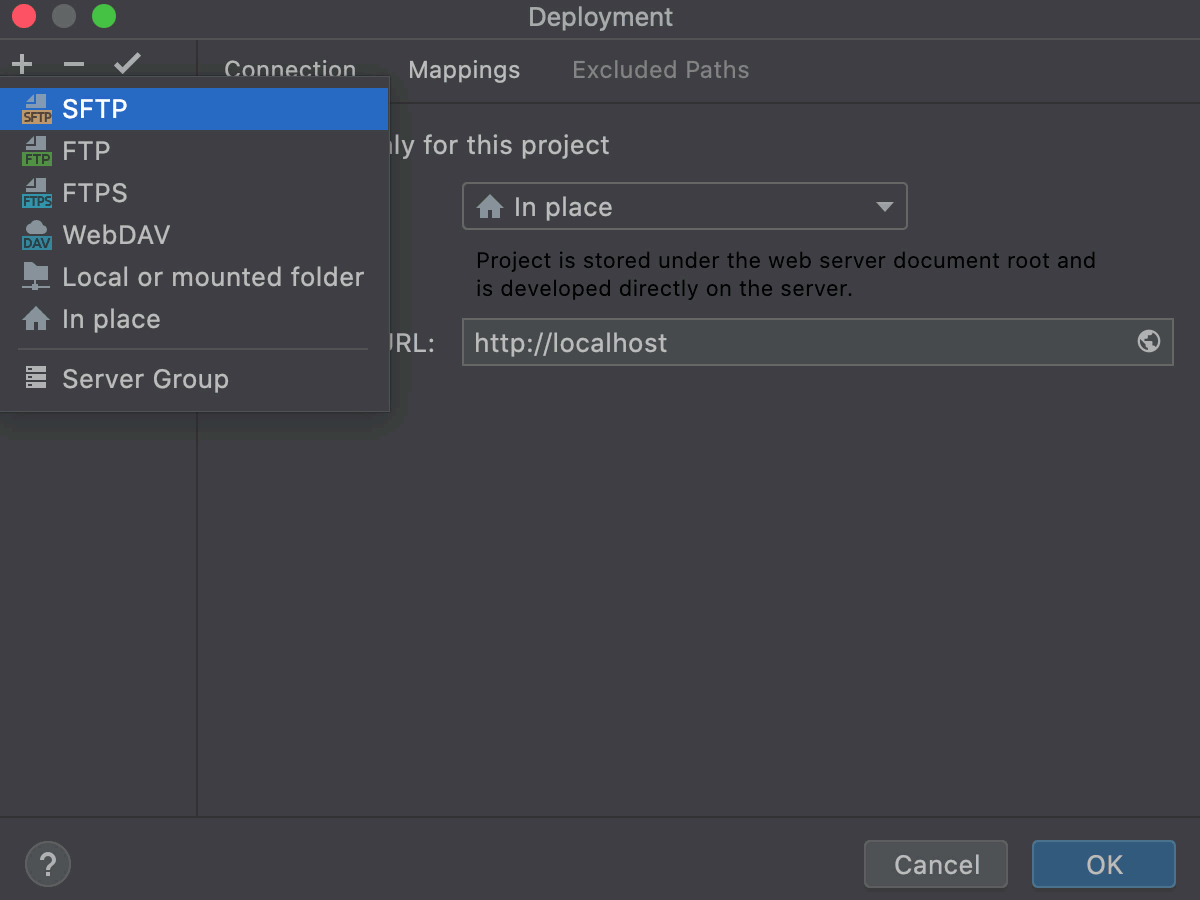
The left-hand pane of the Connection tab, that opens, lists all the existing server configurations. Click
 and select the server configuration type depending on the protocol you are going to use to exchange the data with the server.
FTP: choose this option to have WebStorm access the server via the FTP file transfer protocol.
SFTP: choose this option to have WebStorm access the server via the SFTP file transfer protocol.
FTPS: choose this option to have WebStorm access the server via the FTP file transfer protocol over SSL (the FTPS extension).
WebDAV: choose this option to have WebStorm access the server via the WebDAV file transfer protocol (the WebDAV extension).
In the Create new server dialog that opens, type the name of the new server and click OK to return to the Connection tab.
Specify user credentials defined during registration on the host.
For FTP and FTPS servers, specify the registration mode:
To login in a regular mode, specify the login in the User name field.
To enable anonymous access to the server with your email address as password, select the Login as anonymous checkbox.
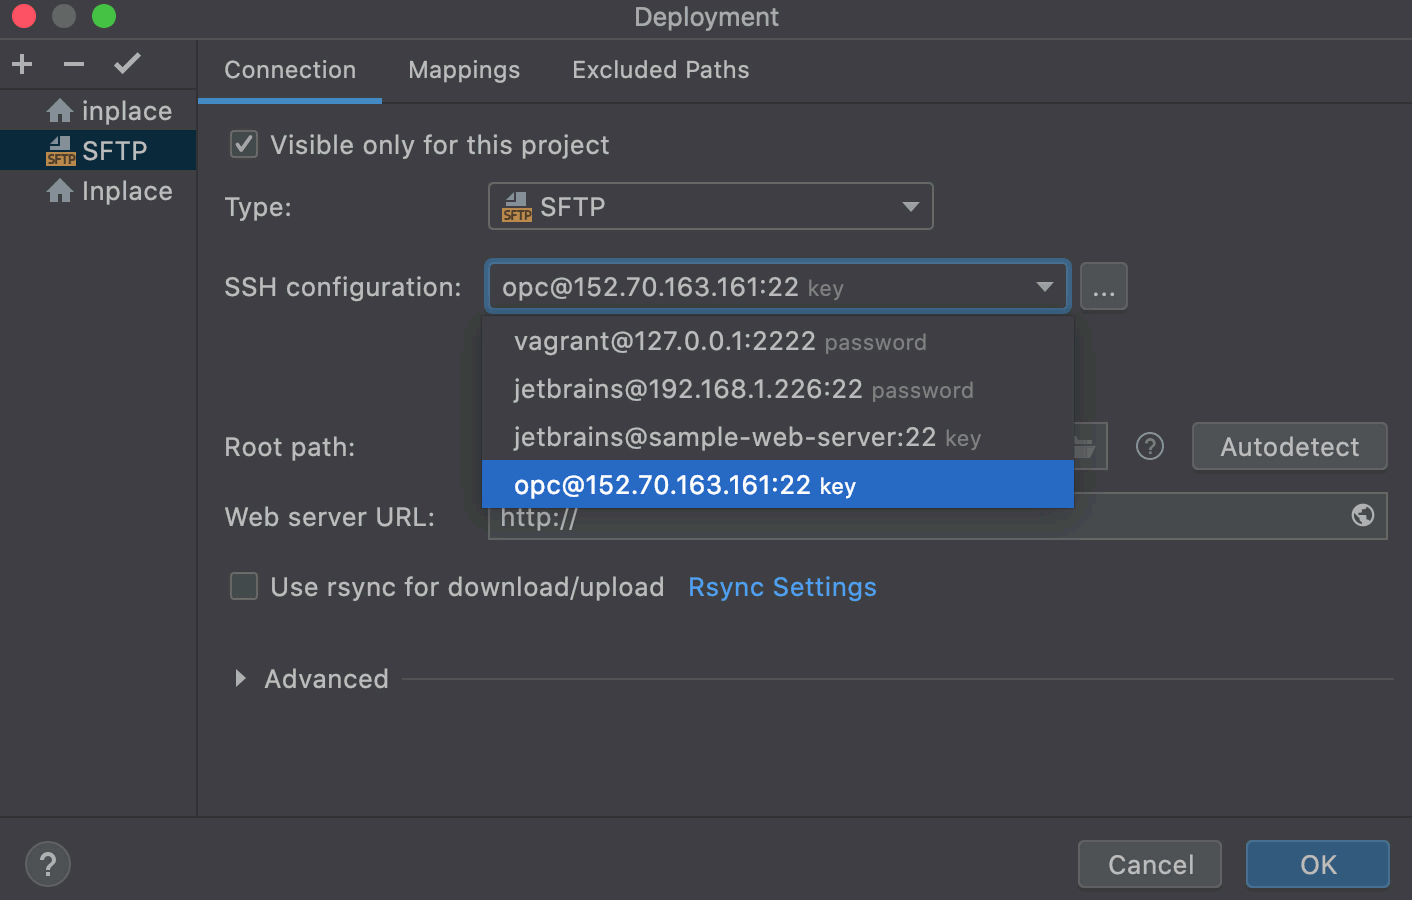
Specify the way to authenticate to the server:
For FTP and WebDAV servers, type your password and select the Save password checkbox to have WebStorm remember it.
For SFTP server, choose one of the created SSH configurations, or click
 and create a new configuration as described in Create SSH configurations.
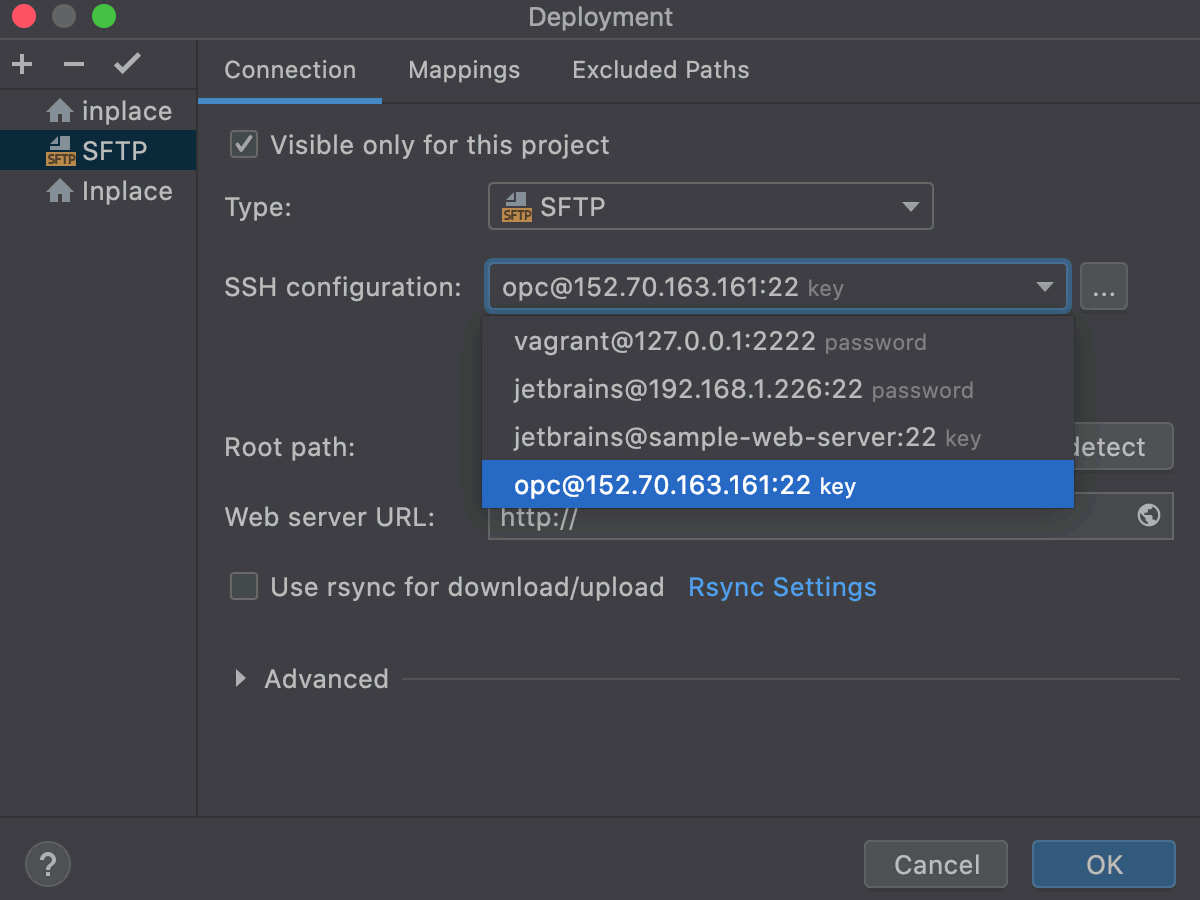
For FTPS server, specify your username and password. In the Advanced settings area, choose the security mechanism to apply.
Select Explicit to have the explicit (active) security applied. Immediately after establishing connection, the FTP client on your machine sends a command to the server to establish secure control connection through the default FTP port.
This method is selected by default.
Select Implicit to have the implicit (passive) security applied. In this case, security is provided automatically upon establishing connection to the server, which appoints a separate port for secure connections.
Note that this method is considered deprecated, and using it is discouraged.
Enable connection to the server and specify the server configuration root.
For FTP/FTPS/WebDAV servers, specify the host name of the server to exchange data with and the port at which this server listens. The default value for the FTP/FTPS port is 21. For WebDAV, the default value is 6180.
For SFTP servers, the values specified in the selected SSH configuration are used.
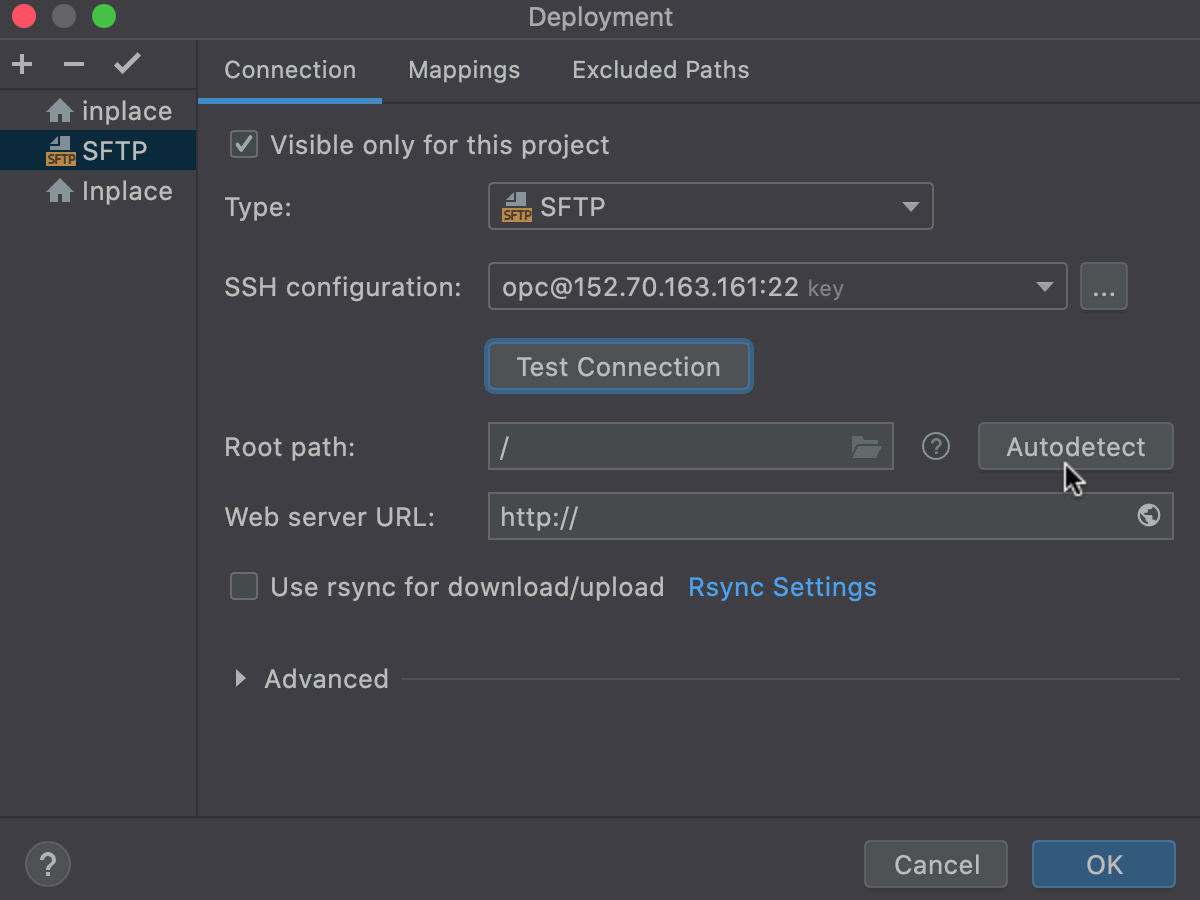
In the Root path field, specify the folder used as the remote directory root for browsing the remote file system and setting the server path mappings and excluded paths.
Do one of the following:
Accept the default
/path, which points at the root folder on the server.Type the path manually or click
 and select the desired folder in the Choose Root Path dialog that opens.
Click Autodetect. WebStorm detects the user home folder settings on the FTP/SFTP server and sets up the root path according to them. The button is only enabled when you have specified your credentials.
In the Web server URL field, type the URL address to access the server configuration root. The server configuration root is the highest folder in the file tree on the local or remote server accessible through the server configuration. For in-place servers, it is the project root.
Both HTTP and the HTTPS protocols are supported.
Click
 in the field to make sure that the specified server root URL address is accessible and points at the correct Web page.
Map local folders to folders on the server and the URL addresses to access them.
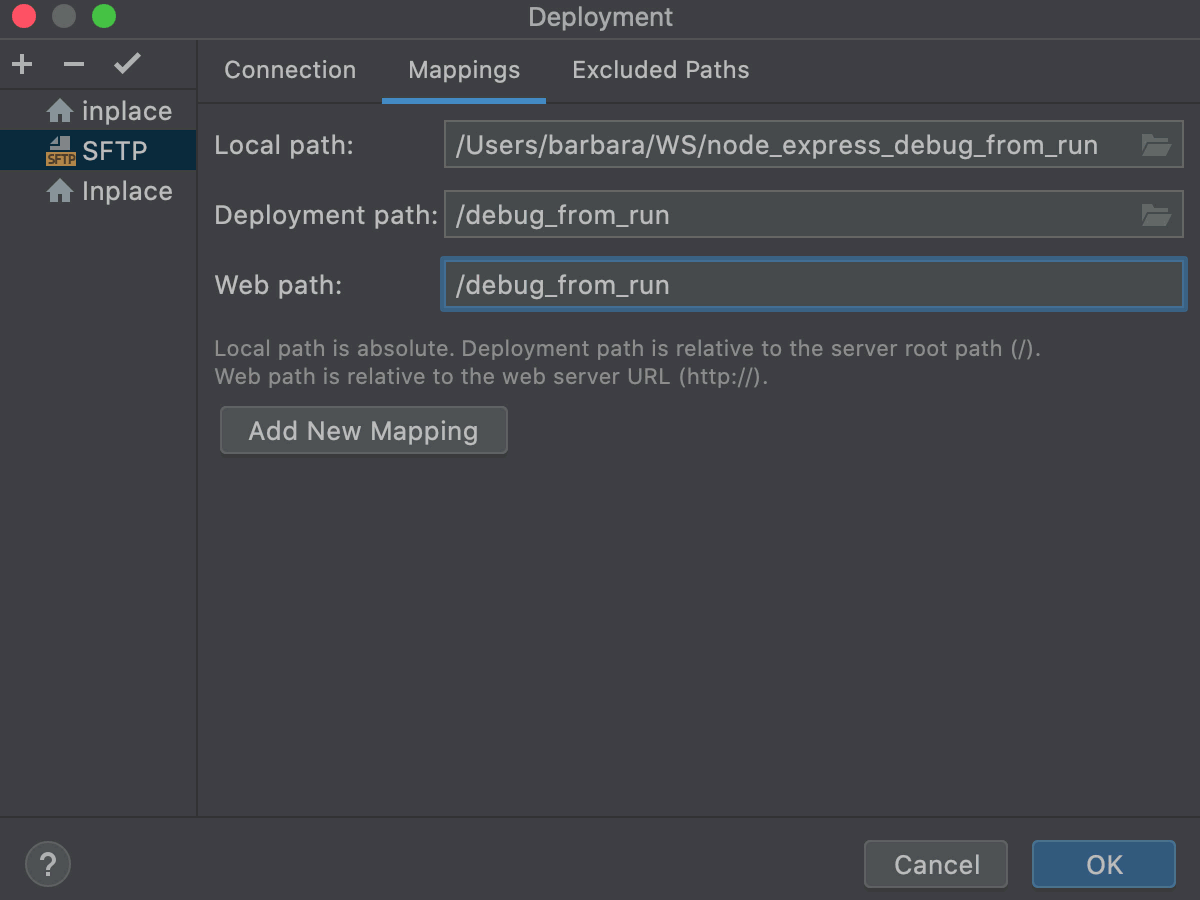
In the Mappings tab, set correspondence between the project folders, the folders on the server to copy project files to, and the URL addresses to access the copied data on the server.
The easiest way is to map the entire project root folder to a folder under the server document root. The project folder structure in this case will be recreated on the server.
Open the Mappings tab.
In the Local Path field, the absolute path to the local project folder. WebStorm automatically fills out this field with the path to the currently opened project.
In the Deployment Path field, a folder under the server document root where WebStorm will upload the contents of the project folder specified in the Local path field.
If a folder with the specified name does not yet exist on the server, WebStorm will create it when you trigger project upload.
In the Web Path field, the URL path configured for the folder specified in Deployment path. You can use a slash (
/) to point to the root folder, or leave the field blank if the directory is not accessible from the web.
Optionally
In the Connection tab, mark the server configuration as default and configure its visibility.
Click
 on the toolbar to mark the server as default.
 Use the Visible only for this project checkbox to enable reuse of this server access configuration in other projects.
Select the checkbox to restrict the use of the configuration to the current project. Such configuration cannot be reused outside the current project. It does not appear in the list of available configurations in other projects.
The server configuration settings are stored in the .idea directory together with the project, which allows sharing them between team members through a VCS.
In the list of server access configurations in the left-hand pane, the configurations visible only in the current project are marked with the
 icon.
icon. When the checkbox is cleared, the configuration is visible in all WebStorm projects. Its settings can be reused across several projects.