Terminal
WebStorm includes an embedded terminal emulator for working with your command-line shell from inside the IDE. Use it to run Git commands, set file permissions, and perform other command-line tasks without switching to a dedicated terminal application.
Enable the Terminal plugin
This functionality relies on the Terminal plugin, which is bundled and enabled in WebStorm by default. If the relevant features are not available, make sure that you did not disable the plugin.
Press Ctrl+Alt+S to open settings and then select .
Open the Installed tab, find the Terminal plugin, and select the checkbox next to the plugin name.
Initially, the terminal emulator runs with your default system shell, but it supports many other shells, such as Windows PowerShell, Command Prompt cmd.exe, sh, bash, zsh, csh, and so on. For more information about changing the shell, refer to Terminal settings.
Access the Terminal tool window
Go to or press Alt+F12.
By default, the terminal emulator runs with the current directory set to the root directory of the current project. For more information about changing the default start directory, refer to Terminal settings.
Right-click any file (for example, in the Project tool window Alt+1 or any open editor tab) and select to open the Terminal tool window with a new session in the directory of that file.
Start a new local session
To start a new session in a separate tab, click
on the toolbar or press Ctrl+Shift+T.

To run multiple sessions inside a tab, right-click the tab and select Split Right or Split Down in the context menu.

The terminal saves tabs and sessions when you close the project or WebStorm. It preserves tab names, the current working directory, and even the shell history.
To close a tab, click
on the terminal toolbar or press Ctrl+F4.
To terminate a running session, close the tab by clicking
and confirm the process termination.
To switch between active tabs, press Alt+Right and Alt+Left. Alternatively, you can press Alt+Down to see the list of all terminal tabs.
To clear the terminal screen, press Ctrl+L.
Start a new SSH session
On the terminal toolbar, click
and select New SSH Session.
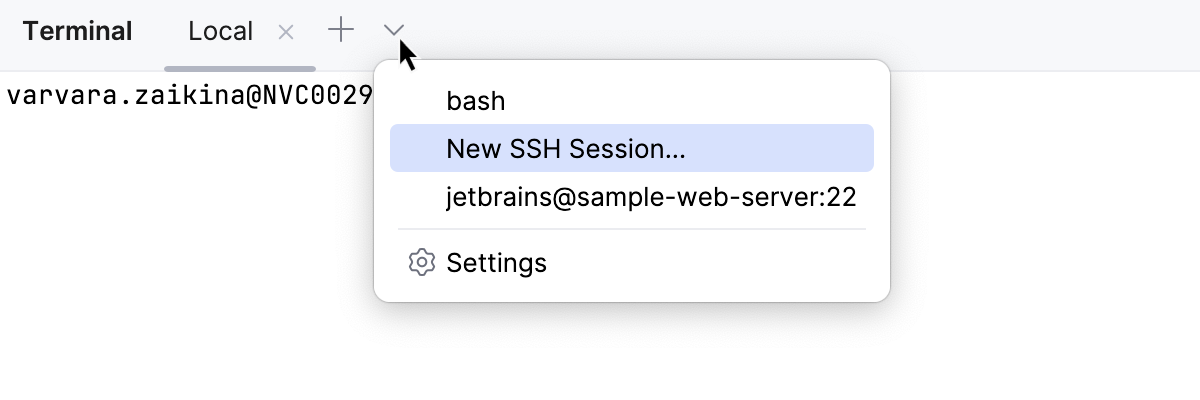
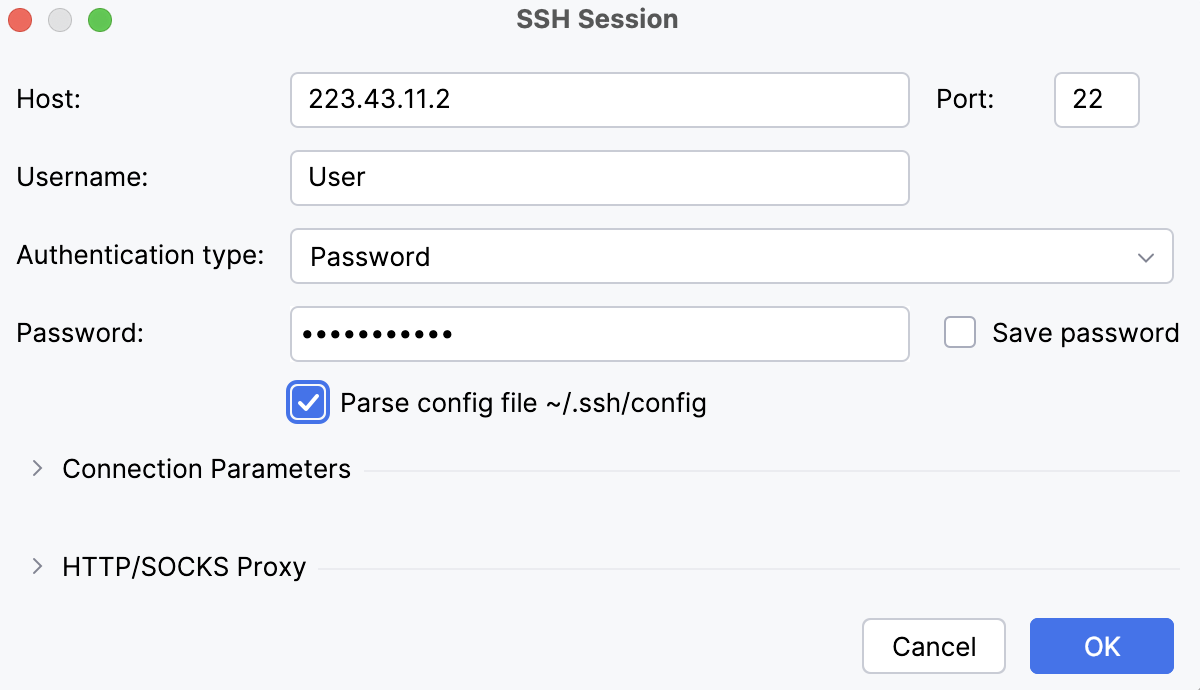
Enter the address of the host to which you want to connect and provide authentication data.
Or, if you have configured SSH configurations, you can select one of them from the list.

To terminate the connection, click in the terminal tab.
Rename a terminal tab
Right-click the tab and select Rename Session from the context menu.
Search in the terminal
To search for a certain string in a terminal session, press Ctrl+F. This searches all text in the session: the prompt, commands, and output.
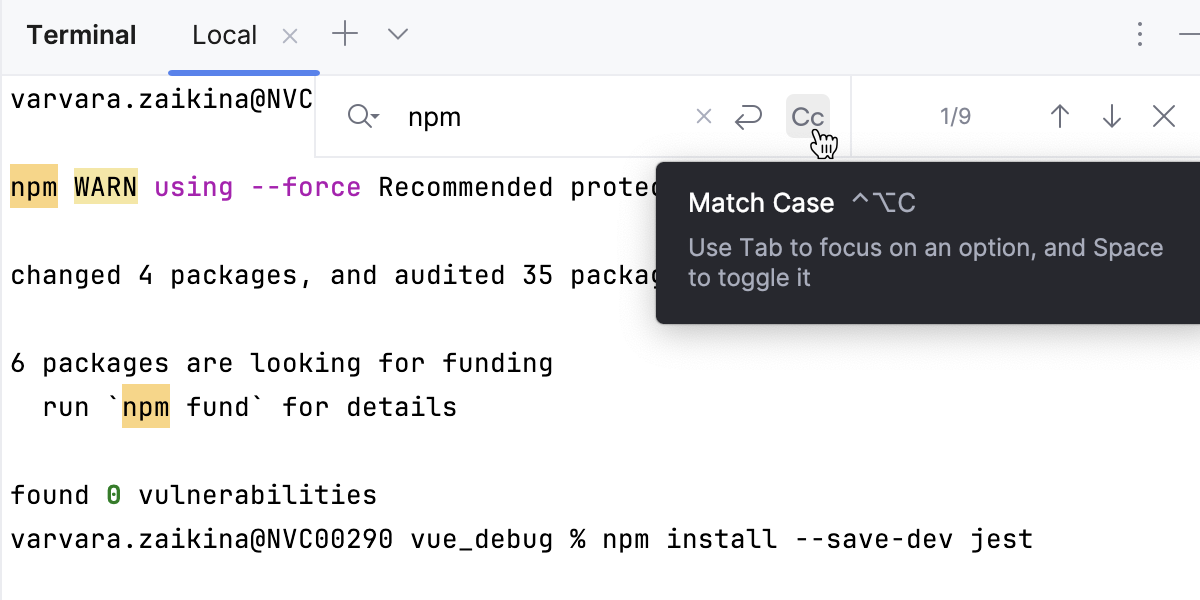
By default, the search is not case-sensitive. You can click (Match case) in the search field to make it case-sensitive.
Use completion in the terminal
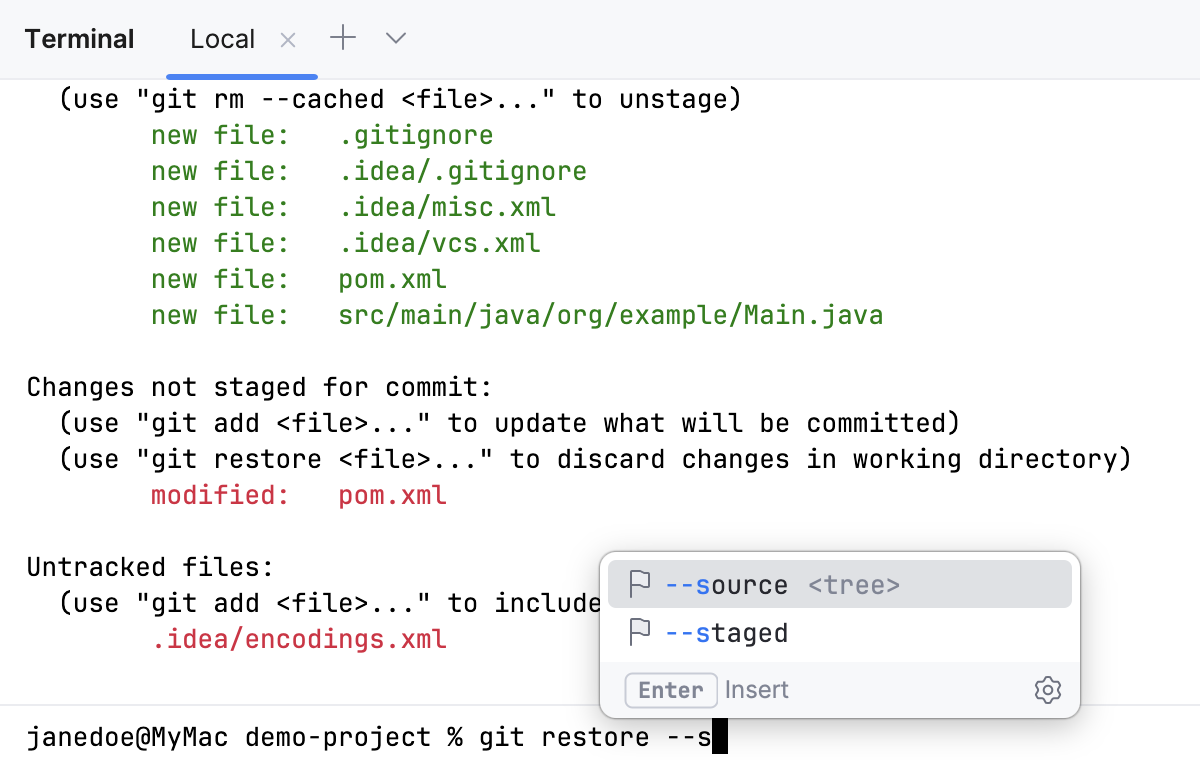
WebStorm provides completion for command names, options, and arguments, such as paths, Git branches, flags, and more.
Suggestions automatically appear in the Terminal tool window as you type. By default, WebStorm shows suggestions for parameters.
To enable completion for subcommands, parameters, and arguments, go to , and select Always for the Show a completion popup as you type option.
To invoke the completion popup manually, press Ctrl+Space.
To accept a suggestion, select it in the list and press Enter.
Configure the terminal emulator
Press Ctrl+Alt+S to open settings and then select .
Alternatively, click
on the Terminal toolbar and select Settings.
For more information, refer to Terminal settings.
Configure separators between executed commands
To better distinguish where commands start and end, you can enable separators in the terminal.
Press Ctrl+Alt+S to open settings and then select .
Use the Show separators between executed commands option to enable or disable separators.
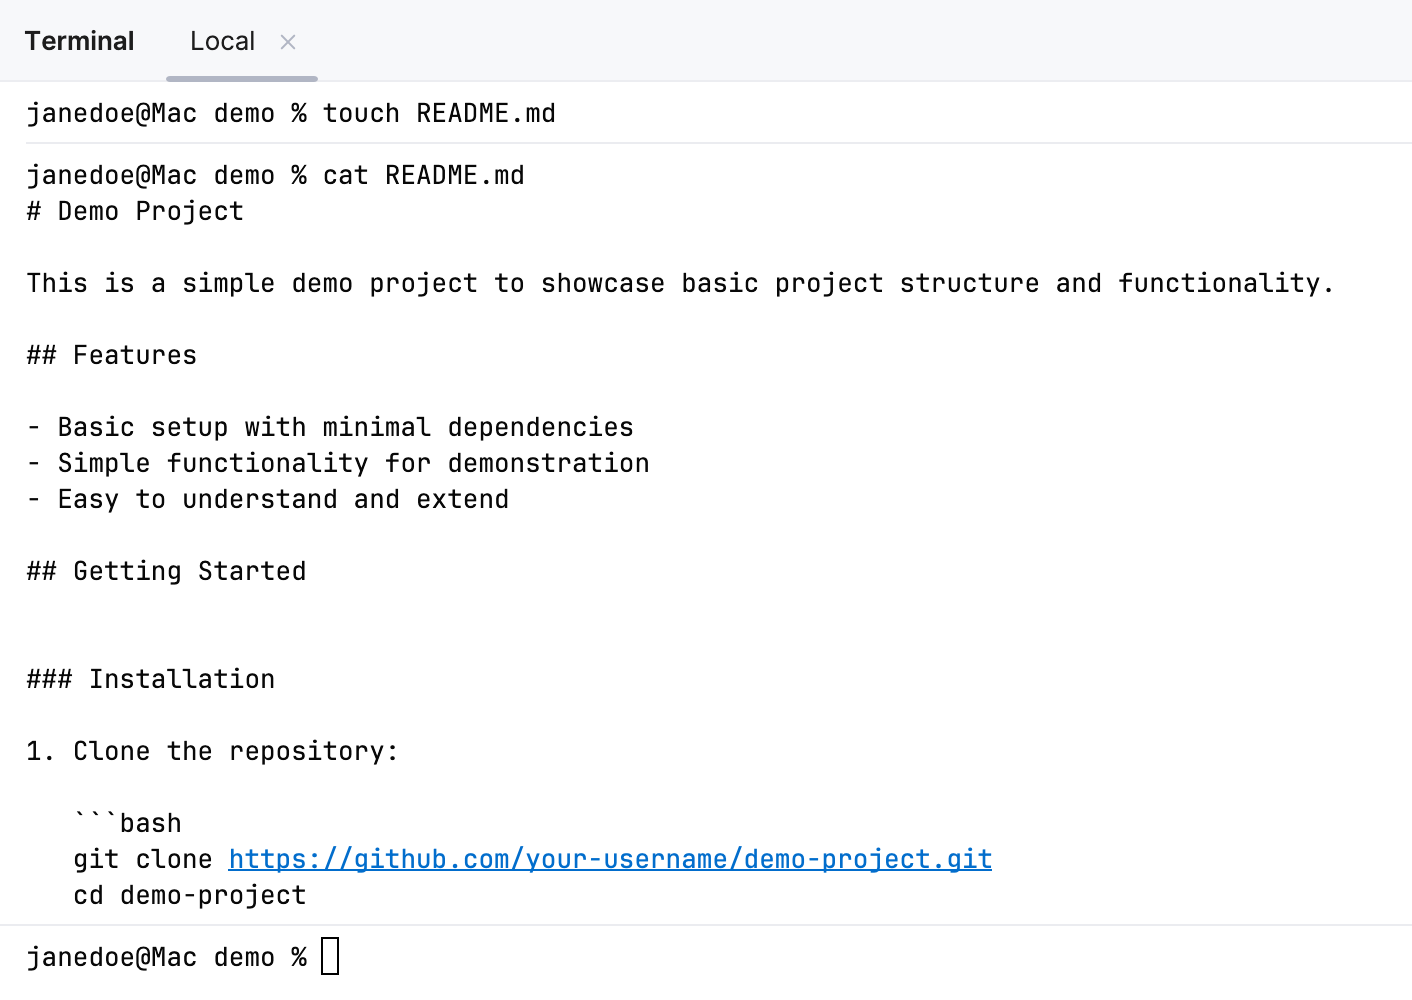
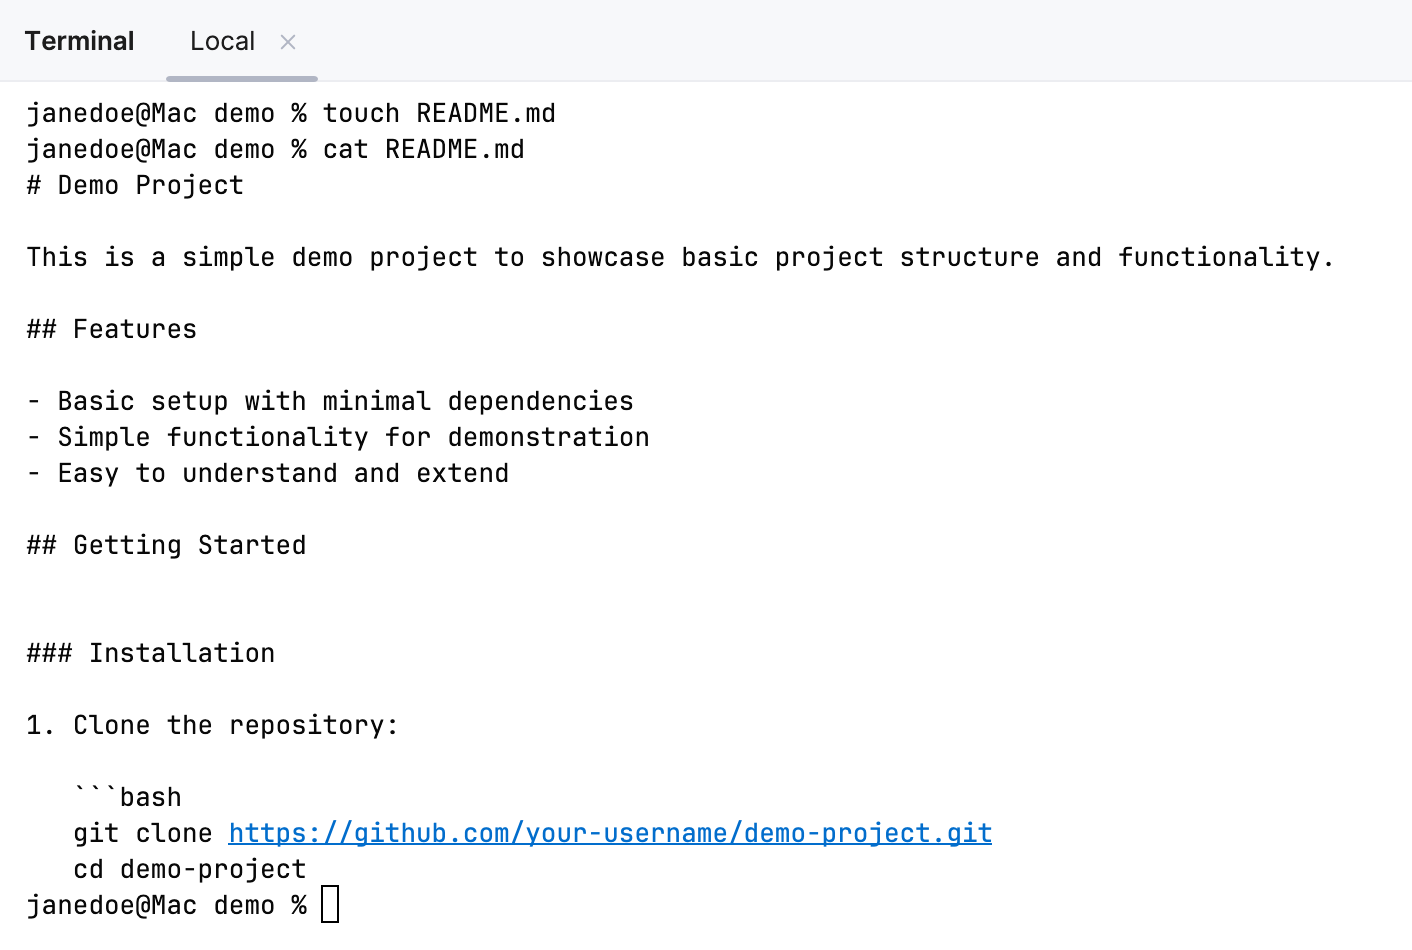
Click Apply to save the changes.
Terminal engine
Currently, the following terminal engines are available in WebStorm:
Reworked 2025 (default). Starting from version 2025.2, this is the default terminal engine in WebStorm. It is designed to combine the stability of the Classic emulator with improved performance, compatibility, and modern enhancements.
Classic. This is a standard terminal emulator of the previous generation, built on the JediTerm library, with user input (commands and keystrokes) sent directly to the underlying shell.
The Experimental 2024 (deprecated) terminal engine, also known as New Terminal in WebStorm 2024.*, has been deprecated due to compatibility challenges. The option to select this terminal engine is available only to users who had enabled it in WebStorm 2024.*. You can find the documentation for it in the earlier version of WebStorm Help.
Select a Terminal engine
Open the Terminal tool window: .
In the tool window header, click
and select a terminal engine.
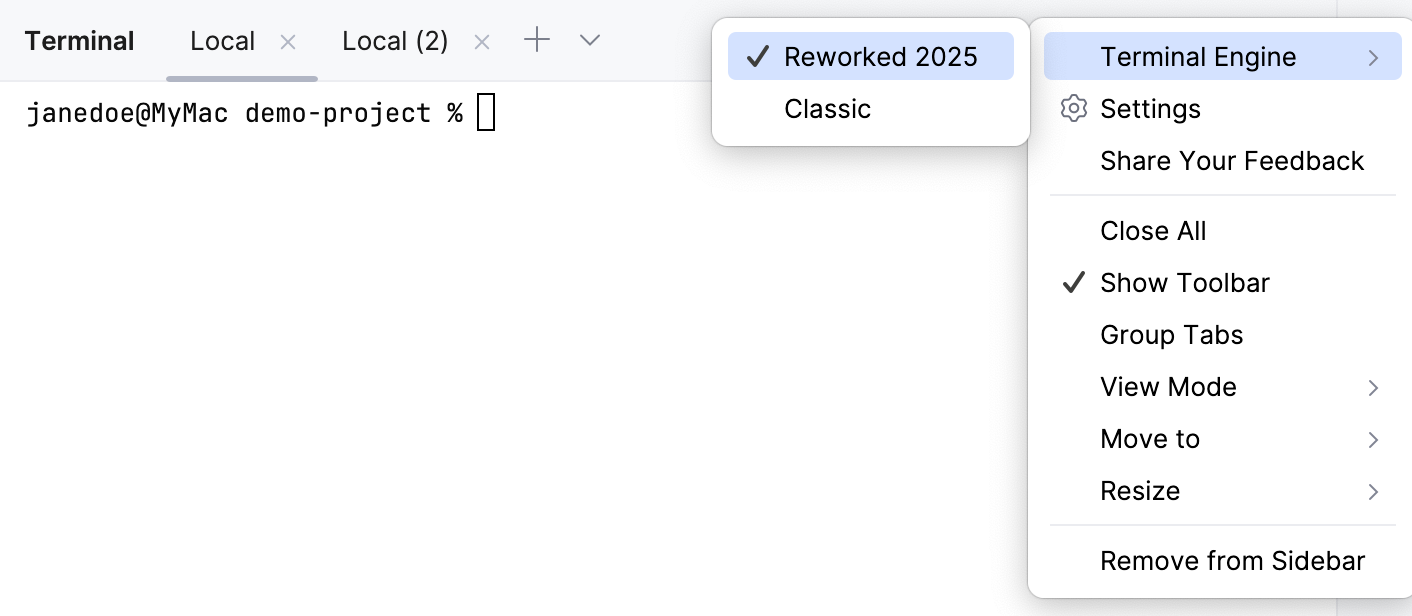
Alternatively, open the IDE settings (Ctrl+Alt+S) and go to .