Creating projects
In WebStorm, you can create empty projects, open folders as projects, check out sources from your VCS and create a project from them. You can also generate a project by a framework templates so your new application is already bootstrapped with all the required packages and configurations.
WebStorm can also save the settings, files, and folders of any project and use them as a template when creating new projects.
Create an empty project
Click New Project on the Welcome screen or select from the main menu.
In the dialog that opens, select Empty Project in the left-hand pane and then specify the project location.

If you specified the Default directory on the System settings page of the Settings dialog, WebStorm will suggest this default location. See Changing the default location for projects.
Create a basic JavaScript or TypeScript project
WebStorm can create a basic JavaScript or TypeScript project, so you can set up a project with minimal configuration.
Click New Project on the Welcome screen or select from the main menu. The New Project dialog opens.
In the left-hand pane, select New Project.
In the right-hand pane, select JavaScript or TypeScript and specify the path to the folder where the project-related files will be stored.
The generated project includes a package.json and an index.js or index.ts file with a
console.log()welcome message. If you select TypeScript, WebStorm also generates a tsconfig.json file to set up compiler options.By default, WebStorm also creates a Git repository.
To generate an example web application, select the Generate a playground project with onboarding tips checkbox. WebStorm will create a project based on the Vite template and provide hints ensuring smooth onboarding.

Create a project from existing local sources
When the sources to work with are already on your machine, you can just open the folder where they are stored and make it a WebStorm project:
Click Open on the Welcome screen or select from the main menu.
In the dialog that opens, select the directory that contains the desired source code.
Click OK and specify whether you want the new project to be opened in a separate window or close the current project and reuse the existing one. For more information, refer to Opening multiple projects.
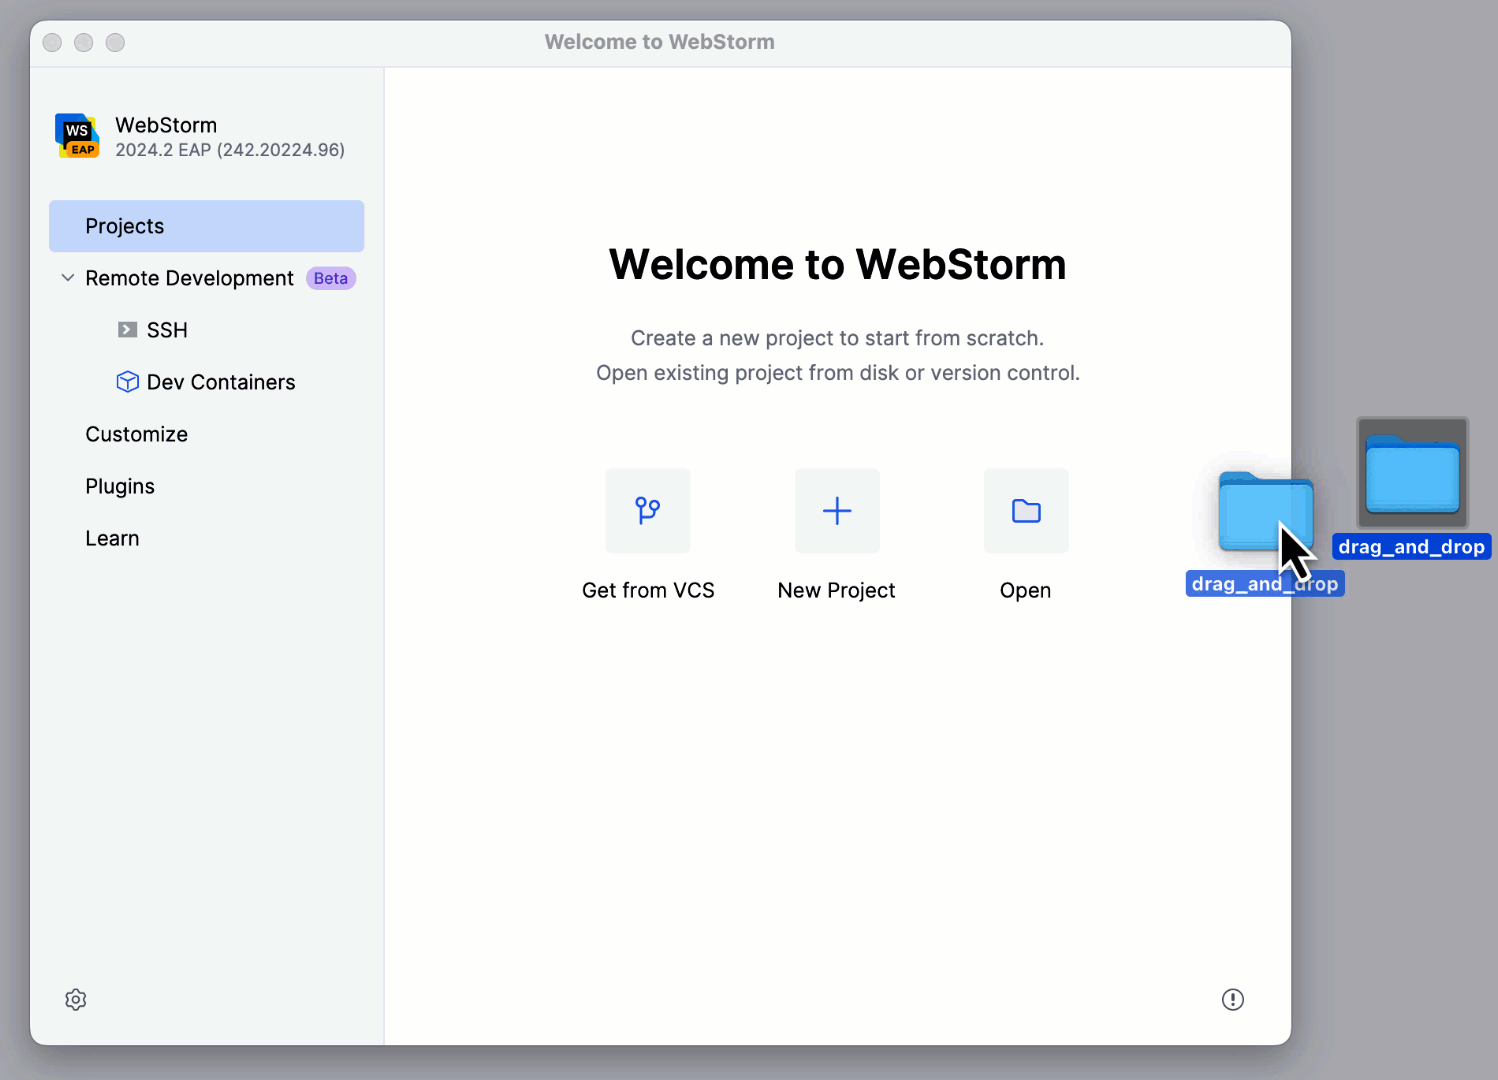
Alternatively, just drag the folder with your sources to the Welcome Screen.
Check out a project from Version Control
Click Clone Repository on the Welcome screen.
Alternatively, select or or from the main menu.
Instead of Git in the main menu, you may see any other Version Control System that is associated with your project. For example, Mercurial or Perforce.
In the dialog that opens, select your version control system from the list and specify the repository to check out the application sources from. For more information, refer to Check out a project (clone).
Generate framework-specific projects
WebStorm can create new framework-specific applications for you, set up their structure, and download the required packages, if necessary. You can also use the Yeoman generator. For more information, refer to Yeoman.
Click New Project on the Welcome screen or select from the main menu. The New Project dialog opens.
In the left-hand pane, choose the template to use depending on the type of your application.
The set of controls in the right-hand pane depends on the chosen template. For more information, refer to Creating a new application on framework-specific pages under Languages and frameworks.
Project templates
Suppose you have a project with files and folders, settings, and configuration that you want to reproduce in new projects. You can save this project as a custom project template and then use this template for product creation.
Save a project as a template
Go to .
In the dialog that opens, specify the name of the template and optionally provide a brief template description.
Note that WebStorm saves all project settings from the .idea folder in the template. So if you want your new projects to have some predefined run/debug configurations, select the Share checkbox in these configurations before you save the template.
Create a project from a template
Click New Project on the Welcome screen or select from the main menu.
In the dialog that opens, select the required template from the left-hand pane. Project templates are marked with
 .
.
In the right-hand pane, specify the project location.
Delete project templates
Go to .
Select the template that you want to remove and click
 .
.