Run WebStorm for the first time
You can use the Toolbox App to run any JetBrains product. In case of a standalone installation, running WebStorm depends on the operating system:
To run WebStorm, find it in the Windows Start menu or use the desktop shortcut. You can also run the launcher batch script or executable in the installation directory under bin.
Run the WebStorm app from the Applications directory, Launchpad, or Spotlight.
Run the webstorm.sh shell script in the installation directory under bin. You can also use the desktop shortcut, if it was created during installation.
For information about running WebStorm from the command line, see Command-line interface.
Once you launch WebStorm, you will see the Welcome screen, the starting point to your work with the IDE, and configuring its settings. This screen also appears when you close all opened projects. Use the tabs on the left side to switch to the specific welcome dialog.

Customize your environment
In the left-hand pane, click Customize.
In the Color theme area, specify the user interface theme. Choose the appropriate theme from the list or select the Sync with OS checkbox to use your system default theme.
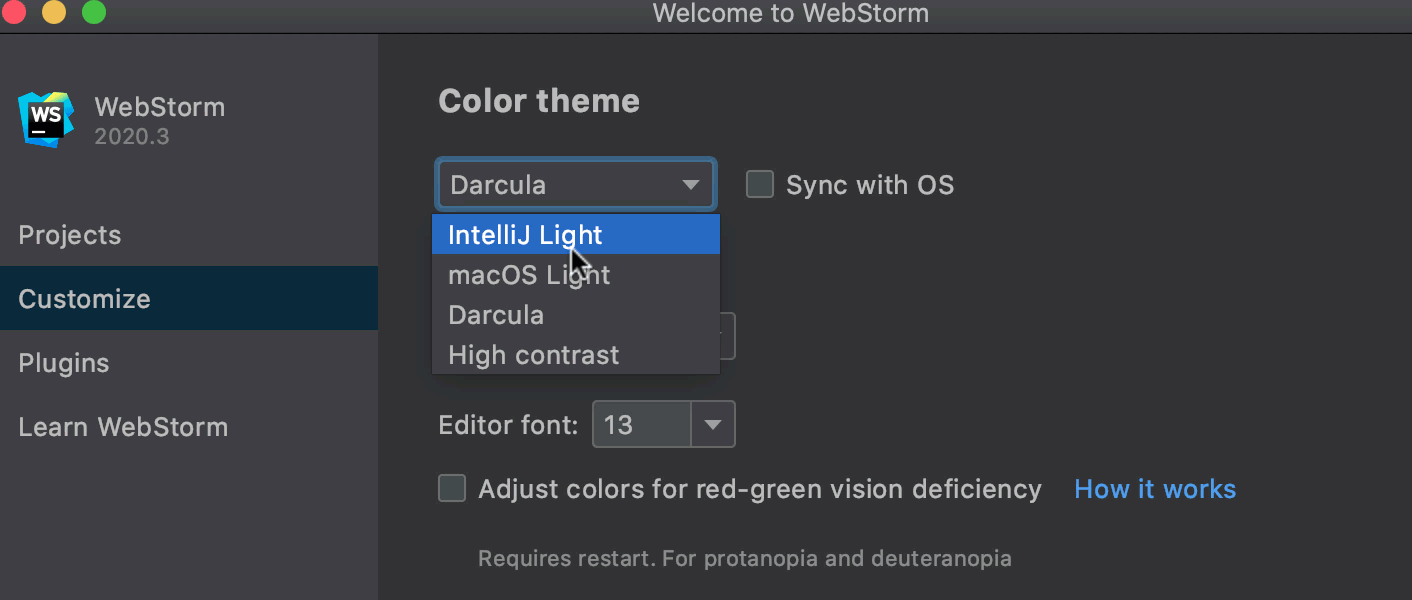
You can change the theme at any time later in the Switch popup (Ctrl+`). For more information, see User interface themes.
Specify the keymap to use. Select the appropriate one from the list or click Configure and adjust the keymap as described in Configure keyboard shortcuts.
In the Accessibility area, specify the font size to use and adjust colors if necessary. Learn more from Accessibility.
Download and install additional plugins
If necessary, click Plugins in the left-hand pane and download and install additional plugins from the WebStorm plugins repository.

Learn WebStorm

If you are new to WebStorm, it is recommended that you go through Getting started with WebStorm.
You can also try the Learning plugin for WebStorm. To do that, click Learn WebStorm in the left-hand pane and then click Start Learning in the Interactive Courses area.
Start a project in WebStorm
On the Welcome screen, you can do the following: