Search for usages
With the Find Usages actions you can search for the references of your code element throughout the whole codebase.
You can manage the search process and search only in a single file, extend your search to the whole project, or create a certain search scope. Moreover, you can configure the color of the usages highlighting or disable the automatic highlighting of usages altogether.
Search for usages in a file
In the editor, select an element you want to find, WebStorm automatically highlights all found usages in the file.

To turn this highlighting off, open the Settings dialog (Ctrl+Alt+S) , go to , and clear the Usages of element at caret checkbox in the Highlight on Caret Movement area.
When automatic highlighting is disabled, press Ctrl+Shift+F7 to highlight all usages of a symbol at caret within the file and to remove this highlighting.
Use F3 and Shift+F3 to navigate between highlighted symbols.
Change the background color of highlighted usages
In the Settings dialog (Ctrl+Alt+S) , go to .
From the options on the right, open the node and select Identifier under caret.
In the Background field, specify the color you need and save the changes.
Search for usages in a project
You can invoke search for usages in a project via a shortcut, via a context menu, via the Main menu, or by clicking a code vision hint.
Search via a menu or a shortcut
You can view the usages of classes, interfaces, methods, fields, variables, and other code elements in the dedicated Find tool window or right in the editor, in a popup window.
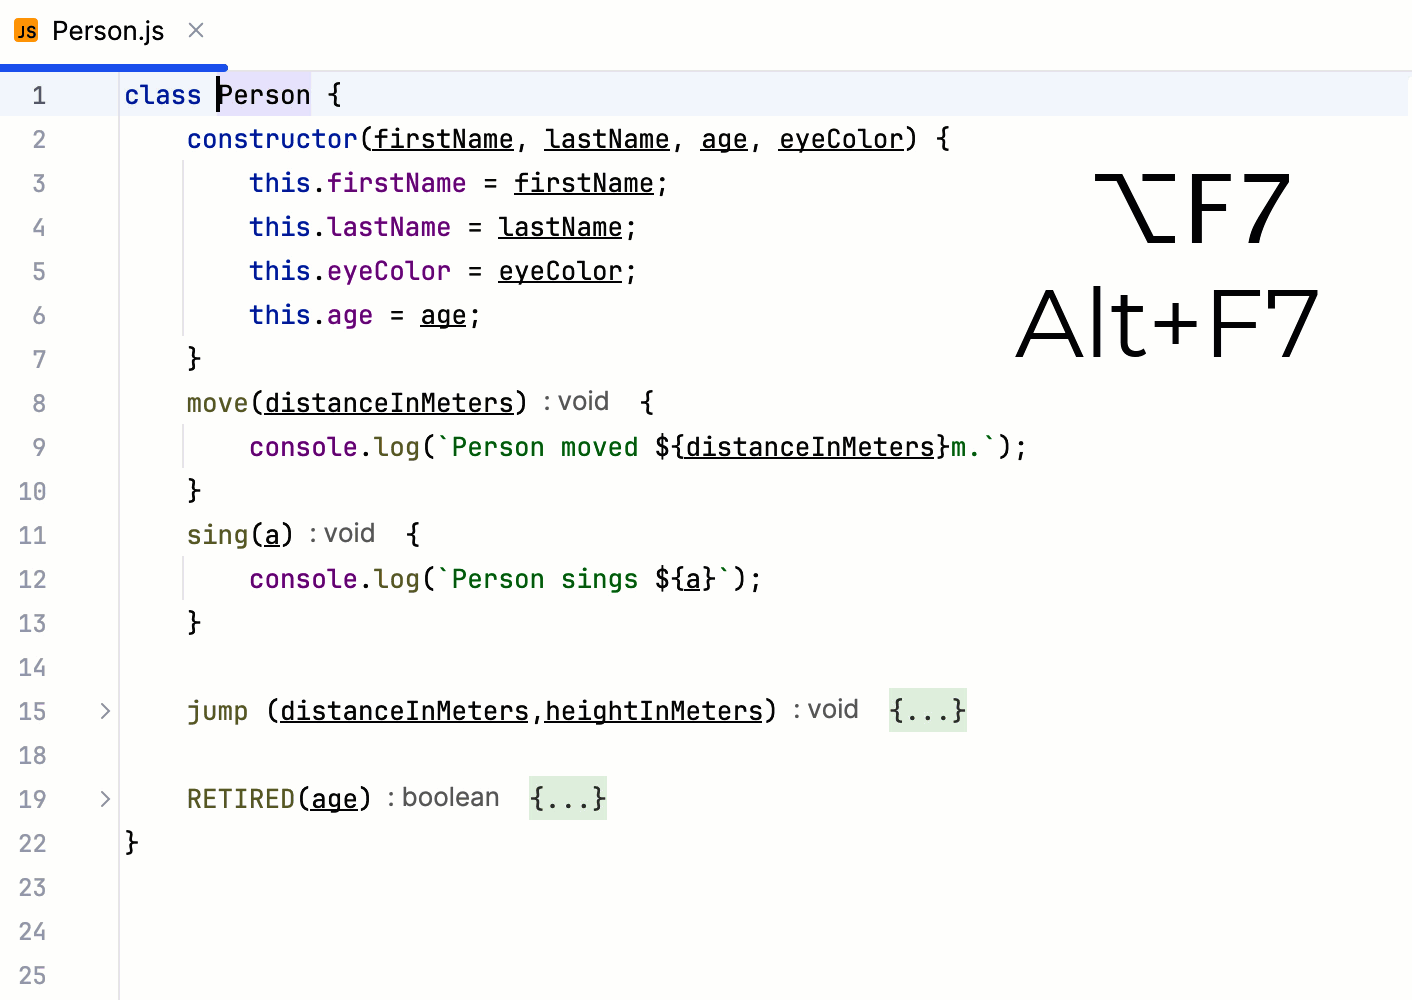
To open the usages of an element in the Find tool window, place the caret at the element and press Alt+F7 or select from its context menu.
To open the usages of an element in a popup window, select the element in the editor and press Ctrl+Alt+F7 or go to .

To switch to the Find tool window, click
 or press Alt+F7.
Search with code vision hints
You can configure WebStorm to display Show usages hints in the editor, next to classes, interfaces, methods, fields, variables, and other code elements in the editor. This lets you focus on your code, enriched with contextual information and navigation.
To display Show usages inlay hints in the editor, open the Settings dialog (Ctrl+Alt+S) , go to , expand the Code Vision section, and then select the Usages checkbox.
To view the usages of an element, hover over the Show usages hint next to it. When the hint turns into a link, click this link.

The search results are shown in a popup window where you can analyze the usages of elements and navigate to relevant ones.

Configure Show usages hints
Show usages inlay hints are enabled by default. To turn them off, hover over a hint and select Hide 'Code Vision: Show usages' Inlay Hints or Hide All 'Code Vision' Inlay Hints from the context menu.

By default, Show usageshints are shown above classes and interfaces. To change this position, click Configure from the context menu of a hint.

On the Inlay Hints page, that opens, select the appropriate setting from the Position list. Alternatively, select the Code vision node and change the Default position for metrics.

View and analyze found usages
Found usages can be shown in the Find tool window or in a popup window as described above. Most actions are available in both modes, except grouping which is available in the Find tool window only.
Filter out irrelevant usages
To make the list of found usages easier to view and analyze, filter out irrelevant items by toggling the toolbar icons.
To show or hide references to read access methods, toggle
 or press Ctrl+R.
To show or hide references to write access methods, toggle
 or press Ctrl+W.
To show or hide usages from generated code, toggle
 .
.To show or hide usages from import statements, toggle
 or press Ctrl+I.
To hide or show usages in strings, toggle
 .
.
View source code of a usage
Press
 on the toolbar to open the Preview area. As you scroll through the list of found usages, the Preview area shows the source code of the currently selected usage.
 Show file structure
To display the names of classes and methods next to the names of files where they are declared, toggle
 .
.Merge duplicates
To merge duplicate usages found on the same line, press
 .
.
Group results
To ensure efficient navigation through the list of found usages, usages are grouped by directories and files. To use other grouping criteria, click
 on the toolbar and set ticks next to appropriate options.
You can also group found usages according to the code structures where they occur. To do that, click
on the toolbar and set a tick next to the Usage Type option.
View source code of a usage
Press
on the toolbar to open the Preview area. As you scroll through the list of found usages, the Preview area shows the source code of the currently selected usage. 
Alternatively, select Jump to Source from the context menu of a usage. The file where the selected usage was found opens in the editor.
If several usages of an element are found in a file, you can open that file in a split mode and analyze each usage independently, without having to scroll. To do that, select a usage and press Shift+Enter or select Open in Right Split from its context menu.
View hierarchies
To view the call hierarchy for a method or data flow for a field, select the usage to examine, open the Preview area and switch to the Call Hierarchy tab.

Rerun searches
To rerun the last search, click
 on the toolbar or press Ctrl+F5.
Filter out irrelevant usages
To make the list of found usages easier to view and analyze, filter out irrelevant items by toggling the toolbar icons.
To show or hide references to read access methods, toggle
or press Ctrl+R.To show or hide references to write access methods, toggle
or press Ctrl+W.To show or hide usages from generated code, toggle
.To show or hide usages from import statements, toggle
or press Ctrl+I.To hide or show usages in strings, toggle
.
Change Find Usages configuration
To open the Find Usages dialog, click
 on the toolbar.
View results of recent searches for usages
WebStorm remembers your Find Usages results, so you don't need to run the action again.
To re-run a search, go to in the main menu and then select the usage query.
Manage the Find Usages scope
If a search results in too many entries, WebStorm shows the first hundred usages found and displays a more usages link. Click this link to display another hundred usages, and so on until the search is finished.
If no usages of an element are found, a message is displayed.

If you have enabled usages hints, the Show usages hint turns into no usages.

In either case, it may be helpful to try changing the search scope.
Change the scope
Open the popup window by pressing Ctrl+Alt+F7 or by clicking a Show usages hint and select the relevant scope from the Scope list.

Open the Find Usages dialog by pressing Ctrl+Alt+Shift+F7 or by clicking
 on the toolbar in the Find tool window or in the popup window.
Select the relevant scope from the list.
")
To set a custom scope, click
 . When you are done setting a new scope, click Find.