Start Dev Container inside IDE
You can open a local project that has the .devcontainer folder with the devcontainer.json file in the root inside WebStorm and start a Dev Container from the IDE by using Docker. The IDE lets you mount or clone the sources into Dev Container.
You can also start a Dev Container for a remote project.
When you mount sources, your local project directory is mounted (linked) into the container, and any changes made inside the container reflect in your local files and vice versa. This process is longer than the Create Dev Container and Clone Sources action but might be helpful for development workflows where you want to edit files using your local IDE while running them in the container.
Create Dev Container and mount sources
Open your project with the
devcontainer.jsonfile inside the IDE.Open the
devcontainer.jsonfile in the editor.In the left gutter, click
, select Create Dev Container and Mount Sources and select the backend IDE with which you want to work inside the container.
The process of creating a Dev Container is displayed in the Services tool window.
After the Dev Container is created, click Connect.
The container is created and the project is opened in JetBrains Client.
When you clone sources, code is cloned inside the container from a remote repository such as GitHub. While this process is faster as appose to the Create Dev Container and Mount Sources action, note that the whole Git repository gets checked out.
However, this action is helpful for cases where you want an isolated, reproducible environment without affecting your local files.
Create Dev Container and clone sources
Open your project with the
devcontainer.jsonfile inside the IDE.Open the
devcontainer.jsonfile in the editor.In the left gutter, click
, select Create Dev Container and Clone Sources
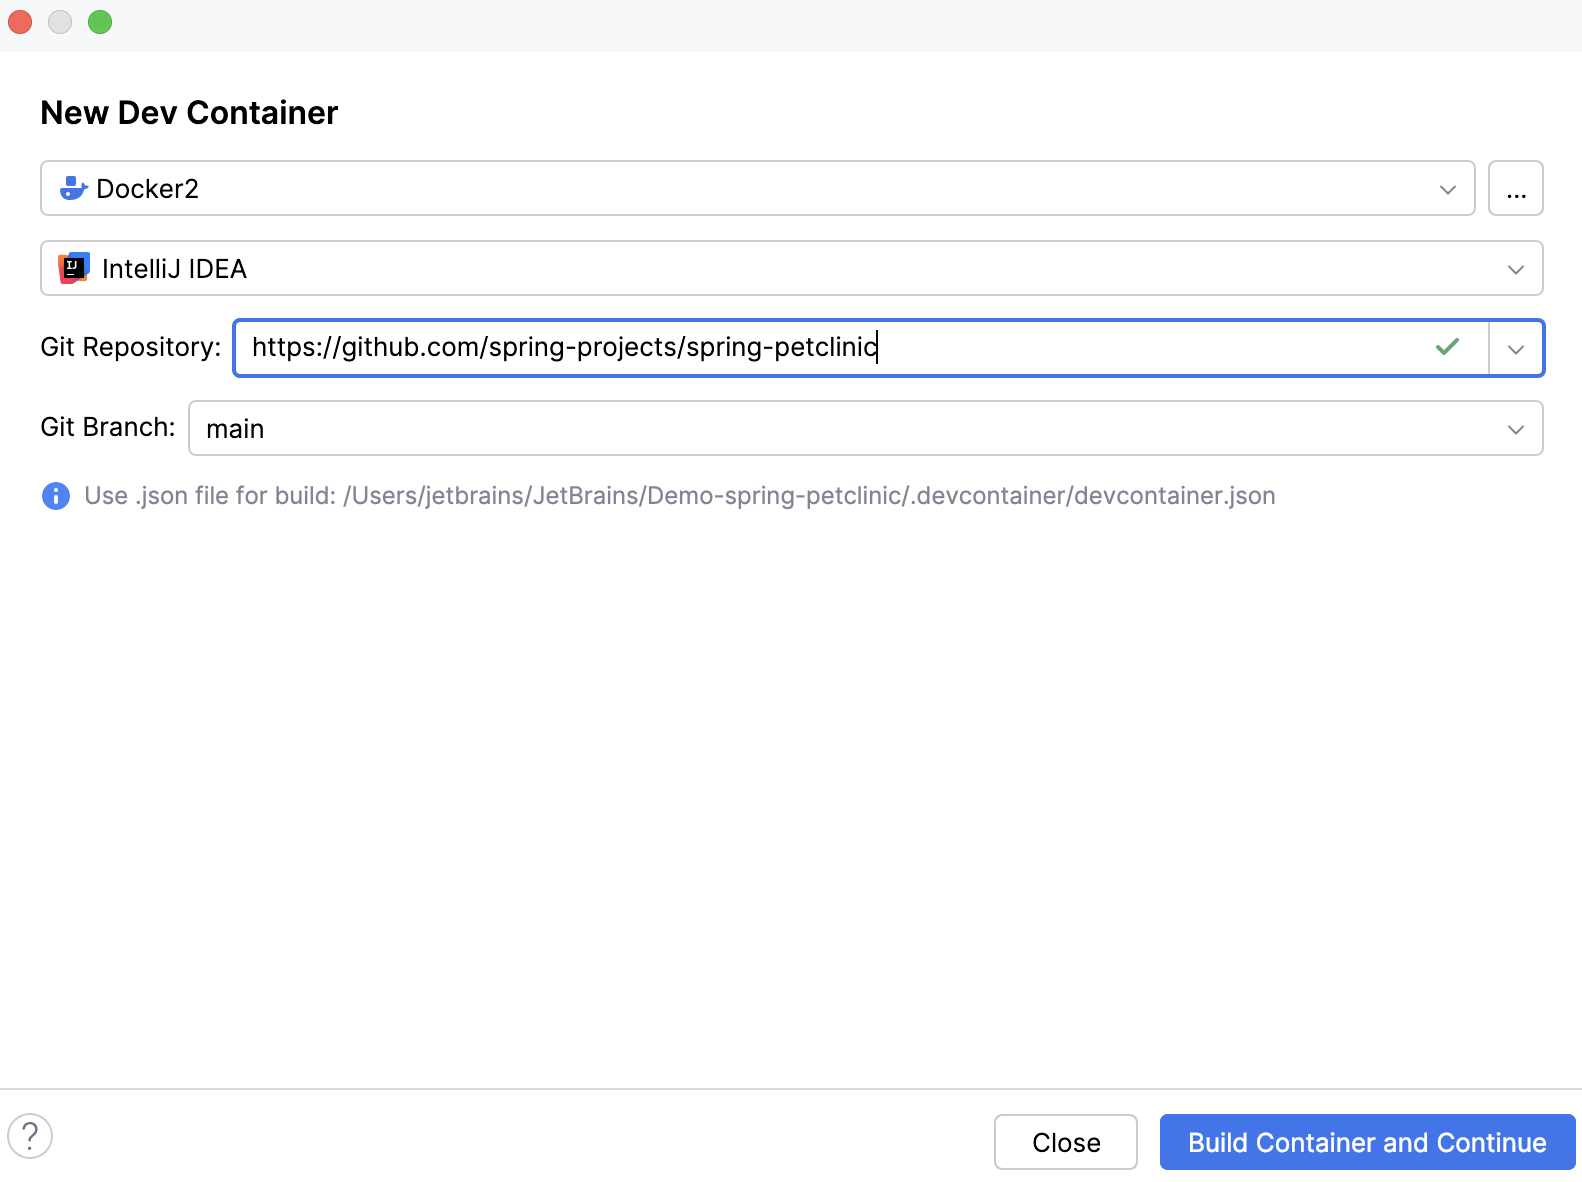
On the New Dev Container page, specify the IDE, your Git repository, brunch, and click Build Container and Continue.

The process of creating a Dev Container is displayed in the Services tool window.
After the Dev Container is created, click Connect.
The container is created and the project is opened in JetBrains Client.
Additional context menu options
Besides cloning sources or mounting sources, the following additional options are available in the context menu:
Item | Description |
|---|---|
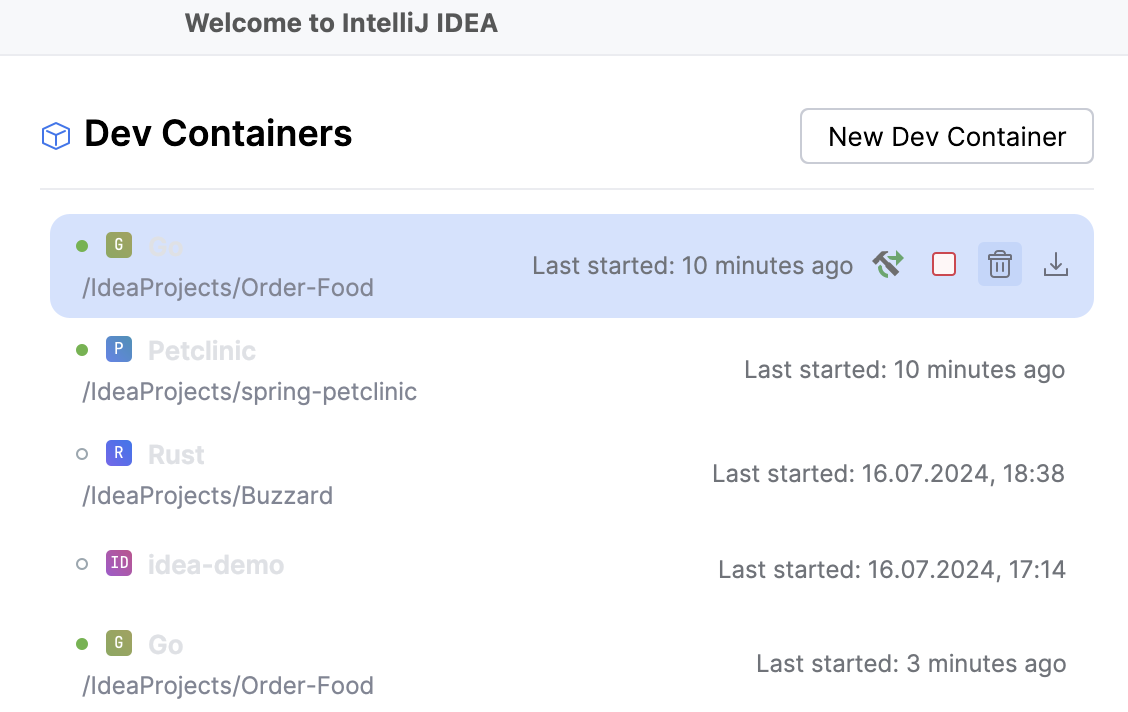
Show Dev Containers | Use this option to check a list of existing Dev Containers. You can see which ones are active and running, stop them, or restart them.  |
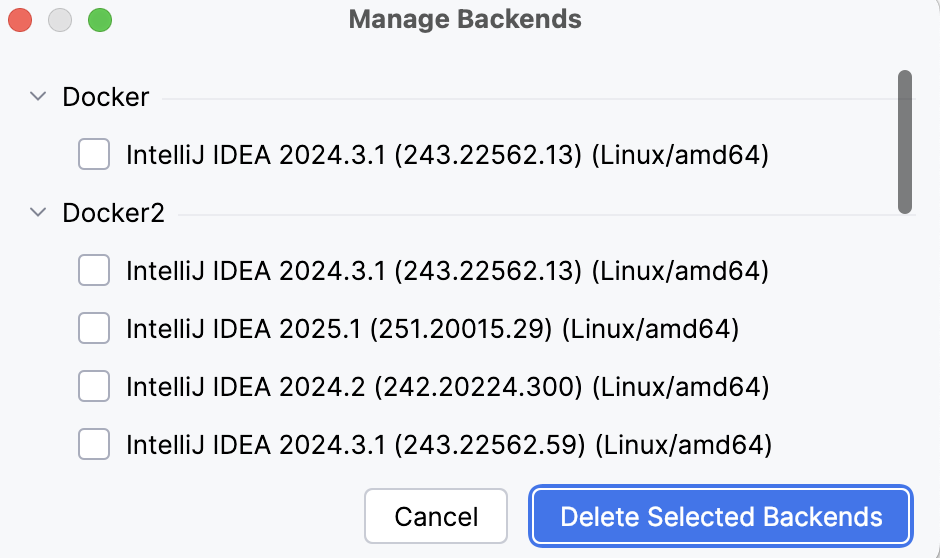
Manage Dev Container Backends | Use this option to remove the unnecessary ones from Docker shared volumes.  |
Add Modified Settings from IDE | Use this option to add your IDE settings to the IDE backend that is running inside your Dev Container. For more information, refer to Add Modified Settings from IDE. |