Images
WebStorm offers several ways to view images. You can use navigation to source or open an image in an external graphical editor.
Supported image formats
WebStorm supports all popular image formats, such as PNG, SVG, JPG, and GIF, out of the box.
Find a full list of supported image file types
Open Settings by pressing Ctrl+Alt+S and go to .
In the Recognized File Types list, locate the Image item. The File name patterns area shows a complete, version-accurate set of recognized extensions of image files that can be opened from WebStorm.

Learn more about file types supported in WebStorm from File type associations.
View images
View images in WebStorm
In the Project tool window, find and select the image file.
Alternatively, place the caret at the reference to the image in the editor and press Ctrl+B.
To preview an image in a popup instead of in a separate tab, select the reference to it and press Ctrl+Shift+I.
View images in an external editor
In the Project tool window, right-click the image file and select .
Alternatively, press Ctrl+Alt+F4.
WebStorm opens the image in the editor that is used in your OS by default. You can configure another image editor in which the IDE will open files.
Change the default external editor
Right-click an image in the editor and select Edit Path to External Editor… from the context menu.
You can also press Ctrl+Shift+A and type
Edit Path to External Editor.In the Path to External Editor dialog, specify the path to the application in which you want to open images and click Save.

Import images
Images belong to resource files. They should be stored in a dedicated folder – Resource Root. If you do not have this folder in your project, create a new directory, right-click it in the Project tool window, and select .
Example
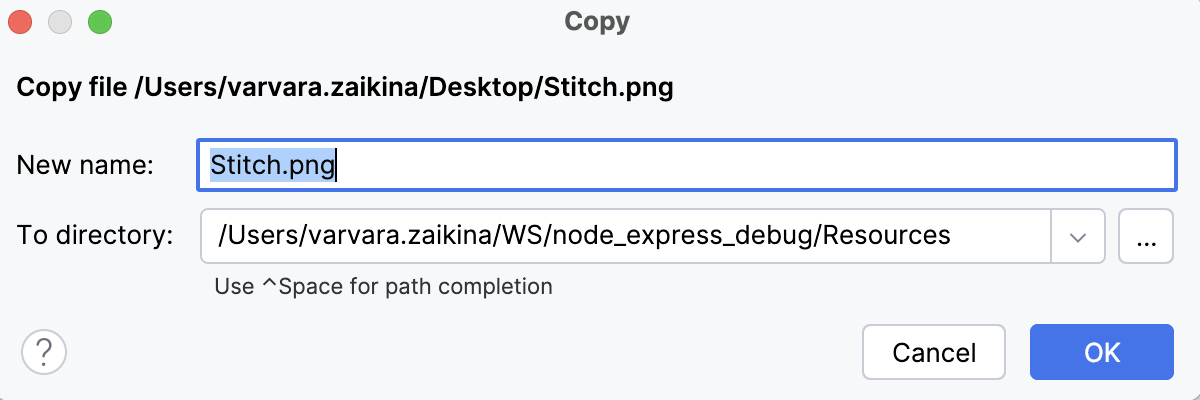
Copy the file in the file manager and then paste in to the folder with resource files in the WebStorm Project tool window.
In the dialog that opens, edit the filename and the target location if necessary. Click OK.
Right-click the pasted image in the Project tool window and select . Then select File Name from the popup list.
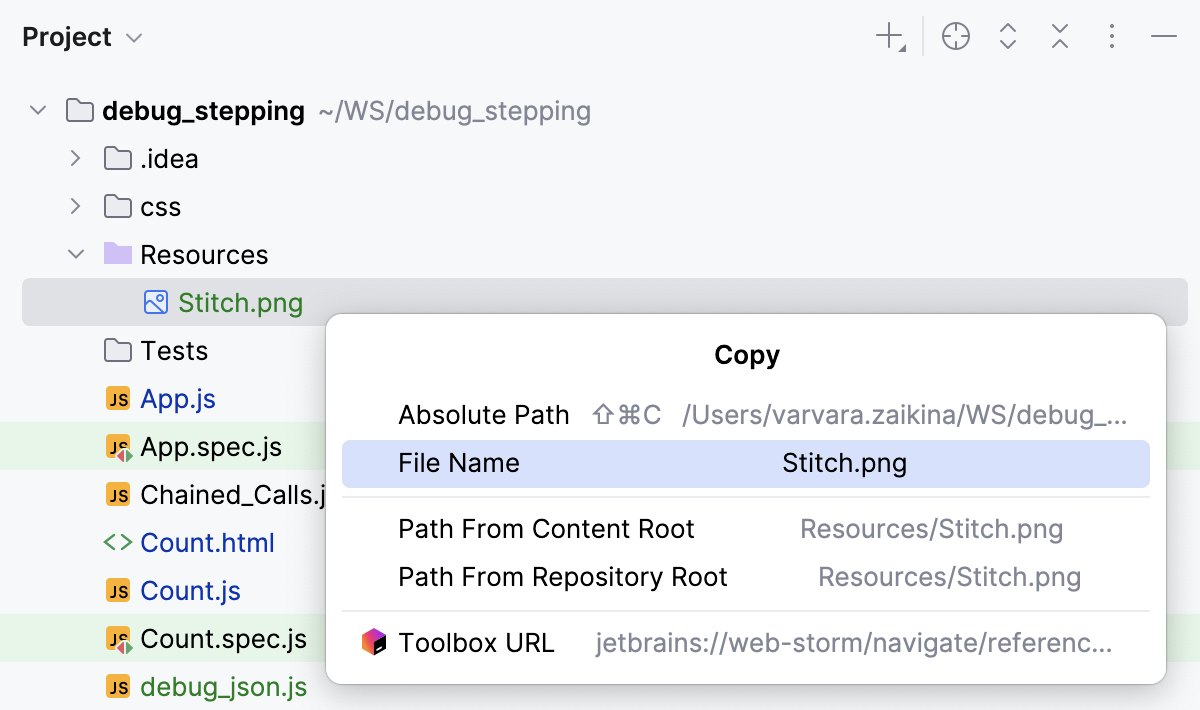
Place the caret inside the reference to the image and press Ctrl+V to paste the saved image name. Alternatively, start typing the name of the image and use code completion.
Run your application or a fragment of it to make sure that the image is inserted correctly.