# Customize output
Writerside builds a modern-looking documentation website with a fixed layout and dark mode support. The layout is adapted for a wide range of display sizes, from mobile devices to desktop monitors. Writerside also provides some customization, such as the accent color, site logo, and favicon.
> **Note:**
> Output customization does not apply when publishing to [JetBrains Marketplace](https://plugins.jetbrains.com/) because such documentation is embedded in a tab on the plugin page.
You can customize the output in the build configuration file: `[buildprofiles.xml](buildprofiles-xml.html)` .
If you do not have this file yet, create it in your [help module](projects.html#help_module) root under [cfg directory](help-modules.html#build-config-dir) . Here is an example that you can use:
```XML
aqua
favicon.png
my-logo.png
https://help.example.com
Get Awesome App
https://example.com
true
```
> **Tip:**
> To create the `buildprofiles.xml` file, you can right-click the [build configuration directory](help-modules.html#build-config-dir) (`cfg` by default) in the Project tool window, select New, and then click buildprofiles.xml.
When editing `[buildprofiles.xml](buildprofiles-xml.html)` , the preview shows a synthetic topic with instructions about the output customization options that are available. You can immediately see how the changes affect the output.
Procedure: Change accent color
The accent color is applied to various UI components, such as the focused items in the [TOC](table-of-contents.html), active tabs, and buttons.
1. Open `[buildprofiles.xml](buildprofiles-xml.html)` .
2. Use the `[<primary-color>](buildprofiles-xml.html#primary-color)` element under `[<variables>](buildprofiles-xml.html#variables)` and specify a color in HEX format or choose from the following values:
* blueberry
* purple
* iris
* strawberry
* dracula
* ruby
* halloween
* emerald
* forest
* deep ocean
* metallic
* aqua
* frozen (default)
> **Tip:**
> You can also click the color icon in the gutter and select the color in the picker popup.
You should be able to see the configured color in the [local preview](preview-topics.html).
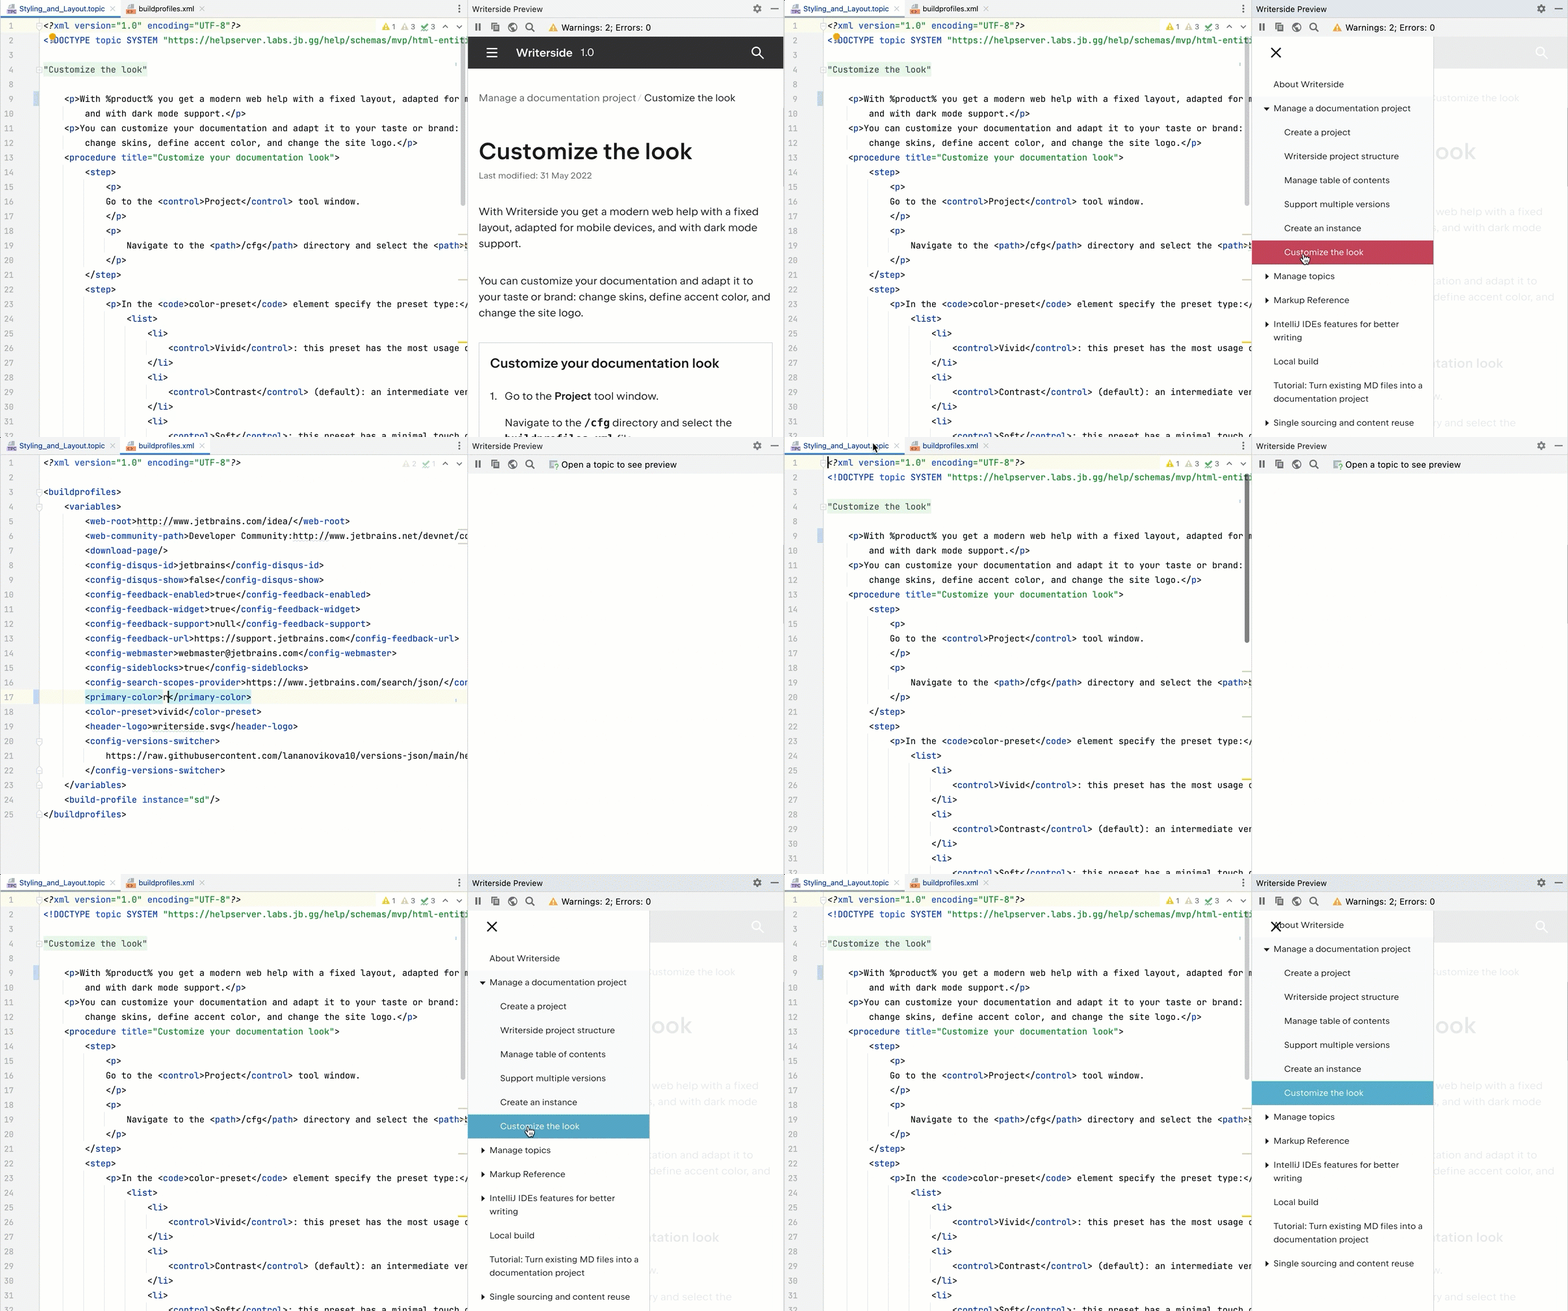
Use the `[<color-preset>](buildprofiles-xml.html#color-preset)` element to configure the intensity of the primary accent color.
contrast
: Default look with moderate contrasting.
soft
: Minimal contrasting touch of the primary accent color.
vivid
: Most contrasting usage of the primary accent color.
Procedure: Change link color
By default, link font color is the same as the main text. Link text is underlined to differentiate it from other elements on the page.
1. Open `[buildprofiles.xml](buildprofiles-xml.html)` .
2. Use the `[<link-color>](buildprofiles-xml.html#link-color)` element under `[<variables>](buildprofiles-xml.html#variables)` and specify a color in HEX format or choose from the following values:
* blueberry
* purple
* iris
* strawberry
* dracula
* ruby
* halloween
* emerald
* forest
* deep ocean
* metallic
* aqua
* frozen
```XML
#24AFD0
```
> **Tip:**
> You can also click the color icon in the gutter and select the color in the picker popup.
You should be able to see the configured color in the [local preview](preview-topics.html).
Procedure: Change main content width
By default, the maximum width of the main content pane is 1165 pixels.
1. Open `[buildprofiles.xml](buildprofiles-xml.html)` .
2. Use the `[<content-max-width>](buildprofiles-xml.html#content-max-width)` element under `[<variables>](buildprofiles-xml.html#variables)` and specify the maximum width in pixels.
```XML
500
```
You should be able to see the configured width in the [local preview](preview-topics.html).
Procedure: Change TOC width
By default, the width of the table of contents pane is 300 pixels.
1. Open `[buildprofiles.xml](buildprofiles-xml.html)` .
2. Use the `[<sidebar-width>](buildprofiles-xml.html#sidebar-width)` element under `[<variables>](buildprofiles-xml.html#variables)` and specify the width in pixels.
```XML
200
```
You should be able to see the configured width in the [local preview](preview-topics.html).
> **Tip:**
> You can make the sidebar with the table of contents resizeable by adding `[<resizable-sidebar>](buildprofiles-xml.html#resizable-sidebar)` .
>
>
>
>
> ```XML
> true
> ```
Procedure: Change favicon
Web browsers can display the [favicon](https://en.wikipedia.org/wiki/Favicon) on tabs, in the address bar, browsing history, and bookmarks. Similar to the [header logo](#header-logo), set the favicon to represent your company, product, or project.
By default, Writerside uses the JetBrains logo: 
1. Put the favicon image into the [images directory](help-modules.html#images-dir) in your project or host it on some publicly accessible web server.
> **Note:**
> Supported formats are SVG, PNG, and ICO. However, keep in mind that [Safari](https://www.apple.com/safari/) and some other modern browsers do not support SVG favicons.
>
>
>
> You can use up to five favicons in different sizes: 16x16, 32x32, 96x96, 300x300, 500x500.
2. Open `[buildprofiles.xml](buildprofiles-xml.html)` .
3. Use the `` element under `` to specify the icons.
Single local favicon:
```XML
favicon.png
```
Single favicon as a URL:
```XML
https://www.jetbrains.com/icon.svg
```
Multiple favicons ordered by size:
```XML
icon16.png,icon32.png,icon96.png,icon300.png,icon500.png
```
Procedure: Add header logo
You can add the logo of your company, product, or project in the header next to the help instance name.
1. Put the logo image into the [images directory](help-modules.html#images-dir) in your project.
> **Note:**
> Logo image requirements are:
>
>
>
> * SVG or PNG format. We recommend using SVG for better quality on Retina and 4K displays.
>
> * Height-to-width aspect ratio between 1.2 and 0.24. We recommend using square images.
>
> * Image height more than 48px.
2. Open `[buildprofiles.xml](buildprofiles-xml.html)` .
3. Use the `` element under `` to specify the logo filename.
```XML
my-logo.png
```
4. If necessary, use the `` element to add a URL that should open when your readers click the header logo. This is usually the home page of your help website, but you can also reference your company website or your project repository.
```XML
https://help.example.com
```
Procedure: Add header button
You can add a button in the header with a link to the download location of the app, your corporate website, or the repository of your project.
1. Open `[buildprofiles.xml](buildprofiles-xml.html)` .
2. Specify the text and URL, and enable the button:
```XML
Get Awesome App
https://example.com
true
```
> **Note:**
> `` and `` are required, while the `` element is optional. Without it, Writerside will insert a button with the default text `Get %instance%`, where `%instance%` is the name of the current [instance](instances.html).
Procedure: Add custom banner
If you want to promote an event via your documentation pages, you can add a custom banner with an announcement that will render on every page under the header.
1. Open `[buildprofiles.xml](buildprofiles-xml.html)` .
2. Use the `` element under `` to specify the text in the banner.
```XML
Visit our conference!
```
3. Optionally, specify additional attributes to set the label, link, date, and background color theme.
```XML
KotlinConf, Munich
```
For more information, see `[<custom-banner>](buildprofiles-xml.html#custom-banner)` .
## Customize footer
Writerside lets you customize the footer to improve navigation to product-related resources and make your documentation website more visually appealing. You can add links to social media and other resources, copyright information, and support contacts.
Procedure:
1. Open `[buildprofiles.xml](buildprofiles-xml.html)` or create it if you do not have it yet.
2. Specify the footer configuration parameters inside the `[<footer>](buildprofiles-xml.html#footer)` element. For example:
```XML
```
Here are the available parameters:
copyright
: Copyright information that usually mentions the company or legal entity name, with the year when the content was created or a range of years.
:
:
:
:
:
:
: ```XML
: 2000 JetBrains s.r.o.
: ```
:
:
:
:
:
: The previous example will be rendered as `Copyright © 2000 JetBrains s.r.o.`.
icp
: Information about the Internet Content Provider license.
:
:
:
:
: ```XML
: 12345
: ```
:
:
:
:
:
: The previous example will be rendered as `Shangai ICP 12345`.
social
: Link to a social media resource, which will be rendered with the corresponding icon. Use the `[type](buildprofiles-xml.html#social_type)` attribute to specify the social media type, such as `twitter` or `github`. Use the `href` attribute to specify the URL.
:
:
:
:
: ```XML
:
: ```
:
:
:
: You can also add text inside the `` tag, which will render as a tooltip for the icon on hover:
:
:
:
:
: ```XML
:
: Repository on GitHub
:
: ```
link
: Link to an external resource, for example, the support forum, terms of use, or a licensing policy. The text you put inside the tag will serve as the title. Use the `href` attribute to specify the URL.
:
:
:
:
:
:
: ```XML
: JetBrains Blog
: JetBrains Slack
: ```
This is how an empty footer looks by default:

This is how the footer looks with a copyright notice and two social links:

```XML
```
This is how the footer looks with all possible elements:

```XML
```