Create and Manage Dashboards
You can create multiple dashboards for different projects, teams, or activities. Follow the instructions on this page to create dashboards, organize their widgets, and manage the dashboards available to you.
Create a Dashboard
You can create and view multiple dashboards, each with their own set of widgets. This feature lets you set up and monitor dashboards for different projects.
To create a dashboard:
From the main navigation menu, select
 Dashboards.
Click the New dashboard button.
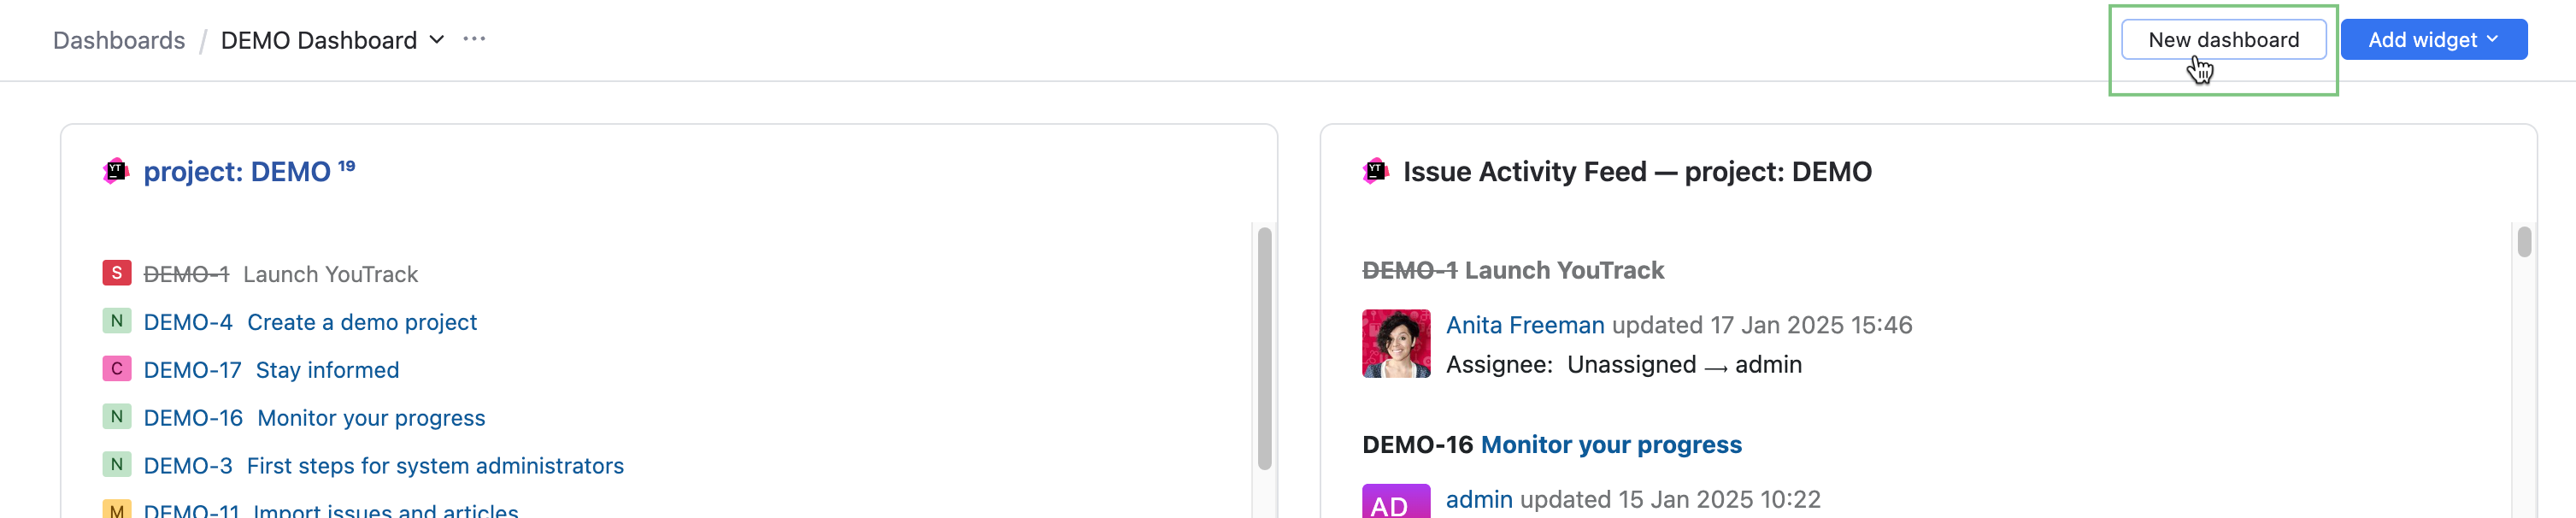
Alternatively, press Alt + Shift + N on your keyboard.
Enter a name for the new dashboard in the New dashboard dialog.
Click the Create button.
The new, empty dashboard is added to YouTrack.
Find and Open Dashboards
You can view the list of available dashboards by clicking the name of current dashboard you're viewing.
To open a dashboard:
From the main navigation menu, select
Dashboards.Click the name of the current dashboard to open the dashboard list.
Alternatively, press Shift + Down Arrow.
Select the dashboard you want to open.
Manage Favorite Dashboards
Favorite and non-favorite dashboards are listed separately. Dashboards in each section are sorted alphabetically.
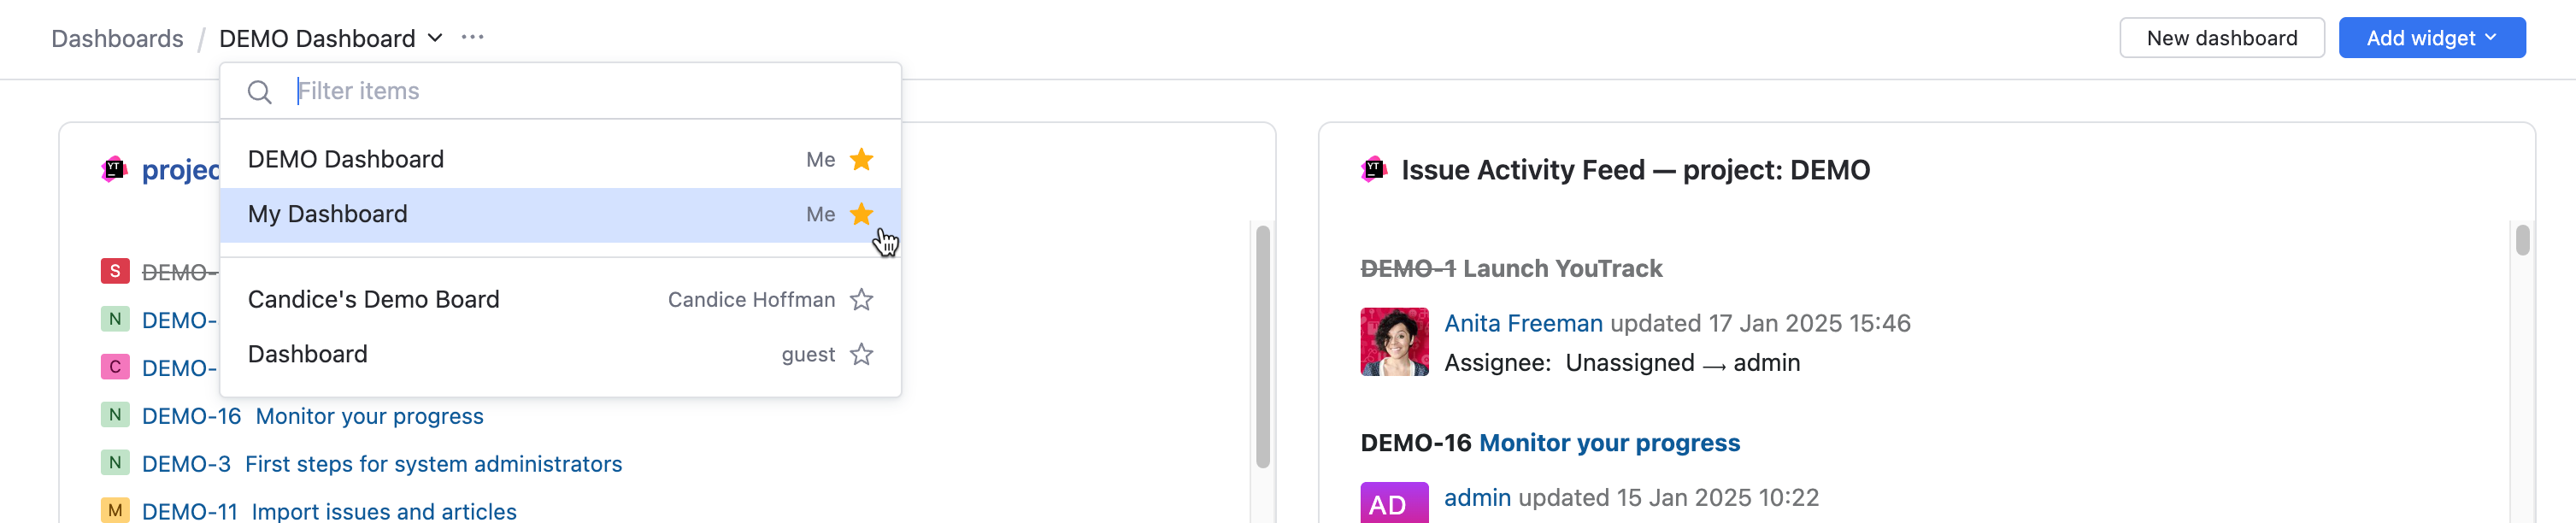
To change the favorite status of a dashboard:
From the main navigation menu, select
Dashboards.Click the name of the current dashboard to open the dashboard list.
Alternatively, press Shift + Down Arrow.
Click the star icon next to the dashboard.
 identifies a favorite dashboard.
 identifies a non-favorite dashboard.
View Shared Dashboards
Dashboards that are shared with you directly or through a group initially appear in the non-favorite section of your dashboard list. You can open them without adding them to your favorites.

The current sharing options are displayed as a link in the dashboard header.
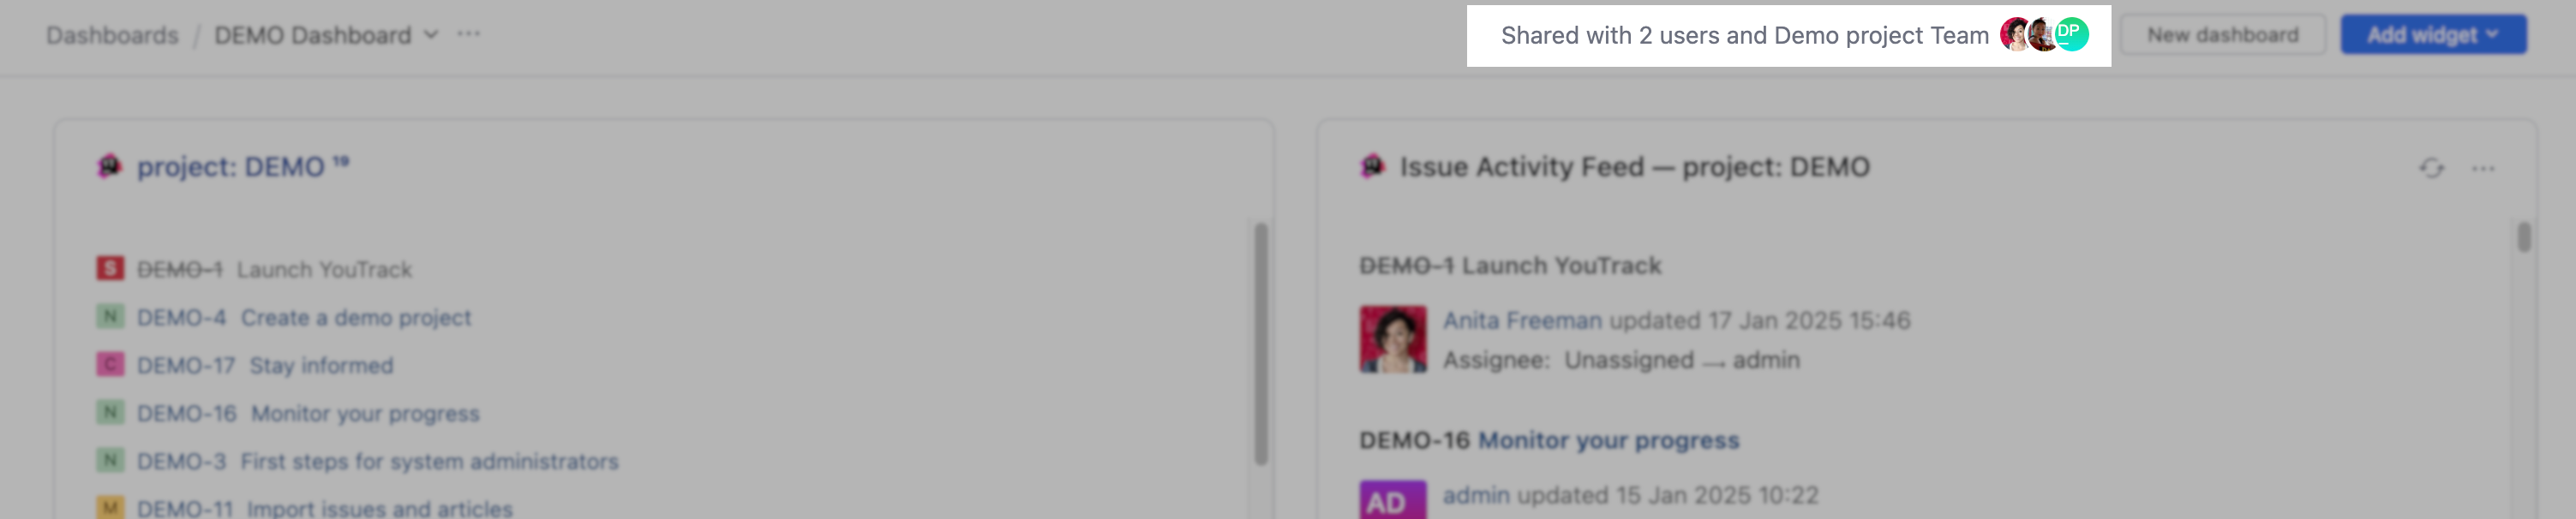
If the dashboard is shared with a single user or group, the name of the user or group is displayed in the link.
If the dashboard is shared with multiple users or groups, the link displays the number of users and groups who can access the dashboard. Click the link to display the complete list of users and groups who can access the dashboard.
If another user shared the dashboard with you, the name of the dashboard owner is also shown in the link.
To give other users access to a dashboard, see Share a Dashboard.
Organize a Dashboard
To organize a dashboard:
From the main navigation menu, select
Dashboards.Click the name of the current dashboard to open the dashboard list.
Alternatively, press Shift + Down Arrow.
Select the dashboard you want to organize.
Drag widgets to arrange them in the desired order.
To resize a widget, drag the edge of its card.
The card snaps to the closest intersection in the dashboard grid.
More Options for Dashboards
In addition to the option to add widgets to your dashboards, the following options are available:
Option | Description |
|---|---|
Rename | You can change the name of your dashboard at any time. To access this option, click |
Share | You can configure a dashboard and share it with another user or group. To access this option, click |
Clone | You can clone a dashboard and customize it for personal use or to share it with another user or group. To access this option, click |
Delete | If you no longer want to use a dashboard on your list, you can delete it. To access this option, click |
 More > Rename