Manage Dashboard Widgets
Dashboard widgets provide quick access to information and insights from your YouTrack environment. You can add multiple widgets to a dashboard and configure each widget for a specific purpose.
You can use preinstalled widgets or install apps that provide additional widgets. For installation instructions, see Manage Apps.
There are several operations that you can use to customize widgets on your dashboard. To open the list of options that are available for a widget, click the  More options icon in the widget.
Add a Widget
To add a widget to the dashboard:
From the main navigation menu, select
 Dashboards.
Open the dashboard that you want to customize.
Click the Add widget button.

Select the widget you want to add to the dashboard.
Configure the settings of the widget.
The settings are dependent on the widget selected.
Click Save.
The widget is added to your dashboard.
Edit a Widget
If you want to modify the settings of the widgets on your dashboard, you can edit them at any time.
To edit an existing widget:
From the main navigation menu, select
Dashboards.Open the dashboard that has the widget you want to edit.
Click the
More options icon in the top right corner of the widget that you want to edit.Select the
 Edit option.
Modify the settings or content of the widget.
Click the Save button.
The edited changes are displayed in your widget.
Refresh a Widget
Dashboard widgets are designed for dynamic data, giving you up-to-date information that you can use while tracking your project issues. YouTrack gives you options on how often you would like your widgets to refresh.
To set the refresh interval for a widget:
From the main navigation menu, select
Dashboards.Open the dashboard that contains the widget.
Click the
More options icon in the top-right corner of the widget.Select the
Edit option.Use the
 up or
up or  down arrows to set the refresh interval.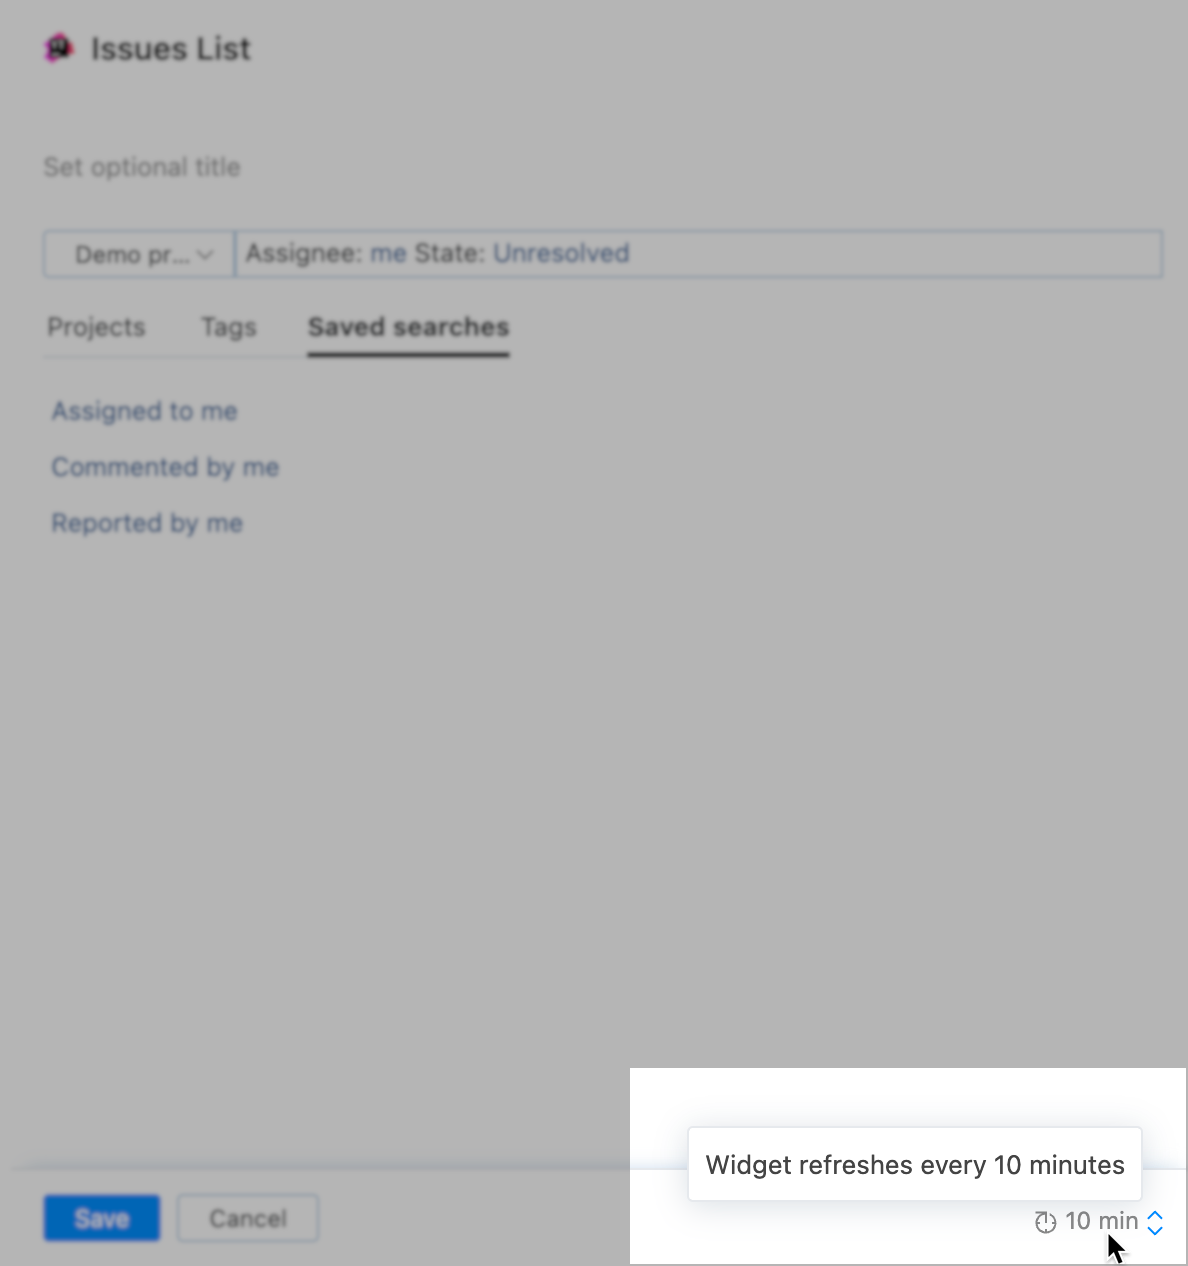
Click Save.
The widget now refreshes at the selected interval.
If you want to display the latest data without waiting for its next scheduled refresh, you can refresh a widget manually.
To refresh a widget manually:
From the main navigation menu, select
Dashboards.Open the dashboard that contains the widget.
Click the
 Refresh icon in the top-right corner of the widget.
Clone a Widget
You can create a clone of an existing widget on your dashboard. This option comes in handy when you want to add a similar widget with minor changes.
To clone a widget:
From the main navigation menu, select
Dashboards.Open the dashboard that has the widget you want to clone.
Click the
More options icon in the top right corner of the widget that you want to clone.Select the
 Clone widget option.
A copy of the widget is added to your dashboard.
Move a Widget
You can move a widget from the current dashboard to another dashboard.
To move a widget to another dashboard:
From the main navigation menu, select
Dashboards.Open the dashboard that has the widget you want to move.
Click the
More options icon in the top right corner of the widget that you want to move to another dashboard.Select the
 Move to another dashboard option.
In the Move the widget to another dashboard dialog, select the name of the target dashboard.
Click the Move button.
The widget is moved to the selected dashboard.
Share a Widget
If you would like to give a widget with the settings you created to other users, you can share the widget with a link.
To share a widget with a link:
From the main navigation menu, select
Dashboards.Open the dashboard that has the widget you want to share.
Click the
More options icon in the top right corner of the widget that you want to share.Select the
 Share link option.
Click the Copy button in the Share link dialog and send it to your teammates.
When a user pastes this link into the address bar in their web browser, the shared widget is added to their current dashboard. This can either be the dashboard that they're currently viewing in YouTrack or the dashboard that they most recently accessed.
If the person with whom you shared the widget doesn't have permission to view the data that is used in the widget, the widget is empty.
Remove a Widget
If you no longer want to see a widget on your dashboard, you can remove it.
To remove a widget from a dashboard:
From the main navigation menu, select
Dashboards.Open the dashboard that has the widget you want to remove.
Click the
More options icon in the top right corner of the widget that you want to remove from the dashboard.Click the
 Remove option.
Click the Delete button in the confirmation dialog.
The widget is removed from your dashboard.