Manage Work Item Attributes
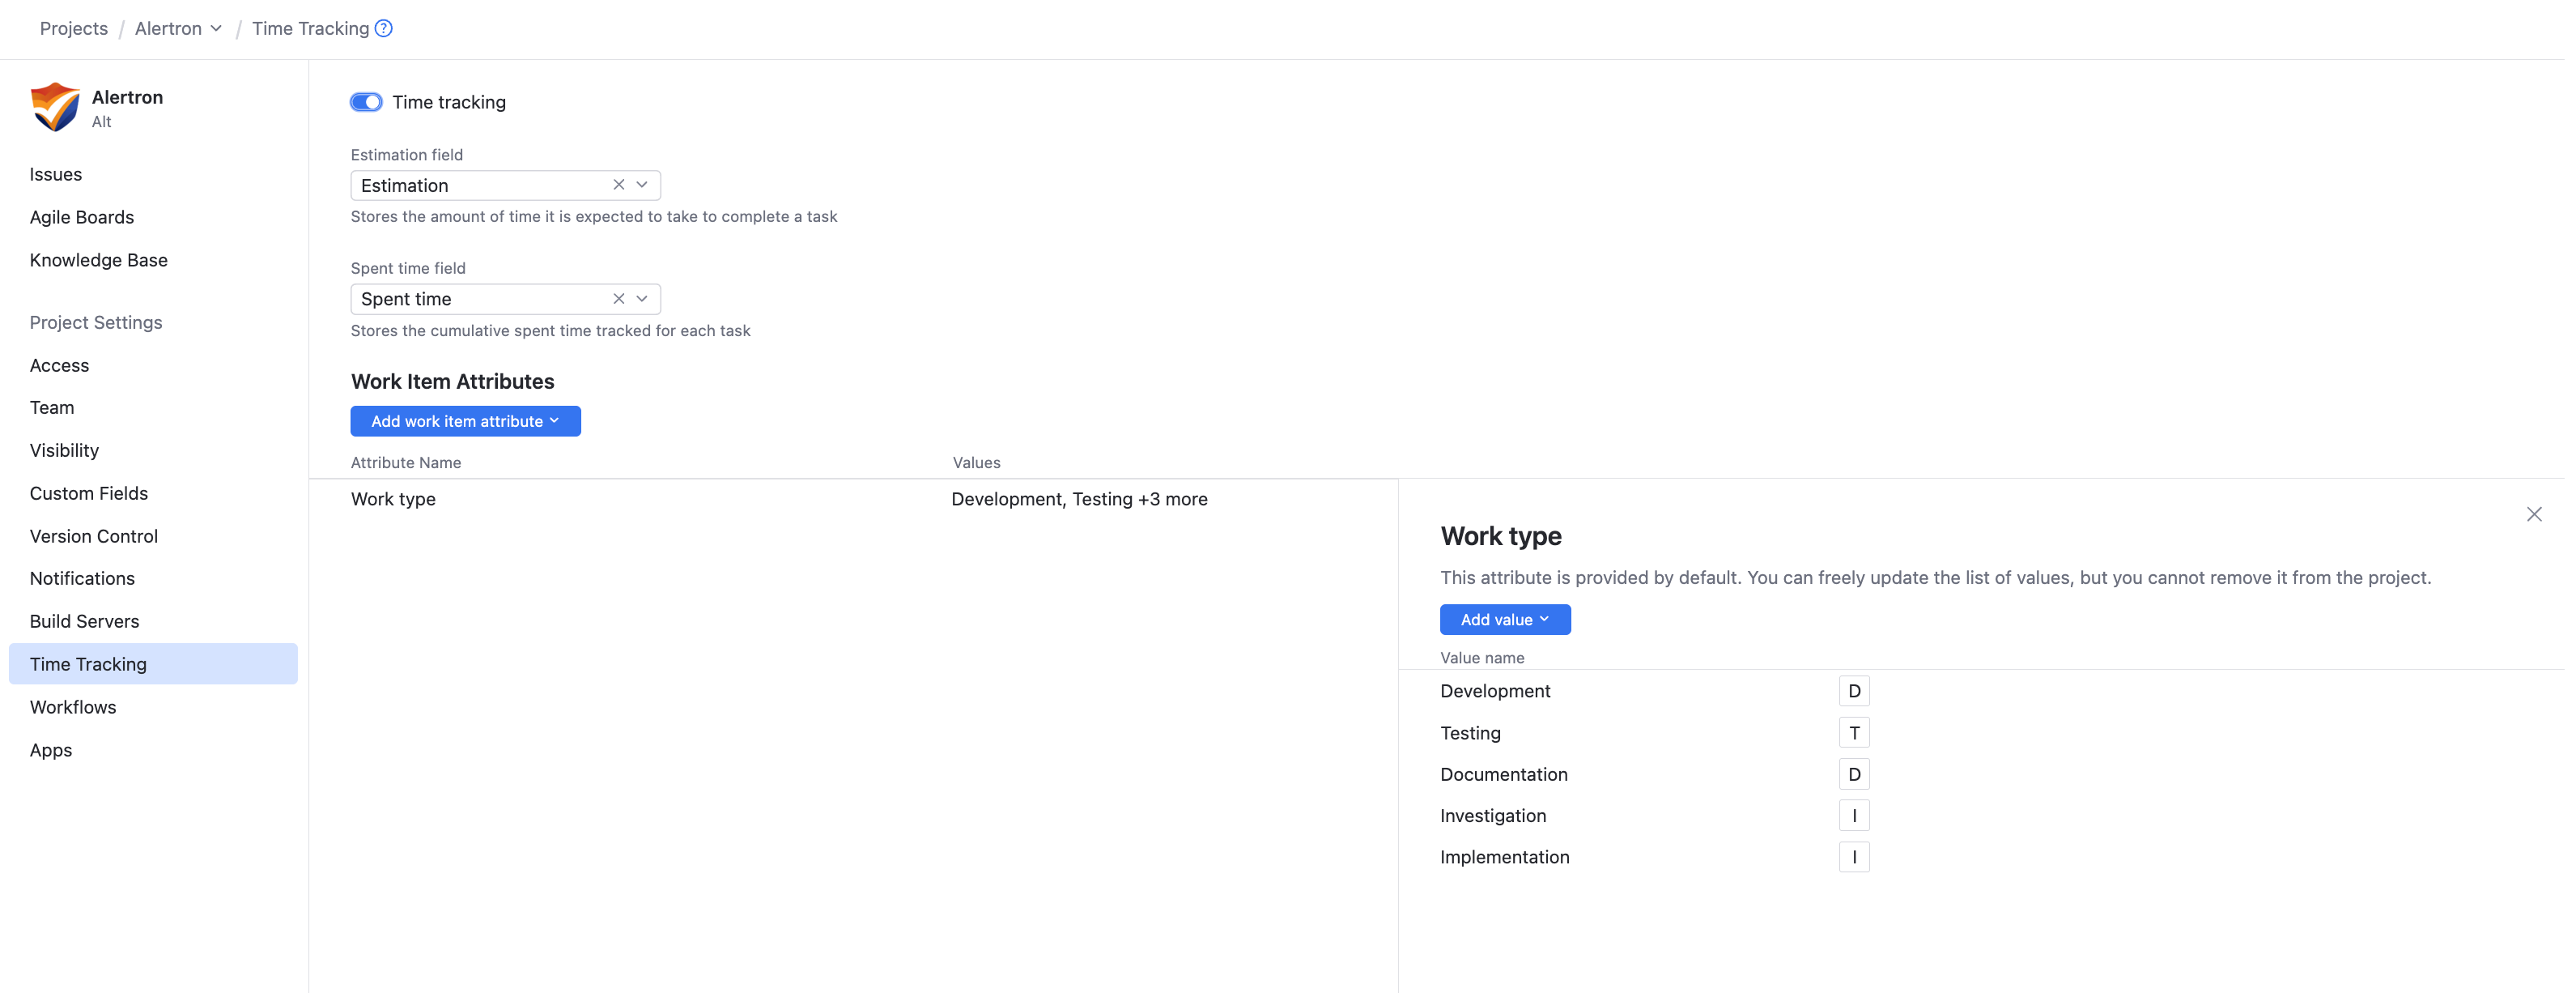
Work item attributes let you identify the information you want to capture when users add spent time to their issues. These attributes can then be used to group datasets in timesheets and time reports. Each project can have its own set of attributes and store a project-specific collection of values.
As a project administrator, you can customize the list of work item attributes that are used to track spent time for issues in your projects. System administrators can modify the list of work item attributes for all projects in the system. For more information, see Work Item Attributes.
To access and manage the work item attributes that are used in your project, select Time Tracking in the Project Settings.
Add a New Work Item Attribute
As a project administrator, you can add new attributes for storing values in work items for your project.
When you add a work item attribute to your project, the attribute is available to other projects in the system. A system administrator or user with global project administration permissions can reuse this attribute in other projects. The set of available values can be managed for each project independently.
To add a new work item attribute:
From the main navigation menu, select
Projects.
From the project list, select a project.
From the project navigation menu, select Time Tracking.
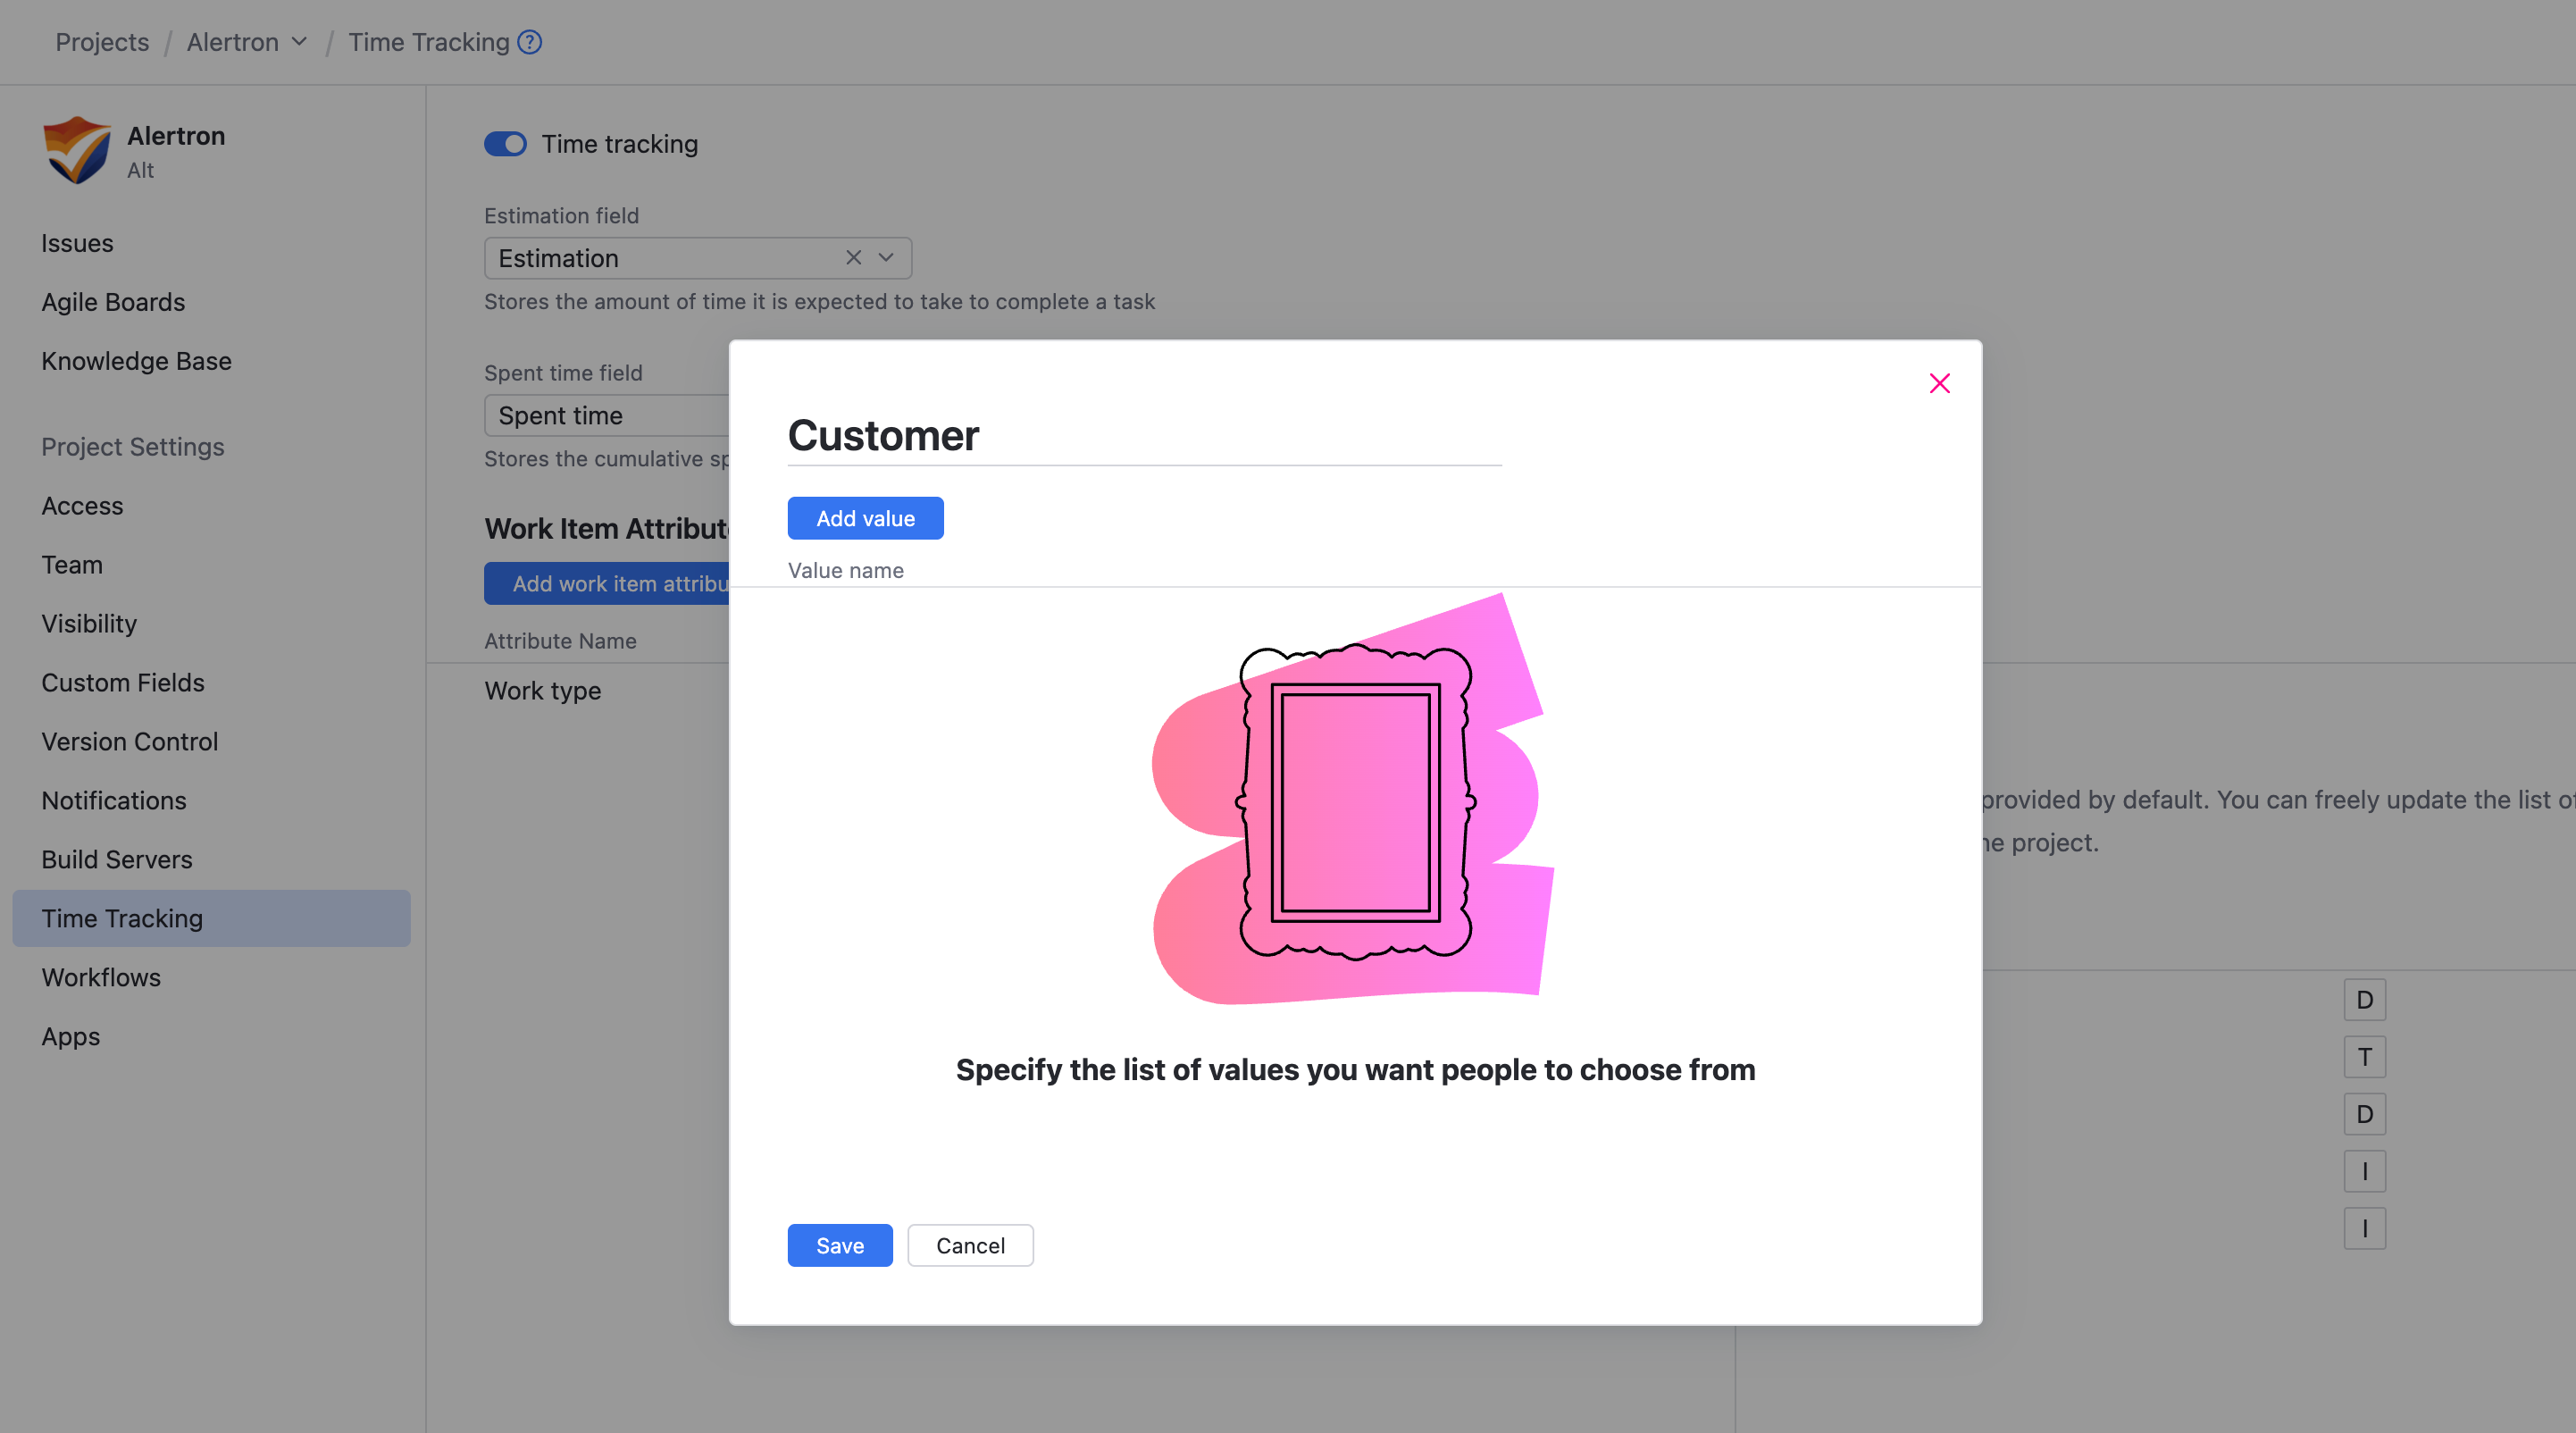
Click the Add work item attribute button, then select the New work item attribute option.
Enter a name for the new attribute. The name must be unique in the system.
To specify the list of values you want to use for this attribute, click Add value button, then specify a name for the new value. Click the Add button to continue. Repeat this step until you have provided all the values you want to work with.
Click the Save button.
The new work item attribute is added to your project.
Add an Existing Work Item Attribute
If you want to use an existing work item attribute to categorize spent time for issues in your project, you can add it to your project. Even though the attribute is used elsewhere, you can manage the set of available values independently for each of your projects.
To add an existing work item attribute to your project:
From the main navigation menu, select
Projects.
From the project list, select a project.
From the project navigation menu, select Time Tracking.
Click the Add work item attribute button.
Select the name of an existing work item from the list.
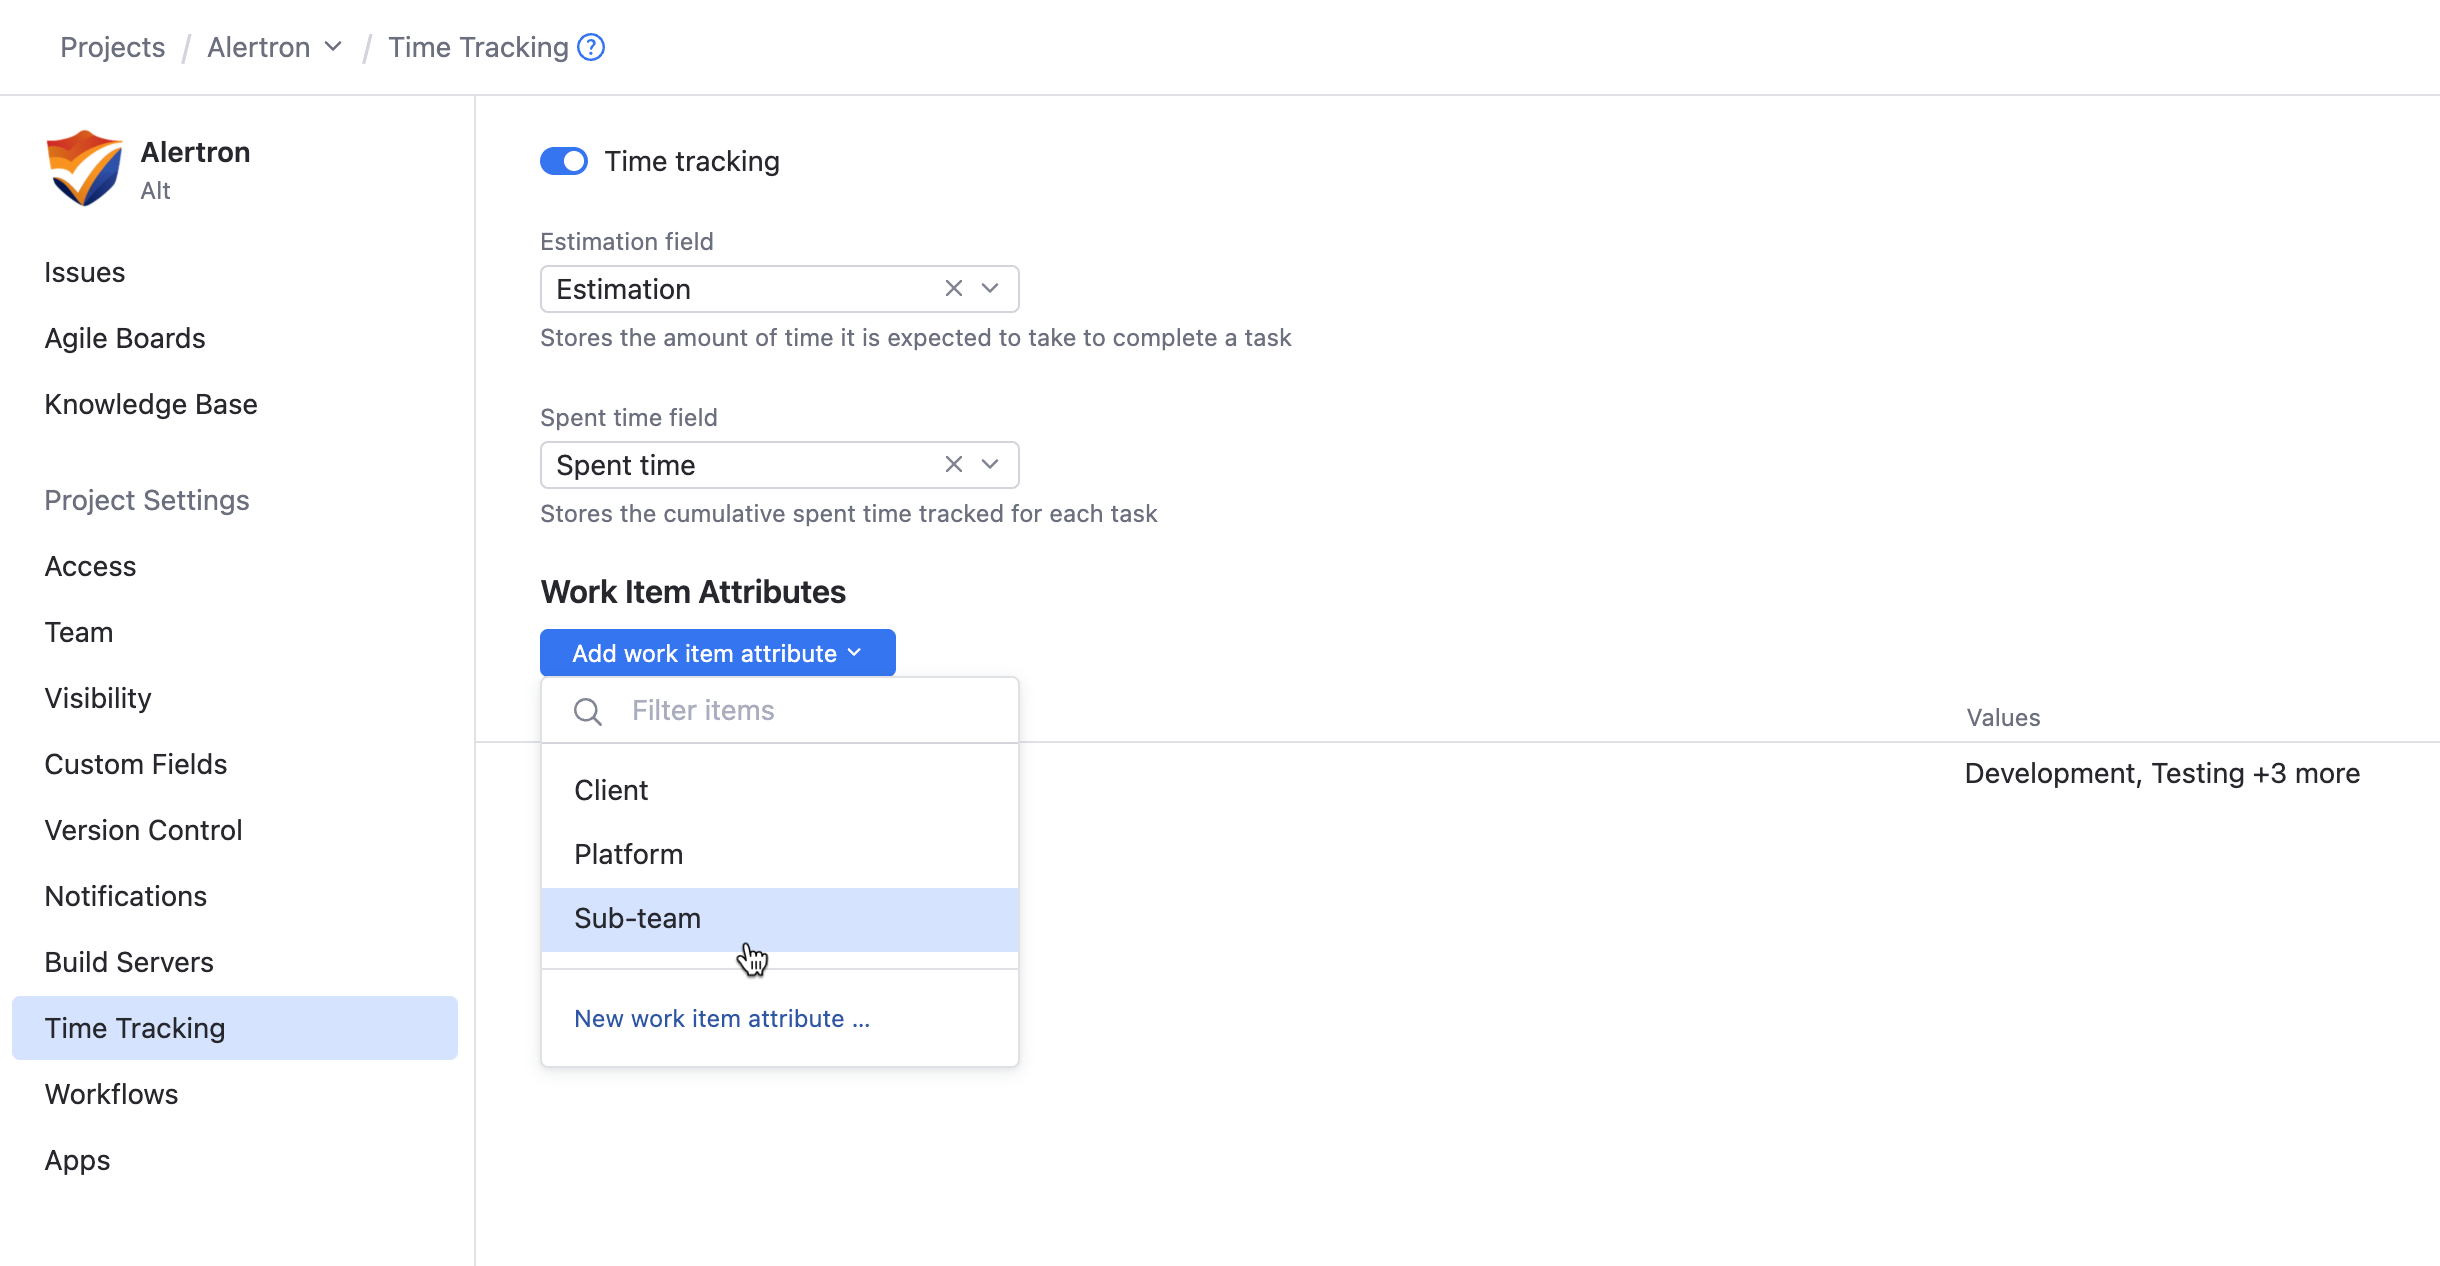
Check the current list of values that are used for the selected attribute a name for the new attribute.
If you're happy with the current list, you're done.
If you want to modify the list, you can add and remove values in your project. Usages of this attribute in other projects are not affected.
To learn more, see Update Work Item Attributes below.
Update Work Item Attributes
If you want to update any of the work item attributes that are used in your project, you can update them directly on the Time Tracking page in the Project Settings.
When you update a work item attribute at the project level, these changes are only applied in the current project. A system administrator can apply changes that affect all the projects in the system. This includes the ability to:
Rename attribute.
Set the order in which the values are shown when users add spent time records to issues.
Neither of these options is available at the project level. To learn more, see Work Item Attributes.
To update a work item attribute:
From the main navigation menu, select
Projects.
From the project list, select a project.
From the project navigation menu, select Time Tracking.
Select the work item attribute that you want to update.
Use one or more of the following actions to update the work item attribute:
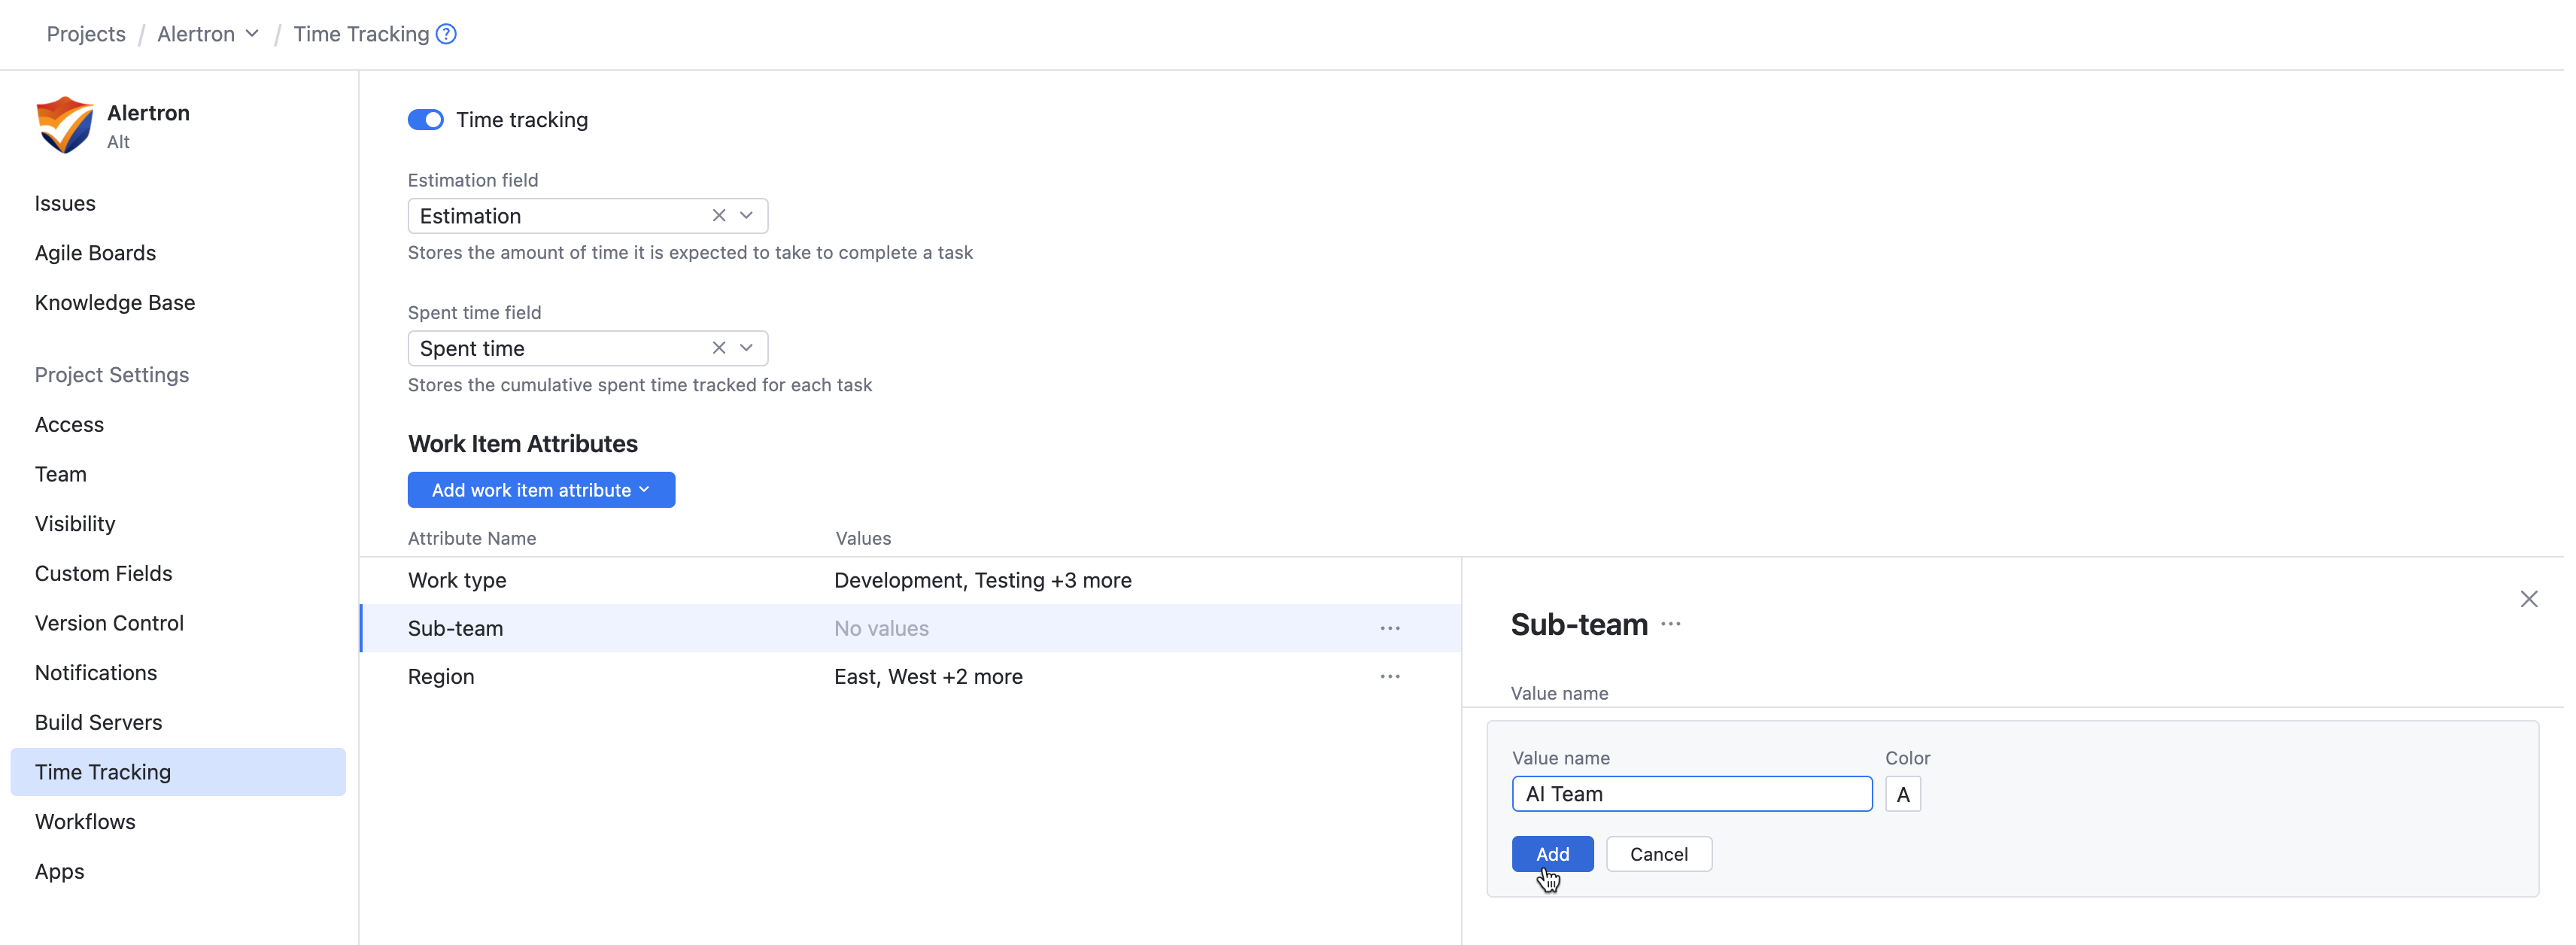
To add a value for the attribute, click the Add value button and click the New value link. Enter a name for the new value, then click the Add button.
To edit an existing value, click to open the
Show more menu, then select
Edit. Update the name or color, then click Save to update the value.
To remove a value, click to open the
Show more menu, then select
Remove. Click the Confirm button in the confirmation dialog to confirm this action.
Remove a Work Item Attribute
If there are any work item attributes in your project that you don't use or need, you can remove them.
To remove a work item attribute from your project:
From the main navigation menu, select
Projects.
From the project list, select a project.
From the project navigation menu, select Time Tracking.
Select the attribute that you want to remove from the list.
Click to open the
Show more menu, then select
Remove from project.
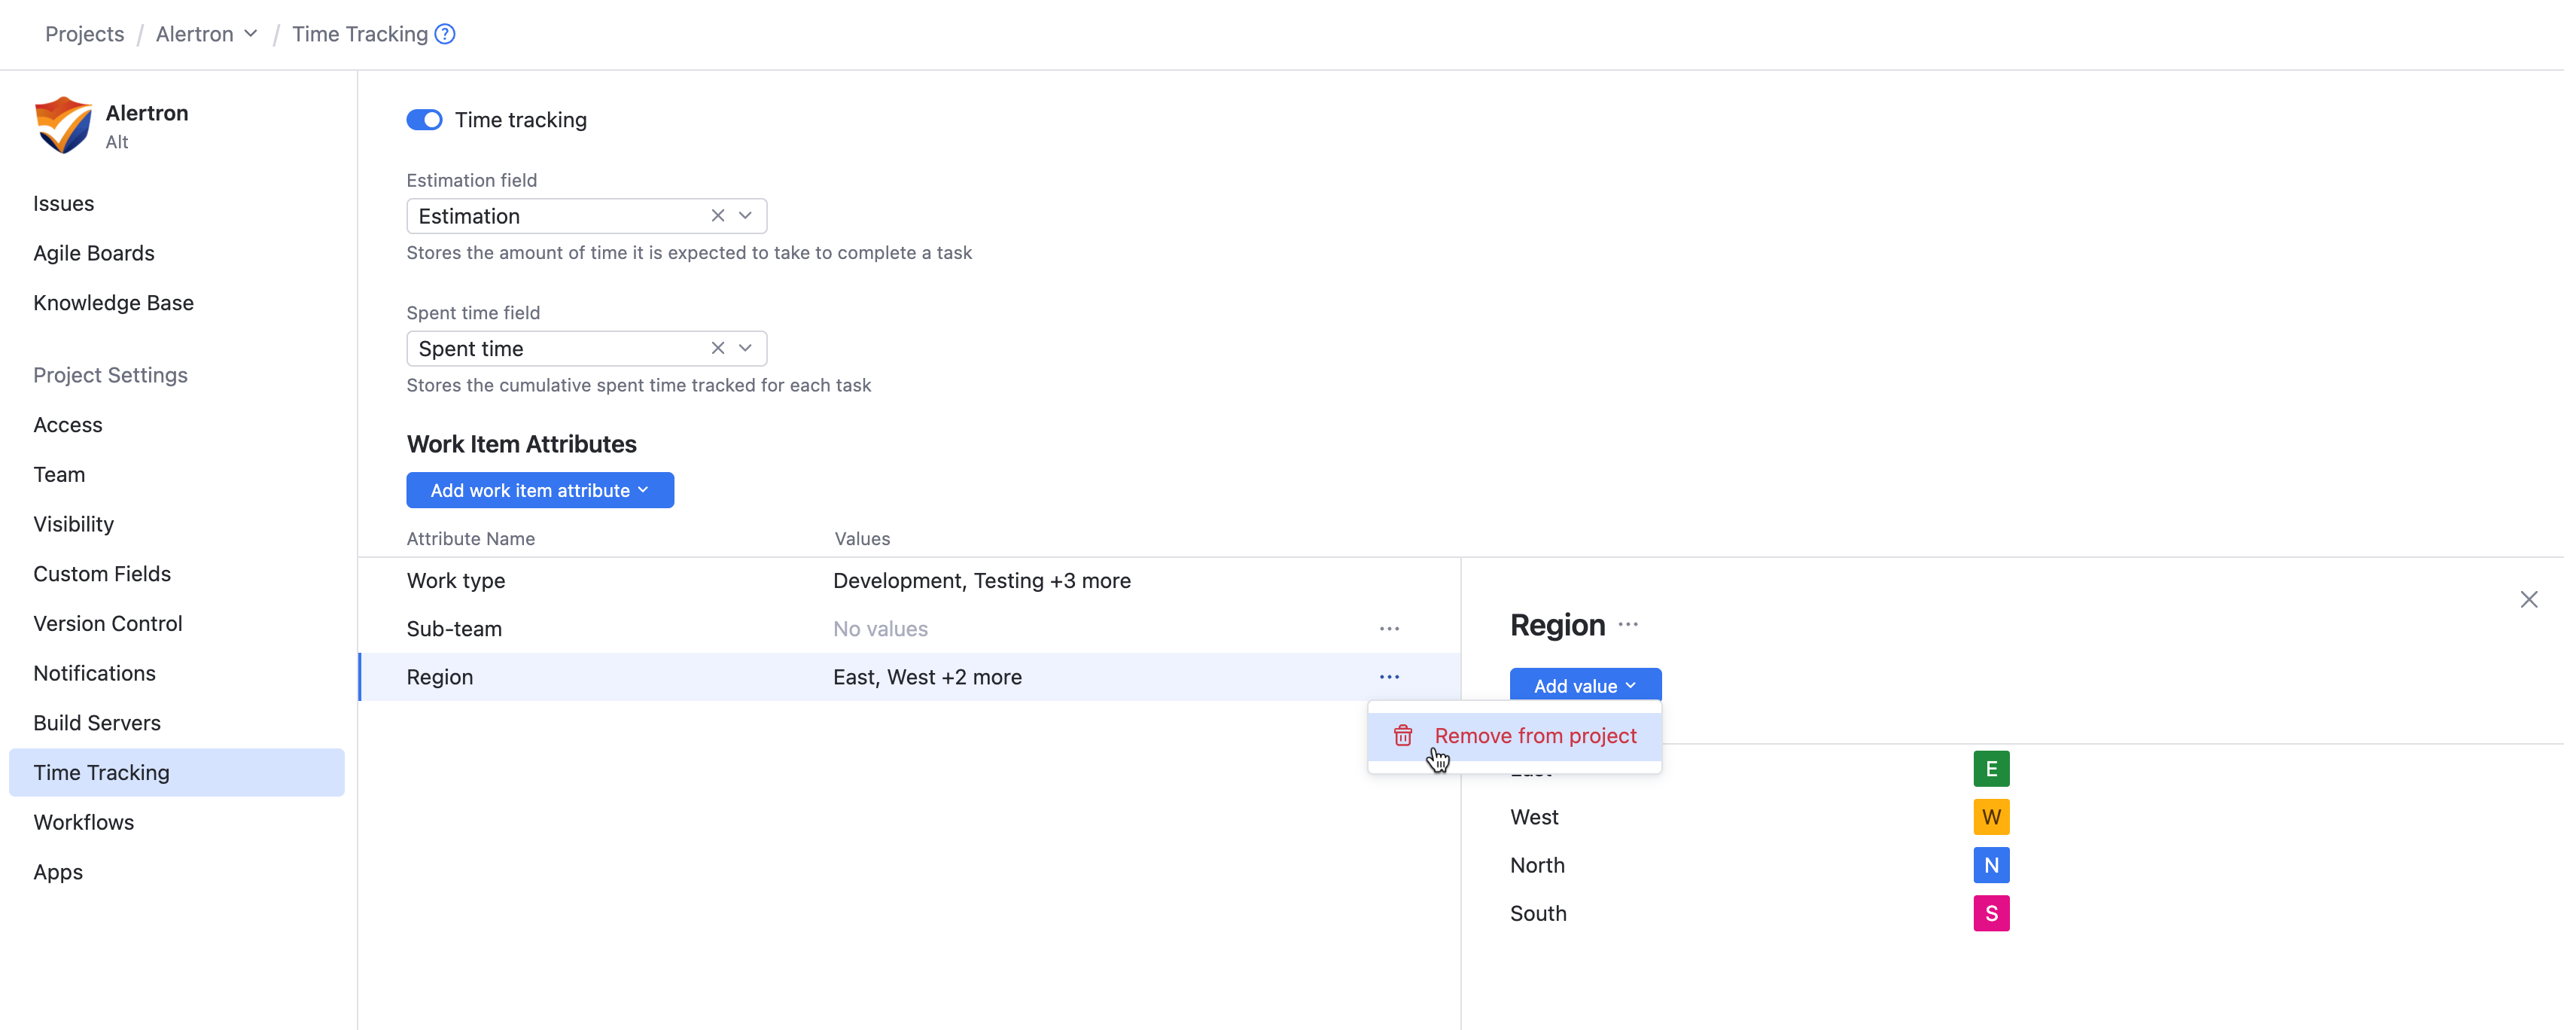
This option is also available from the
Show more menu in the details panel.
