Manage Workflows
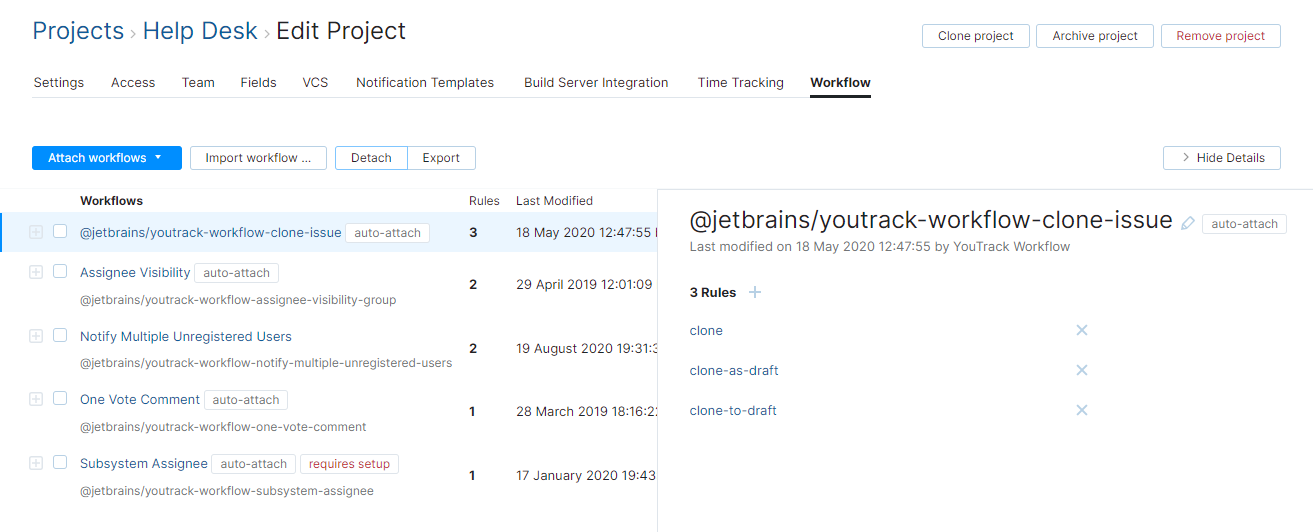
Workflows in YouTrack let you customize and automate the lifecycle of issues in your project. As a project administrator, you can attach existing workflows to your projects. You can access these settings on the Workflow tab of the Edit Project page.
When you attach a workflow, you can enable and disable specific rules for your project. These settings do not affect any other project in the system.
System administrators have the ability to create workflows and attach them to any project in the system. As a user with Read Project and Update Project permissions, you can also access the Workflows administration page and create your own workflows. For more information, see Workflows.
Attach a Workflow to your Project
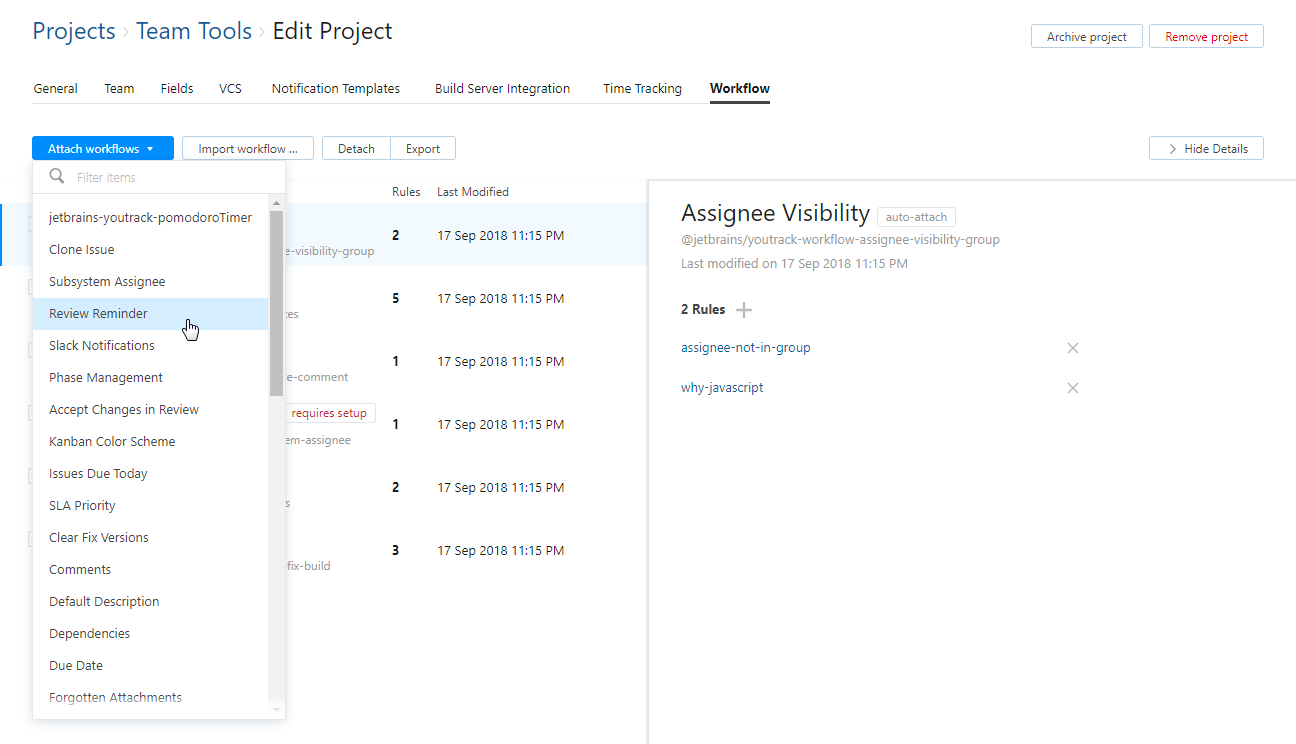
Before you can use a workflow, you need to attach it to your project.
To attach a workflow:
Import a Workflow and Attach it to a Project
You can also import a workflow and attach it to your project. For this procedure, you use a ZIP archive that contains the workflow that you want to use in your project. This can be a workflow that was written in an external JavaScript editor or that you have downloaded from the Custom Workflow Repository.
Starting from YouTrack 2018.3, you can no longer import workflows that were written in the external YouTrack Workflow Editor. For more information, see Converting Old Workflows to JavaScript.
To import a workflow and attach it to a project:
Click the Projects link in the main navigation.
Open the project to which you want to attach the workflow.
Click the Edit project link.
Select the Workflow tab.
Click the Import Workflow button.
Select the ZIP file of the workflow you would like to import.
Click the OK button.
The workflow is imported attached to the selected project.
Deactivate and Activate Workflow Rules
When you attach a workflow to a project, all of the rules are active and enabled. You can customize the workflow in your project by disabling and enabling specific rules.
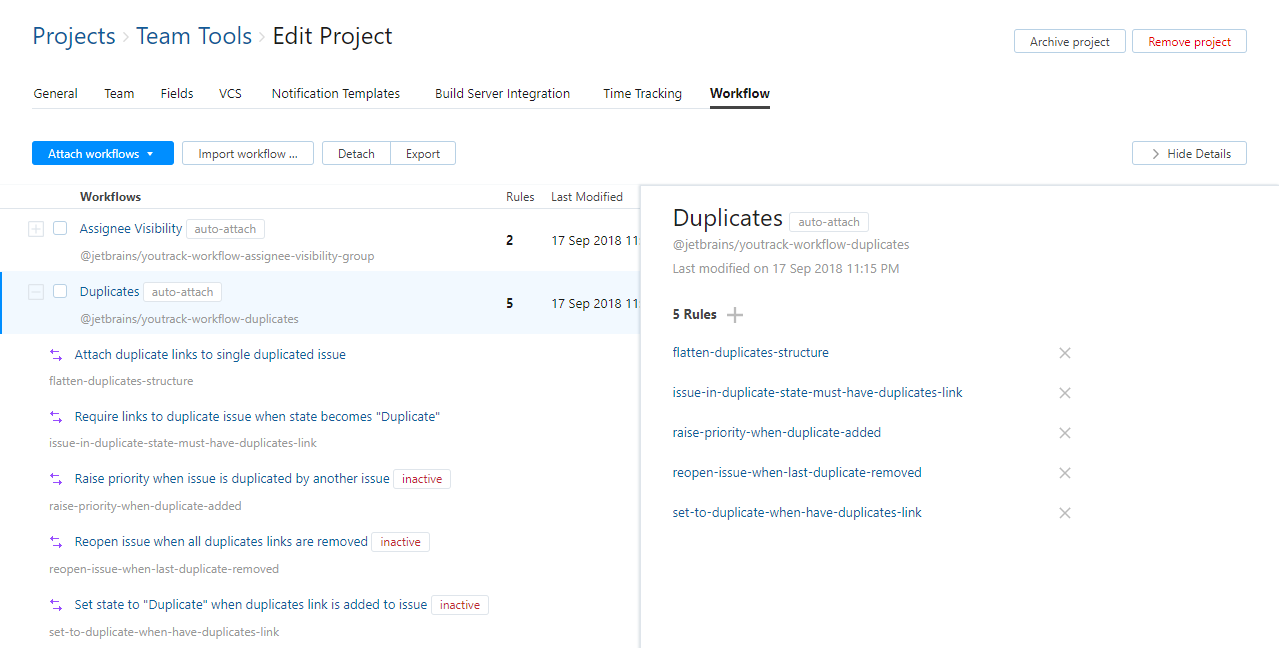
To view a the list of rules for a workflow, click to expand the workflow. Rules that have been deactivated are dimmed and labeled Inactive.
To deactivate individual rules in a project:
Select the Workflow tab on the Edit Project page.
Expand the workflow to display the list of rules.
Select the rules that you want to deactivate.
Click the Deactivate button.
When you disable all of the rules in a workflow, the workflow is detached from the project automatically.
To activate individual rules in a project:
Select the Workflow tab on the Edit Project page.
Expand the workflow to display the list of rules.
Select the rules that you want to activate.
Click the Activate button.
Detach Workflows
If you no longer want to use a workflow, you can detach it from your project.
To detach a workflow:
Select the Workflow tab on the Edit Project page.
Select the workflow that you want to detach.
Click the Detach button.
Alternatively, you can disable all of the rules in the workflow. The workflow is detached from the project automatically.
Detaching Legacy Workflows
In YouTrack 2020.5, the logic that supported legacy workflows was removed completely. To prevent the application of breaking changes, any attempt to upgrade an installation where legacy workflows are attached to active projects will fail.
To continue with the upgrade to version 2020.5 or later, your administrator must first detach all legacy workflows from all active projects in your installation.
The fastest way to detect and detach legacy workflows is to open the Workflows list. If you have permission to update all of the projects in your installation, see Detaching Legacy Workflows
If you only have permission to update your own projects, you can still help clean up your installation by detaching discontinued workflows. You can tell the difference between JavaScript workflows and their discontinued legacy counterparts by observing the following characteristics:
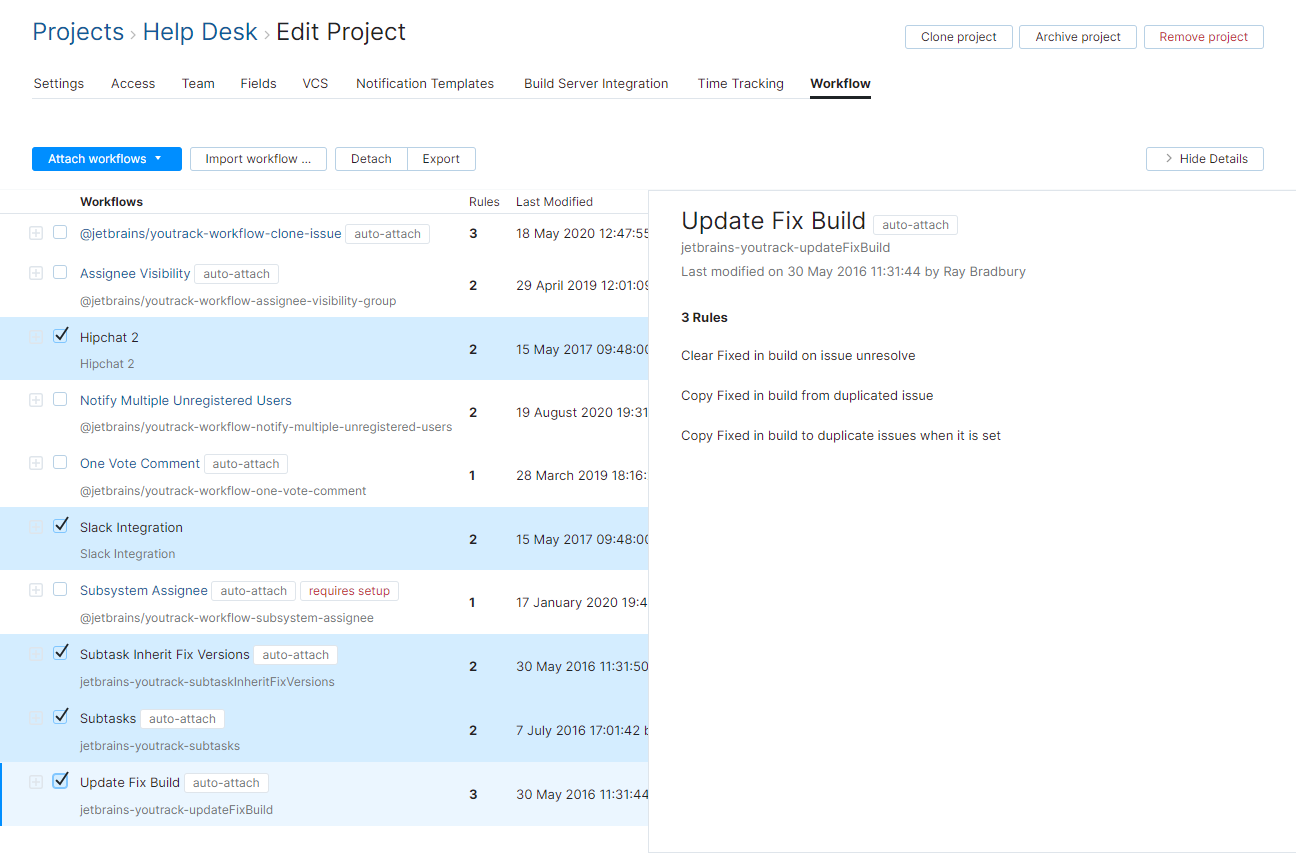
The titles for legacy workflows are formatted in plain text. When you select a rule from a legacy workflow, the workflow code is displayed in the sidebar. These rules will not open in the workflow editor window.
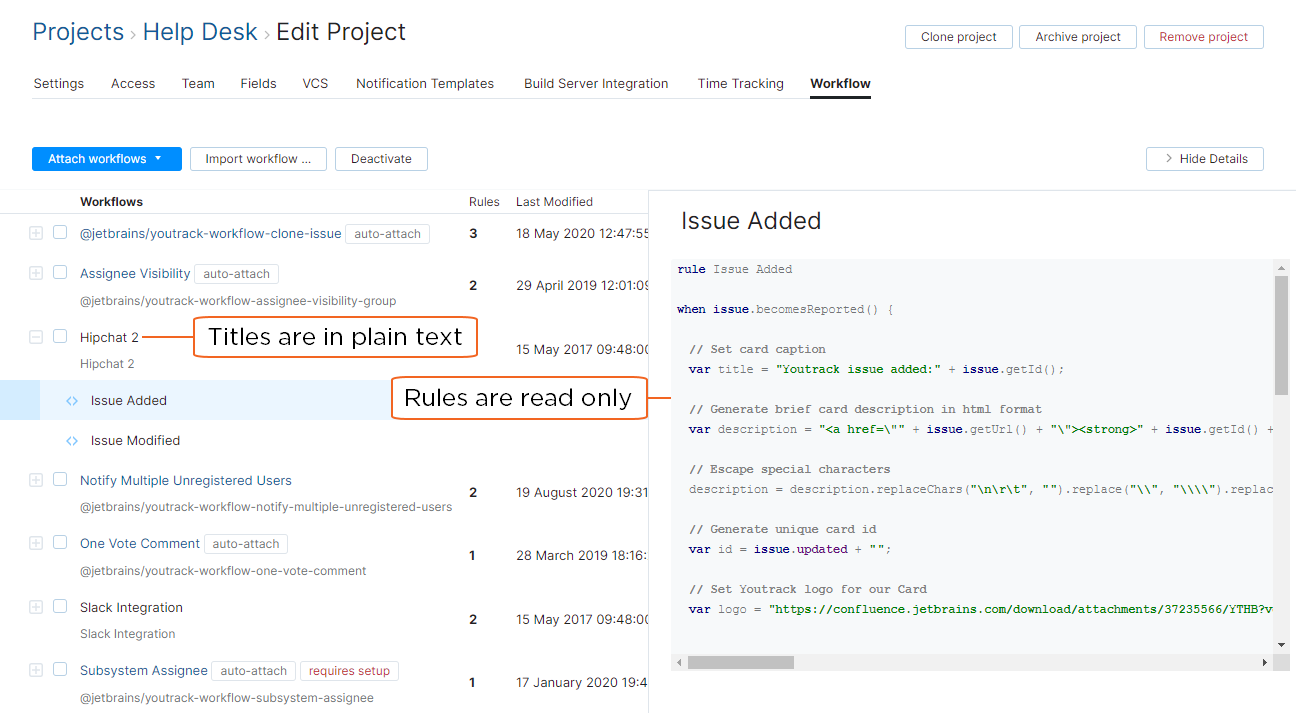
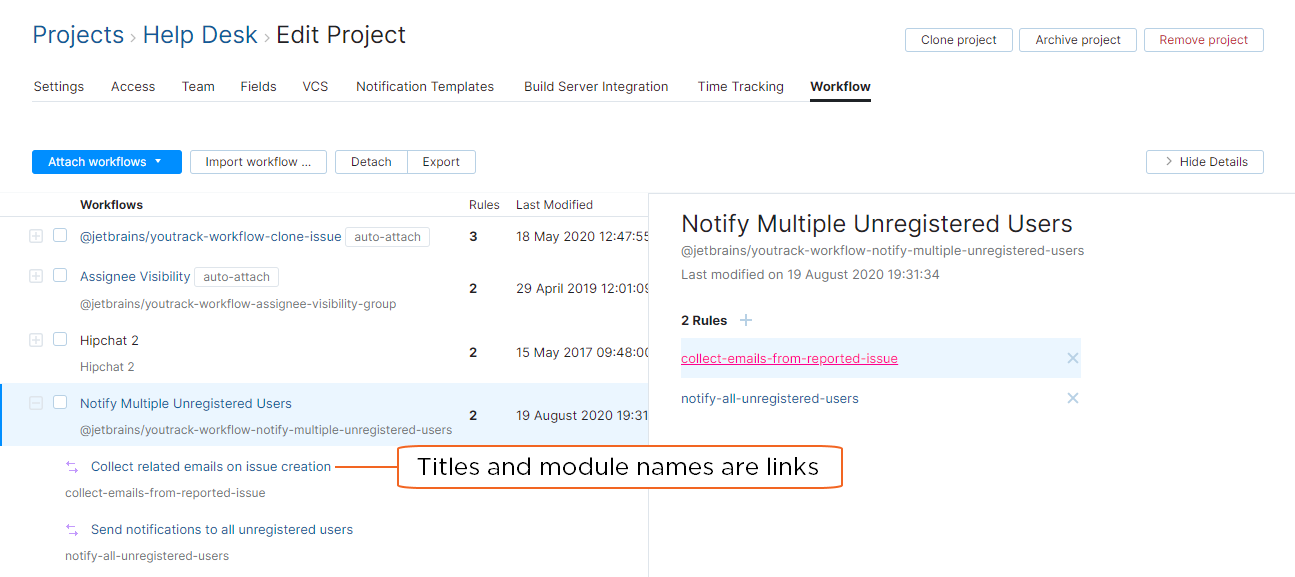
The workflow titles and module names for JavaScript workflows are formatted as links. Clicking these links opens the workflow or workflow rule in the built-in workflow editor.
