
Creating a Project for Spock
Start by creating a new Java project which will be the basis for the rest of this tutorial.
Let's start by creating a new project that's going to contain Java project code, and use Spock to unit test that code.
From the new project window, we can choose any of:
- Java
- Maven
- Gradle
...from the left-hand options to create our JVM project. For this tutorial we're going to use Gradle as our build tool.
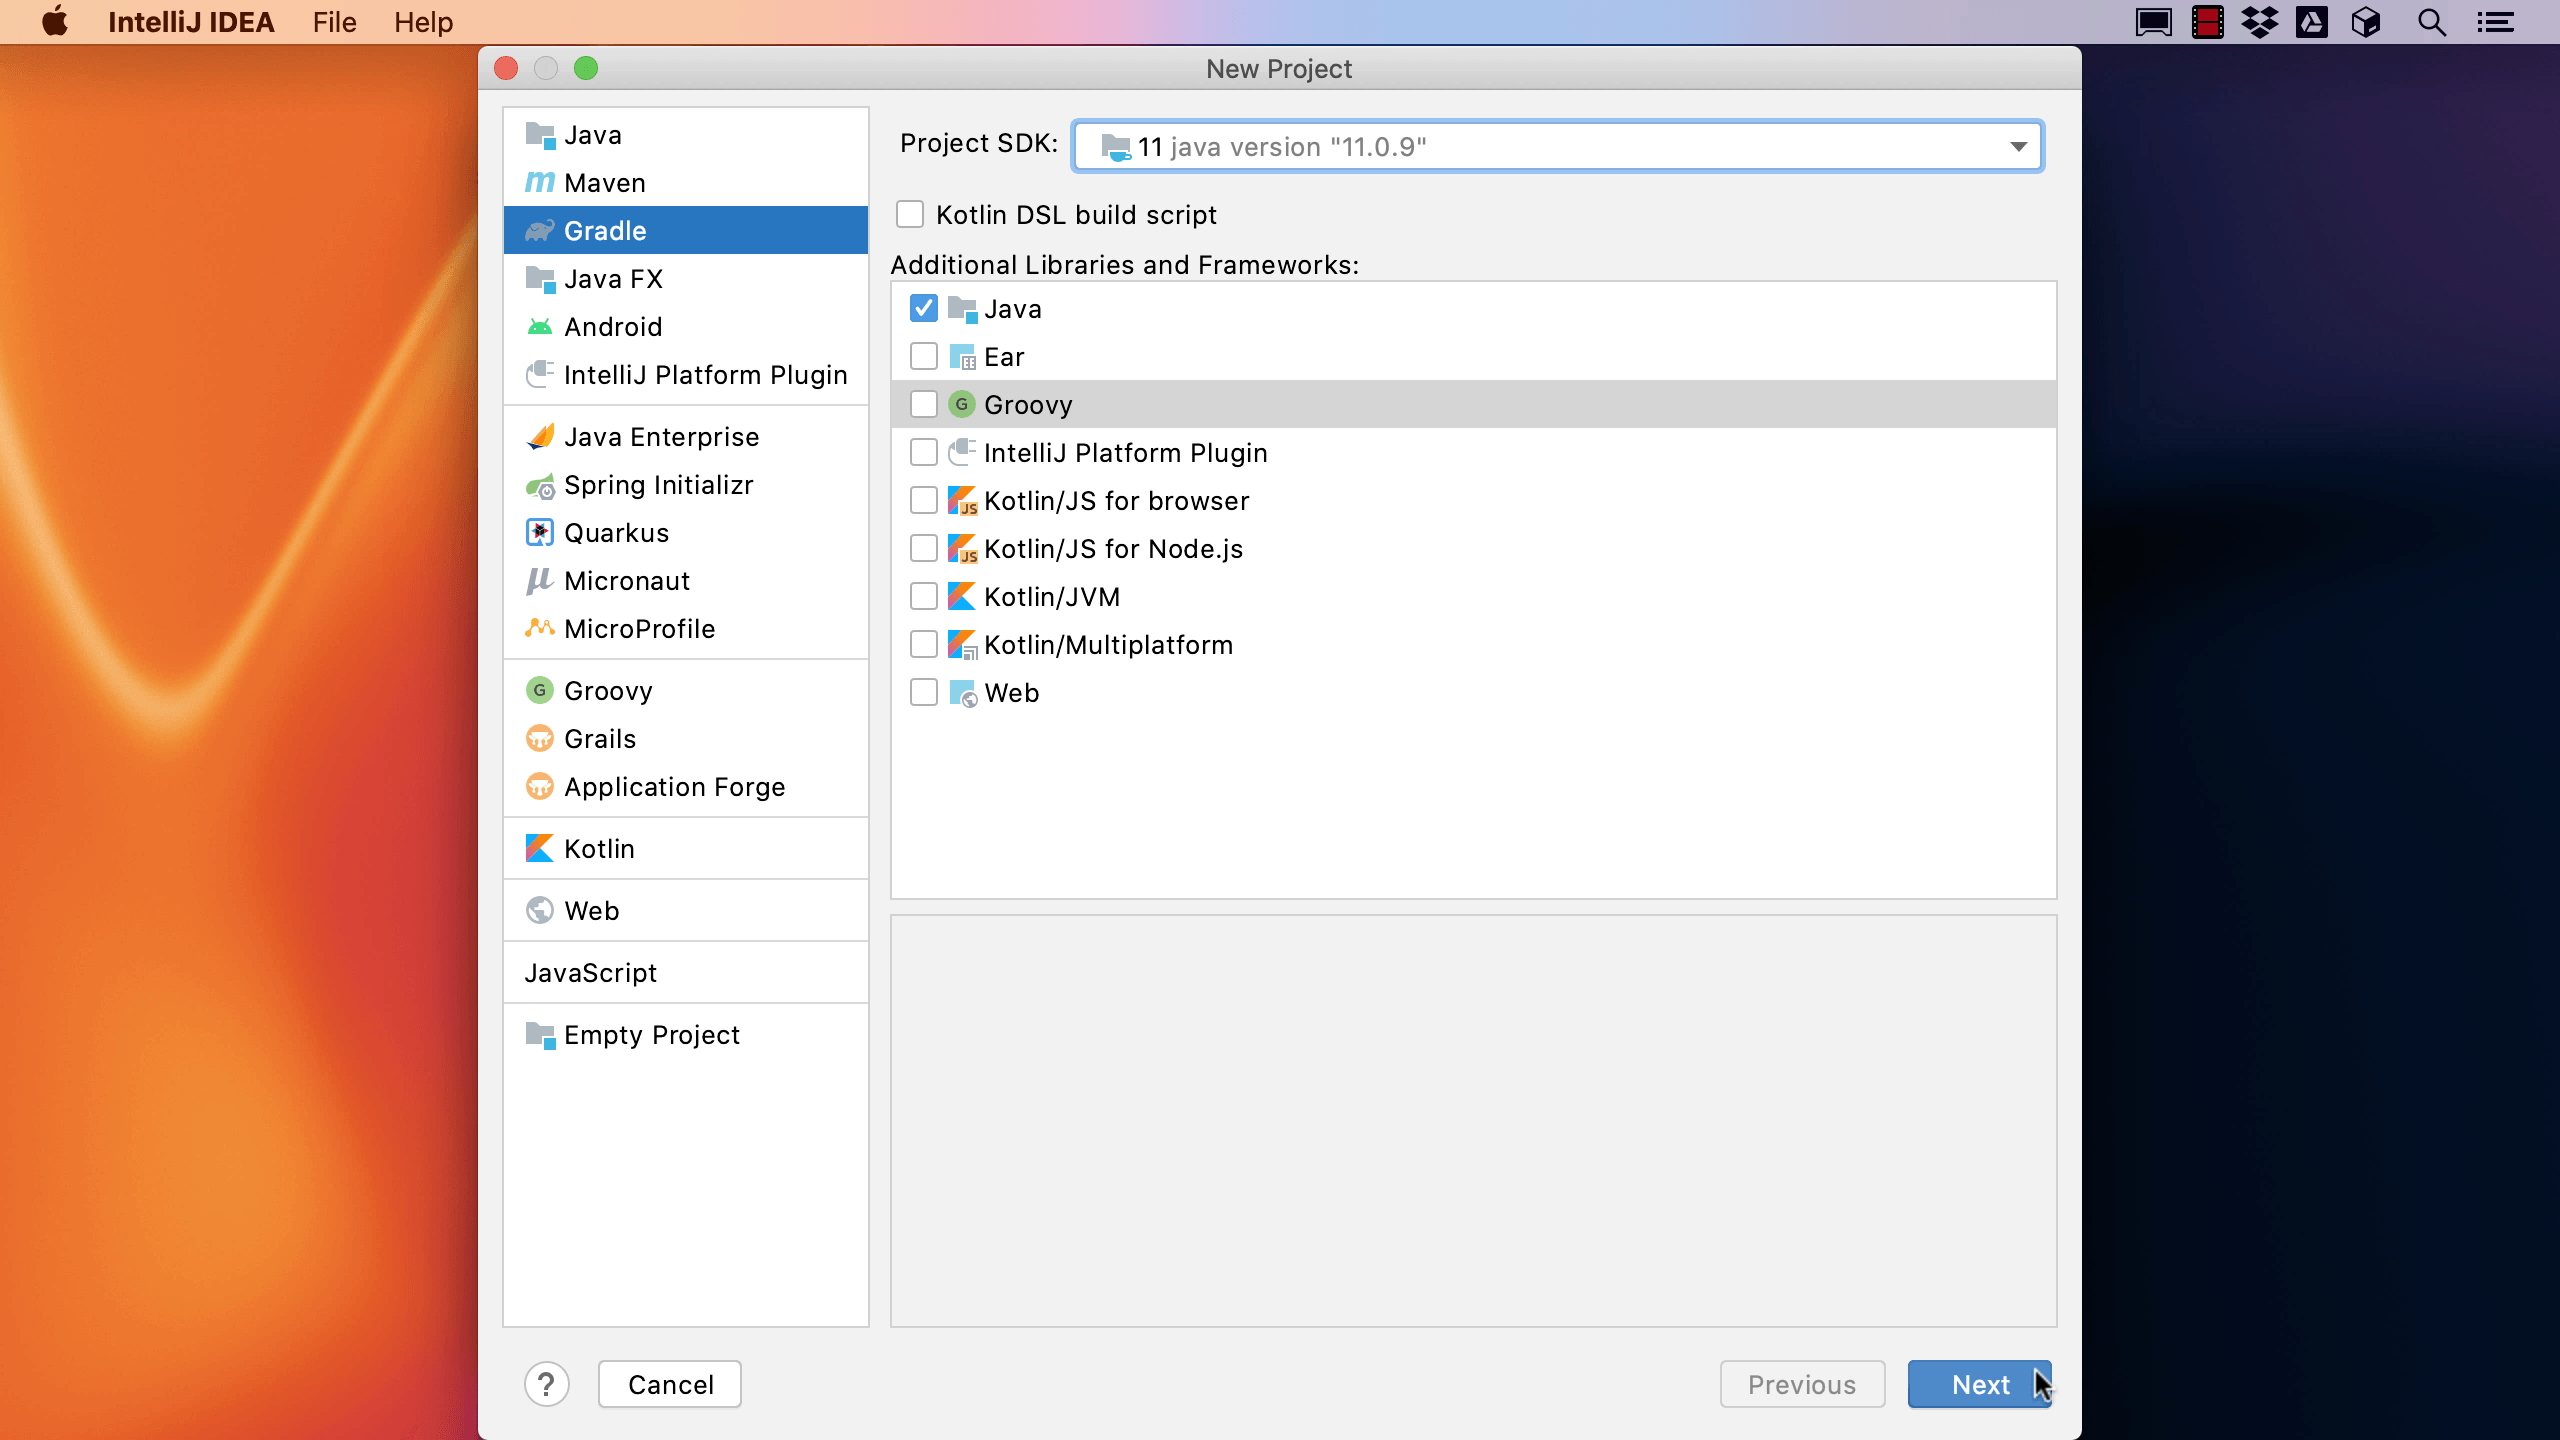
Spock is a Groovy testing framework, although we're going to use it to test Java code, so we could select Groovy as an additional library to add right at the start. However, we can also add Groovy later on so I'm not going to select it here.
We're using JDK 11 for this project, but there's no functionality here that requires 11, you can use whichever version you're comfortable with.
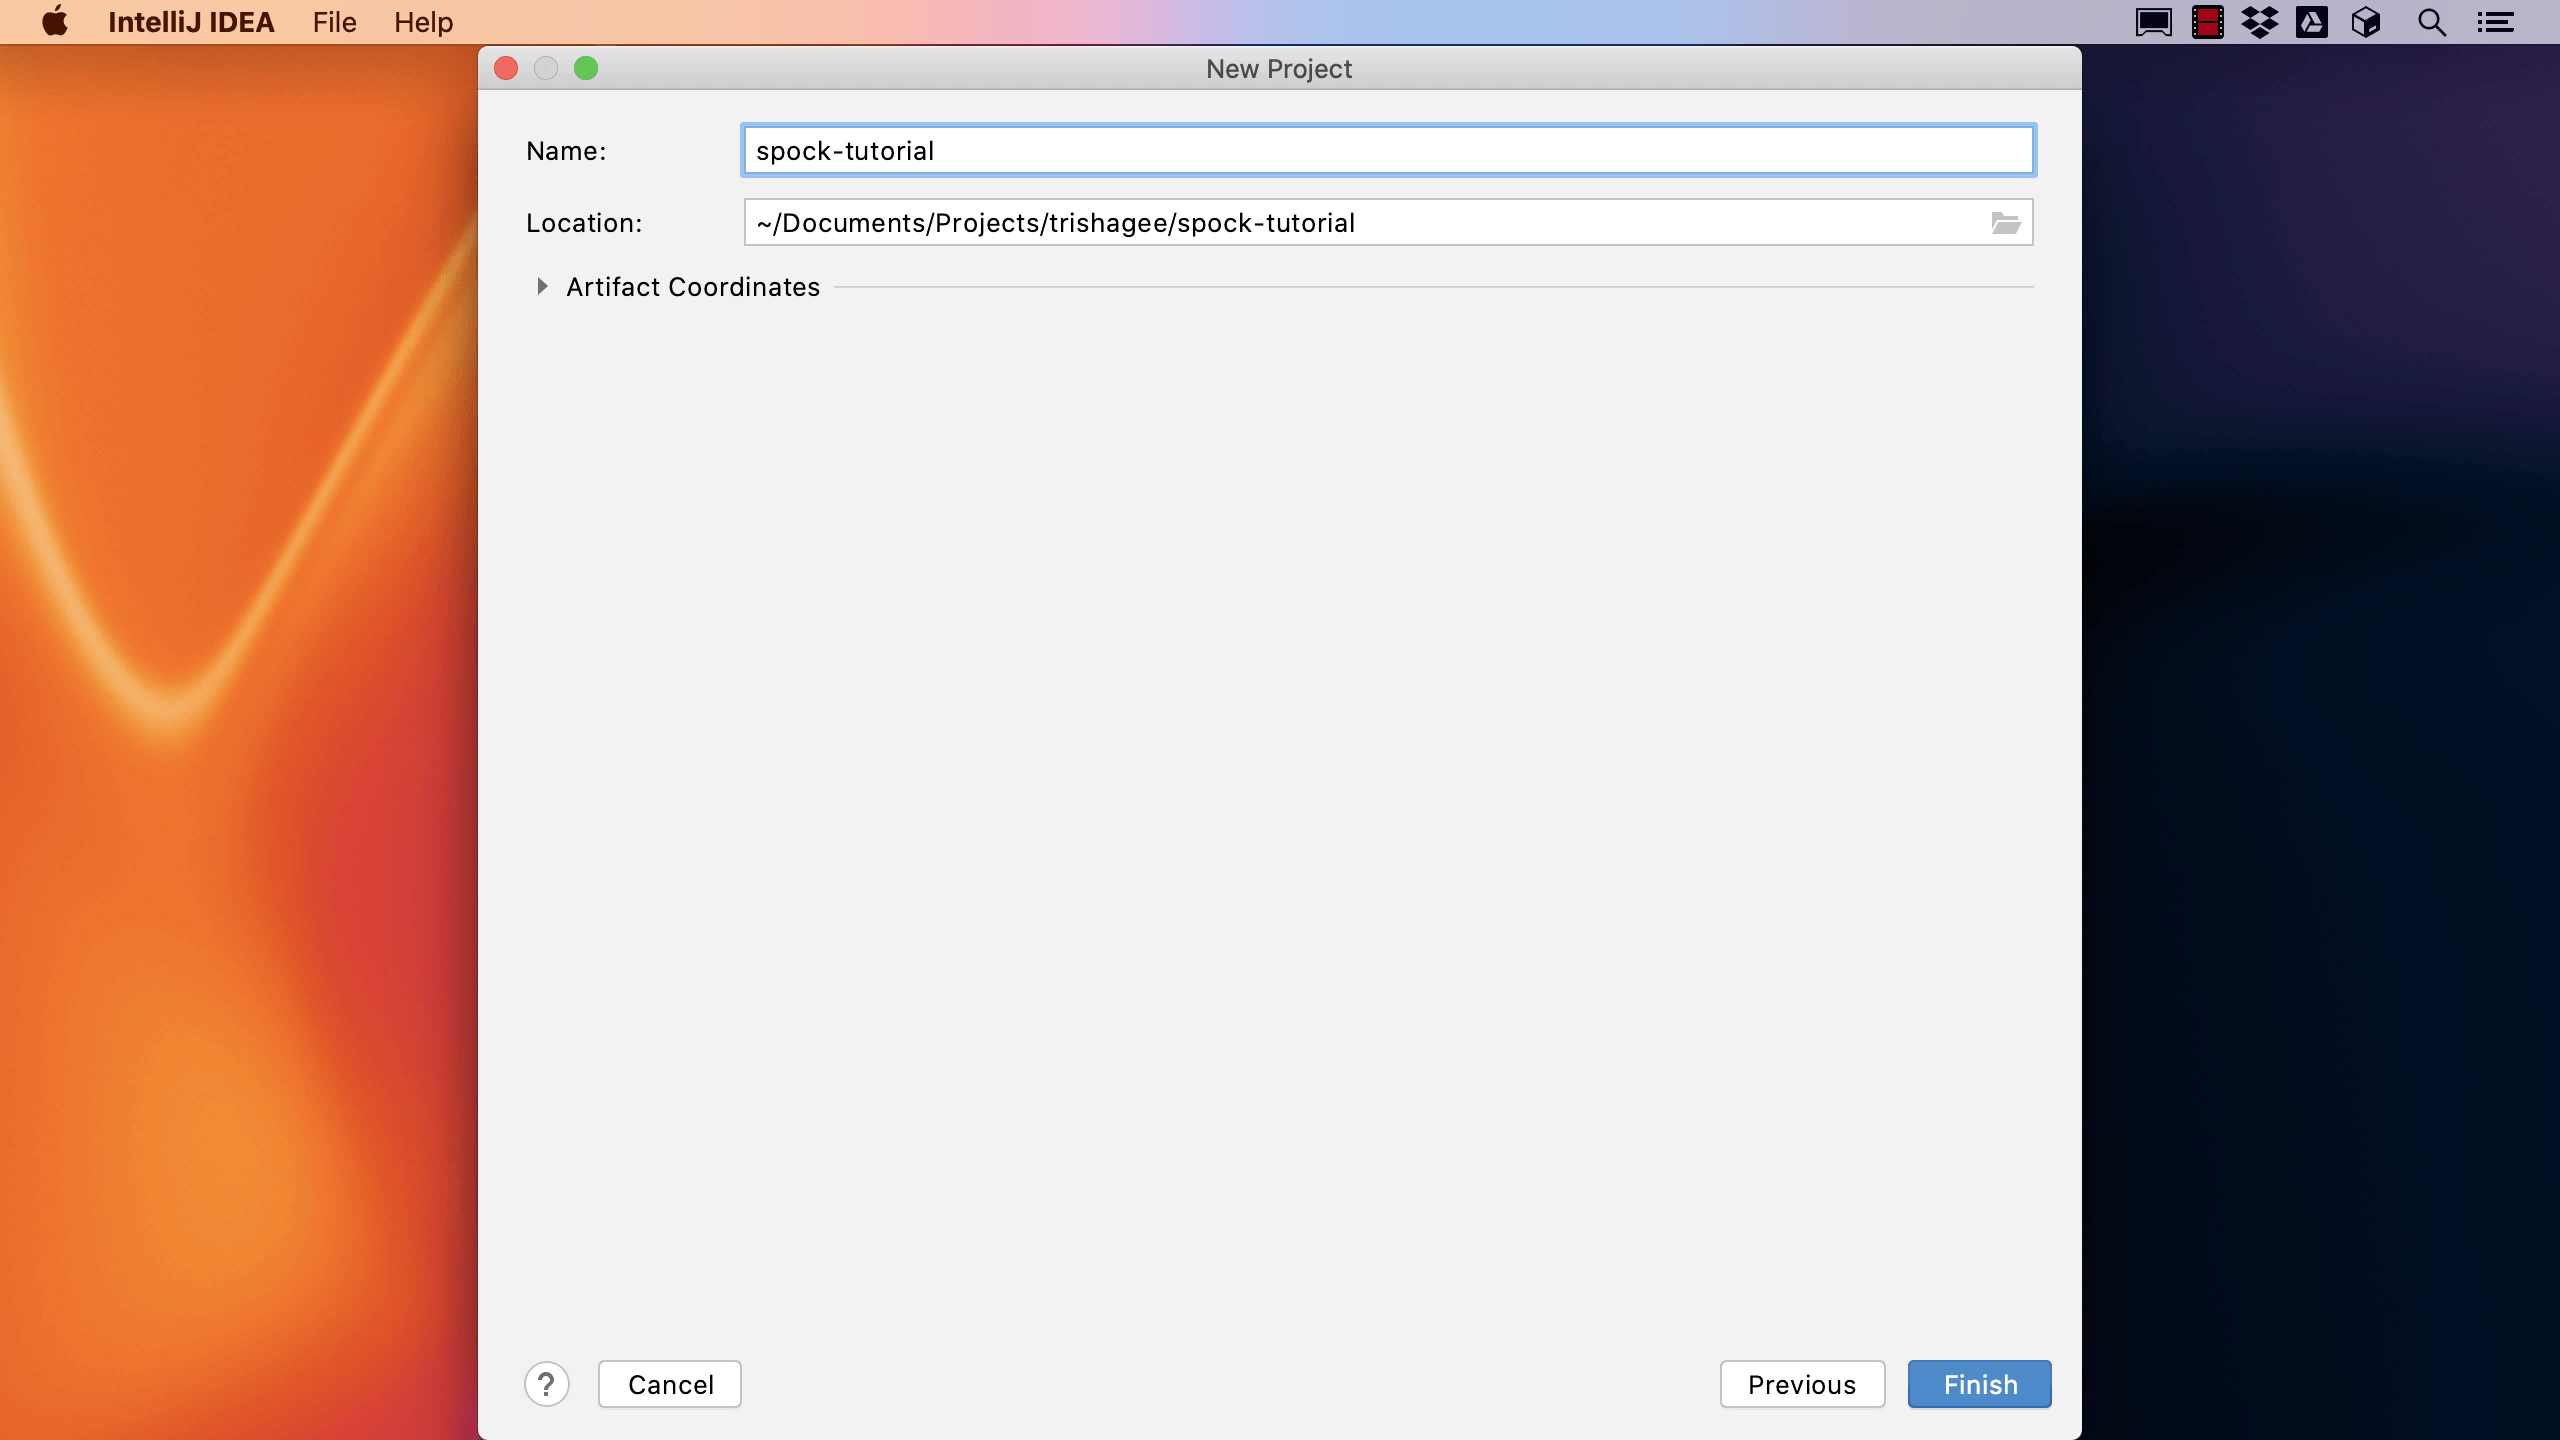
Call the project spock-tutorial, and save it to some useful location.
IntelliJ IDEA creates the files for the project and initialises the structure of the project. It's using Gradle to build this skeleton project to make sure all dependencies are downloaded and set up.
Now we have a simple Java project to play with, we can move onto the next step, adding Spock dependencies.