
Testing
Test-first development with Jest in the IDE.
We briefly saw the Jest test runner in Project Setup. We modified an existing test but didn't dive into testing.
In this tutorial step we start the process of test driven development. After this step, we'll develop first in our Jest tests. Then, only at the end of development, we will look at the app in the browser.
Code
The finished code for this tutorial step is in the repository.
Pretty Jest
Previously we ran our Jest tests as a generic npm run script, in the IDE's npm run tool window.
However, JetBrains IDEs have a dedicated run configuration type for Jest.
It's a fantastic, visual way to do testing.
Let's switch to using that Jest run configuration, starting with the easy way.
Open App.test.tsx, right-click in the editor body, and choose Run 'App.test.tsx':
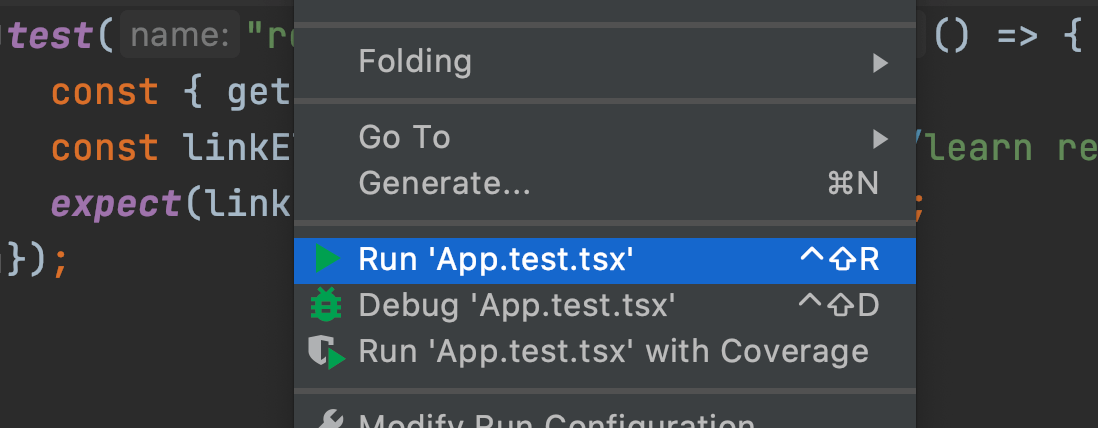
Instead of the npm tool window output, we get a new tool window, focused on showing test output.
And the test output tells us...our test failed!
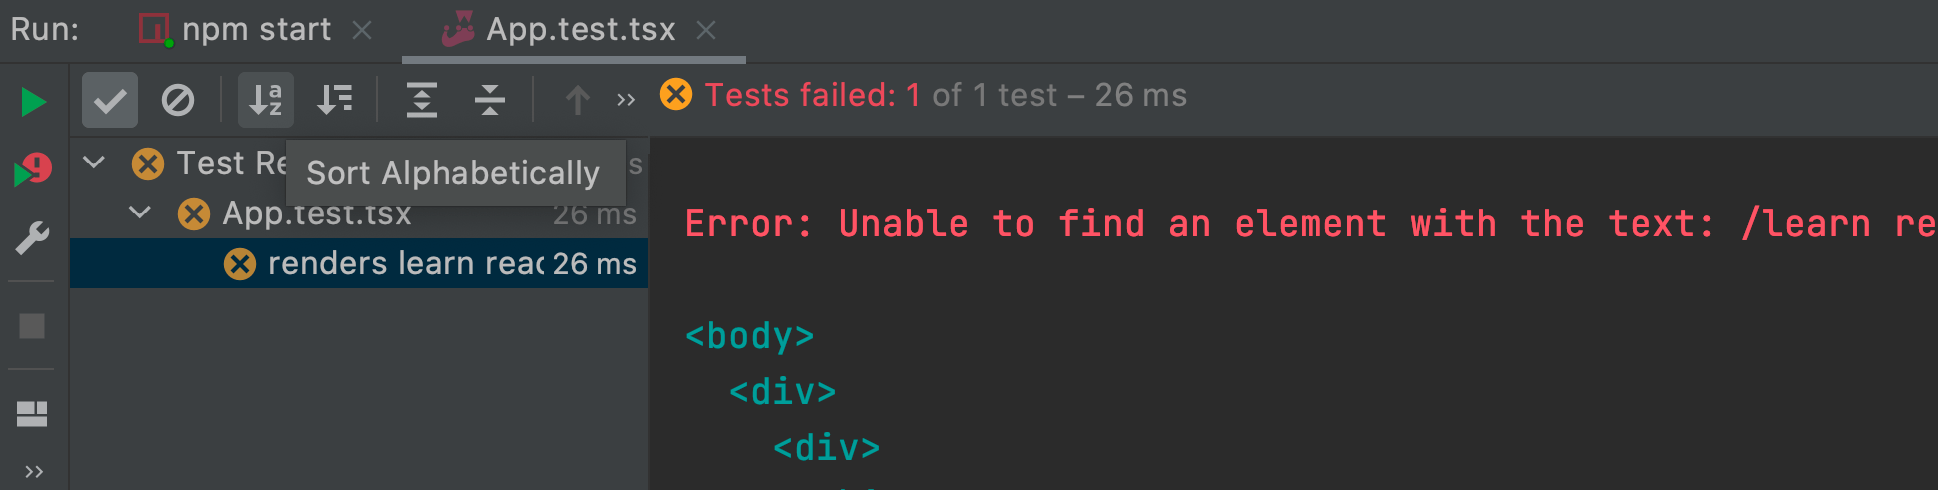
Which is to be expected...in the previous cleanup step, we completely changed the markup.
Let's fix the test, but first, setup an easier way to run Jest.
Easier Jest
This tutorial series talks about test-driven development (TDD), which implies running your tests frequently. When you forget to run your tests, you might be off-track for a long time. Let's setup Jest to re-run whenever anything changes by making a permanent run configuration in the IDE.
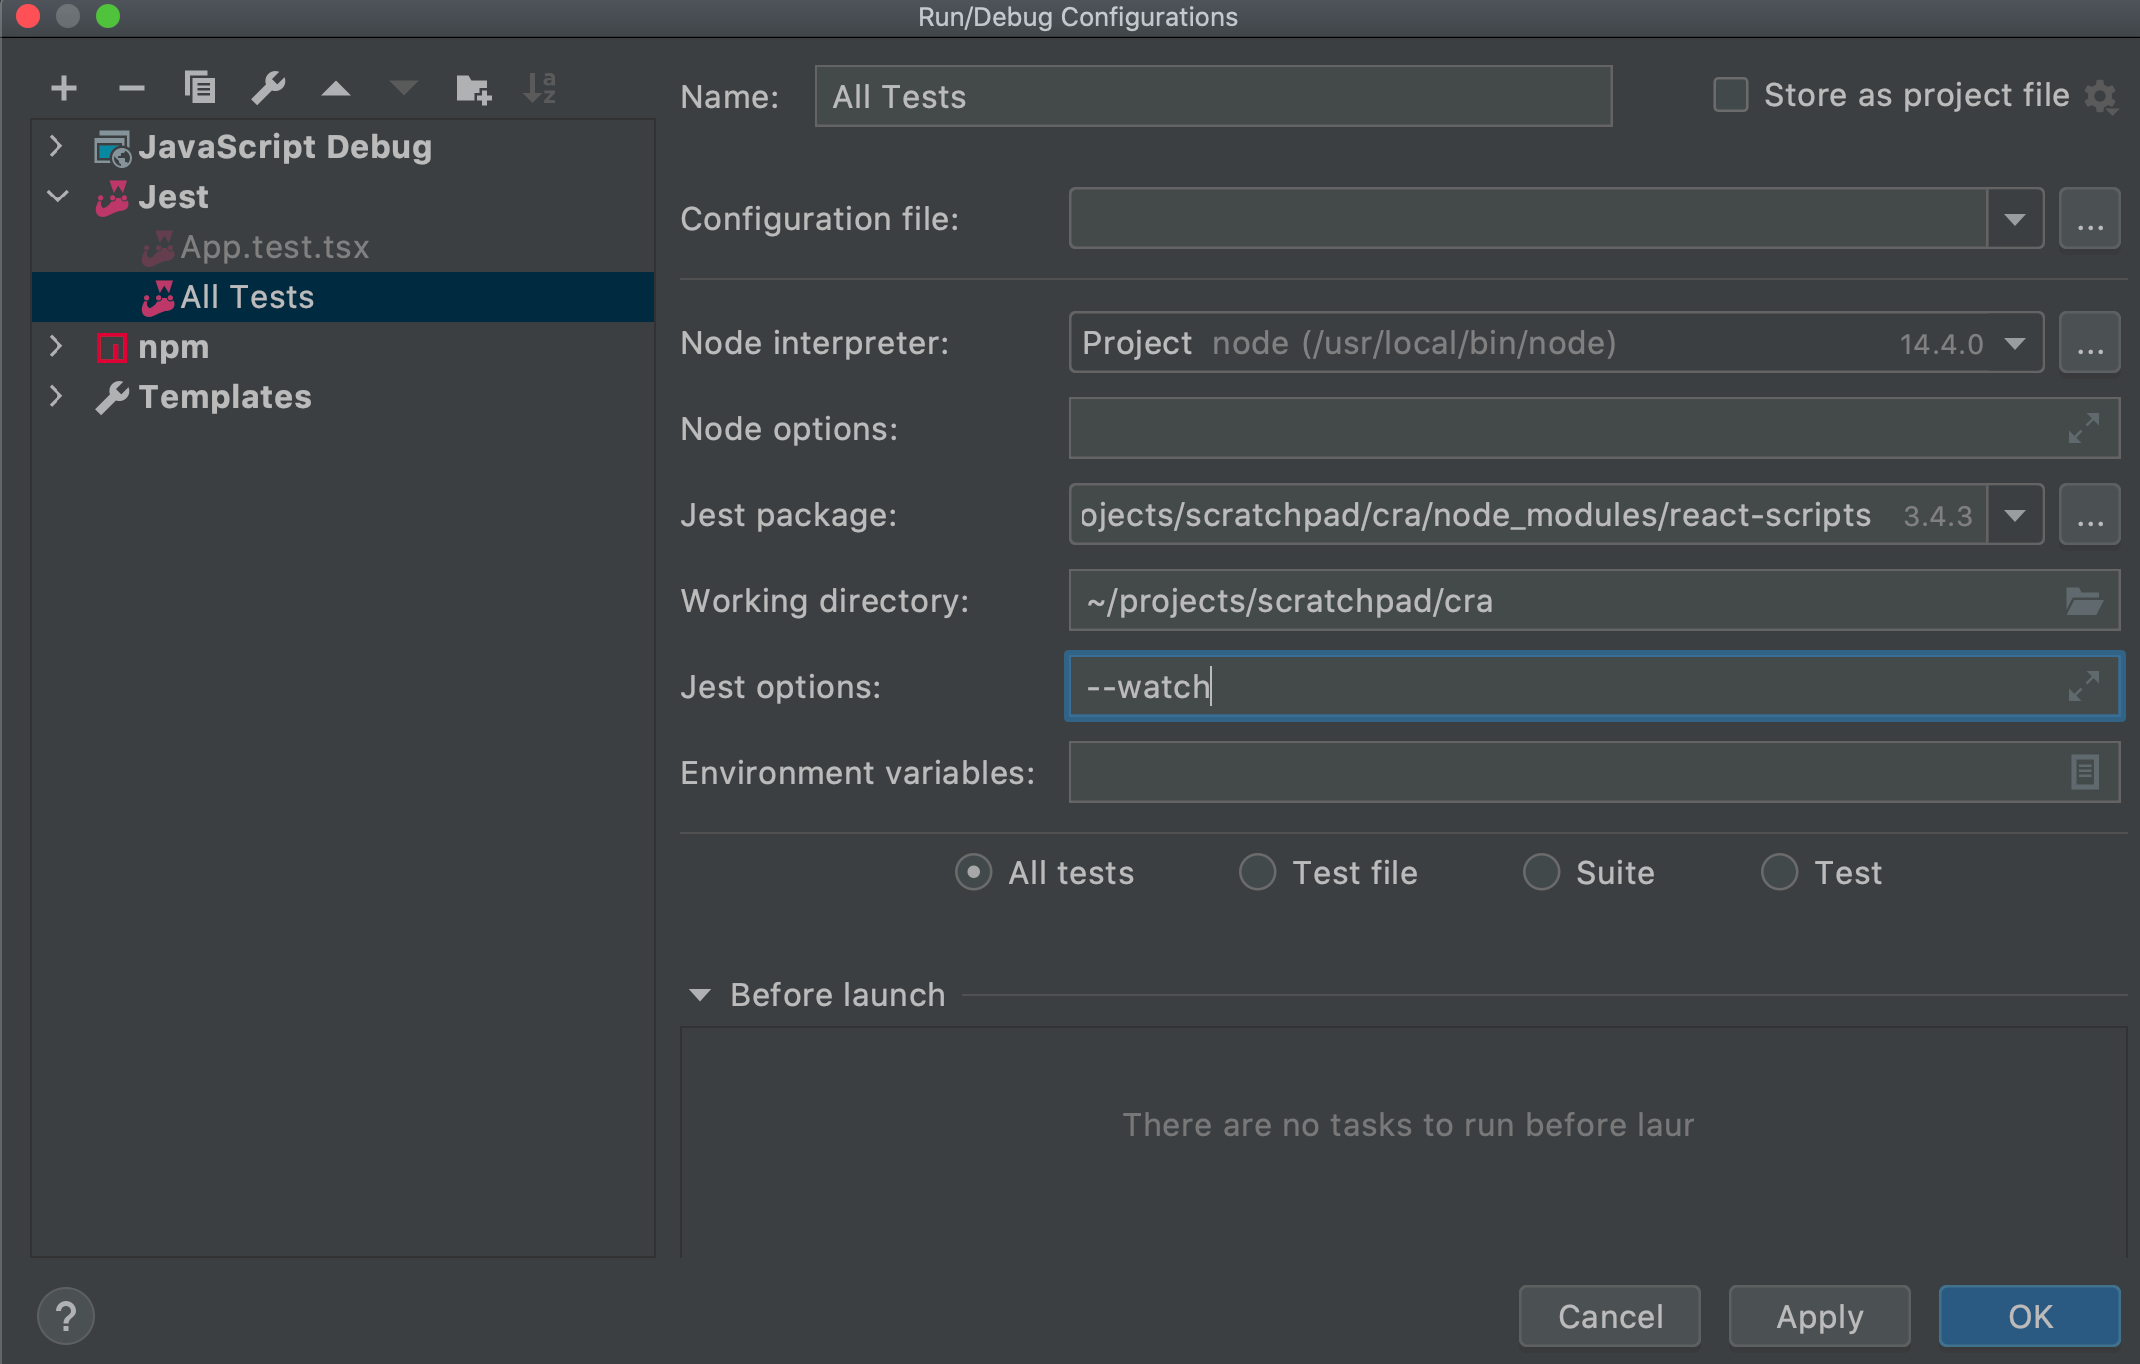
Select Run | Edit Configurations, click +, and click on Jest.
Accept the default Name: of All Tests. The only real field you need to supply is Jest options:.
For that, enter --watch.
This tells Jest to watch and re-run tests when a file has changed (thus speeding up testing.)
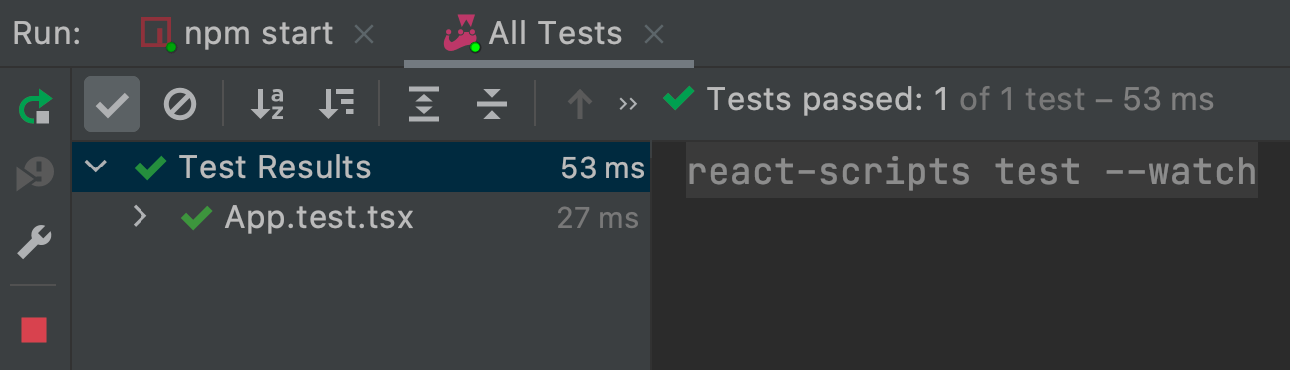
Save that run configuration and run it by clicking the green play button in the toolbar.
Now, change line 7 -- the getByText call -- to getByText(/hello react/i).
As soon as you save, the tests re-run, showing the test now passes:
This small change -- having tests run on changes -- can help get into the flow of test-driven development (TDD).
As a note, getByText is part of the Testing Library package, a set of utilities that encourage good testing practices.
Testing Library has great support for React and thus is bundled in create-react-app.
Fail Faster
Let's see a little TDD in action.
Open src/App.test.tsx.
We're going to show the cycle of fail-fix in action.
Define two constants, then compare them with a simple Jest assertion:
test("renders learn react link", () => {
	const { getByText } = render(<App />);
	const linkElement = getByText(/hello react/i);
	expect(linkElement).toBeInTheDocument();
	const actual = 1;
	const expected = 2;
	expect(actual).toEqual(expected);
});
As we saw before, when you save this, Jest re-runs your tests. This test now fails, and the IDE's tool window presents the test results in a very convenient UI. For example, you can jump directly to the line of the failing test, even if the file isn't currently open.
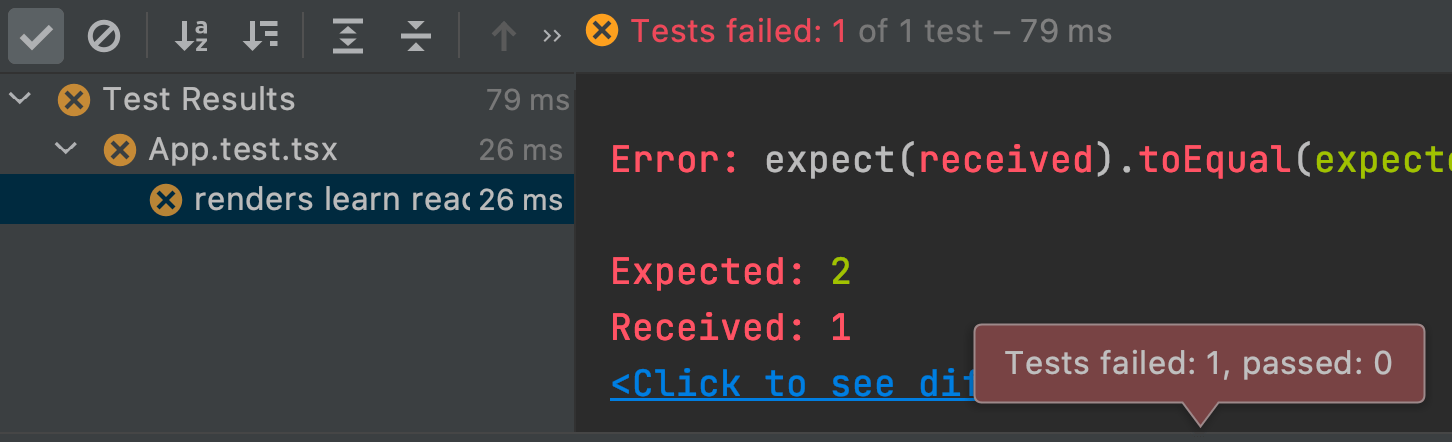
Even if the test tool window isn't open, you still get information about the test results:
- A red gutter icon
- A red line in the scroll bar
- Integration into the scrolling "problems" panel in the top right
- A squiggly under the place that failed
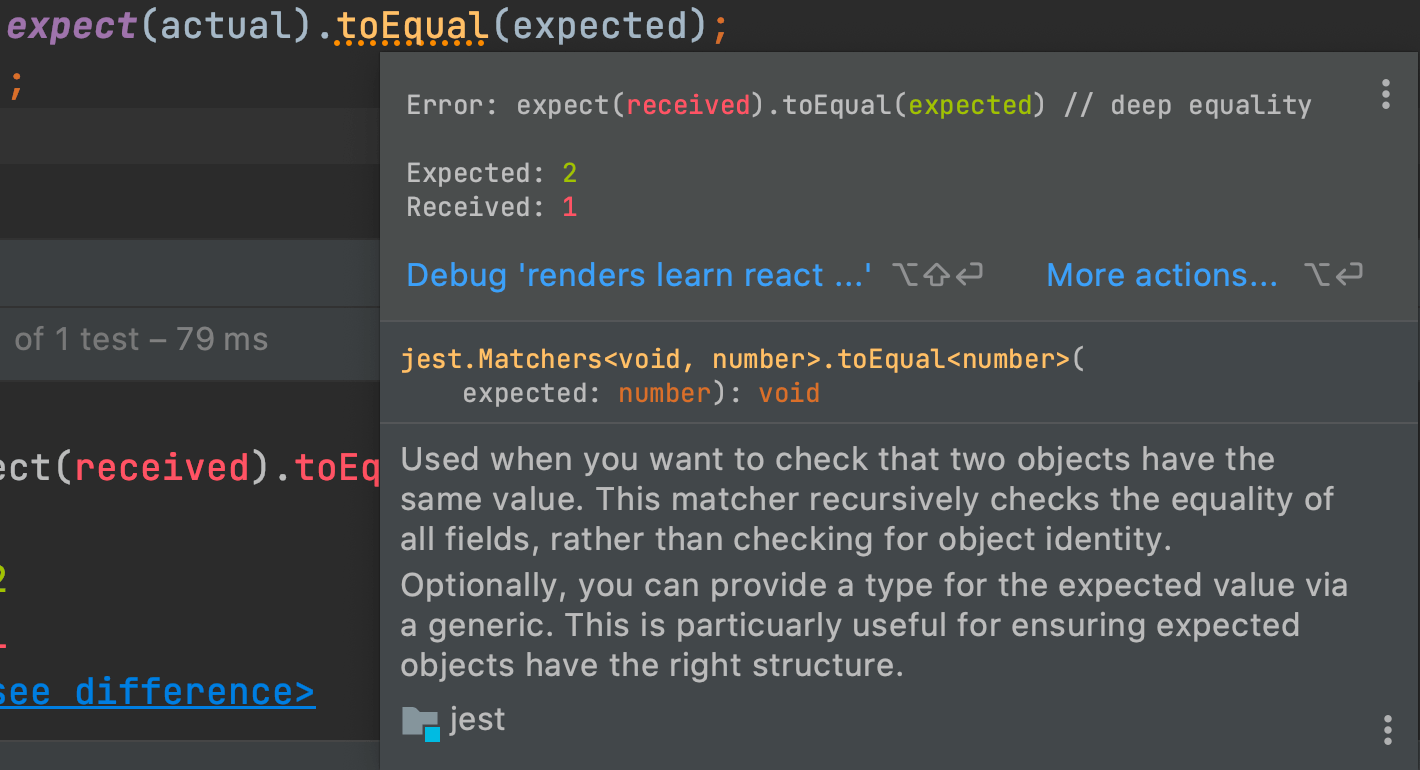
In fact, you get a hover inlay with plenty of information:
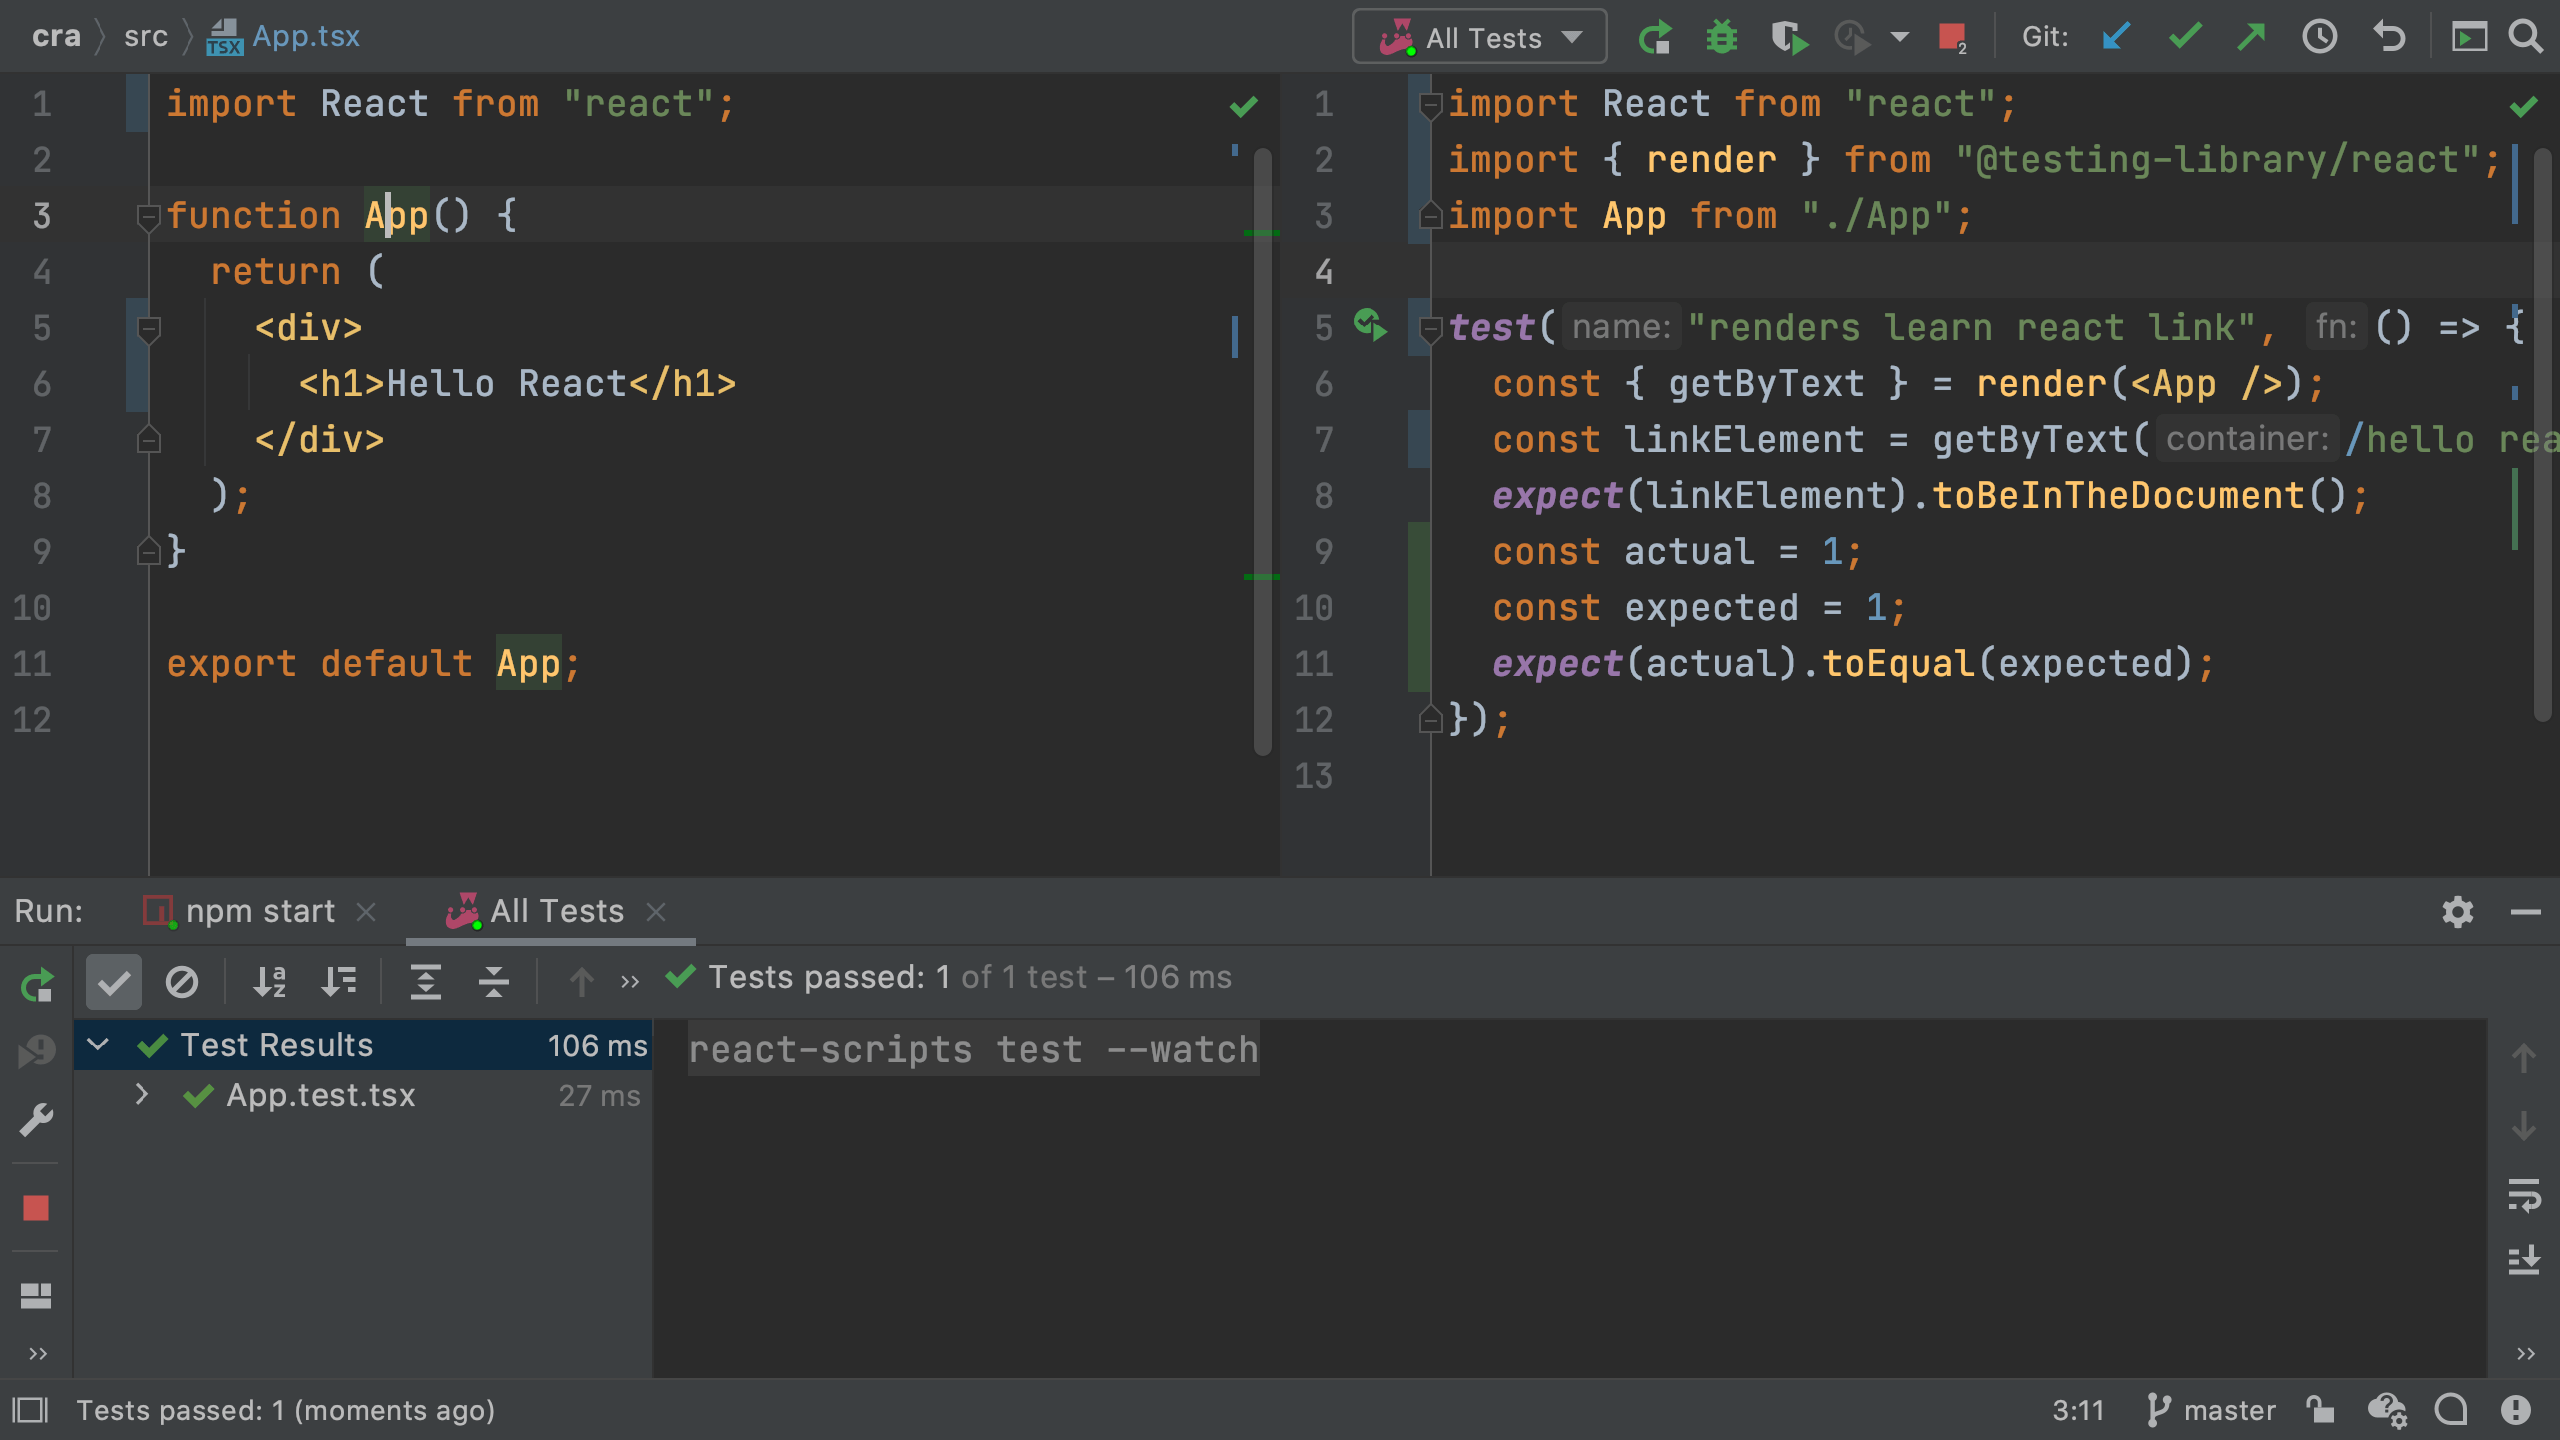
Let's fix the test by changing expected to 1 then save.
The Jest watcher spots the change, re-runs the test, and shows that all tests pass.
TDD Basics
JavaScript development is usually a bunch of switching between the editor, the browser, the browser console, and a terminal window, with the build tools displaying messages. Let's use a better flow. Let's stay in the IDE to focus on our code, and observe our code through tests instead of a browser reload.
First, let's get our code and our tests side-by-side.
Use Find Action ⌘⇧A (macOS) / Ctrl+Shift+A (Windows/Linux) and type in Split Right.
This gives us a left and right side editor without needing tabs.
On the left, open App.tsx and keep App.test.tsx on the right.
We can now see function App alongside our tests.
If you need more room, close the Project tool window.
With our code and tests visible, let's make a change in our code.
Replace Hello React with Hello, React -- adding a comma -- and then save.
A few moments later you will see that the test failed:
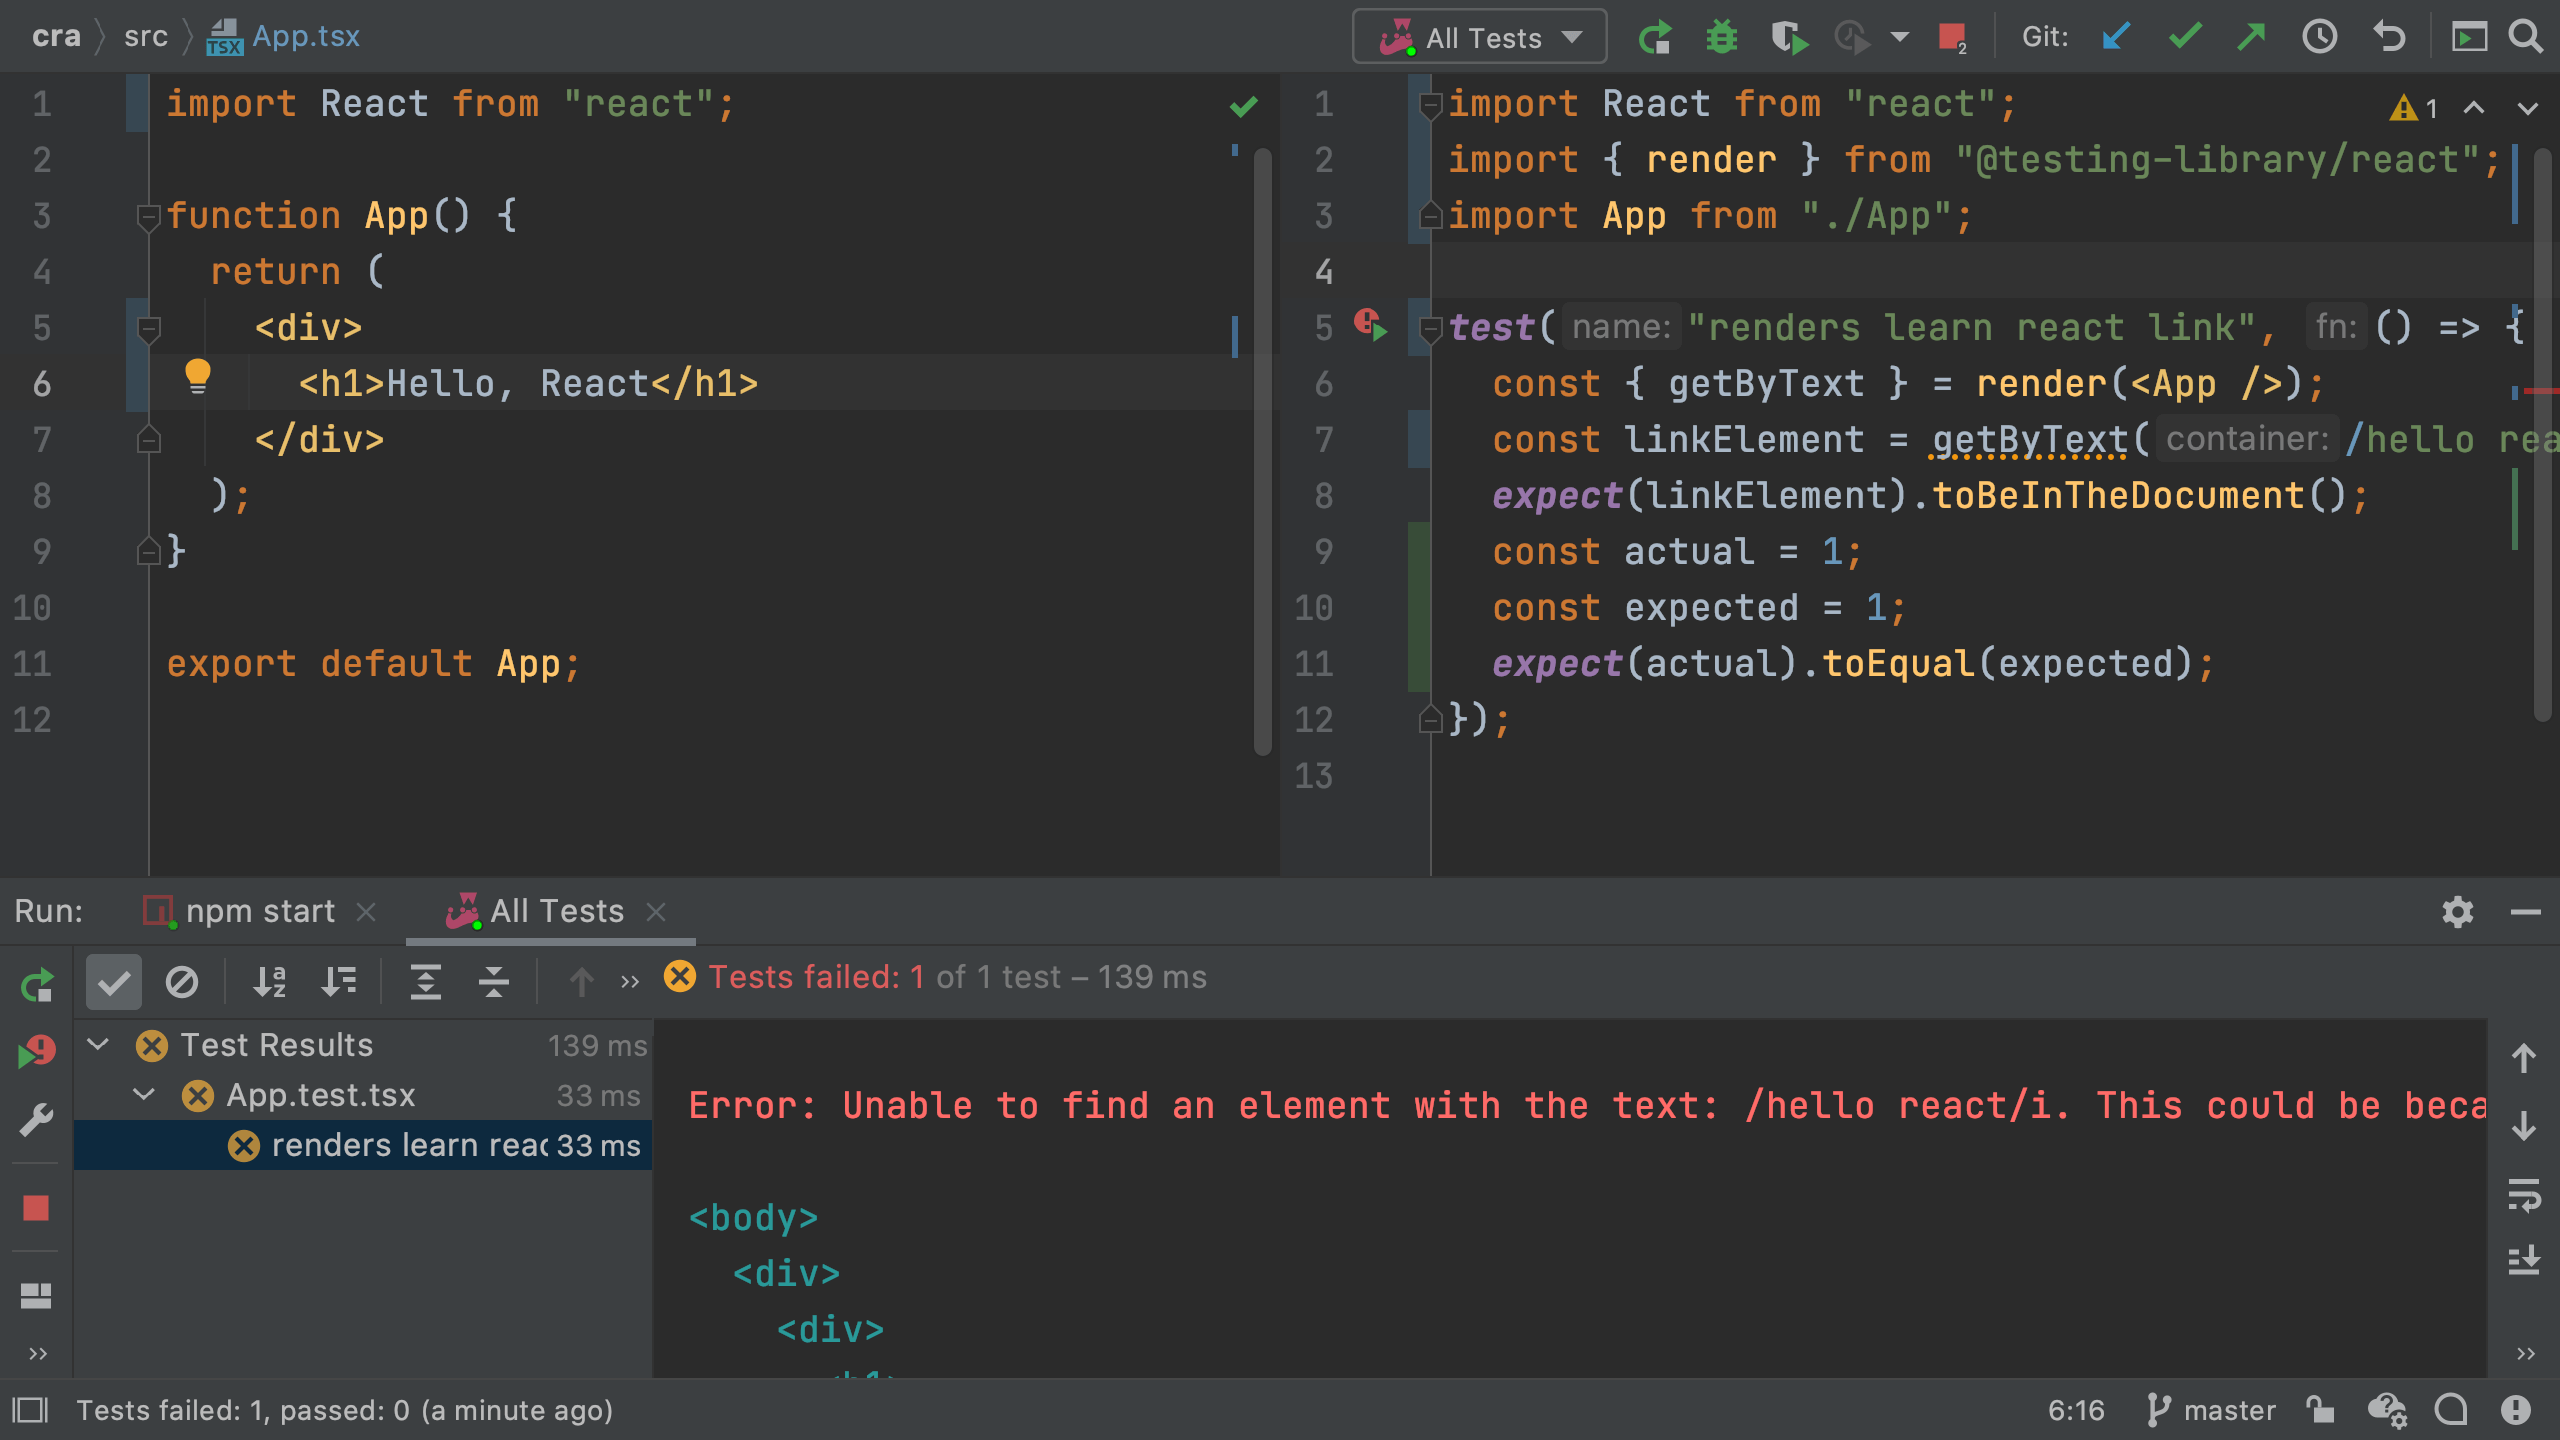
Congratulations, you just did TDD!
You made a change that caused a test to fail, and thus, the tests helped you code with confidence.
Change the text back by removing the comma in function App.
When you save, the test passes.
Not only that...you changed your component without ever looking at nor reloading a browser.
As a final cleanup, remove the last three lines of the test -- const, const, and expect.
Your test code should now like this:
import React from "react";
import { render } from "@testing-library/react";
import App from "./App";

test("renders learn react link", () => {
	const { getByText } = render(<App />);
	const linkElement = getByText(/hello react/i);
	expect(linkElement).toBeInTheDocument();
});