教程:将全栈 TypeScript 应用程序 Docker 化。
在本教程中,我们将:
使用 React/Vite TypeScript 前端和 Express TypeScript 后端创建一个 天气仪表板全栈应用程序。
为应用程序的两部分都编写 Dockerfile 。
在本地运行并调试应用程序,以确保其按预期工作。
创建一个 docker-compose.yml 文件,用于连接前端和后端。
运行 docker-compose.yml 文件以创建镜像并利用应用程序构建容器。
在 Docker 容器中运行并调试应用程序。
开始之前
创建一个天气仪表板应用程序
请点击 新建项目 在 欢迎屏幕或从主菜单中选择 。
在打开的对话框中,在左侧窗格中选择 空项目。
指定应用程序的位置及其名称,例如:
weather_dashboard。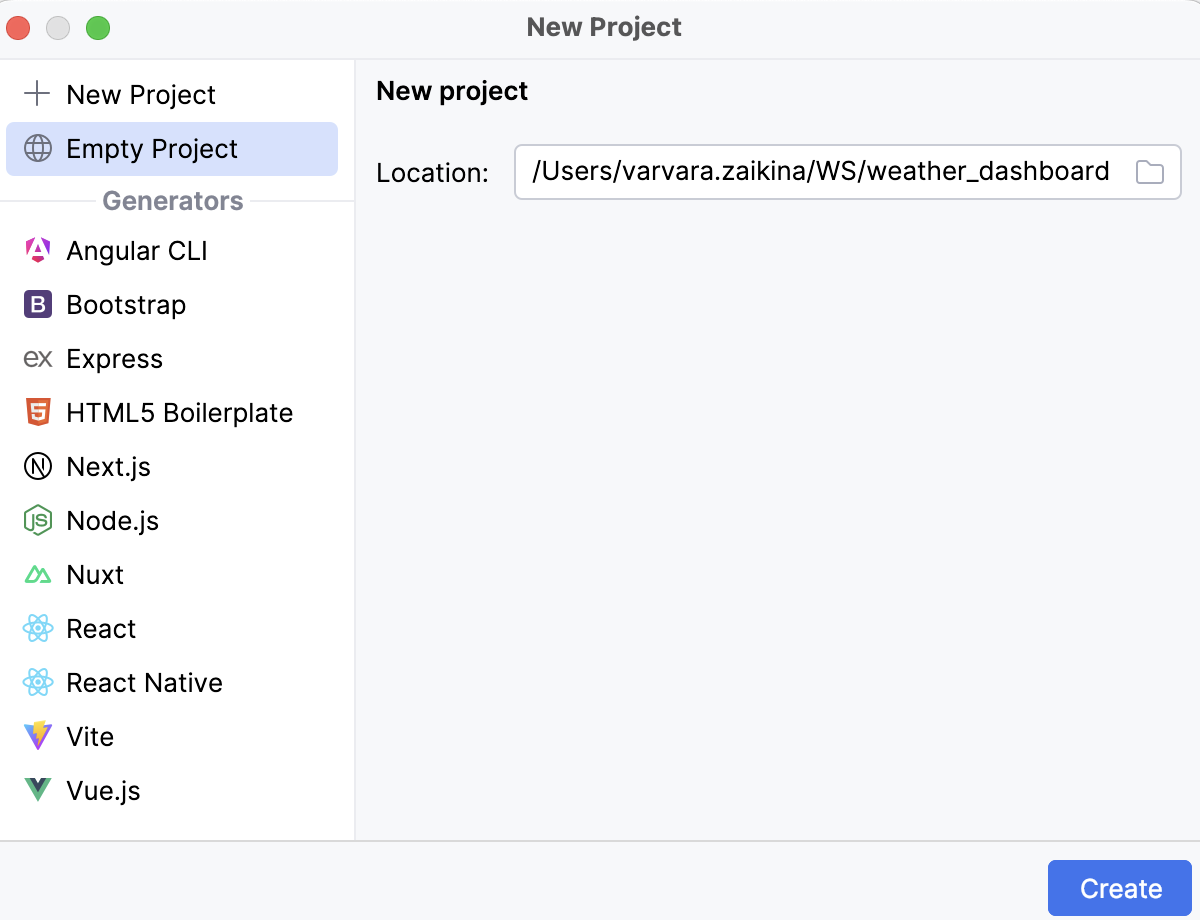
点击 创建。
WebStorm 生成项目存根并在编辑器中打开。
填充应用程序
我们需要为项目存根添加几个文件夹和文件,这样项目最终结构如下:
创建后端和前端文件夹
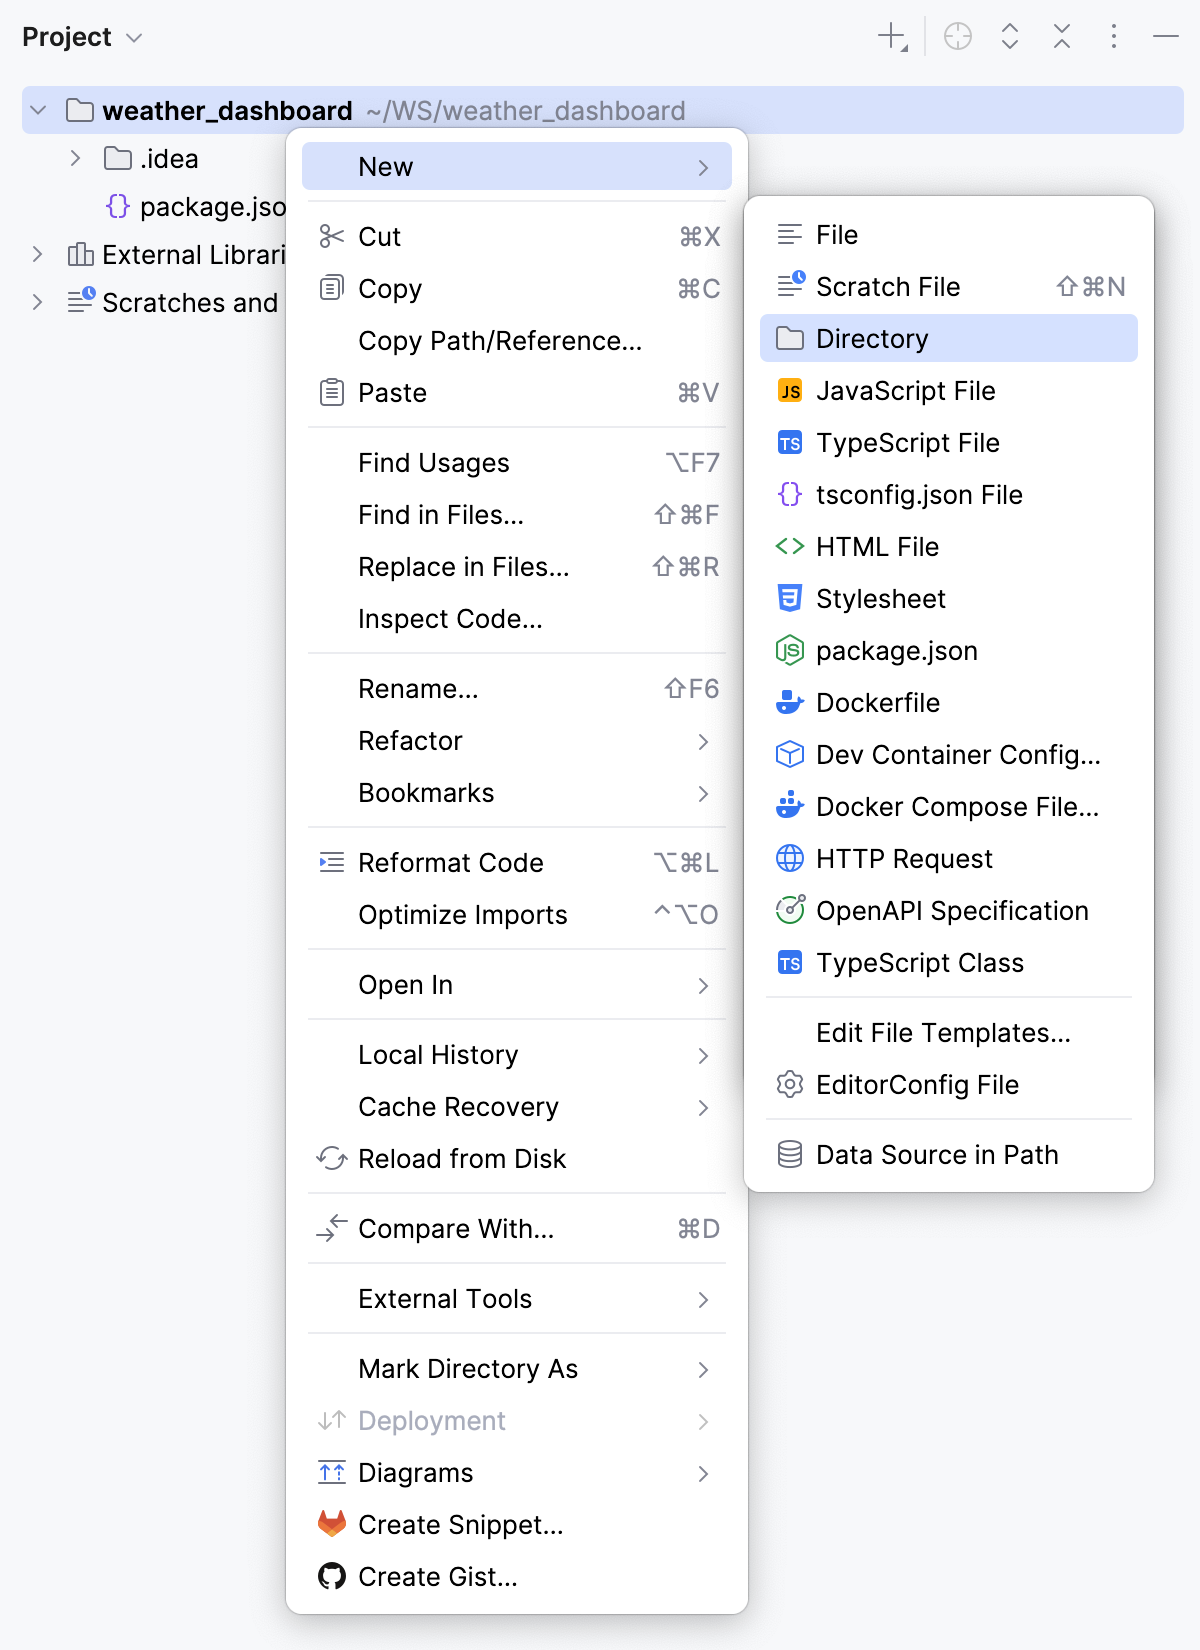
打开 项目 工具窗口 Alt+1 ,右键点击项目文件夹,从上下文菜单中选择 ,再从列表中选择 。
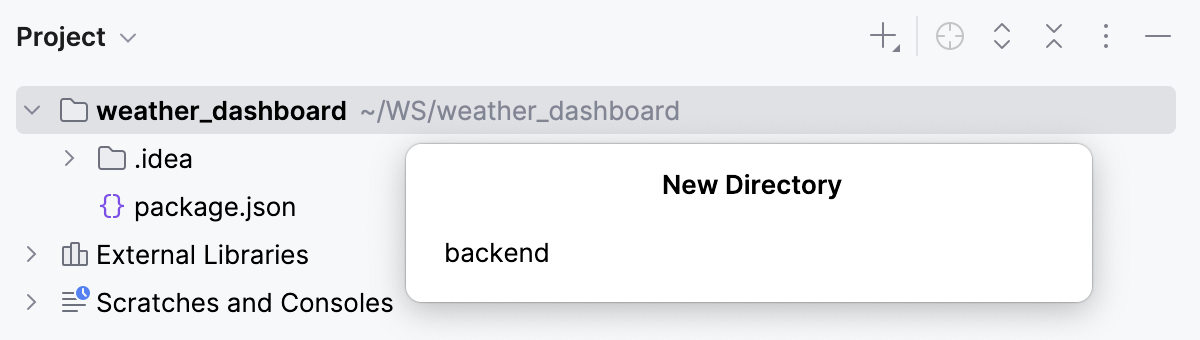
在弹出的对话框中指定文件夹名称,本例中应为 backend 。
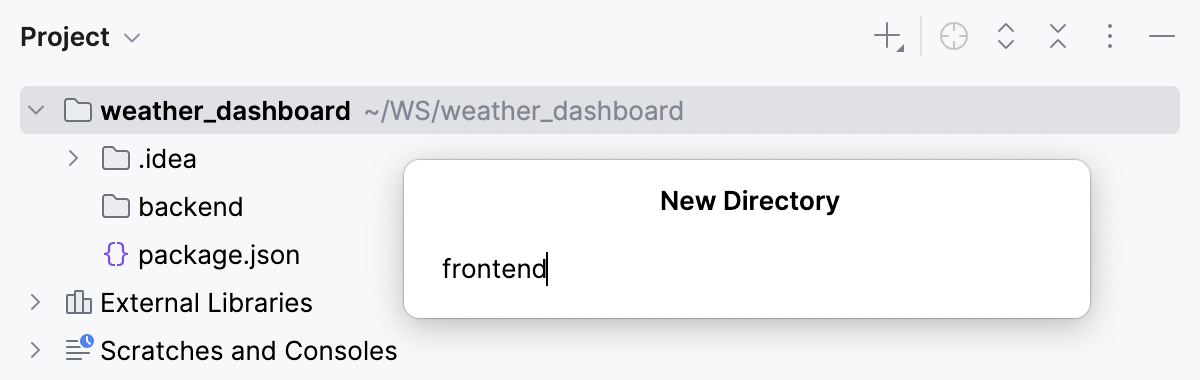
同样方式创建一个 frontend 文件夹。
填充后端文件夹
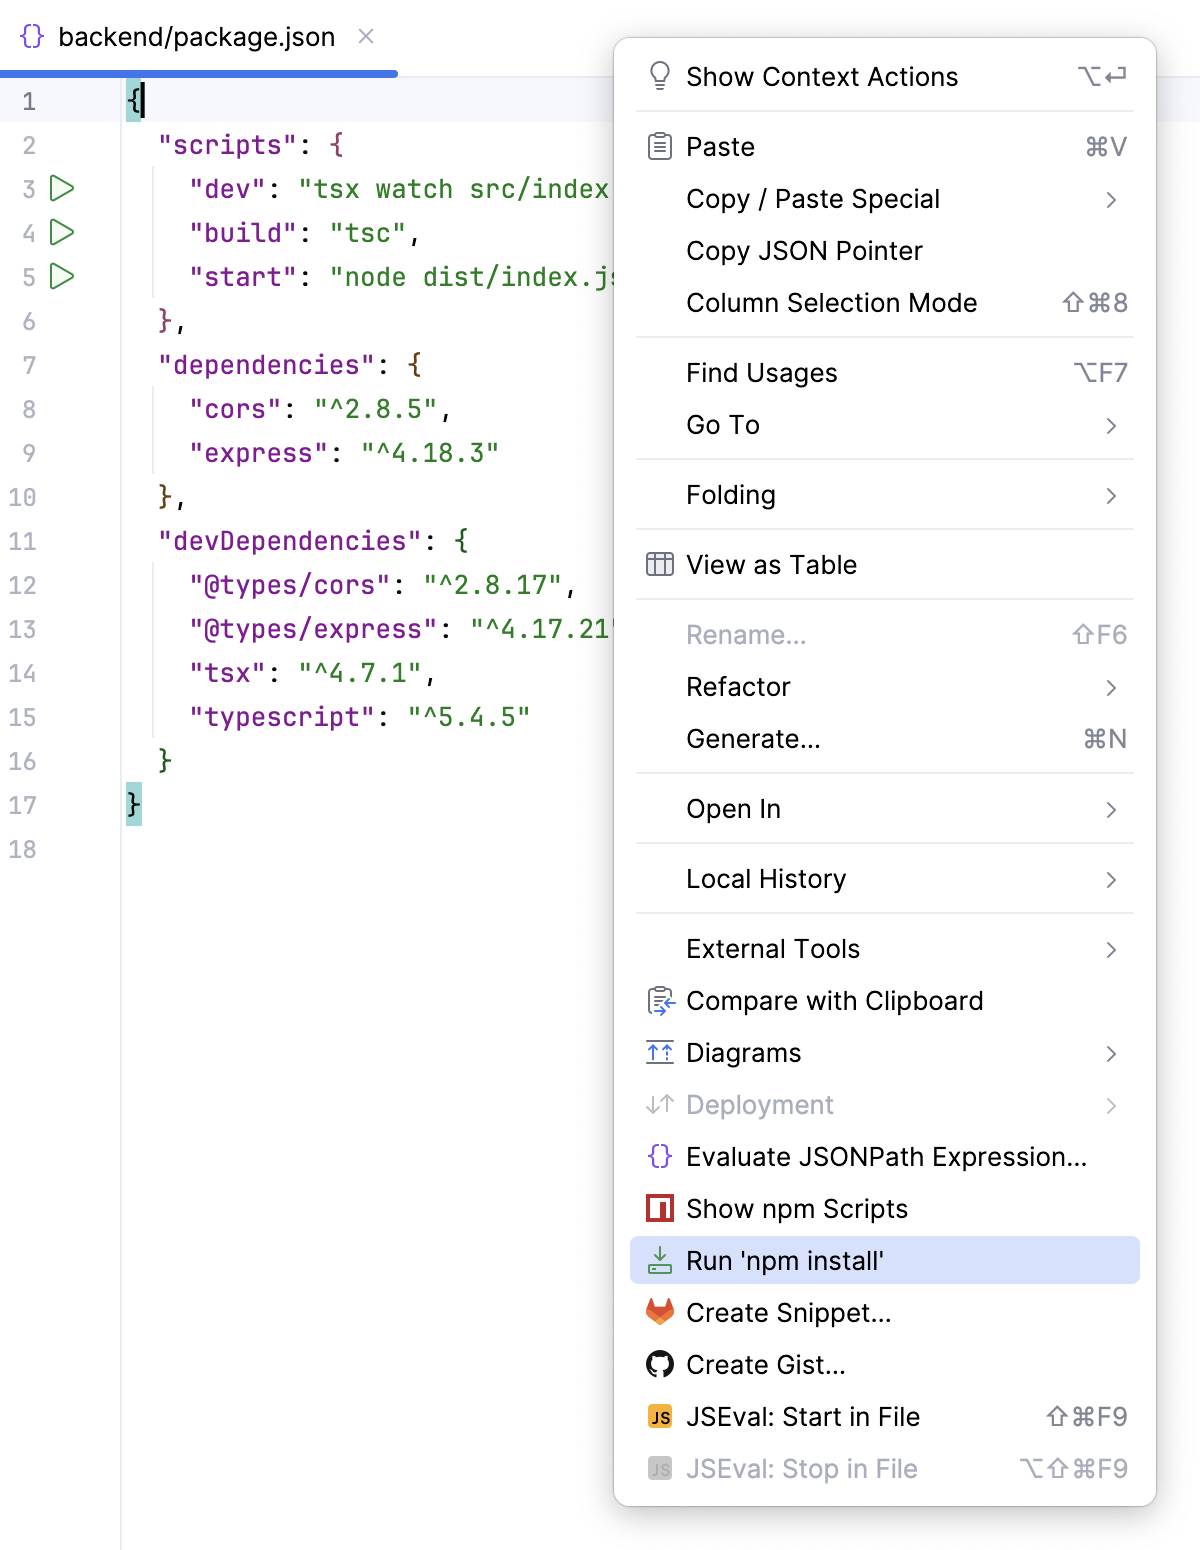
创建一个 backend/package.json 文件。 为此,从 backend 文件夹的上下文菜单中选择 ,再从列表中选择 ,然后在创建并在编辑器中打开的 package.json 文件中输入以下代码:
{ "scripts": { "dev": "tsx watch src/index.ts", "build": "tsc", "start": "node dist/index.js" }, "dependencies": { "cors": "^2.8.5", "express": "^4.18.3" }, "devDependencies": { "@types/cors": "^2.8.17", "@types/express": "^4.17.21", "tsx": "^4.7.1", "typescript": "^5.4.5" } }要安装依赖项,请从 backend/package.json 的上下文菜单中选择 。
创建一个 backend/tsconfig.json 文件。 为此,从 backend 文件夹的上下文菜单中选择 ,再从列表中选择 ,然后把下列代码粘贴到创建并在编辑器中打开的 backend/tsconfig.json 文件中:
{ "compilerOptions": { "target": "ES2022", "module": "NodeNext", "moduleResolution": "NodeNext", "outDir": "dist", "strict": true, "esModuleInterop": true }, "include": ["src"] }创建一个 backend/src 文件夹。
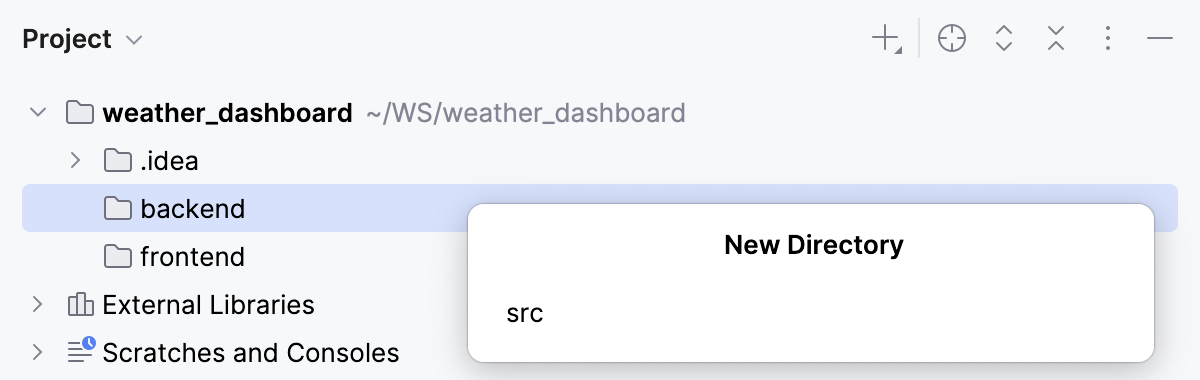
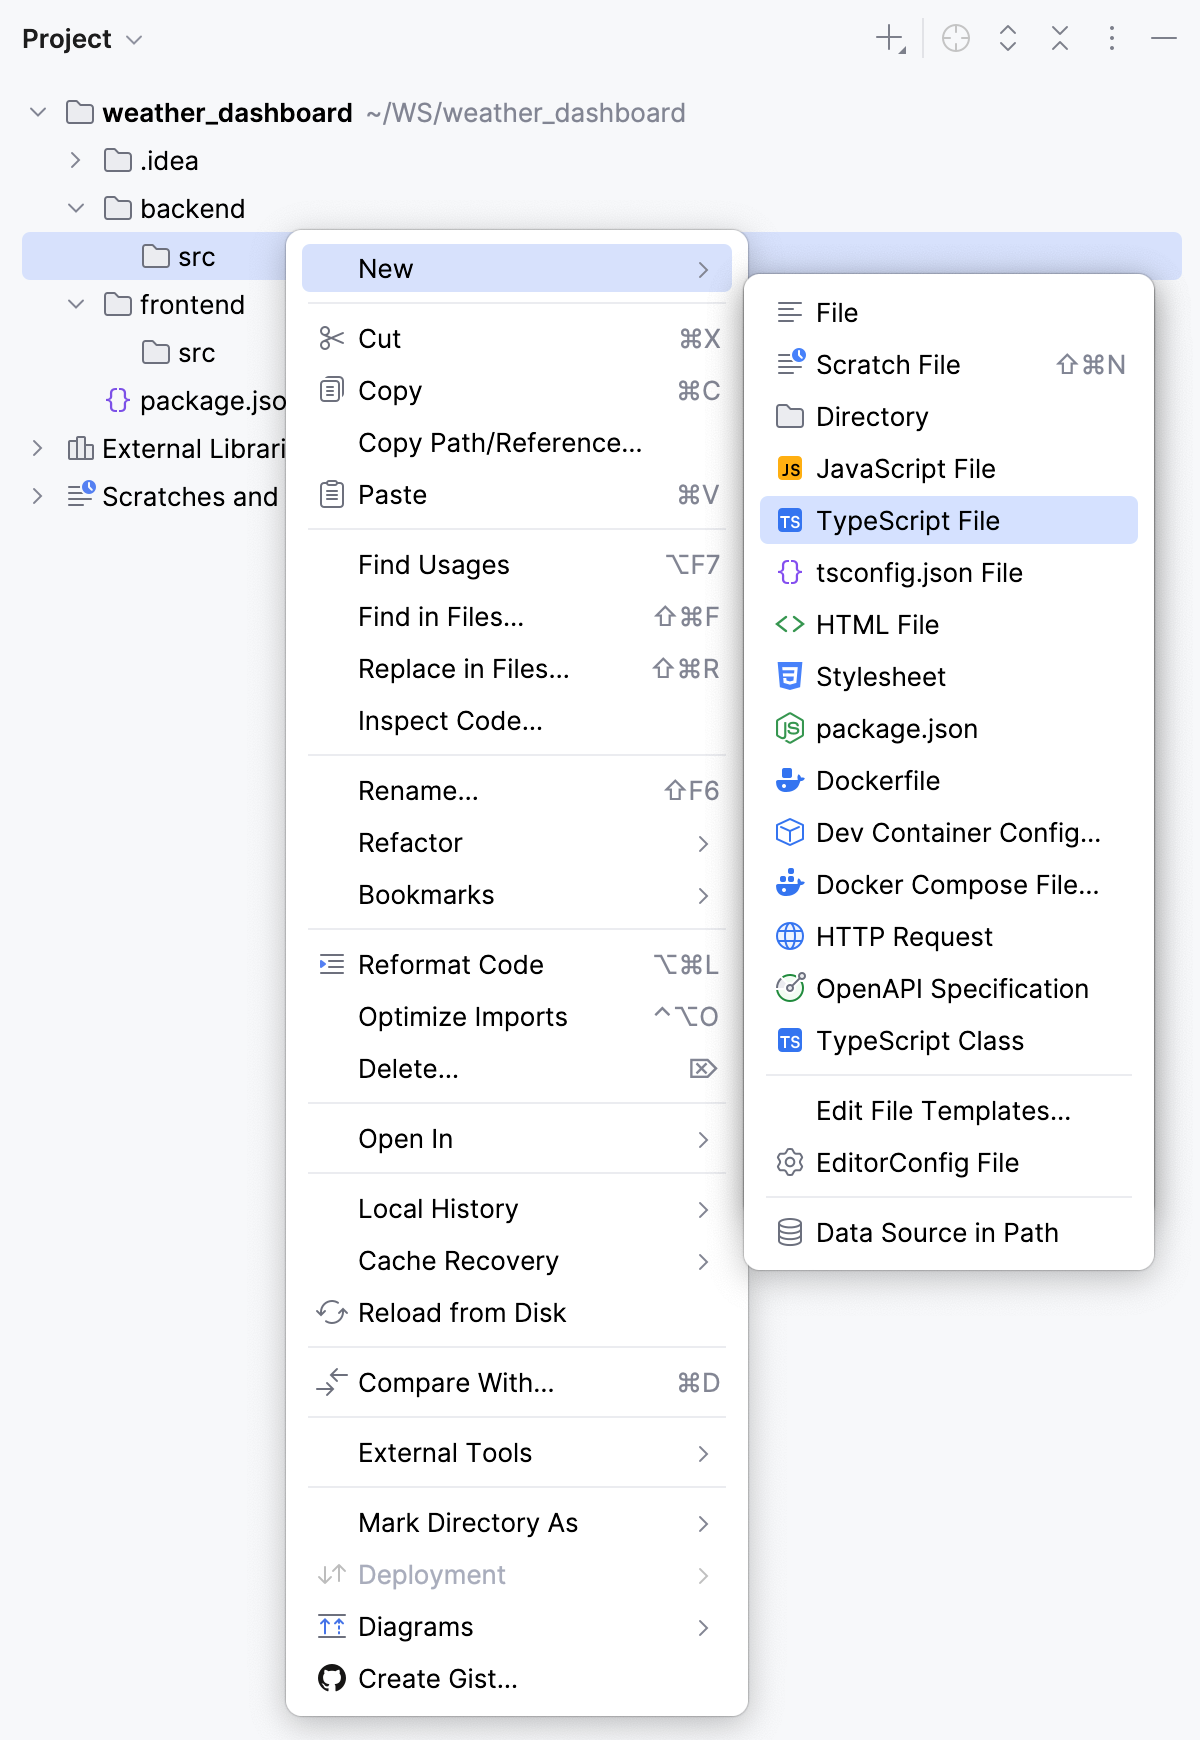
在 backend/src 文件夹中,创建一个 index.ts 文件。 为此,右键点击 backend/src 文件夹,从上下文菜单中选择 ,再选择 。
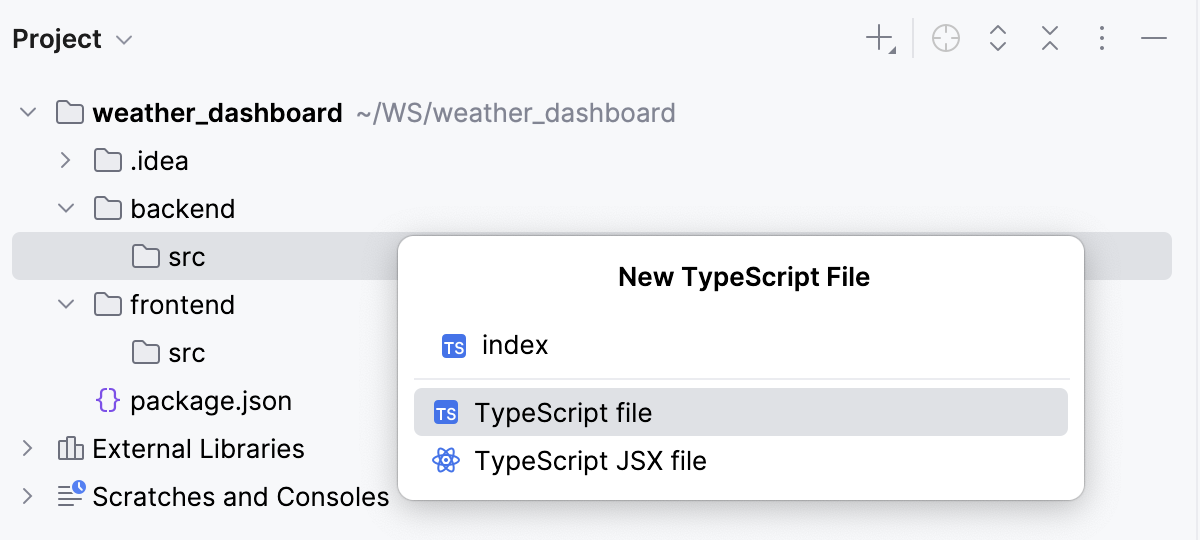
在弹出的对话框中,从列表中选择 TypeScript 文件 并指定文件名,本例为 index 。
在编辑器中打开 index.ts 文件,然后粘贴以下代码:
import express from "express"; import cors from "cors"; const app = express(); const port = process.env.PORT || 3000; app.use(cors()); const weather = [ { city: "Amsterdam", temperature: 18, condition: "Cloudy", humidity: 72, wind: 14 }, { city: "Berlin", temperature: 21, condition: "Sunny", humidity: 55, wind: 10 }, { city: "London", temperature: 16, condition: "Rainy", humidity: 80, wind: 18 } ]; app.get("/api/weather", (_req, res) => { res.json(weather); }); app.get("/api/health", (_req, res) => { res.json({ status: "ok" }); }); app.listen(port, () => { console.log(`Backend running on http://localhost:${port}`); });
填充前端文件夹
创建一个 frontend/package.json 文件。 为此,从 frontend 文件夹的上下文菜单中选择 ,再从列表中选择 ,然后在创建并在编辑器中打开的 frontend/package.json 文件中输入以下代码:
{ "scripts": { "dev": "vite --host 0.0.0.0", "build": "tsc && vite build", "preview": "vite preview --host 0.0.0.0" }, "dependencies": { "@vitejs/plugin-react": "^6.0.2", "vite": "latest", "typescript": "^5.4.5", "react": "^18.2.0", "react-dom": "^18.2.0" }, "devDependencies": { "@types/react": "^18.2.66", "@types/react-dom": "^18.2.22" } }创建一个 frontend/tsconfig.json 文件。 为此,从 frontend 文件夹的上下文菜单中选择 ,再从列表中选择 。
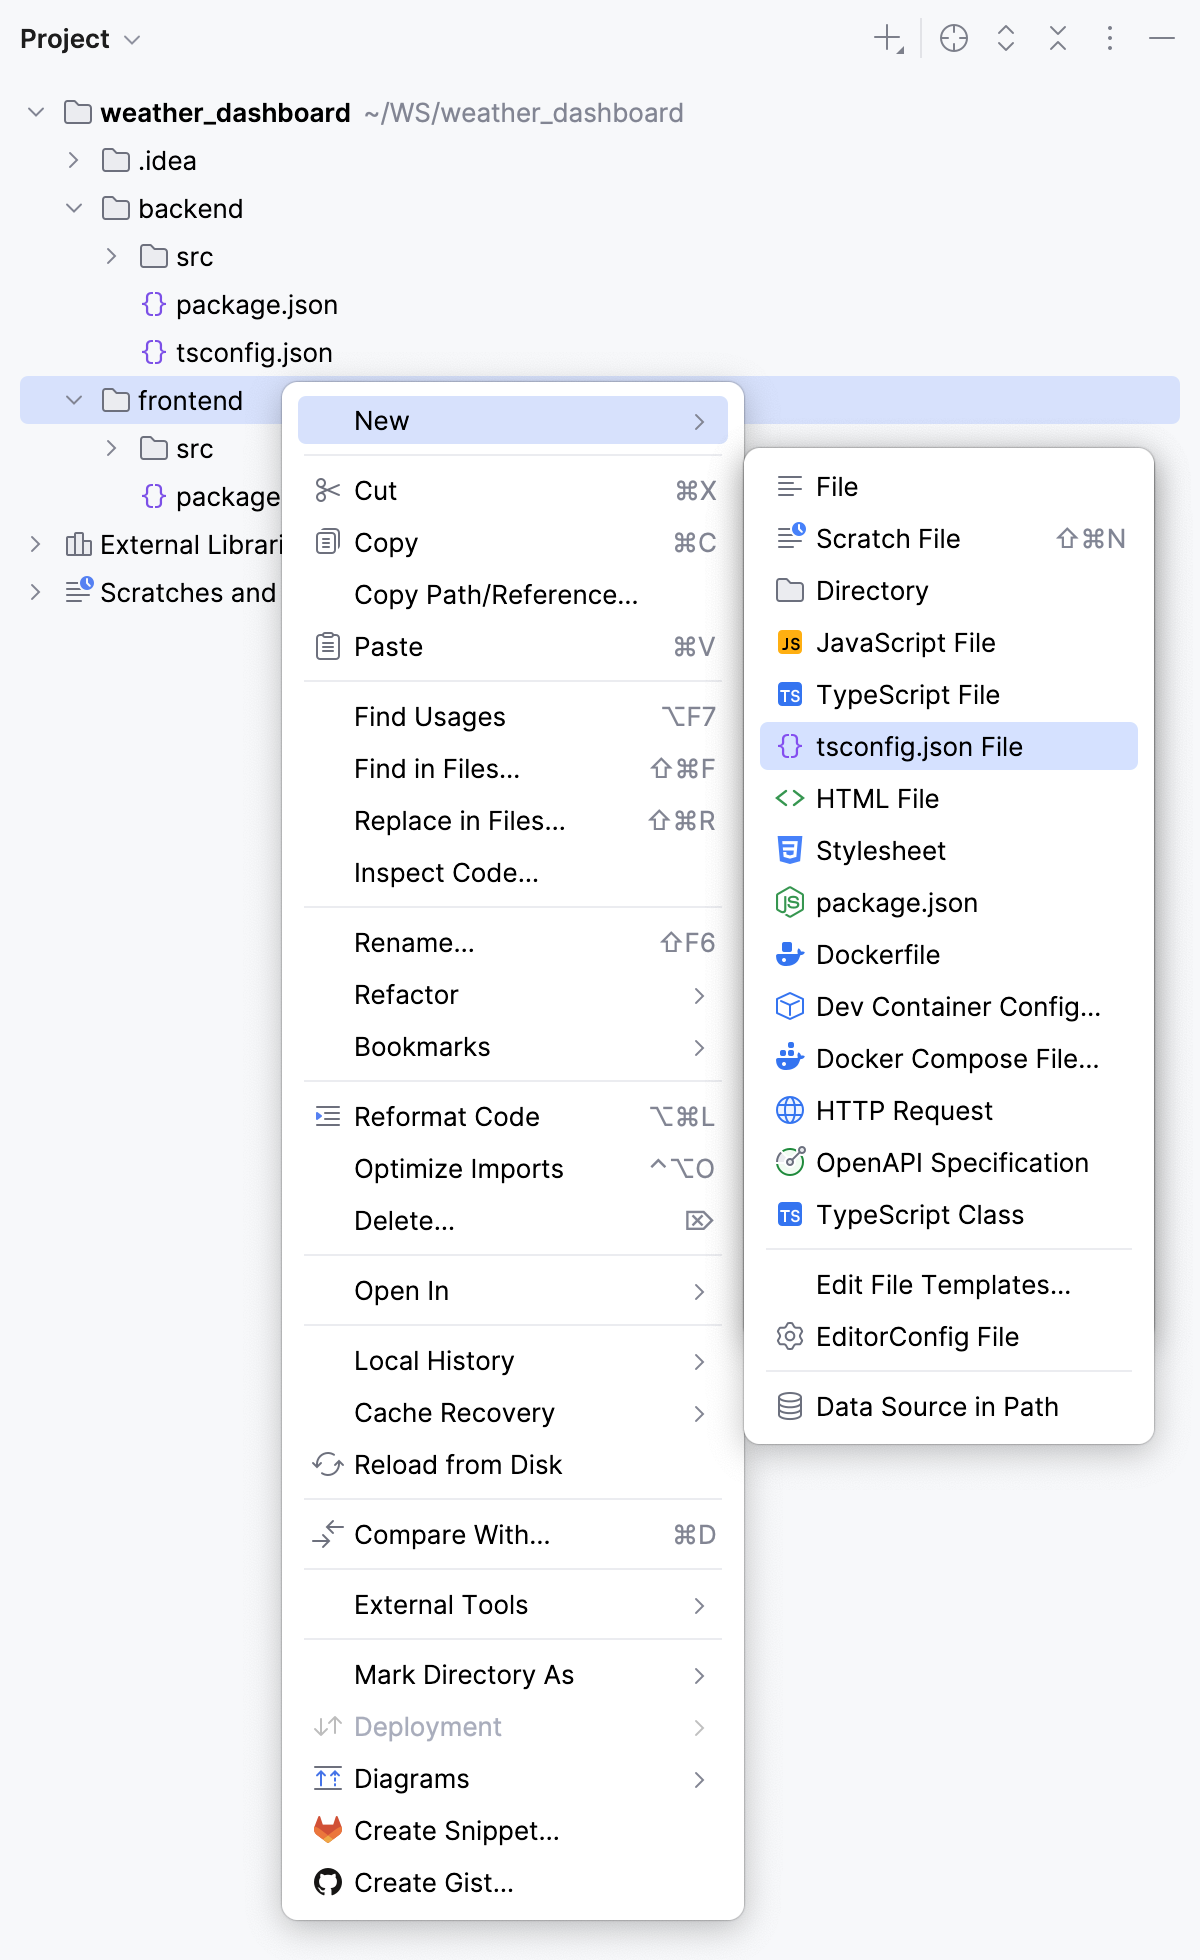
然后把下列代码粘贴到创建并在编辑器中打开的 frontend/tsconfig.json 文件中:
{ "compilerOptions": { "target": "ES2022", "useDefineForClassFields": true, "lib": ["DOM", "DOM.Iterable", "ES2022"], "allowJs": false, "skipLibCheck": true, "esModuleInterop": true, "allowSyntheticDefaultImports": true, "strict": true, "module": "ESNext", "moduleResolution": "Bundler", "resolveJsonModule": true, "isolatedModules": true, "jsx": "react-jsx", "noEmit": true }, "include": ["src"] }创建一个 frontend/src 文件夹。
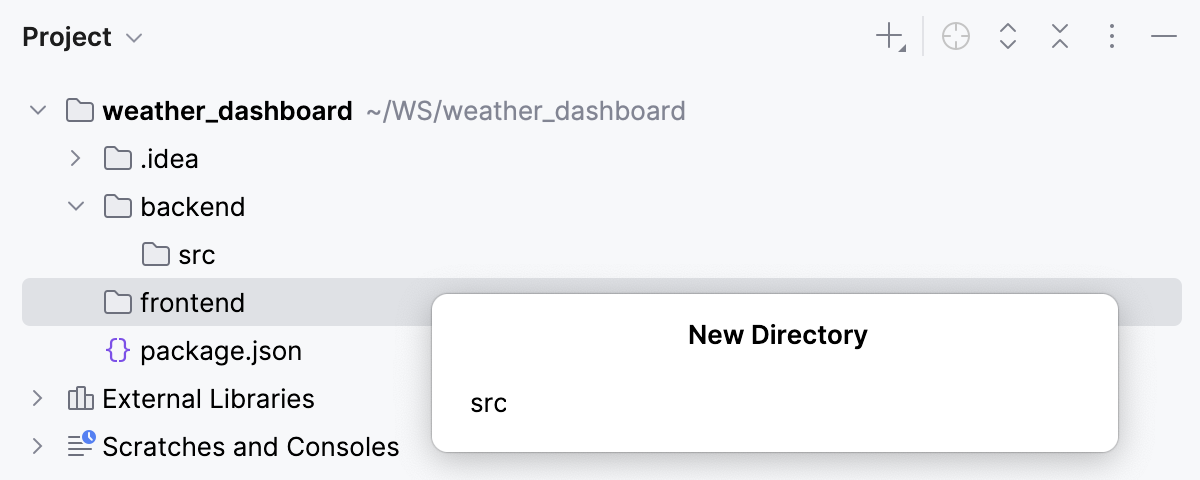
在 frontend/src 文件夹中创建两个文件—— App.tsx 和 main.tsx 。
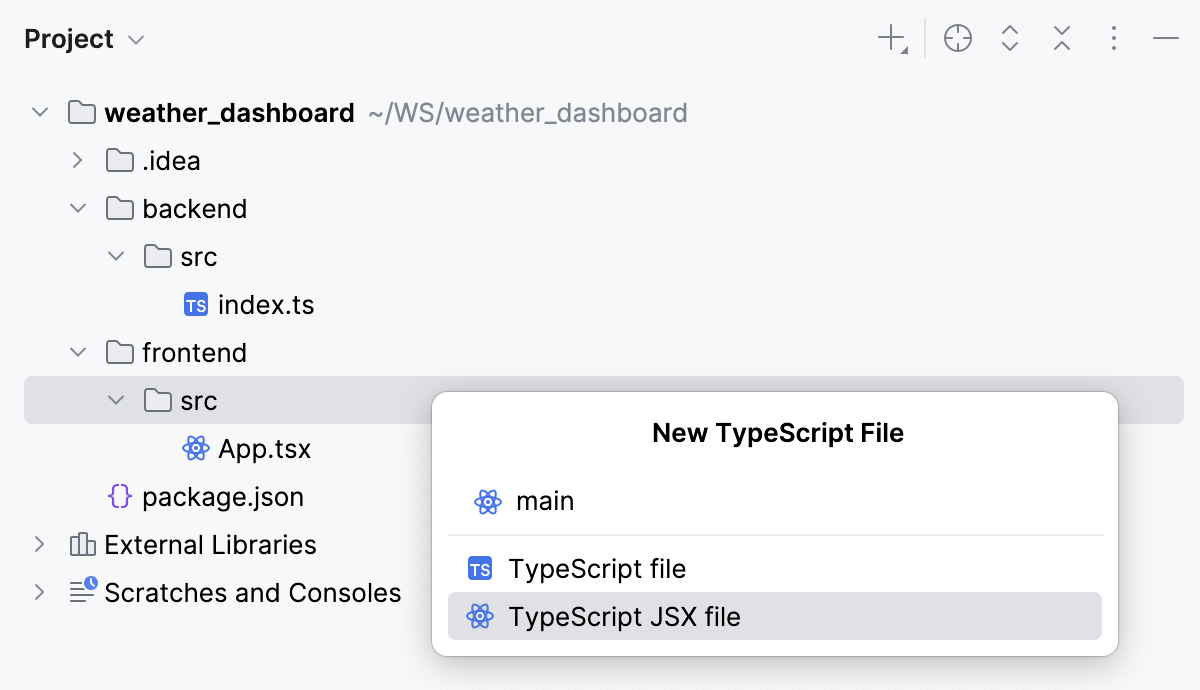
在编辑器中打开 frontend/src/App.tsx 文件并粘贴以下代码:
import { useEffect, useState } from "react"; type Weather = { city: string; temperature: number; condition: string; humidity: number; wind: number; }; // @ts-ignore const API_URL = import.meta.env.VITE_API_URL || "http://localhost:3000"; export default function App() { const [weather, setWeather] = useState<Weather[]>([]); const [loading, setLoading] = useState(true); useEffect(() => { fetch(`${API_URL}/api/weather`) .then((response) => response.json()) .then((data) => setWeather(data)) .finally(() => setLoading(false)); }, []); return ( <main style={{ fontFamily: "Arial", padding: "2rem" }}> <h1>Weather Dashboard</h1> {loading && <p>Loading weather data...</p>} <div style={{ display: "flex", gap: "1rem", flexWrap: "wrap" }}> {weather.map((item) => ( <section key={item.city} style={{ border: "1px solid #ddd", borderRadius: "8px", padding: "1rem", width: "220px" }} > <h2>{item.city}</h2> <p>{item.temperature}°C</p> <p>{item.condition}</p> <p>Humidity: {item.humidity}%</p> <p>Wind: {item.wind} km/h</p> </section> ))} </div> </main> ); }在编辑器中打开 frontend/src/main.tsx 文件并粘贴以下代码:
import React from "react"; import ReactDOM from "react-dom/client"; import App from "./App"; ReactDOM.createRoot(document.getElementById("root")!).render( <React.StrictMode> <App /> </React.StrictMode> );创建一个 frontend/index.html 文件。 为此,右键点击 frontend 文件夹,从上下文菜单中选择 ,再从列表中选择 ,最后指定文件名,本例中为 index 。
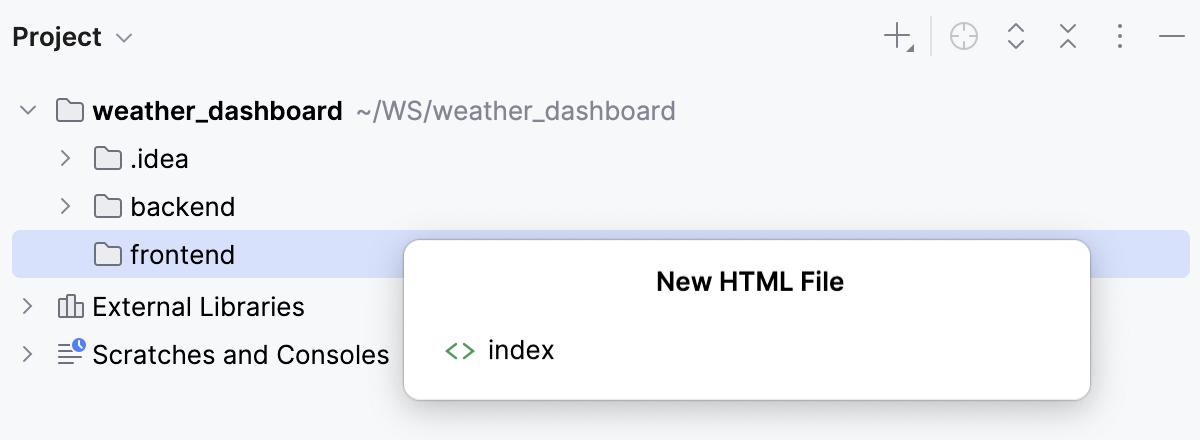
在 frontend/index.html 文件中输入以下代码:
<!doctype html> <html lang="en"> <head> <meta charset="UTF-8" /> <title>Weather Dashboard</title> </head> <body> <div id="root"></div> <script type="module" src="./src/main.tsx"></script> </body> </html>
本地运行并调试应用程序。
为了确保应用程序正常工作,请在本地运行并调试。
在本地运行应用程序
首先,在开发模式下启动应用程序的后端。 为此,打开 backend/package.json 文件,在第 3 行的装订区域点击
 ,位于
,位于 dev脚本旁边,然后从列表中选择 运行 'dev'。打开 frontend/package.json 文件,在第 3 行的装订区域点击
,位于 dev脚本旁边,然后从列表中选择 运行 'dev (1)'。在 运行 工具窗口中点击链接,通过浏览器打开应用程序。
本地调试应用程序。
打开 frontend/src/App.tsx 文件,并在
return语句旁边设置一个断点。在开发模式下启动应用程序的后端。 为此,打开 backend/package.json 文件,在第 3 行的装订区域点击
,位于 dev脚本旁边,然后从列表中选择 运行 'dev'。打开 frontend/package.json 文件,在第 3 行的装订区域点击
,位于 dev脚本旁边,然后从列表中选择 运行 'dev (1)'。创建 JavaScript Debug 类型的运行/调试配置。
从 运行 微件的上下文菜单中选择 。
在弹出的 运行/调试配置 对话框中,点击工具栏上的
 ,然后从列表中选择 JavaScript Debug。
请指定配置名称,例如
weather_frontend。请指定应用程序前端运行的 URL。 在此示例中,它是
http://localhost:5173。
在 运行 微件下方的列表中选择新建的运行/调试配置,并点击旁边的
 。
。应用程序前端的页面将在浏览器中打开。 请刷新页面以连接调试器。
在 调试 工具窗口中,按常规操作: 逐步执行程序、 停止并恢复 程序执行、 程序暂停时进行检查 ,探索调用堆栈和变量,设置监视,计算变量值, 查看实际的 HTML DOM 等。
容器化应用程序
我们需要分别为后端和前端创建独立的 Dockerfiles ,然后创建一个 docker-compose.yml 文件来连接后端和前端。
还建议创建 backend/.dockerignore 和 frontend/.dockerignore 文件,并将 node_modules 文件夹添加到其中。
创建一个 backend/Dockerfile 。 为此,进入 项目 工具窗口,从 backend 文件夹的上下文菜单中选择 ,再从列表中选择 。
在编辑器中打开 backend/Dockerfile ,并粘贴以下代码:
# Start from the official Node.js 24.5.0 image based on Alpine Linux FROM node:22-alpine # Set the working directory inside the container to /app # If the directory doesn't exist, Docker should create it # All subsequent commands (COPY, RUN, CMD, etc.) are executed # relative to this directory WORKDIR /app # Copy the files that match package*.json from the backend folder # to /app. In our project these are backend/package.json # and backend/package-lock.json COPY package*.json ./ # Run npm install inside the container # Download and install dependencies from backend/package.json # Create an /app/node_modules folder RUN npm install # Copy the source code and the configuration files # from the backend folder into /app. # Skip the files that are listed in .dockerignore, # in our case that is the node_modules folder COPY . . # Expose the container's port EXPOSE 3000 # Specify the default commands to execute when the container starts CMD ["npm", "run", "dev"]创建一个 backend/.dockerignore 文件。 为此,进入 项目 工具窗口,从 backend 文件夹的上下文菜单中选择 ,再从列表中选择 ,最后在弹出的对话框中输入
.dockerignore。在编辑器中打开新创建的 backend/.dockerignore 文件,并添加
node_modules。创建一个 frontend/Dockerfile 。 为此,进入 项目 工具窗口,从 frontend 文件夹的上下文菜单中选择 ,再从列表中选择 。
在编辑器中打开 frontend/Dockerfile ,并粘贴以下代码:
# Start from the official Node.js 22.0.0 image based on Alpine Linux FROM node:22-alpine # Set the working directory inside the container to /app # If the directory doesn't exist, Docker should create it # All subsequent commands (COPY, RUN, CMD, etc.) are executed # relative to this directory WORKDIR /app # Copy the files that match package*.json from the frontend folder # to /app. In our project these are frontend/package.json # and frontend/package-lock.json COPY package*.json ./ # Run npm install inside the container # Download and install dependencies from frontend/package.json # Create an /app/node_modules folder RUN npm install # Copy the source code and the configuration files # from the frontend folder into /app. # Skip the files that are listed in .dockerignore, # in our case that is the node_modules folder COPY . . # Expose the container's port EXPOSE 5173 # Specify the default commands to execute when the container starts CMD ["npm", "run", "dev"]创建一个 frontend/.dockerignore 文件。 为此,进入 项目 工具窗口,从 frontend 文件夹的上下文菜单中选择 ,再从列表中选择 ,最后在弹出的对话框中输入
.dockerignore。在编辑器中打开新创建的 frontend/.dockerignore 文件,并添加
node_modules。创建一个 docker-compose.yml 文件。 为此,进入 项目 工具窗口,从项目文件夹 weather_dashboard 的上下文菜单中选择 ,再从列表中选择 。
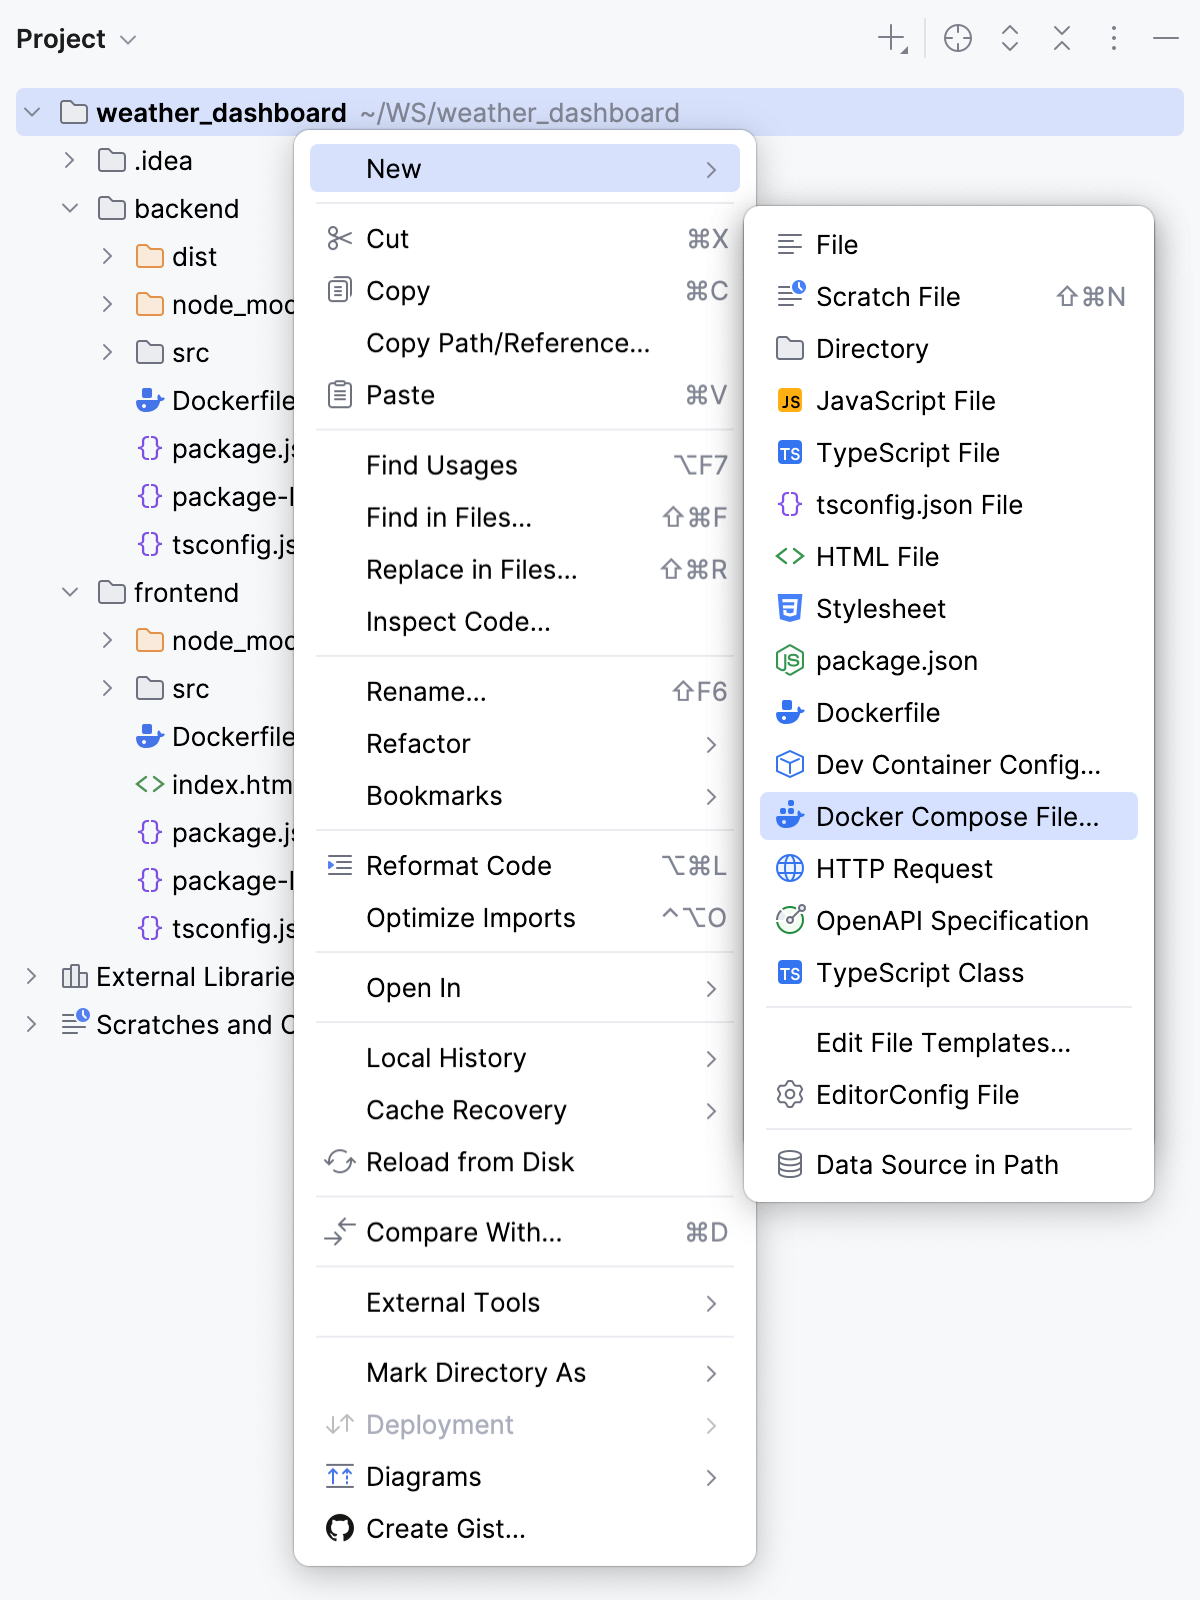
在弹出的对话框中输入
docker-compose.yml。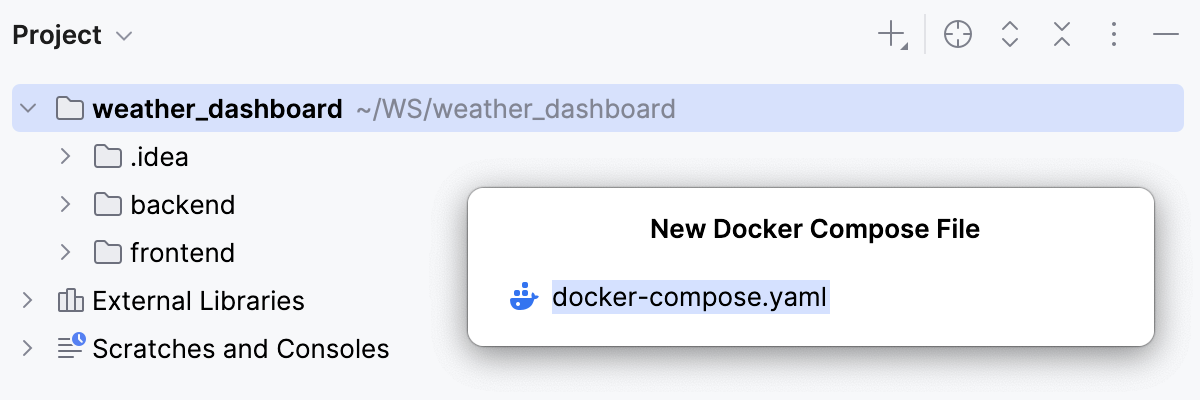
docker-compose.yml 文件需确保以下事项:
从 ./backend 构建后端镜像
从 ./frontend 构建前端镜像
启动 backend 和 frontend 容器
连接 backend 和 frontend 容器
在编辑器中打开新创建的 docker-compose.yml 文件并粘贴以下代码:
services: # Define a service backend backend: # Build an image from the Dockerfile in the backend folder build: ./backend # Map the container's port 3000 to the host's port 3000 ports: - "3000:3000" # Bind mount between the folders on the host and in the container volumes: - ./backend:/app # Keep /app/node_modules inside Docker # Suppress replacing it with the host version - /app/node_modules # Define a service frontend frontend: # Build an image from the Dockerfile in the frontend folder build: ./frontend # Map the container's port 5173 to the host's port 5173 ports: - "5173:5173" # Set an environment variable inside the frontend container: environment: - VITE_API_URL=http://localhost:3000 # Bind mount between the folders on the host and in the container volumes: - ./frontend:/app # Keep /app/node_modules inside Docker # Suppress replacing it with the host version - /app/node_modules # Define a dependency on the backend service, which means: # Start the backend first # Then start the frontend depends_on: - backend
在容器中运行应用程序
在 docker-compose.yml 文件中,点击
 ,位于
,位于 services旁边,并从上下文菜单中选择 。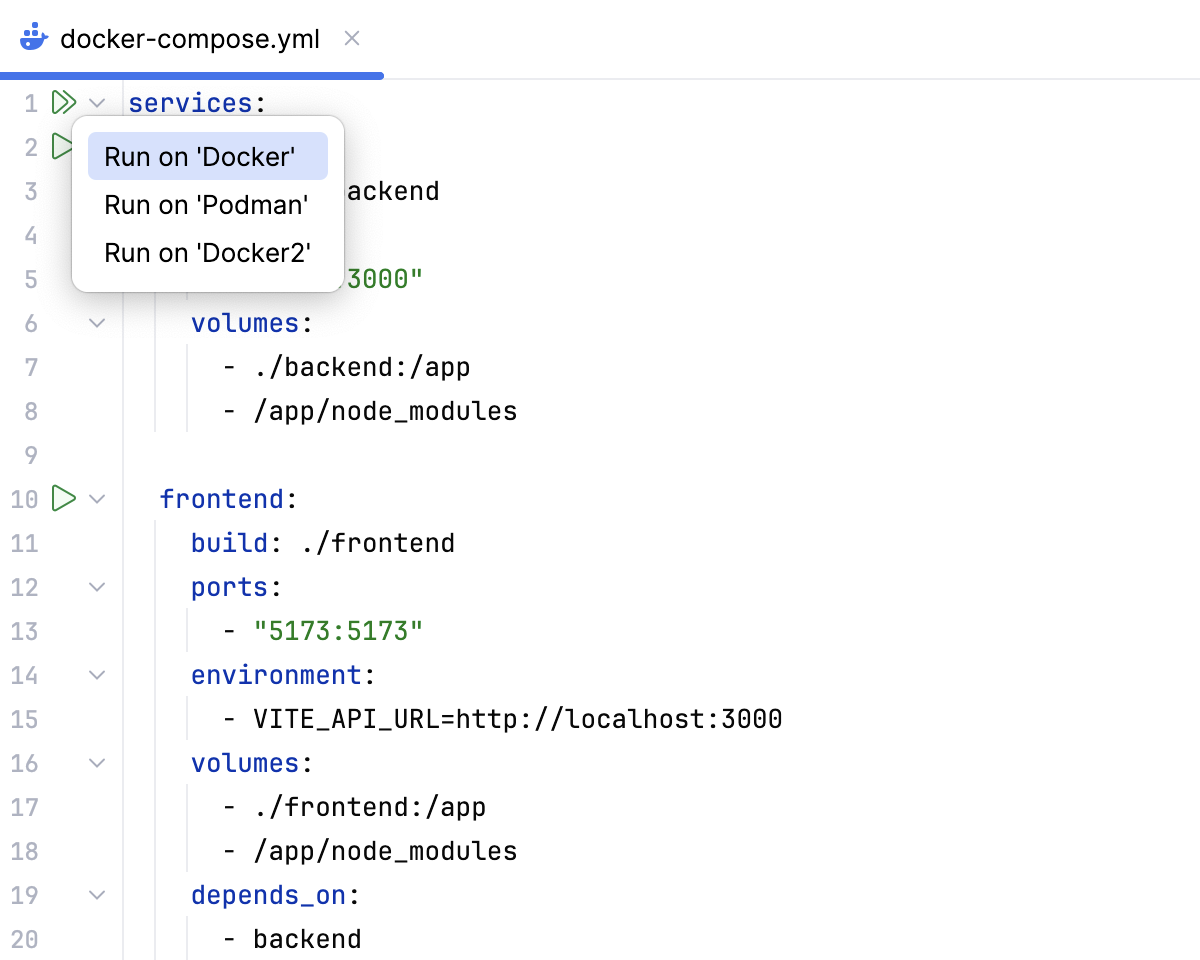
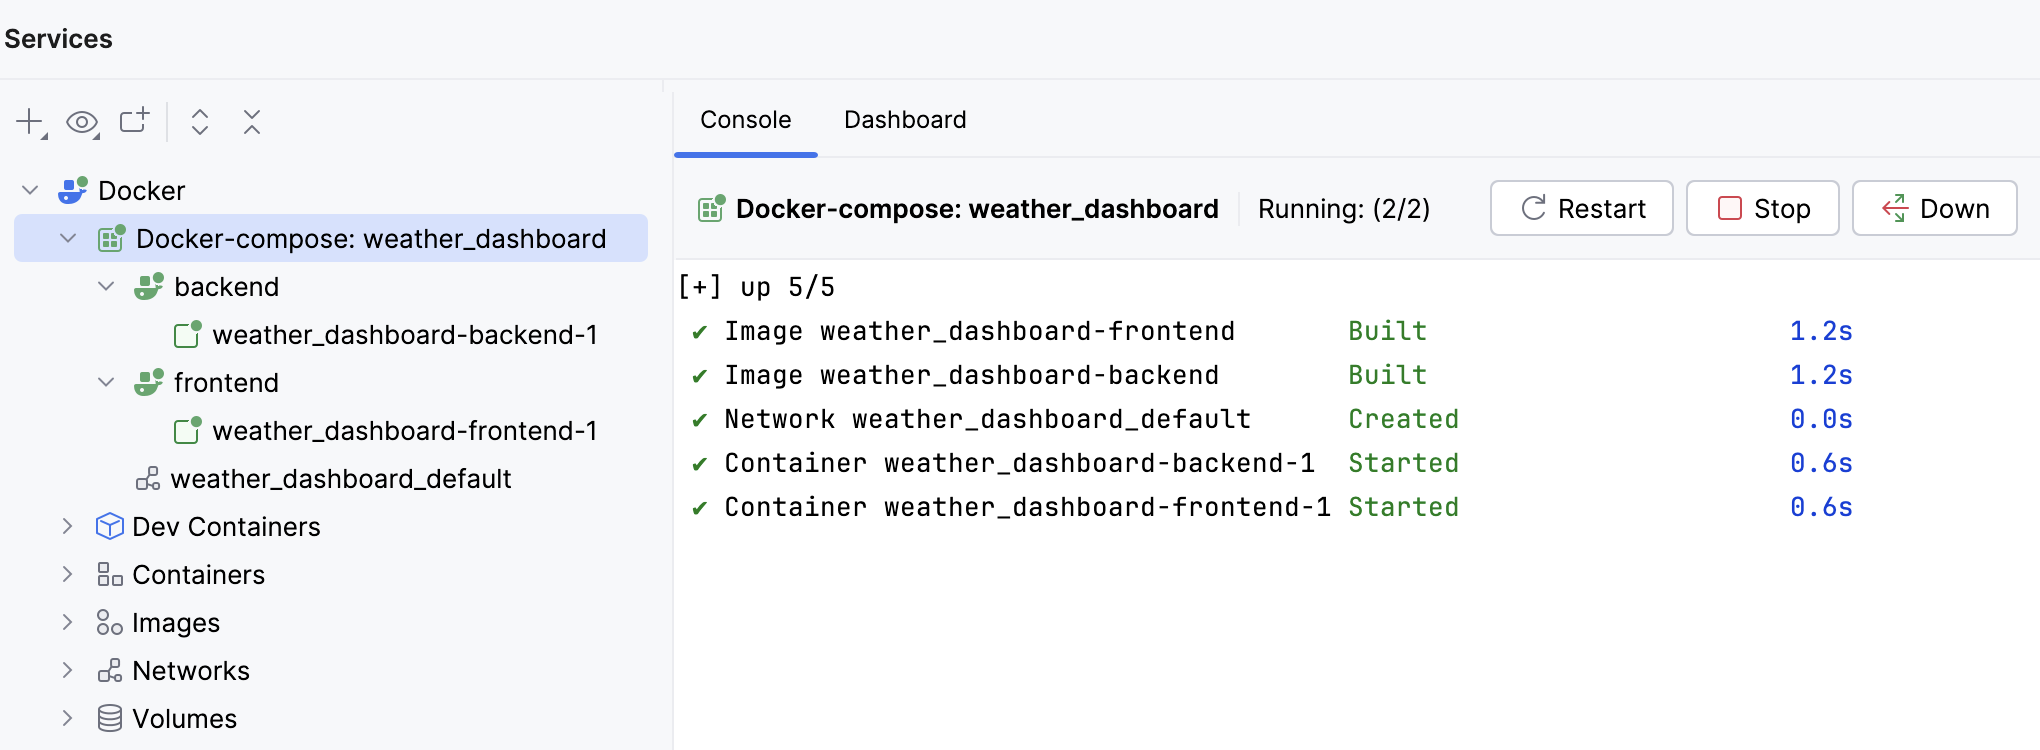
如果一切正常,您将在 服务 工具窗口中看到以下内容:
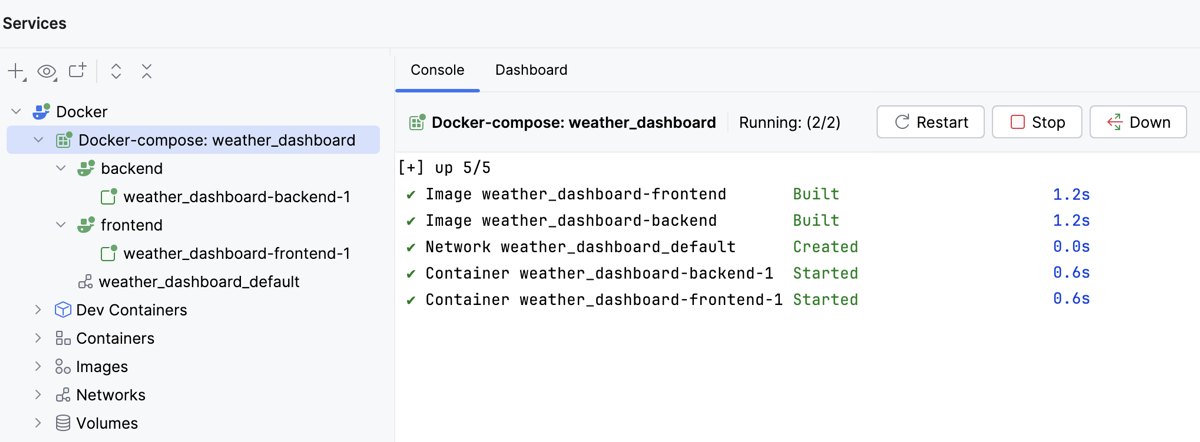
在
http://localhost:5173/处打开浏览器以查看正在运行的应用程序: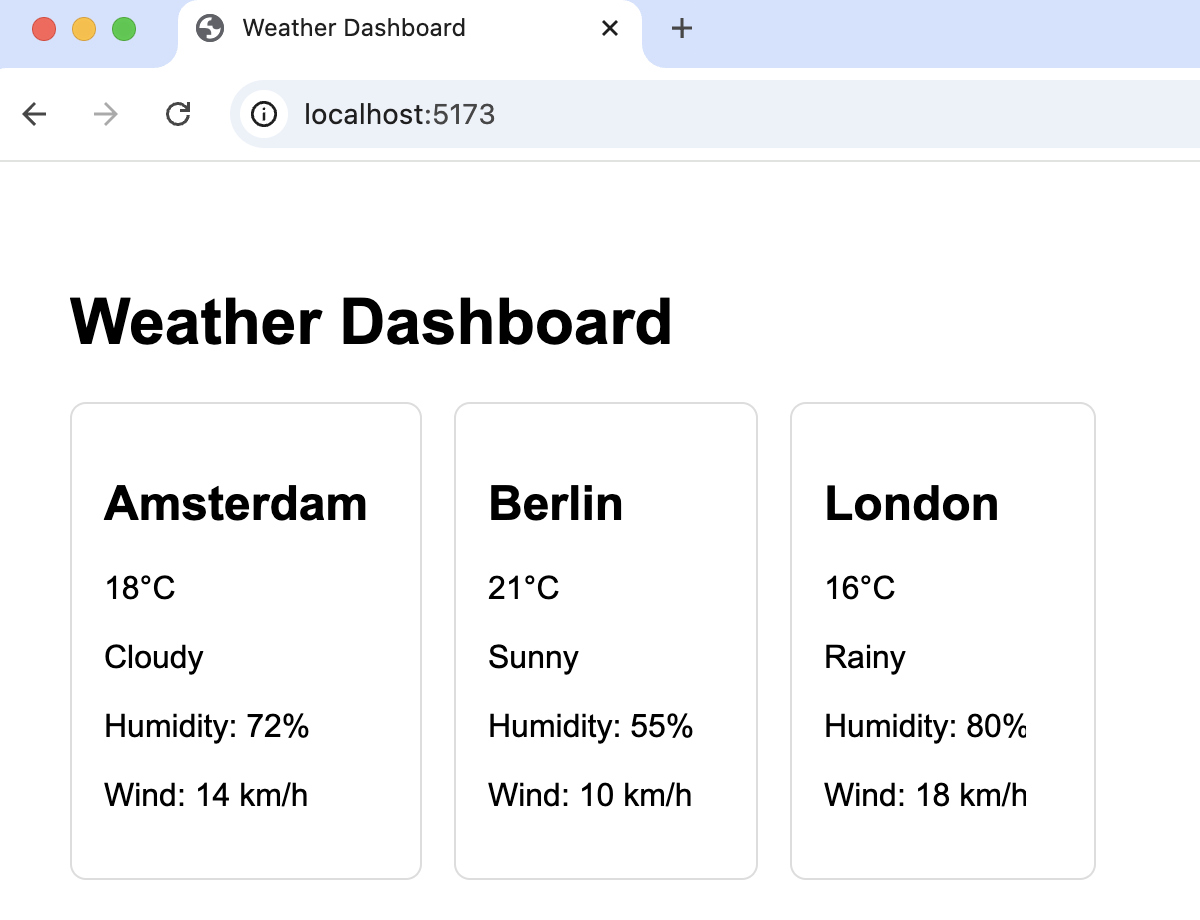
在容器中调试应用程序。
为了使 WebStorm 能够调试我们的容器化应用程序,主要需要更新后端部分以暴露 Node.js 的调试端口。
更新 Dockerfile 与 docker-compose.yml 文件。
在编辑器中打开 backend/Dockerfile 并按如下内容更新:
在
EXPOSE 3000行下方添加EXPOSE 9229。以如下方式添加
debug命令:CMD ["npm", "run", "dev", "debug"]。
结果,你的 backend/Dockerfile 应如下所示:
FROM node:22-alpine WORKDIR /app COPY package*.json ./ RUN npm install COPY . . EXPOSE 3000 EXPOSE 9229 CMD ["npm", "run", "dev", "debug"]打开 backend/package.json 文件,添加一个
debug脚本,使scripts属性如下所示:"scripts": { "dev": "tsx watch src/index.ts", "build": "tsc", "start": "node dist/index.js", "debug": "node --inspect=0.0.0.0:9229 src/index.ts" }--inspect=0.0.0.0:9229标志允许 WebStorm 连接到容器内的 Node.js,从而在端口9229上启用调试。在编辑器中打开 docker-compose.yml 文件,并在
backend下的ports属性中添加- "9229:9229",如以下所示:ports: - "3000:3000" - "9229:9229"
开始在容器中调试应用程序。
由于我们已更新 package.json 和 Dockerfiles ,请打开 服务 工具窗口,并确保应用程序未在容器中运行。 如果正在运行,请点击 下。
打开 frontend/src/App.tsx 文件,并在
return语句旁边设置一个断点。在 docker-compose.yml 文件中,点击
,位于 services旁边,并从上下文菜单中选择 。创建 JavaScript Debug 类型的运行/调试配置。
从 运行 微件的上下文菜单中选择 。
在弹出的 运行/调试配置 对话框中,点击工具栏上的
,然后从列表中选择 JavaScript Debug。请指定配置名称,例如
weather_frontend_docker。请指定应用程序前端运行的 URL。 在此示例中,它是
http://localhost:5173。
在 运行 微件下方的列表中选择新建的运行/调试配置,并点击旁边的
。在 调试 工具窗口中,按常规操作: 逐步执行程序、 停止并恢复 程序执行、 程序暂停时进行检查 ,探索调用堆栈和变量,设置监视,计算变量值, 查看实际的 HTML DOM 等。