Work with Web Inspector
This section covers the basic scenarios of working with the Web Inspector functionality and provides information on how to utilize it in different contexts.
Obtain locators
Open a website
Before selecting elements on the webpage, you need to access it first. To do this, perform one of the following:
Specify the URL in the address bar and press Enter.
If your code has a comment that contains the URL of the website being tested, click the
 icon in the gutter.
If the website is mentioned somewhere in your code, place the caret at the URL, press Alt+Enter, and select the Open in Web Inspector option.

This opens the webpage in the Web Inspector.
Select a web element
To select an element on the webpage, do one of the following:
Click the
 button located in the Locators Evaluator section and select the element.
Start typing the locator or its substring in the search field of the Locators Evaluator section. The auto-completion feature suggests a list of elements to choose from.

Select the element in the Page structure section. This method is usually used to navigate to the element located above/below the one that was selected initially.

Once you select an element, Aqua generates a unique locator for it. This ensures that each locator points to a specific element on the page.
Add locators to code
To add the generated locator to your code, do one of the following:
Copy the locator to clipboard by clicking the
 button. After that, you can manually add the copied locator to your code.
Click the
 button in the Locators Evaluator section. Prior to this, you can select the type of the locator (CSS or XPath) by clicking the
  button.
If you want to add an element to your code using a specific selector (ID, Name, Tag with classes, and so on), click the
 button and select the desired one from the list.
Adding the locator to code using the ![]() or
or ![]() buttons generates a framework and language-specific expression that captures the selected element and adds it to your code. If the system defined the framework incorrectly, you can manually change it.
buttons generates a framework and language-specific expression that captures the selected element and adds it to your code. If the system defined the framework incorrectly, you can manually change it.
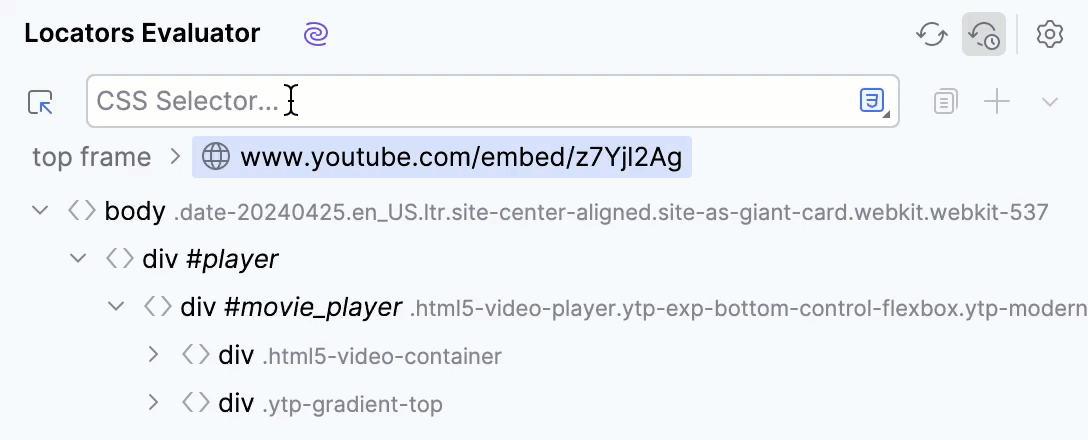
Work with frames
Aqua supports selecting elements located in frames and helps you to generate frame-switching code for your tests. When you select an element that is not in the root frame, you are automatically switched to the frame that contains the selected element. The Page structure also gets updated to represent the contents of the frame and provide navigation within it.
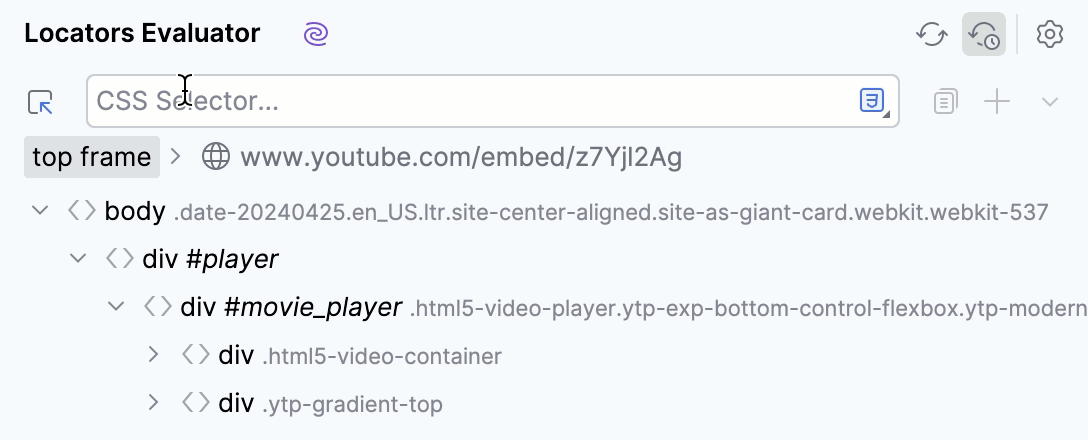
Switch between frames
When you select an element in a different frame, a breadcrumb representing the frame you switched to appears. To switch back to the root frame, double-click the
 top frame button.
 To switch to one of the existing frames, click the
top frame button and select the frame from the list.
Generate frame-switching code
Right-click the
top frame button and click Generate Frame Elements From Selected.The generated code corresponds to the supported language and framework.
Generate UI tests and page models
Integration with the AI Assistant plugin allows you to generate sample UI tests and page models for the web pages opened in Web Inspector. The code is generated for the selected framework and programming language, and contains significant elements from the page.
To use this feature:
In Web Inspector, open the web page for which you want to generate UI tests or create a page model.
Click the
 icon located in the Locators Evaluator section.
Depending on what you want to generate, select the framework and programming language under the respective section.

This opens a chat with the AI Assistant, where a response to your request is provided.
In the AI Assistant tool window, do either of the following:

Click
to copy the generated code to the clipboard. The code can then be manually pasted where applicable.Click
 to insert the generated code to the current file at the caret's position.
Click
 to create a new file from the generated code.
Validate locators
To verify that the locator is valid and points to the correct element on the web page, do one of the following:
In the code editor, click the
icon next to the locator that you want to validate.
If the locator is valid, the Web Inspector tool window opens, and the corresponding element gets highlighted in the Web Inspector and Page structure section.
Copy your locator and paste it to the search field in the Locators Evaluator section. If there are no matches, the locator is invalid.
Navigate to elements from code
If you want to check to which element on the webpage the selected locator is related, do either of the following:
In the code editor, click
near the locator. Place the caret at the locator and press Alt+Enter. Then, select the Evaluate in Web Inspector option to navigate to the web element.

Click the locator while holding the Ctrl key.
As a result, the Web Inspector tool window opens, and the corresponding element gets highlighted.
Clear URL history
To clear the Web Inspector browsing history, do the following:
Press Shift twice to open the search window.
Switch the search scope to Actions by pressing Tab.
Type Clear Url History and select the corresponding action from the list.
