Create Snowflake data sources with Okta SSO and Duo MFA
Official documentation
For full information about Snowflake, refer to the official documentation.
For more information about the integration and connection settings, refer to the following pages:
SSO using Okta
Before connecting to a Snowflake database with Okta SSO authentication, make sure to install and set up the Okta Verify application first.
Once the required software is set up and ready, you need to create a Snowflake data source in DataGrip and configure it to use it with Okta SSO authentication.
Create a Snowflake data source to use with Okta
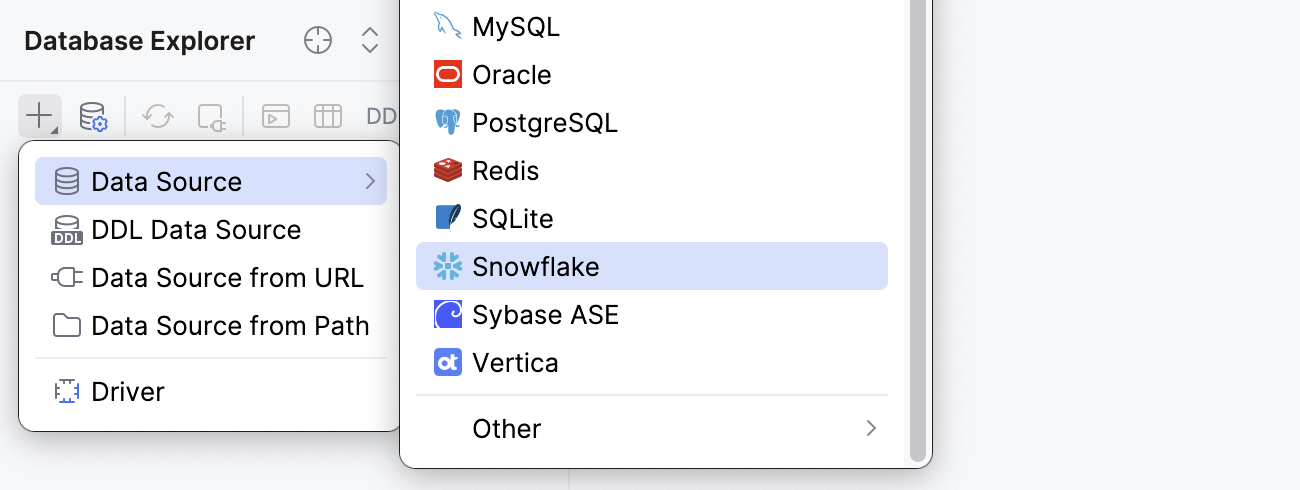
In the Database Explorer (⌘ 1) , click
New on the toolbar and navigate to .
Check if there is a Download missing driver files link at the bottom of the connection settings area. Click this link to download drivers that are required to interact with a database.

Specify the database connection details.
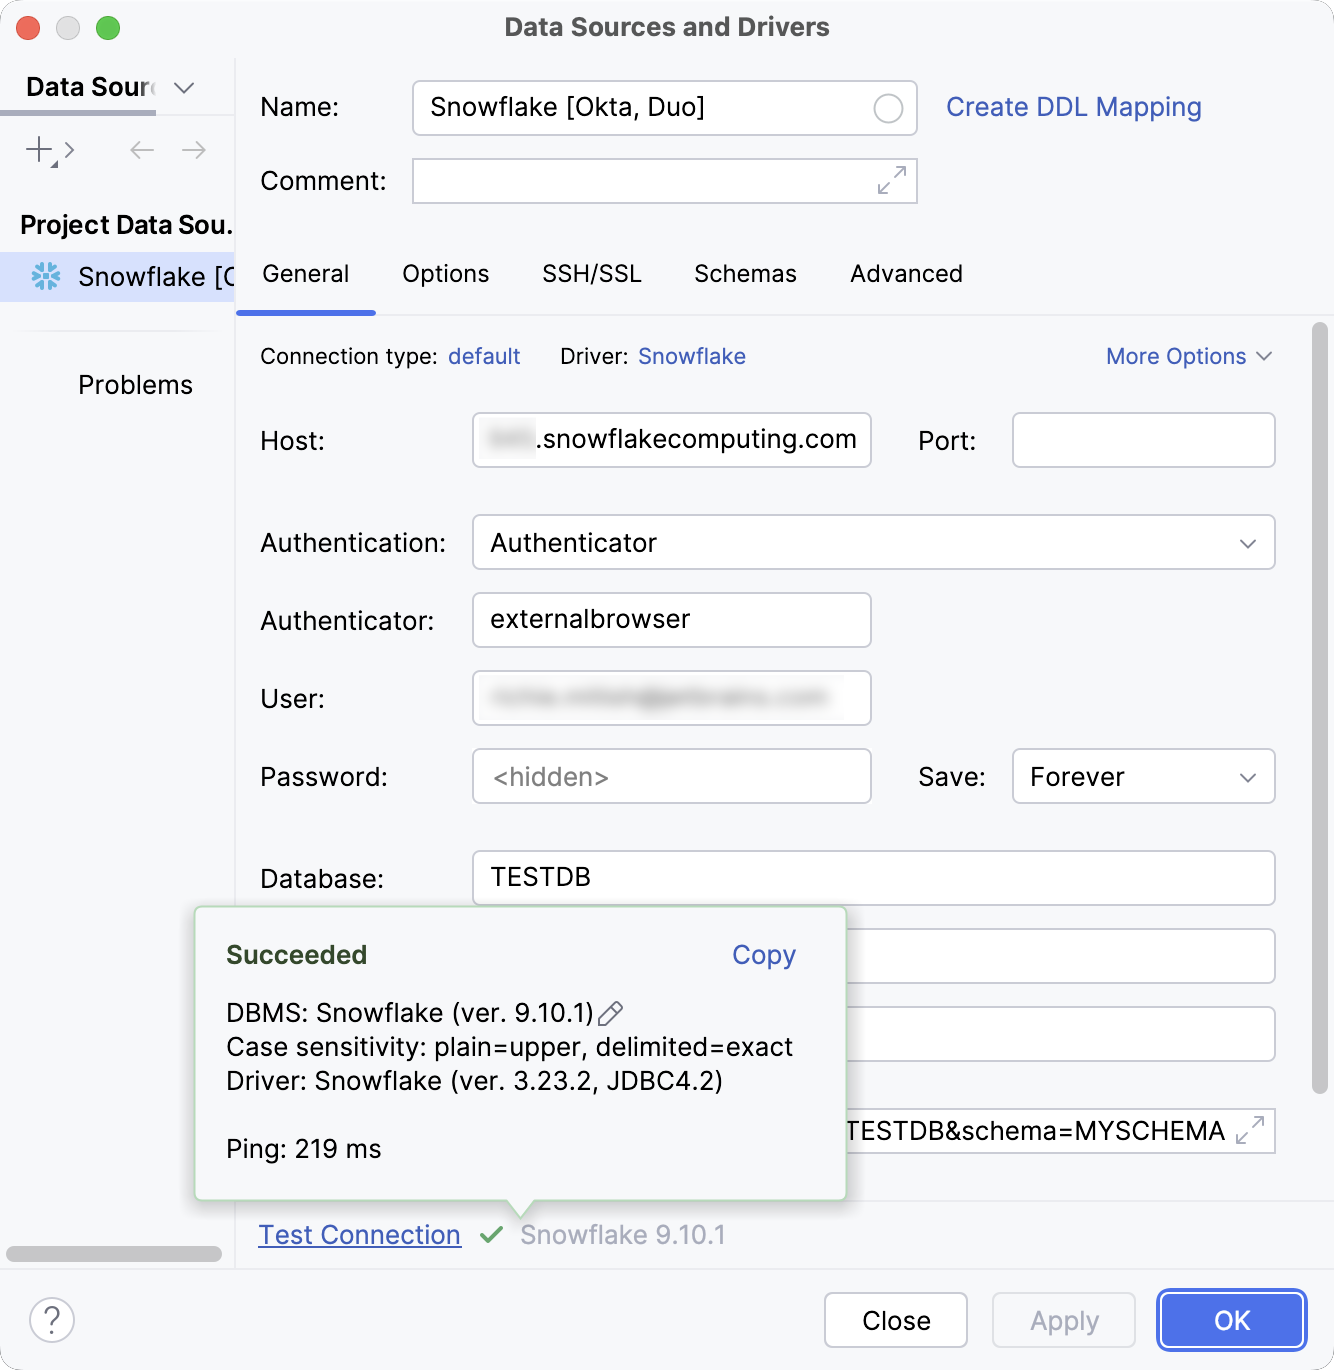
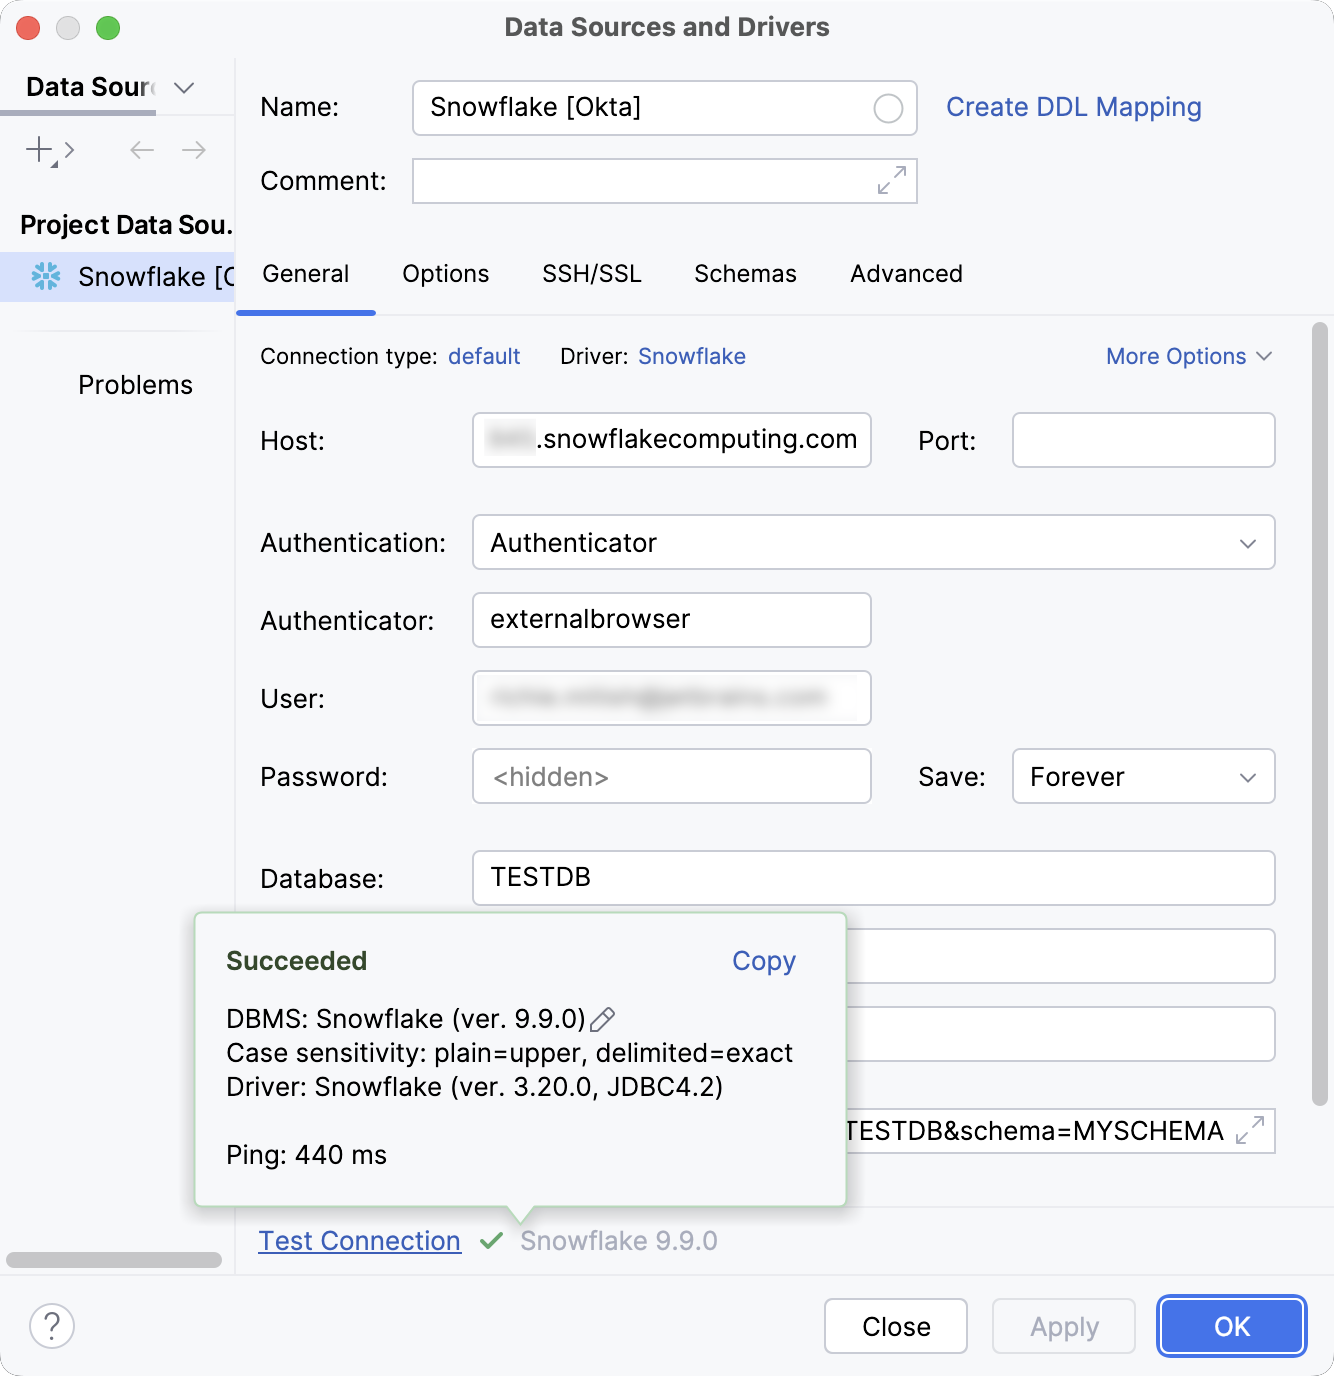
In the Name field, enter your new data source name.
For example,
Snowflake [Okta].In the Host field, type the URL to connect to your Snowflake account with. For example,
myorg-myconnection.snowflakecomputing.com.From the Authentication dropdown, select Authenticator.
In the Authenticator field, type
externalbrowser.In the User field, type the email address you use to log in to your Okta account.
In the Password field, type your Okta account password.
In the Database field, type the database name to which you want to connect.
In the Schema field, type the schema name to which you want to connect.
In the Warehouse field, type the name of a compute resources cluster in Snowflake that you want to use.
Alternatively, type your JDBC URL in the URL field. The general URL to use is as follows:
Format:
jdbc:snowflake://<organization_name>-<connection_name>.snowflakecomputing.com/?warehouse=<warehouse_name>&db=<database_name>&schema=<schema_name>&user=<okta_username>&password=<okta_password>&authenticator=externalbrowserExample:
jdbc:snowflake://myorg-myconnection.snowflakecomputing.com/?warehouse=AUTH_WH&db=TESTDB&schema=MYSCHEMA&user=MYUSERNAME@DOMAIN.COM&password=DUMMY-PASSWORD&authenticator=externalbrowser
Click the Test Connection link at the bottom of the connection details area to initiate a test connection to your database.

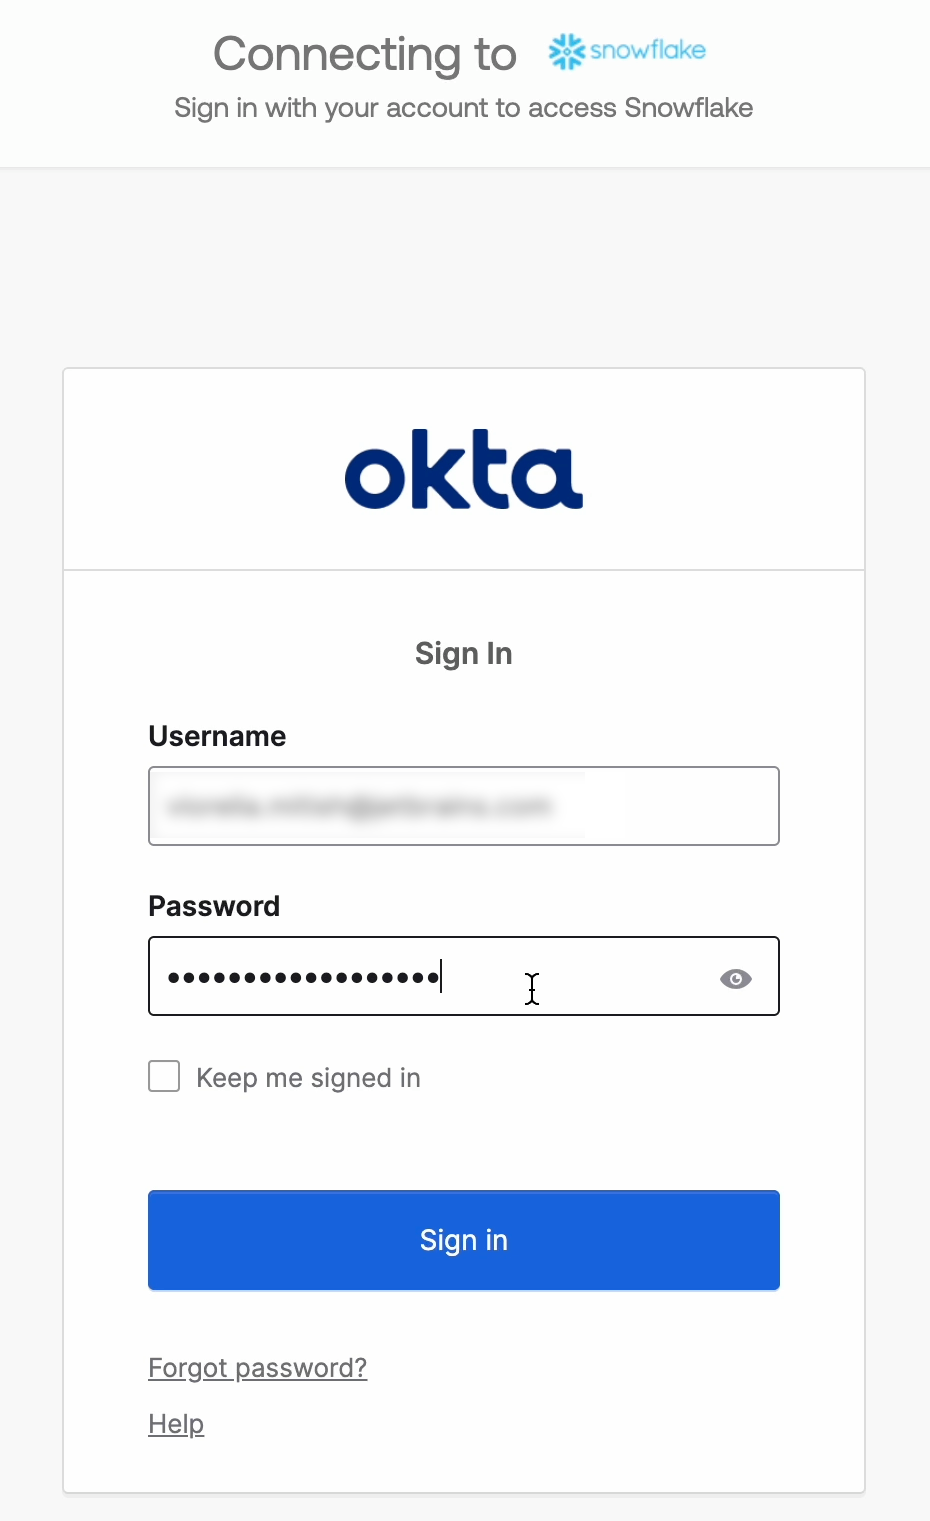
On the Okta website that opens in the browser, enter your user credentials and log in to your Okta account.
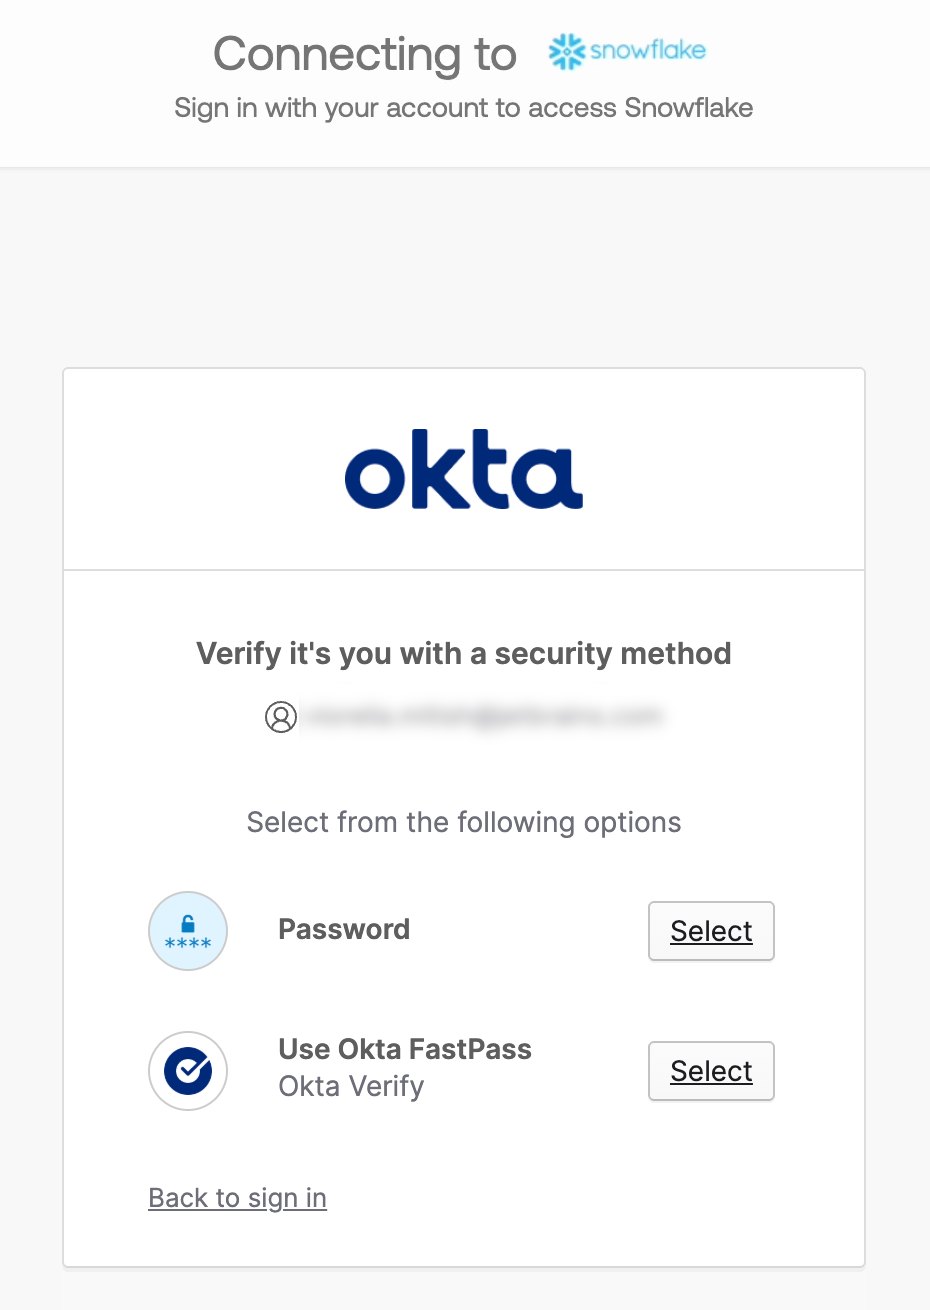
Verify your identity using one of the available security methods.
Once Okta confirms your identity, return to DataGrip.

In the IDE, click OK to save your new data source.
MFA using Duo
Before connecting to a Snowflake database with Duo MFA, make sure to install and set up the Duo Mobile application first.
Once the required software is set up and ready, you need to create a Snowflake data source in DataGrip, run a test connection and authenticate using the Duo Mobile application.
Create a Snowflake data source to use with Duo
Depending on which Duo authentication mechanism is used, use the corresponding instructions. For more information about Duo authentication mechanisms, refer to the official documentation.
In this tutorial, we will take a look at the Duo Push request and Duo-generated passcode methods.
In the Database Explorer (⌘ 1) , click
New on the toolbar and navigate to .

Check if there is a Download missing driver files link at the bottom of the connection settings area. Click this link to download drivers that are required to interact with a database.

Specify the database connection details.
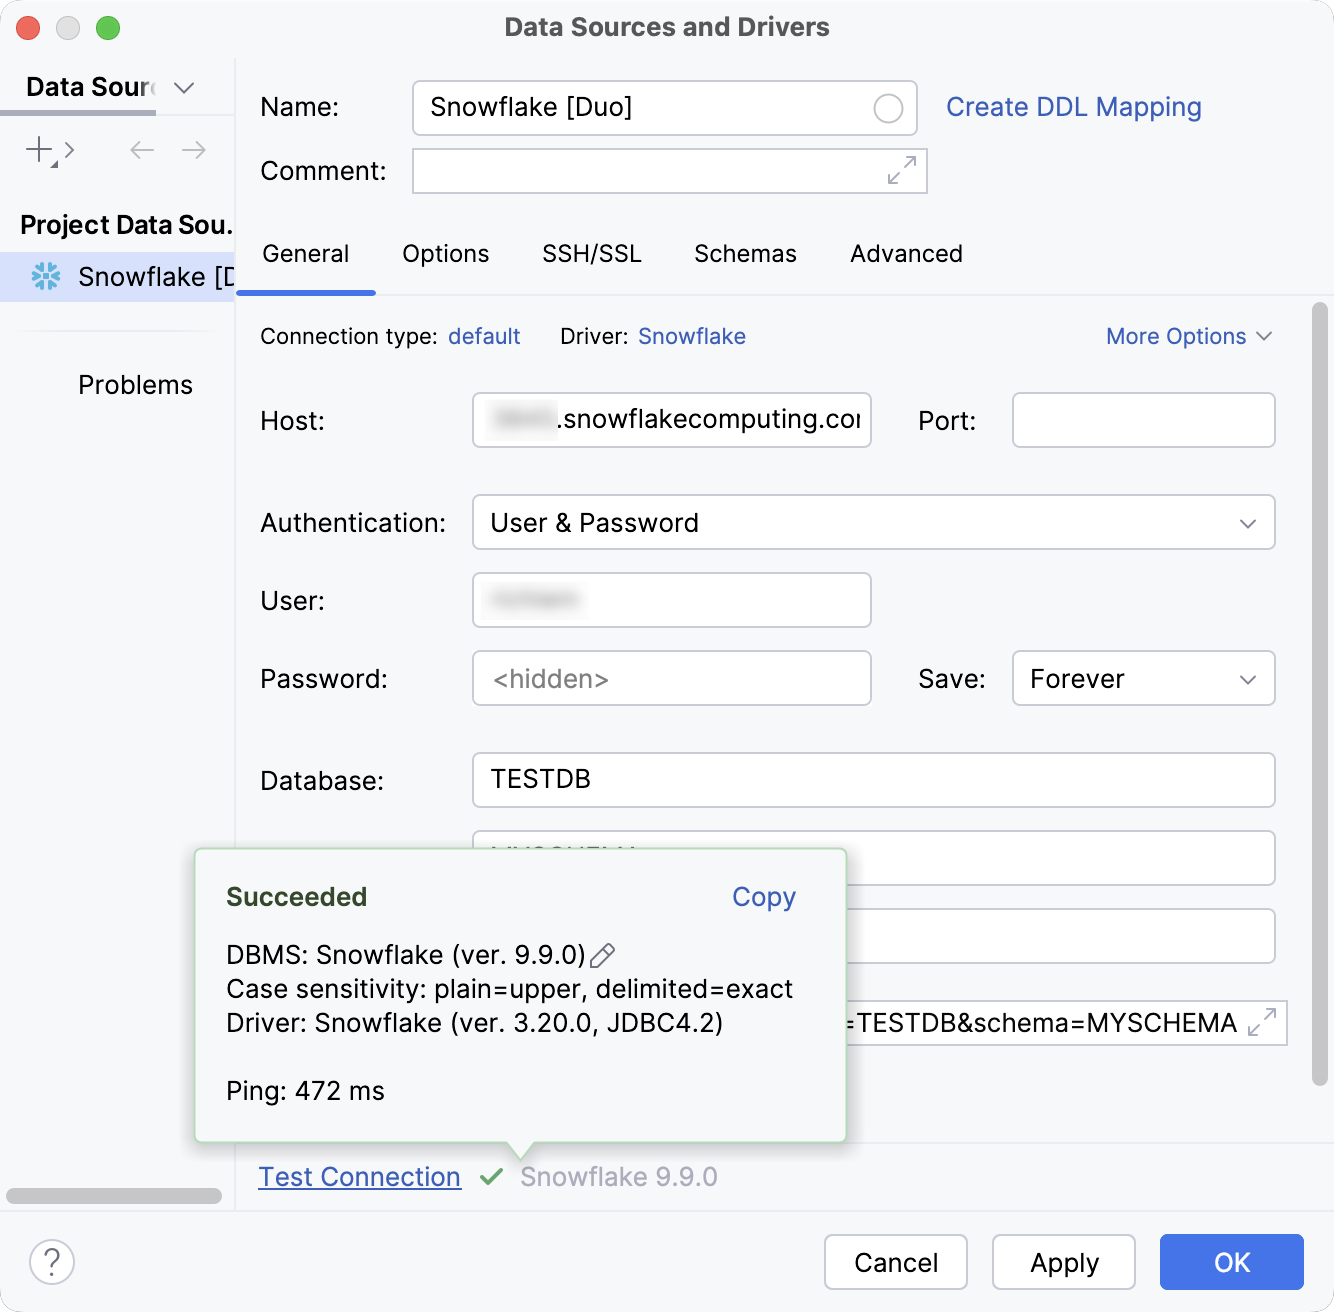
In the Host field, type the URL to connect to your Snowflake account with. For example,
myorg-myconnection.snowflakecomputing.com.In the User and Password fields, type your Snowflake account user credentials.
In the Database field, type the database name to which you want to connect.
In the Schema field, type the schema name to which you want to connect.
In the Warehouse field, type the name of a compute resources cluster in Snowflake that you want to use.
Alternatively, type your JDBC URL in the URL field. The general URL to use is as follows:
Format:
jdbc:snowflake://<organization_name>-<connection_name>.snowflakecomputing.com/?warehouse=<warehouse_name>&db=<database_name>&schema=<schema_name>&user=<snowflake_username>&password=<snowflake_password>Example:
jdbc:snowflake://myorg-myconnection.snowflakecomputing.com/?warehouse=AUTH_WH&db=TESTDB&schema=MYSCHEMA&user=MYUSERNAME&password=DUMMY-PASSWORD
Click the Test Connection link at the bottom of the connection details area to initiate a test connection to your database.

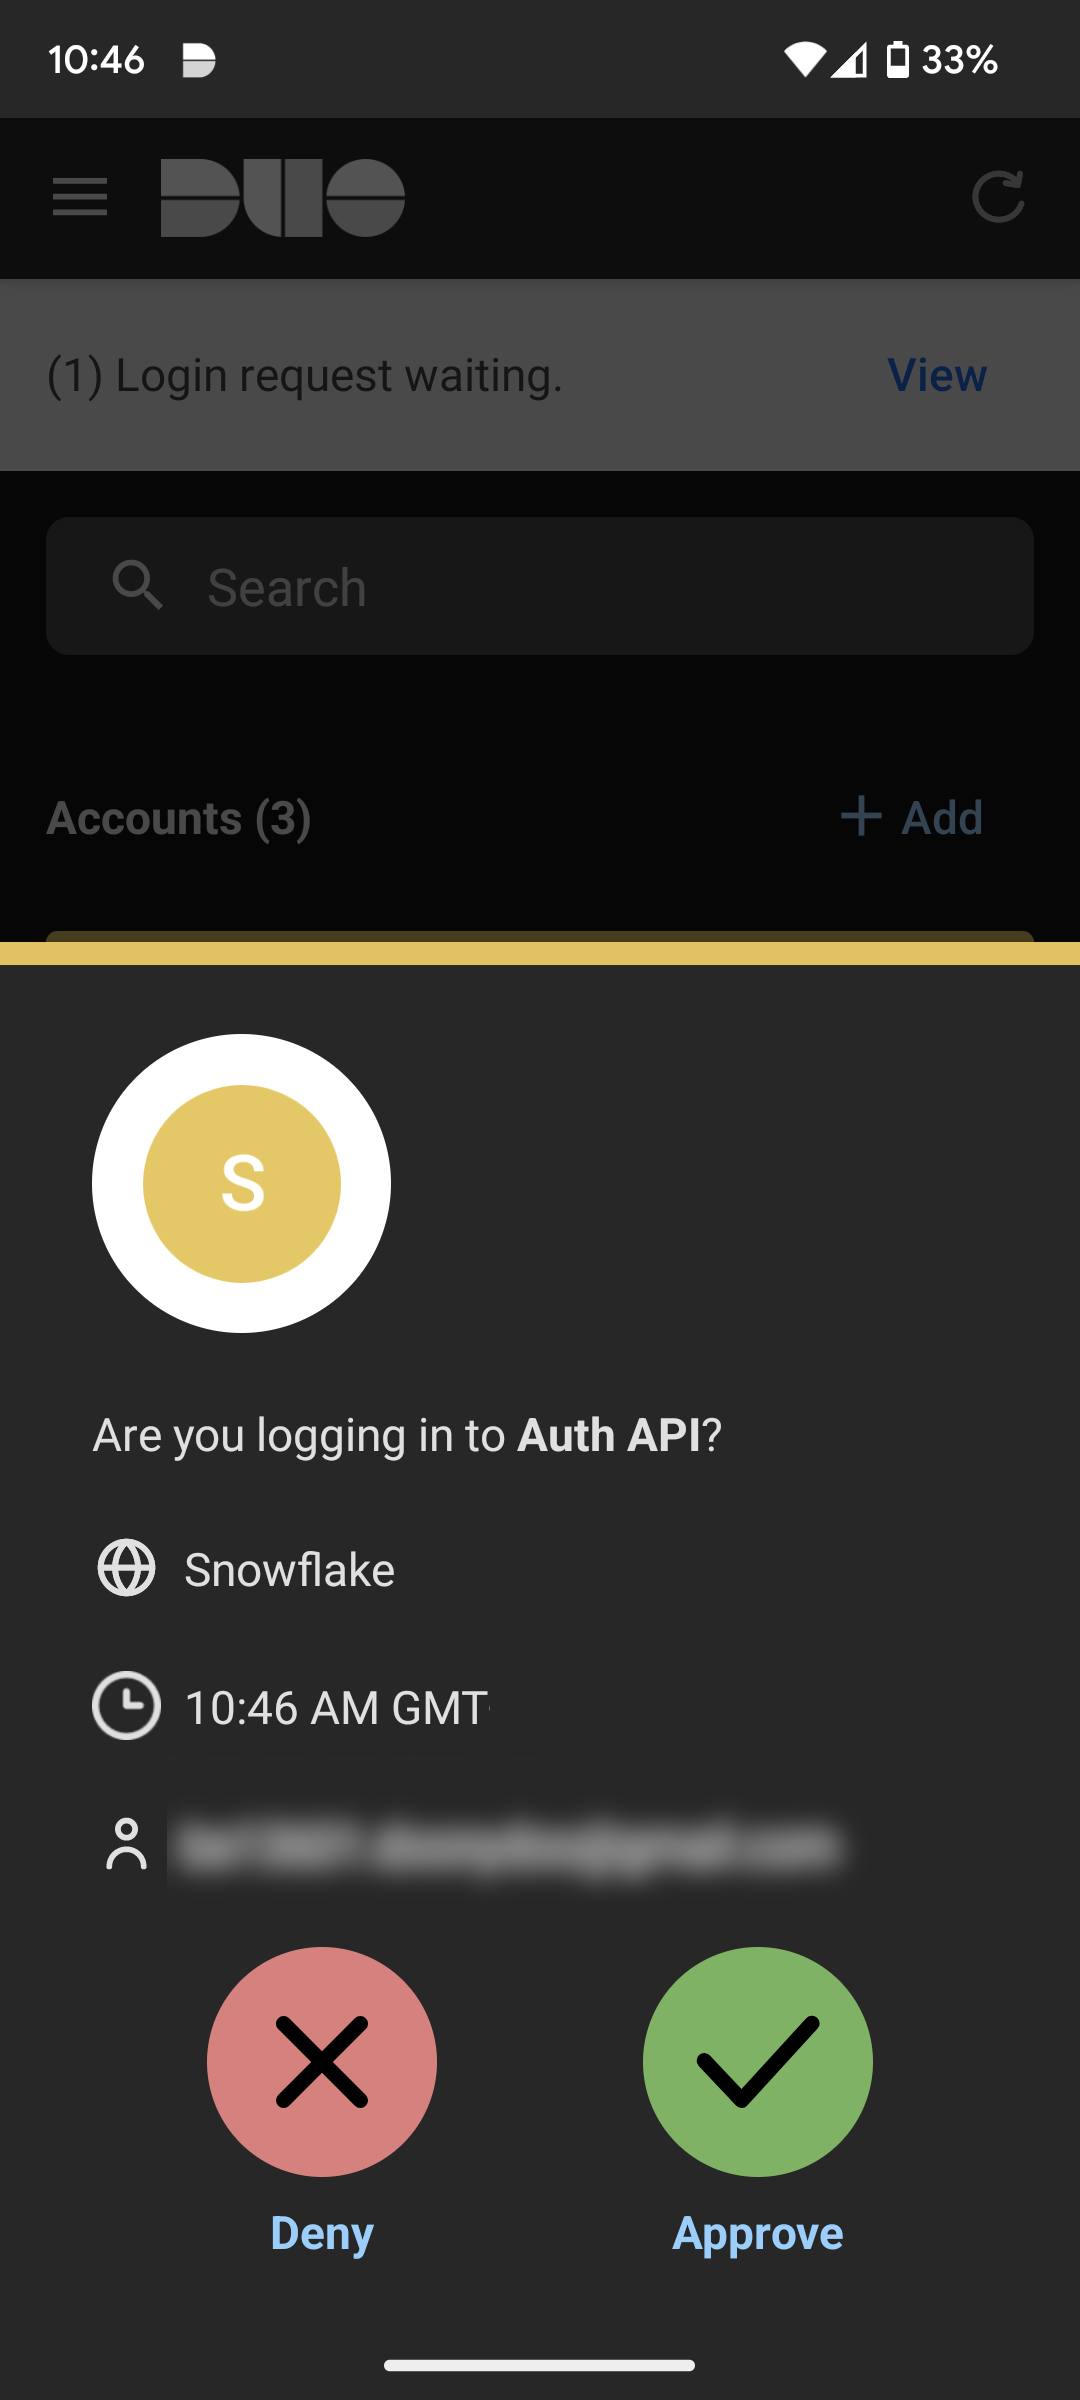
In the Duo Mobile application, you will receive a push with login approval request. Click Approve to approve it.
In the IDE, click OK to save your new data source.
In the Database Explorer (⌘ 1) , click
New on the toolbar and navigate to .

Check if there is a Download missing driver files link at the bottom of the connection settings area. Click this link to download drivers that are required to interact with a database.

In the URL field, type your JDBC URL. Depending on which parameter you use, the general URL to use is as follows:
Using
passcode=<passcode_from_app>:Format:
jdbc:snowflake://<organization_name>-<connection_name>.snowflakecomputing.com/?warehouse=<warehouse_name>&db=<database_name>&schema=<schema_name>&user=<snowflake_username>&password=<snowflake_password>&passcode=<passcode_from_app>Example:
jdbc:snowflake://myorg-myconnection.snowflakecomputing.com/?warehouse=AUTH_WH&db=TESTDB&schema=MYSCHEMA&user=MYUSERNAME&password=DUMMY-PASSWORD&passcode=123456
Using
passcodeInPassword=on:Format:
jdbc:snowflake://<organization_name>-<connection_name>.snowflakecomputing.com/?warehouse=<warehouse_name>&db=<database_name>&schema=<schema_name>&user=<snowflake_username>&password=<snowflake_password><passcode_from_app>&passcodeInPassword=onExample:
jdbc:snowflake://myorg-myconnection.snowflakecomputing.com/?warehouse=AUTH_WH&db=TESTDB&schema=MYSCHEMA&user=MYUSERNAME&password=DUMMY-PASSWORD123456&passcodeInPassword=on

In the Duo Mobile application, obtain the passcode.
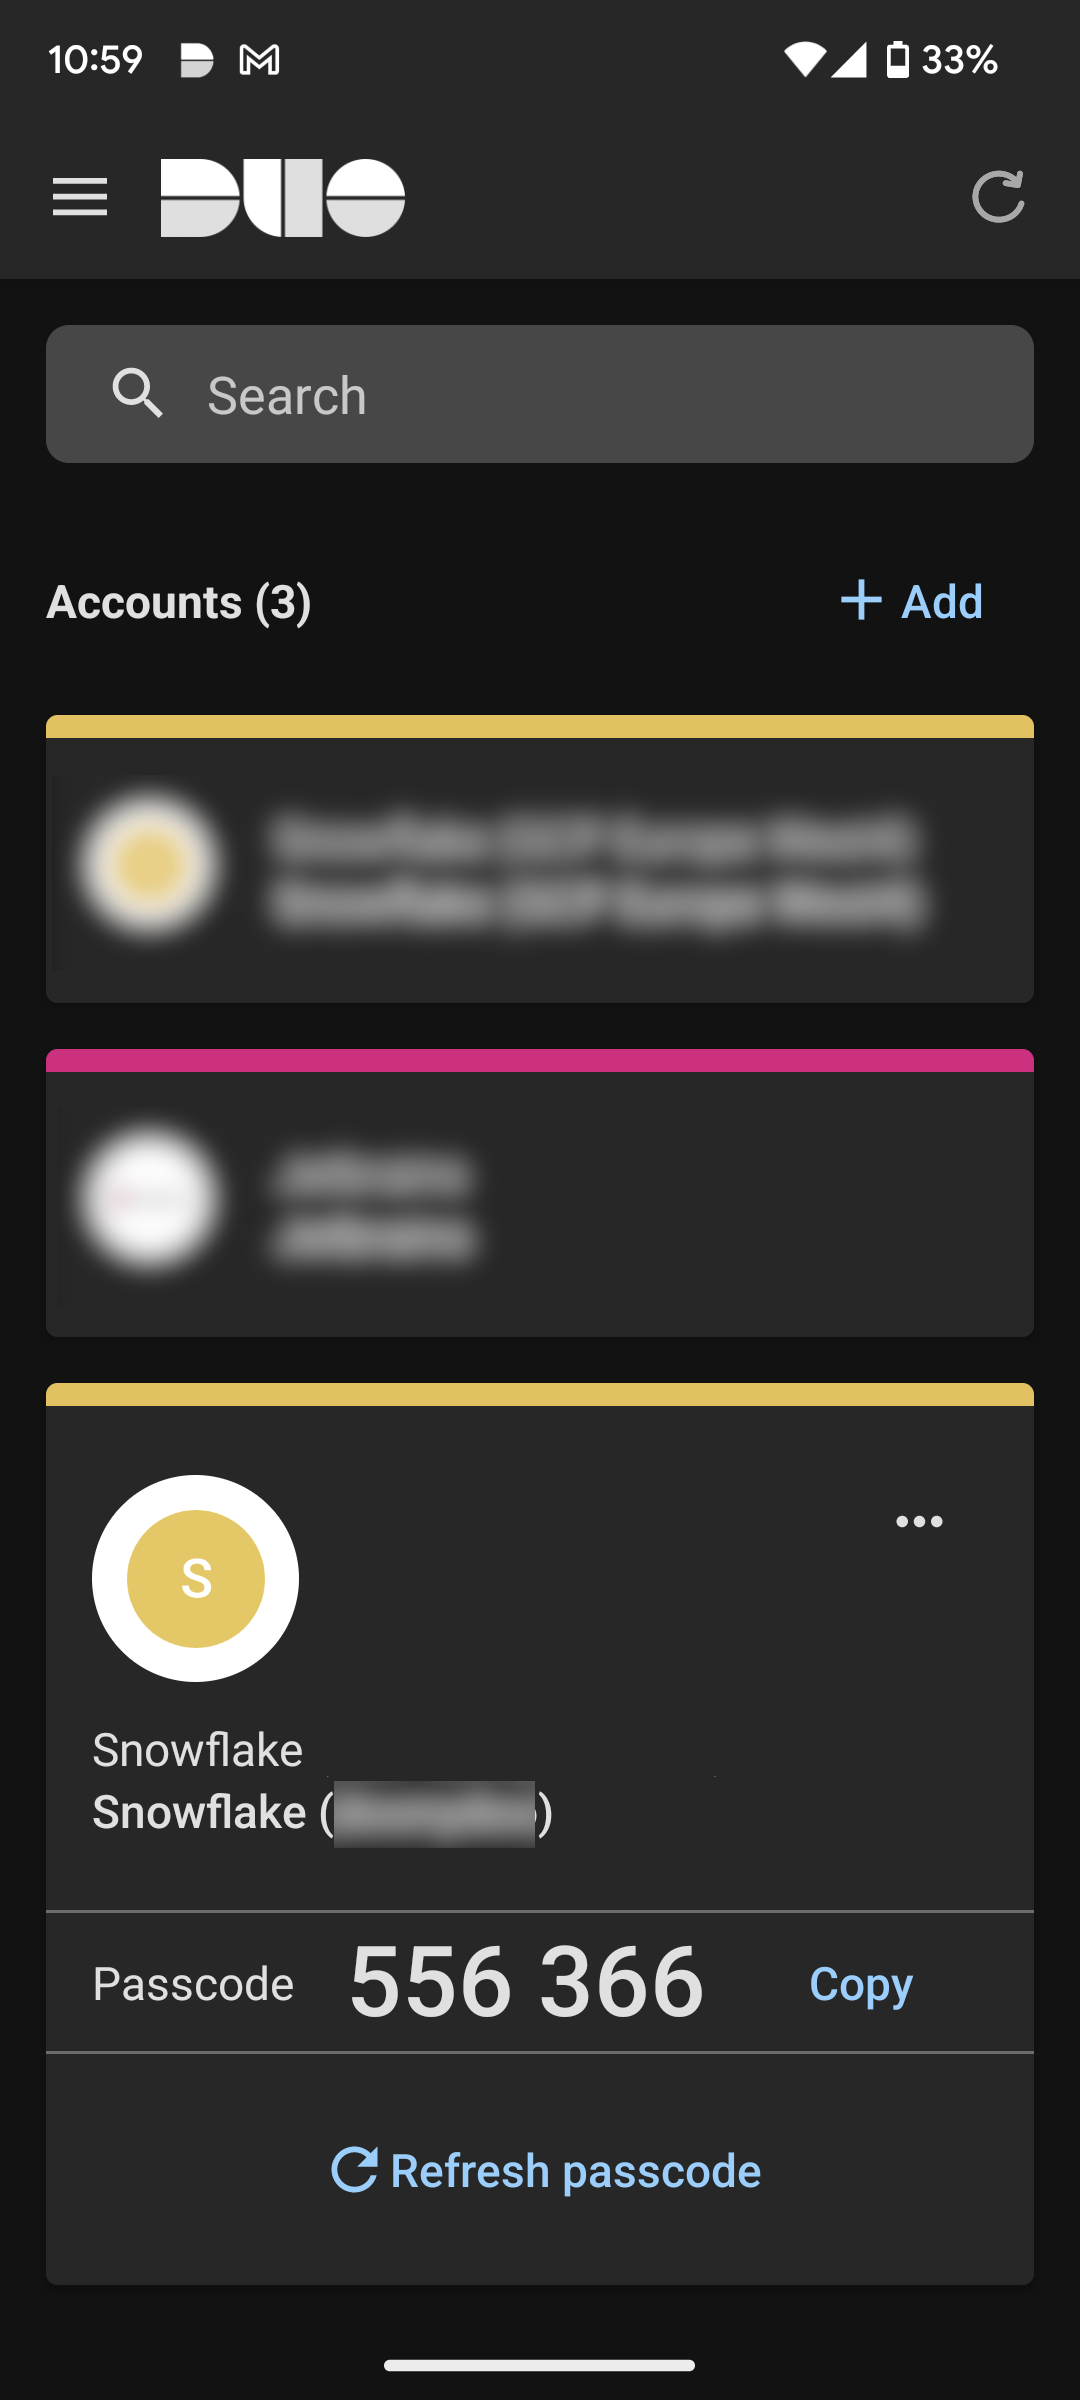
In DataGrip, type the passcode into the prepared JDBC URL in URL field.

Click the Test Connection link at the bottom of the connection details area to initiate a test connection to your database.

Click OK to save your new data source.
Okta SSO and Duo MFA
Before connecting to a Snowflake database with Okta SSO and Duo MFA, make sure to install and set up the Okta Verify and Duo Mobile applications first.
Once the required software is set up and ready, you need to create a Snowflake data source in DataGrip and configure it to use it with Okta SSO authentication. Then, run a test connection and log in to your Okta account using Duo MFA in the Duo Mobile application.
Create a data source using Duo MFA
In the Database Explorer (⌘ 1) , click
New on the toolbar and navigate to .

Check if there is a Download missing driver files link at the bottom of the connection settings area. Click this link to download drivers that are required to interact with a database.

Specify the database connection details.
In the Name field, enter your new data source name.
For example,
Snowflake [Okta, Duo].In the Host field, type the URL to connect to your Snowflake account with. For example,
myorg-myconnection.snowflakecomputing.com.From the Authentication dropdown, select Authenticator.
In the Authenticator field, type
externalbrowser.In the Warehouse field, type the name of a compute resources cluster in Snowflake that you want to use.
Alternatively, type your JDBC URL in the URL field. The general URL to use is as follows:
Format:
jdbc:snowflake://<organization_name>-<connection_name>.snowflakecomputing.com/?warehouse=<warehouse_name>&db=<database_name>&schema=<schema_name>&user=<okta_username>&password=<okta_password>&authenticator=externalbrowserExample:
jdbc:snowflake://myorg-myconnection.snowflakecomputing.com/?warehouse=AUTH_WH&db=TESTDB&schema=MYSCHEMA&user=MYUSERNAME@DOMAIN.COM&password=DUMMY-PASSWORD&authenticator=externalbrowser
Click the Test Connection link at the bottom of the connection details area to initiate a test connection to your database.

Okta redirects you to the Duo Security website to verify your identity.
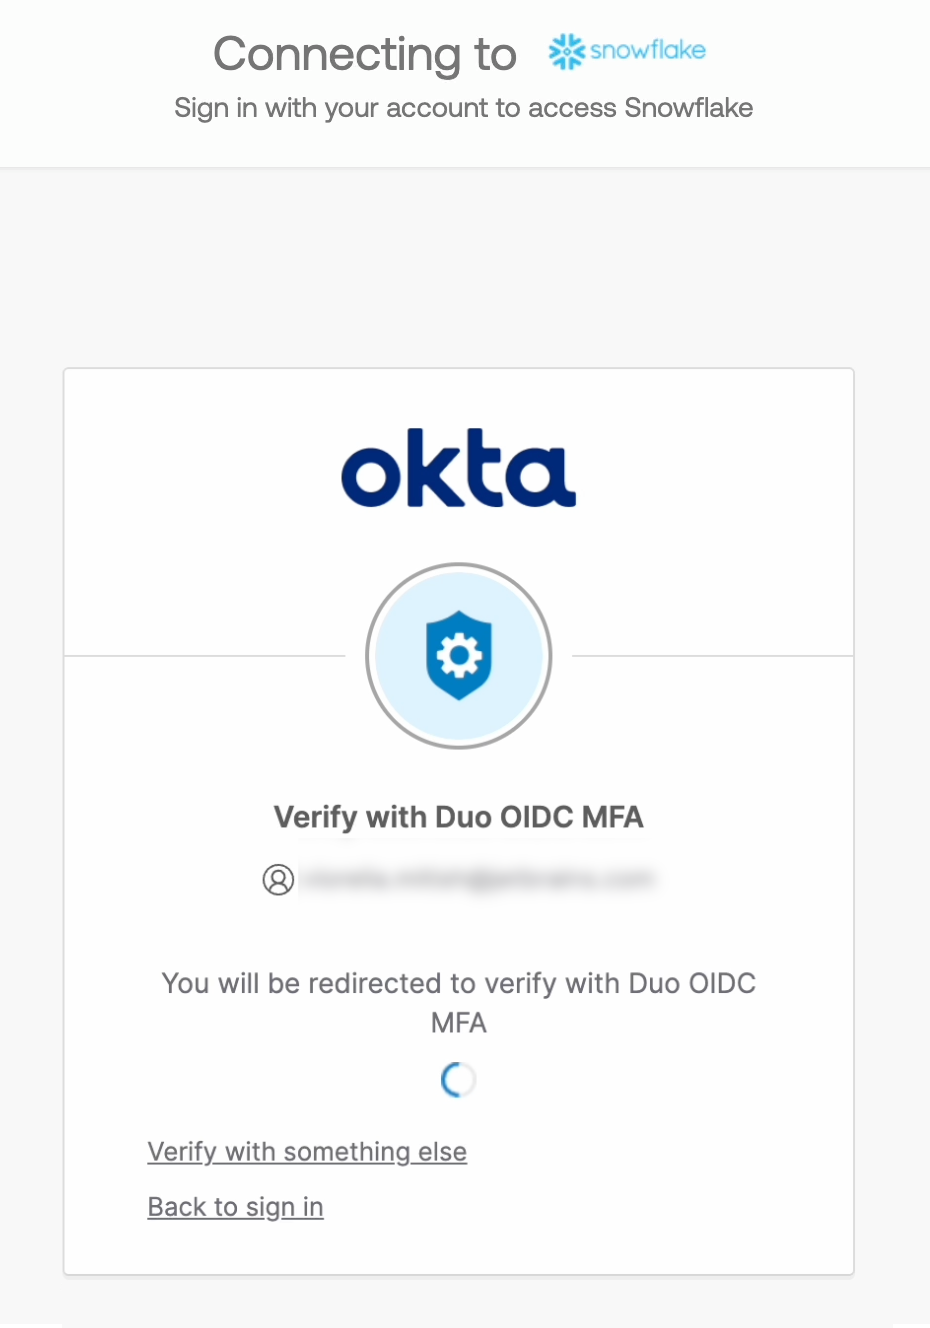
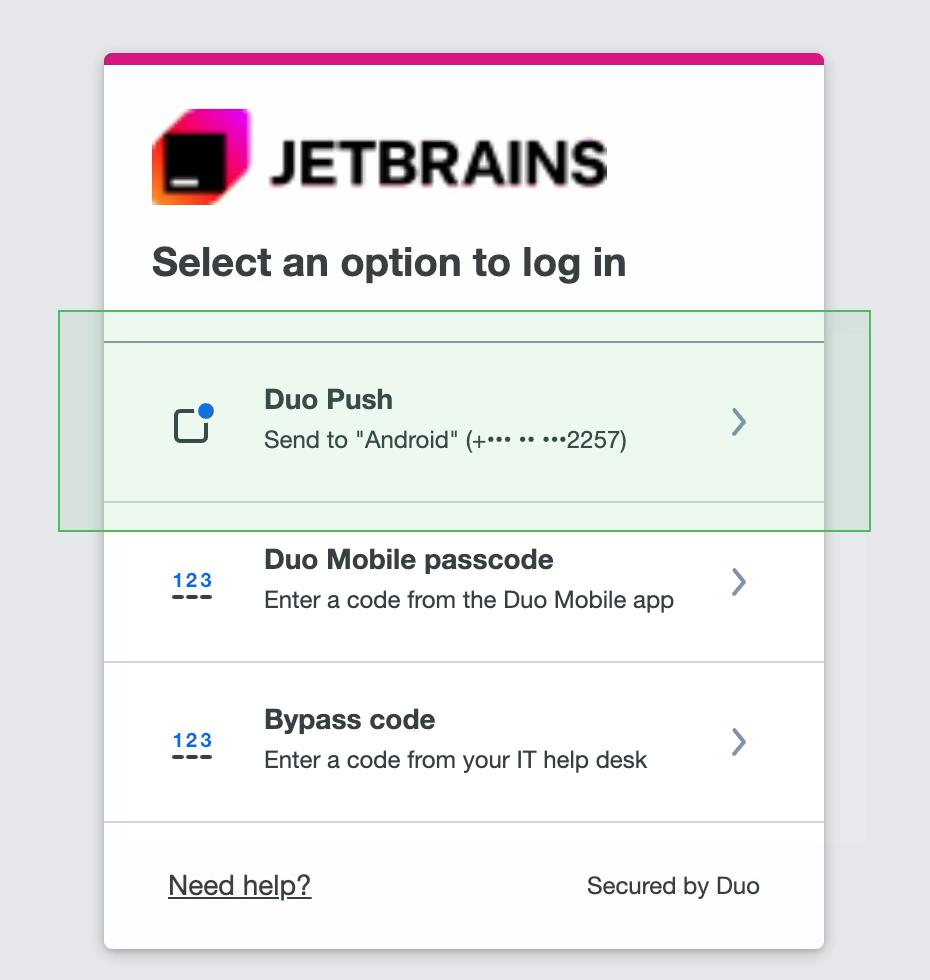
On the Duo Security website, select an option to log in. In this tutorial, we will use the Duo Push one.
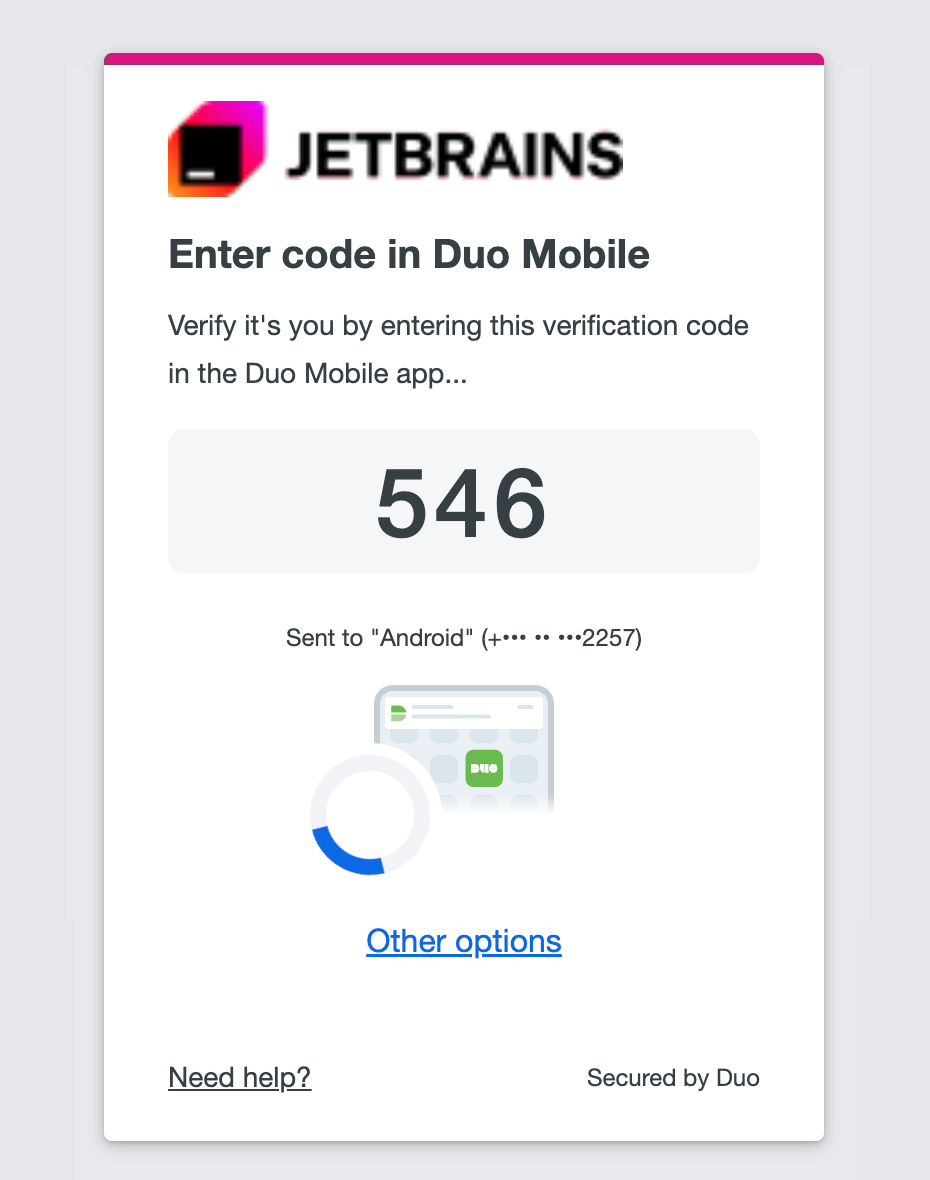
Duo Security provides you with a 3-digit verification code that you have to enter in the Duo Mobile application.
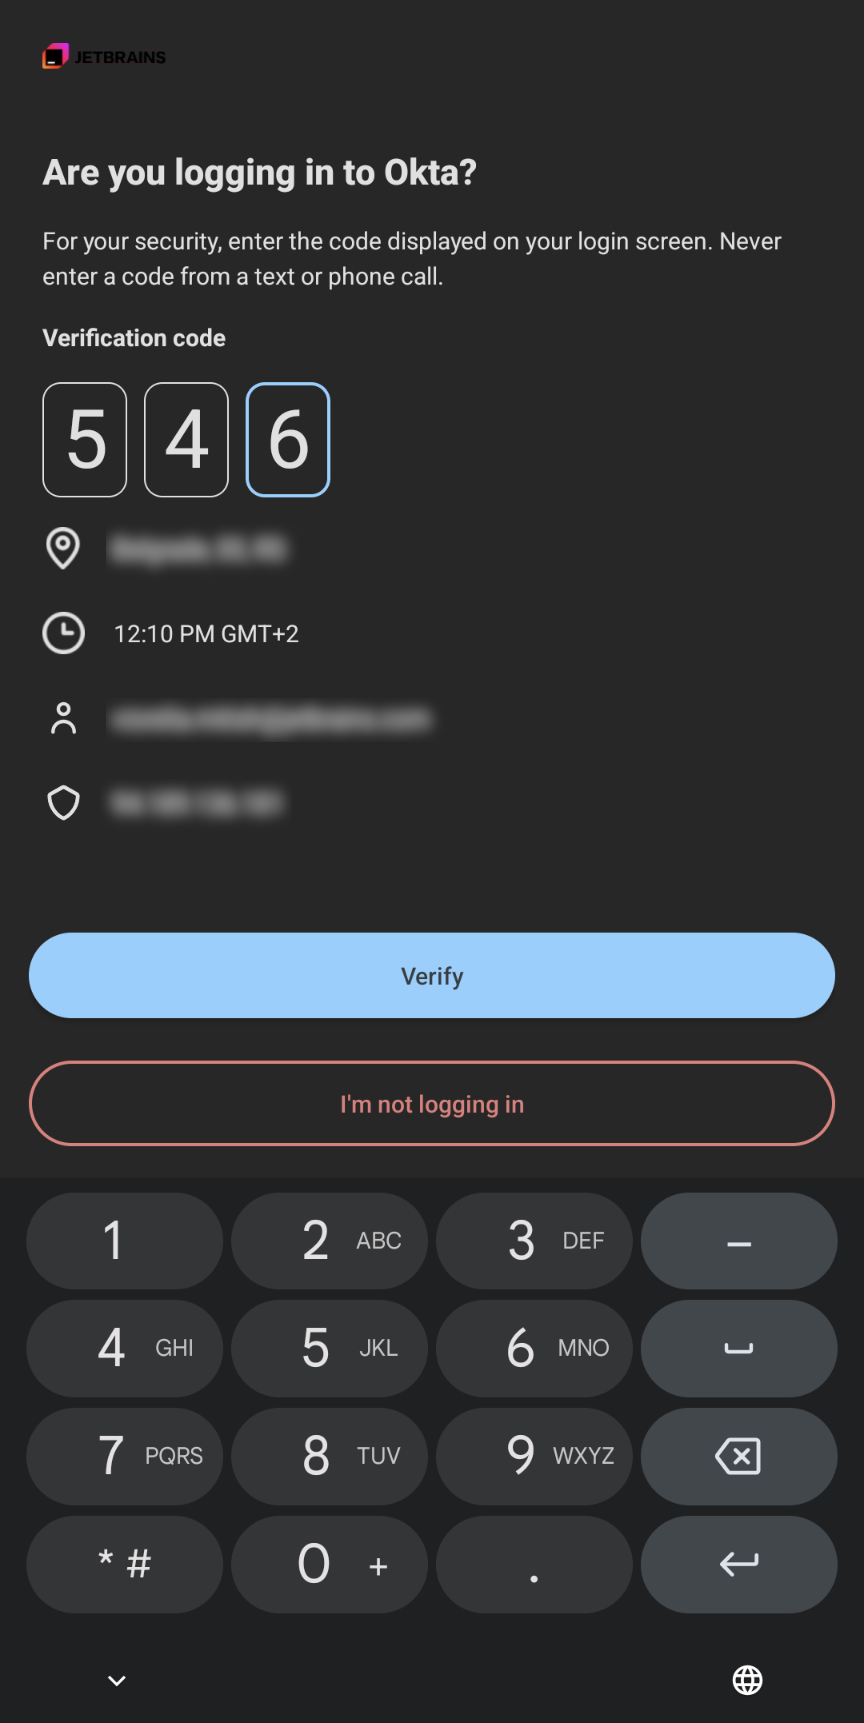
In the Duo Mobile application, enter your verification code and click Verify.
Duo Security logs you in to the account and redirects to the Okta website.
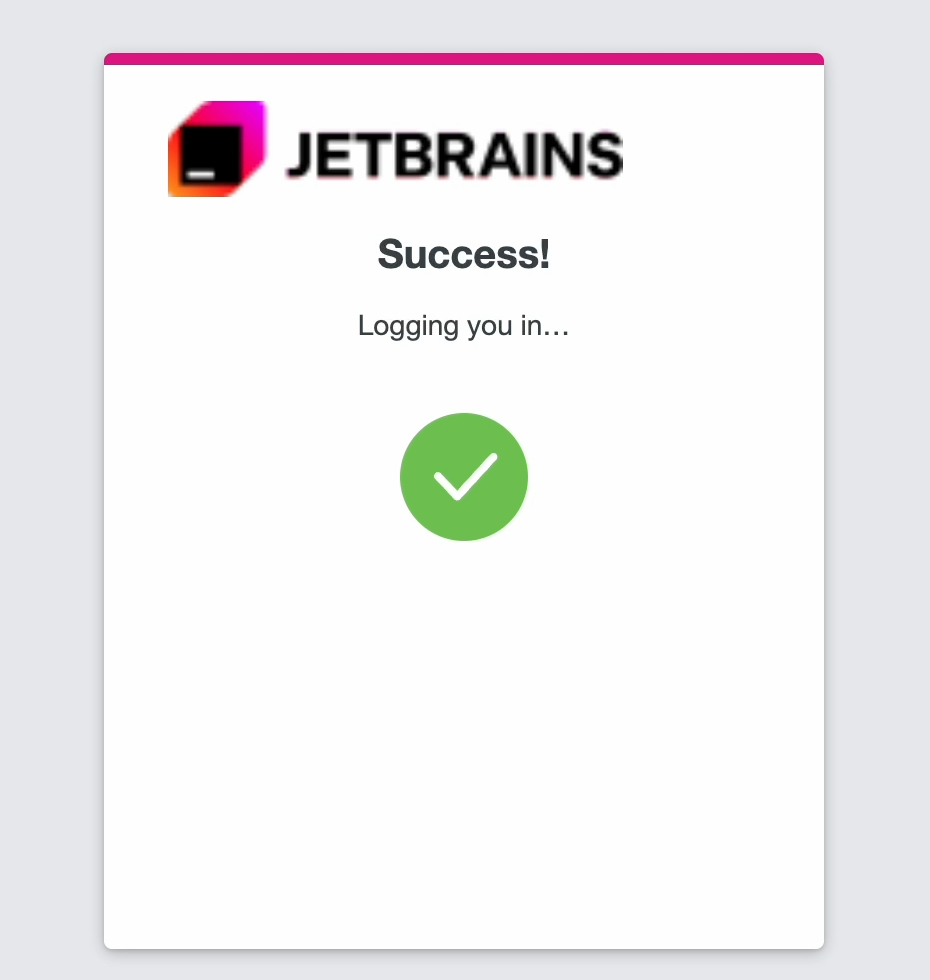
Once Okta confirms your identity, return to DataGrip.

In the IDE, click OK to save your new data source.
