Work with data files
Once you have established a connection to a remote storage, you can work with the data files. With the Remote File Systems plugin, you can manage buckets, perform basic file operations, quickly find a file and navigate to it, and more.
You can also preview large structured files (Parquet, ORC, Avro, and CSV) in tabular form. This functionality is provided by the Big Data File Viewer, which is installed automatically with the Remote File Systems plugin.
Manage server directories
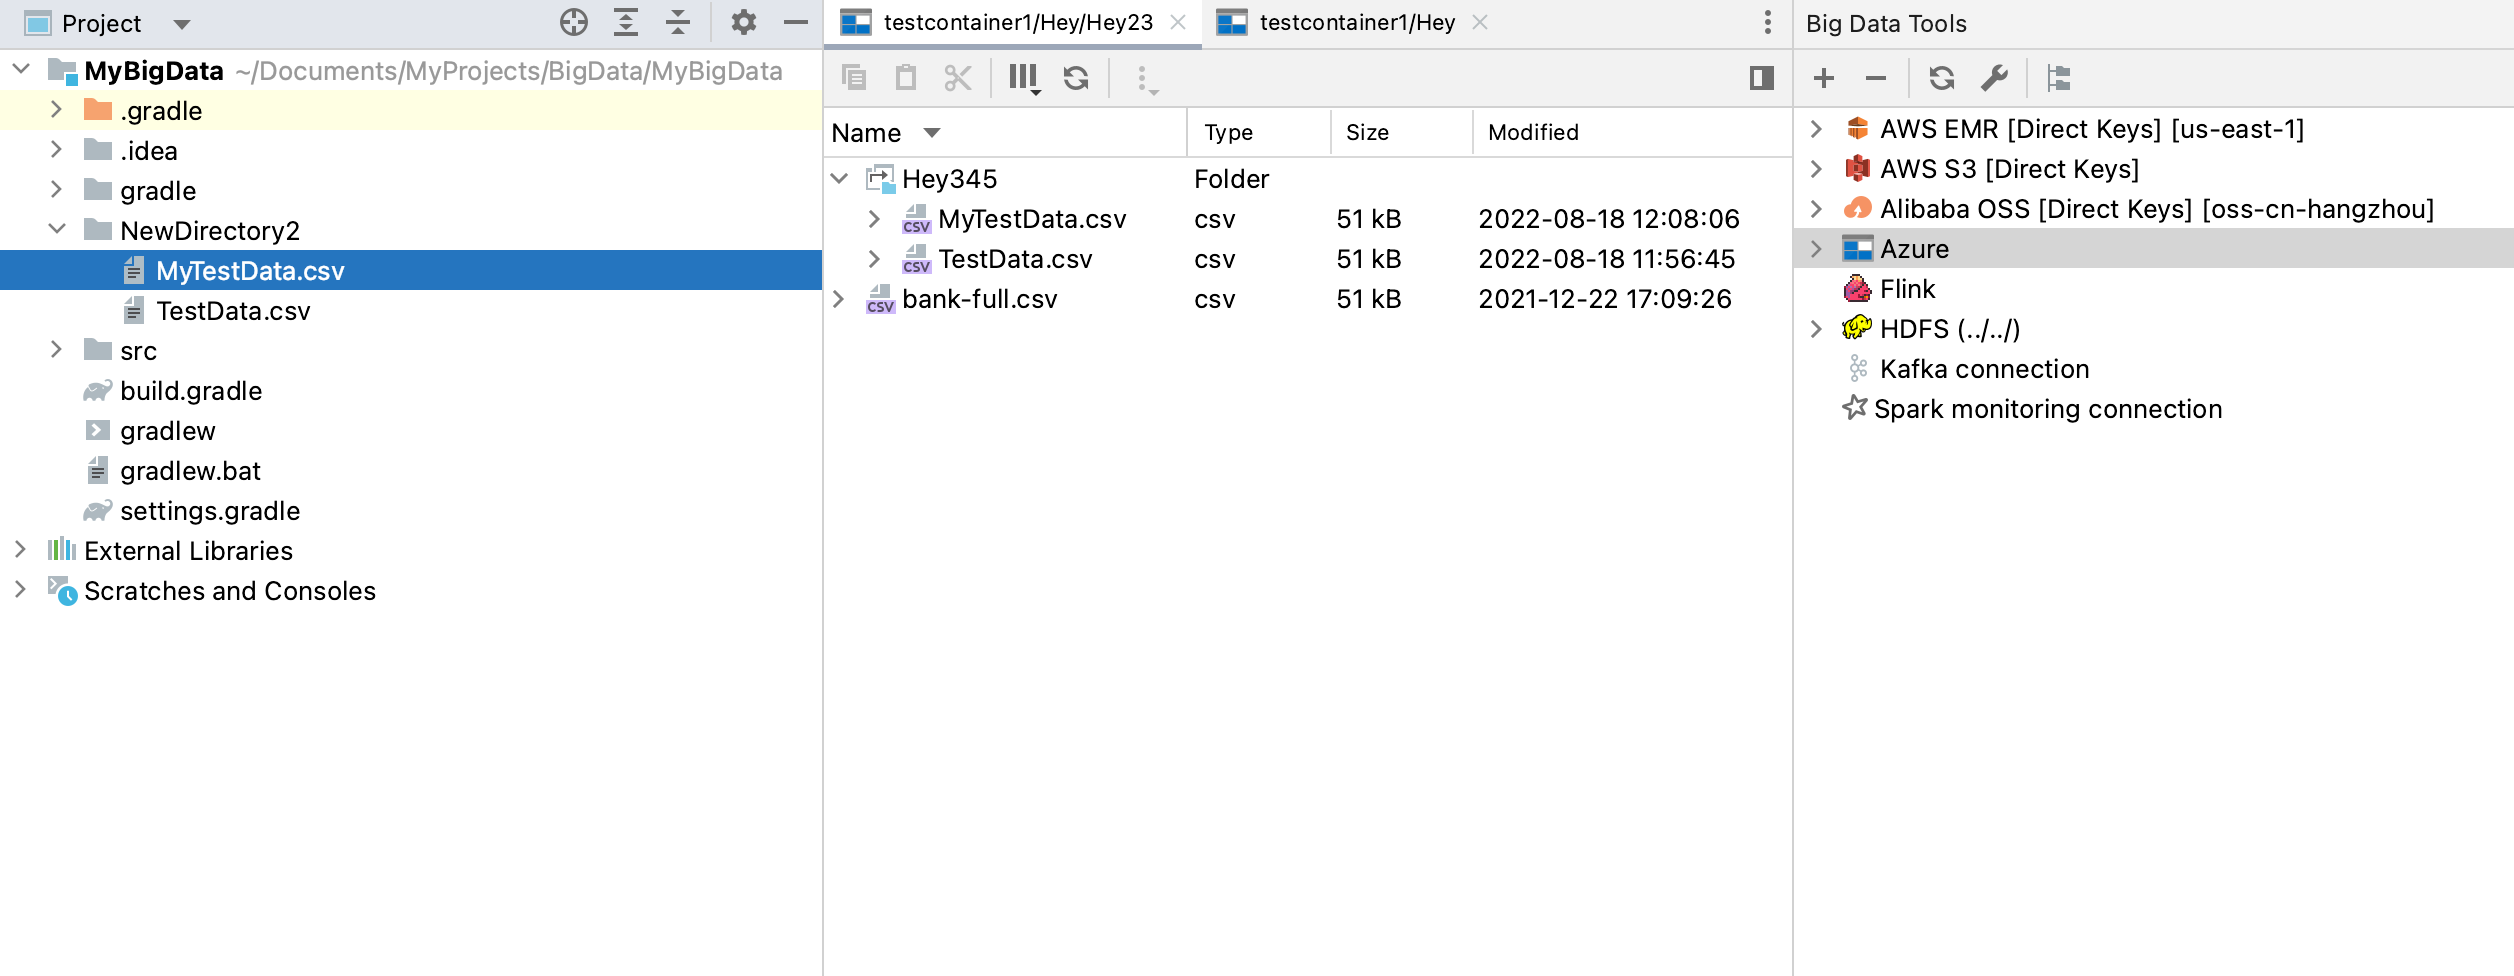
Expand the server node to preview its structure.
Right-click a directory to open the context menu.

You can copy, paste, rename the directory, change its location, copy its path, and add new files and directories. Select Upload from disk to add more files to the directory. You can also save the directory and its files on the local drive.
To quickly create a new bucket, file, directory, or connection, press Alt+Insert.

Navigate to a file
The Big Data Tools tool window lets you quickly locate files and directories in your storage. It can be useful if you have a lot of nested directories and do not want to click and expand each of them when looking for a file. Instead, you can start typing a path to it and let DataSpell show your available files and autocomplete the path.
Select a connection to a storage and click
 at the top of the Big Data Tools tool window or press Ctrl+F. You can select a particular bucket or directory if you want to find a file within it.
In the Navigate in window, start typing a path to the file or directory. Press Tab to autocomplete the path. Or you can type the name of a bucket to quickly find it.

Press Enter.
This will locate the selected file in the Big Data Tools tool window.
Manage data files
Expand the target directory and select a file.
Right-click the file to open the context menu.

You can copy, paste, rename the file, copy its path, change its location, or delete it.
To briefly preview details of a structured file, such as CSV, Parquet, ORC, or Avro, expand it in the editor or in the Big Data Tools tool window. You should be able to see the columns and their types.

Select Show Info from the context menu to obtain more details about the file:

To view a file, double-click it or select the Preview command from the context menu. The file opens in the editor. You cannot edit it but you can preview it as a table or as text:


In the table view, you can operate with table elements. Right-click to open the context menu and select a command to copy a raw or a column, or copy the entire table to the clipboard or file.

You can also sort data in columns by clicking column headers.
When you open .parquet files, the plugin only displays the first portion of the file content. This is especially useful when you work with very large files.
View files in the editor
To open any storage or directory in a separate tab of your editor, select the item in the Big Data Tools tool window and click
 .
.
The selected directory will be opened in a separate tab of the editor.

You can exchange files with the servers and directories opened in the Big Data Tools tool window. Use the viewer toolbar icons to copy, paste, and cut files.
You can customize the visual appearance of the storage:
Click
 to manage visibility of the file info details.
Click
 to exclude any column for a view. By default, all columns are displayed in the viewer.
Click
 to update the content of the selected directory.
Use the ![]() to get access to other commands.
to get access to other commands.
Drag and drop files
With DataSpell, you can easily copy and move files between different remote file systems or within the same storage by dragging them to needed buckets, containers, or directories. You can also quickly upload a file from your local file system to a remote one by dragging the file from your Project tool window to the editor, which can be opened in the editor or in the Big Data Tools tool window.
Drag a file to the necessary bucket, container, or directory
In the window that opens, confirm the name of the file and destination directory.
When you drag a file within the same connection, DataSpell removes the file from the original location. When you drag a file from your project or from one connection to another one, DataSpell creates a copy of the file.
Edit files
Once you have established connection to a remote storage, you can edit text files in this storage except for Zeppelin notebooks and delimiter-separated files, such as CSV.
Double-click a file to open it in the editor.
Modify the file. At the top of the files, icons become available allowing you to:
Show the diff (
 )
)Revert the file content to its initial state, as it was when you opened it (
 )
)Retrieve the latest file changes from the server (
)Submit your file changes to the server (
 )
)

View file versions
Versioning lets you have multiple variants of the same object in a storage. If versioning is enabled for a bucket, you can view versions of the objects right in DataSpell. You can also upload, download, delete, restore, and compare specific versions.
In the Big Data Tools tool window, select a storage and click
to open it in the editor.Expand a bucket, for which versioning is enabled, and select a file in the bucket.
In the Details pane, open the Versions tab.
The tab displays all available versions of the selected file.

When you select a version, the following icons become available:
 upload a new version of the file from your local drive.
 download the selected version of the file.
 delete the selected version of the file.
 restore the selected version of the file.
- show the diff between the selected and the previous versions of the file (or you can select two versions if you want to show the diff between them).
Create a new bucket
To add a new bucket to the data storage, right-click the storage connection in the Big Data Tools tool window and select from the context menu.
Specify the new bucket name and click Ok to complete the task.
Filter the list of buckets
If you want to work with part of your storage rather than the whole storage, you can filter buckets (or containers in terms of Microsoft Azure) that you want to be displayed in the Big Data Tools tool window and in the editor.
You can either specify custom paths to buckets and directories or filter buckets by name. You can do it when configuring a new connection, or you can tweak earlier configured connection settings.
In the Big Data Tools tool window, select a server and click
 on the window toolbar.
Choose the way to filter buckets:
Select Custom roots and, in the Roots field, specify the name of the bucket or the path to a directory in the bucket. You can specify multiple names or paths by separating them with a comma.
Select All buckets in the account (or All containers in the account for Azure). You can then use the bucket filter to show only buckets with particular names.
For AWS S3 connections, you can also select Only buckets from in the selected region to get bucket from a specific region. For other storages, buckets are always filtered based on the region selected for connection.

In case the server connection has been lost, the corresponding icon shows the disconnected status of the server ![]() .
.

Click ![]() to reestablish the connection to the server.
to reestablish the connection to the server.