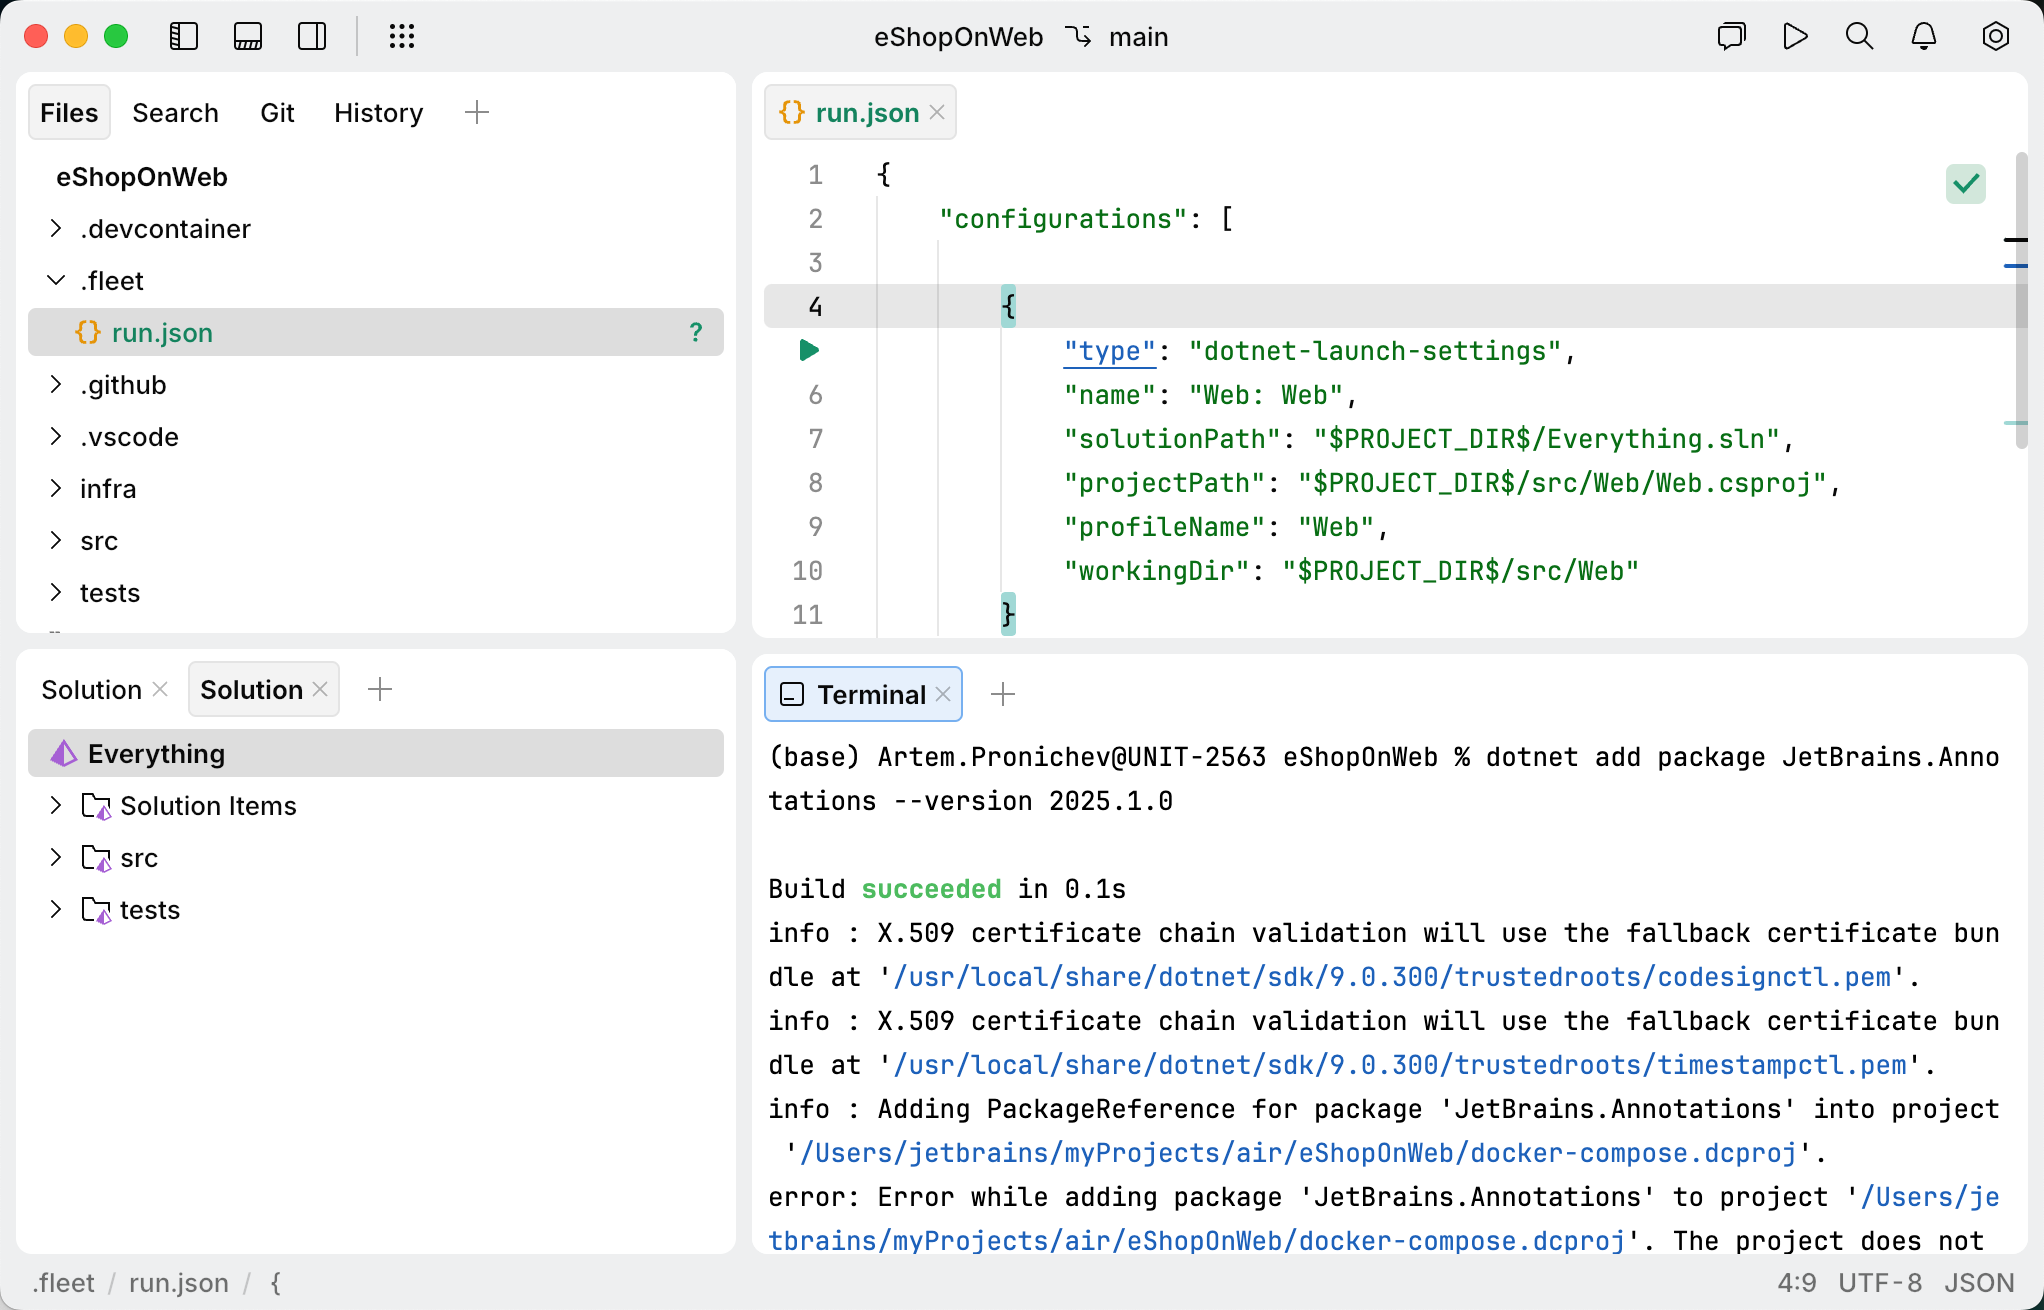
Manage .NET (C#) solutions, projects, and files
As Fleet supports a wide range of languages and technologies, it does not use a universal concept of a project. Instead, it operates with workspaces, where a workspace is a directory that contains everything related to your current development task.
C# code, on the other hand, is typically organized into projects and solutions, with corresponding configuration files such as .csproj and .sln. If your workspace contains .csproj or .sln, .slnx, or .slnf files, JetBrains Fleet will help you open the associated projects and solutions in the dedicated view.
Work with solutions in a dedicated view
In most cases when you work with C# code, you need to see code items organized in projects and solutions, which is the way you see code structure in traditional .NET IDEs like Visual Studio and JetBrains Rider.
JetBrains Fleet also lets you work with the solution structure. As soon as you enable Smart Mode in a workspace that contains a .NET solution, JetBrains Fleet opens the Solution tool.
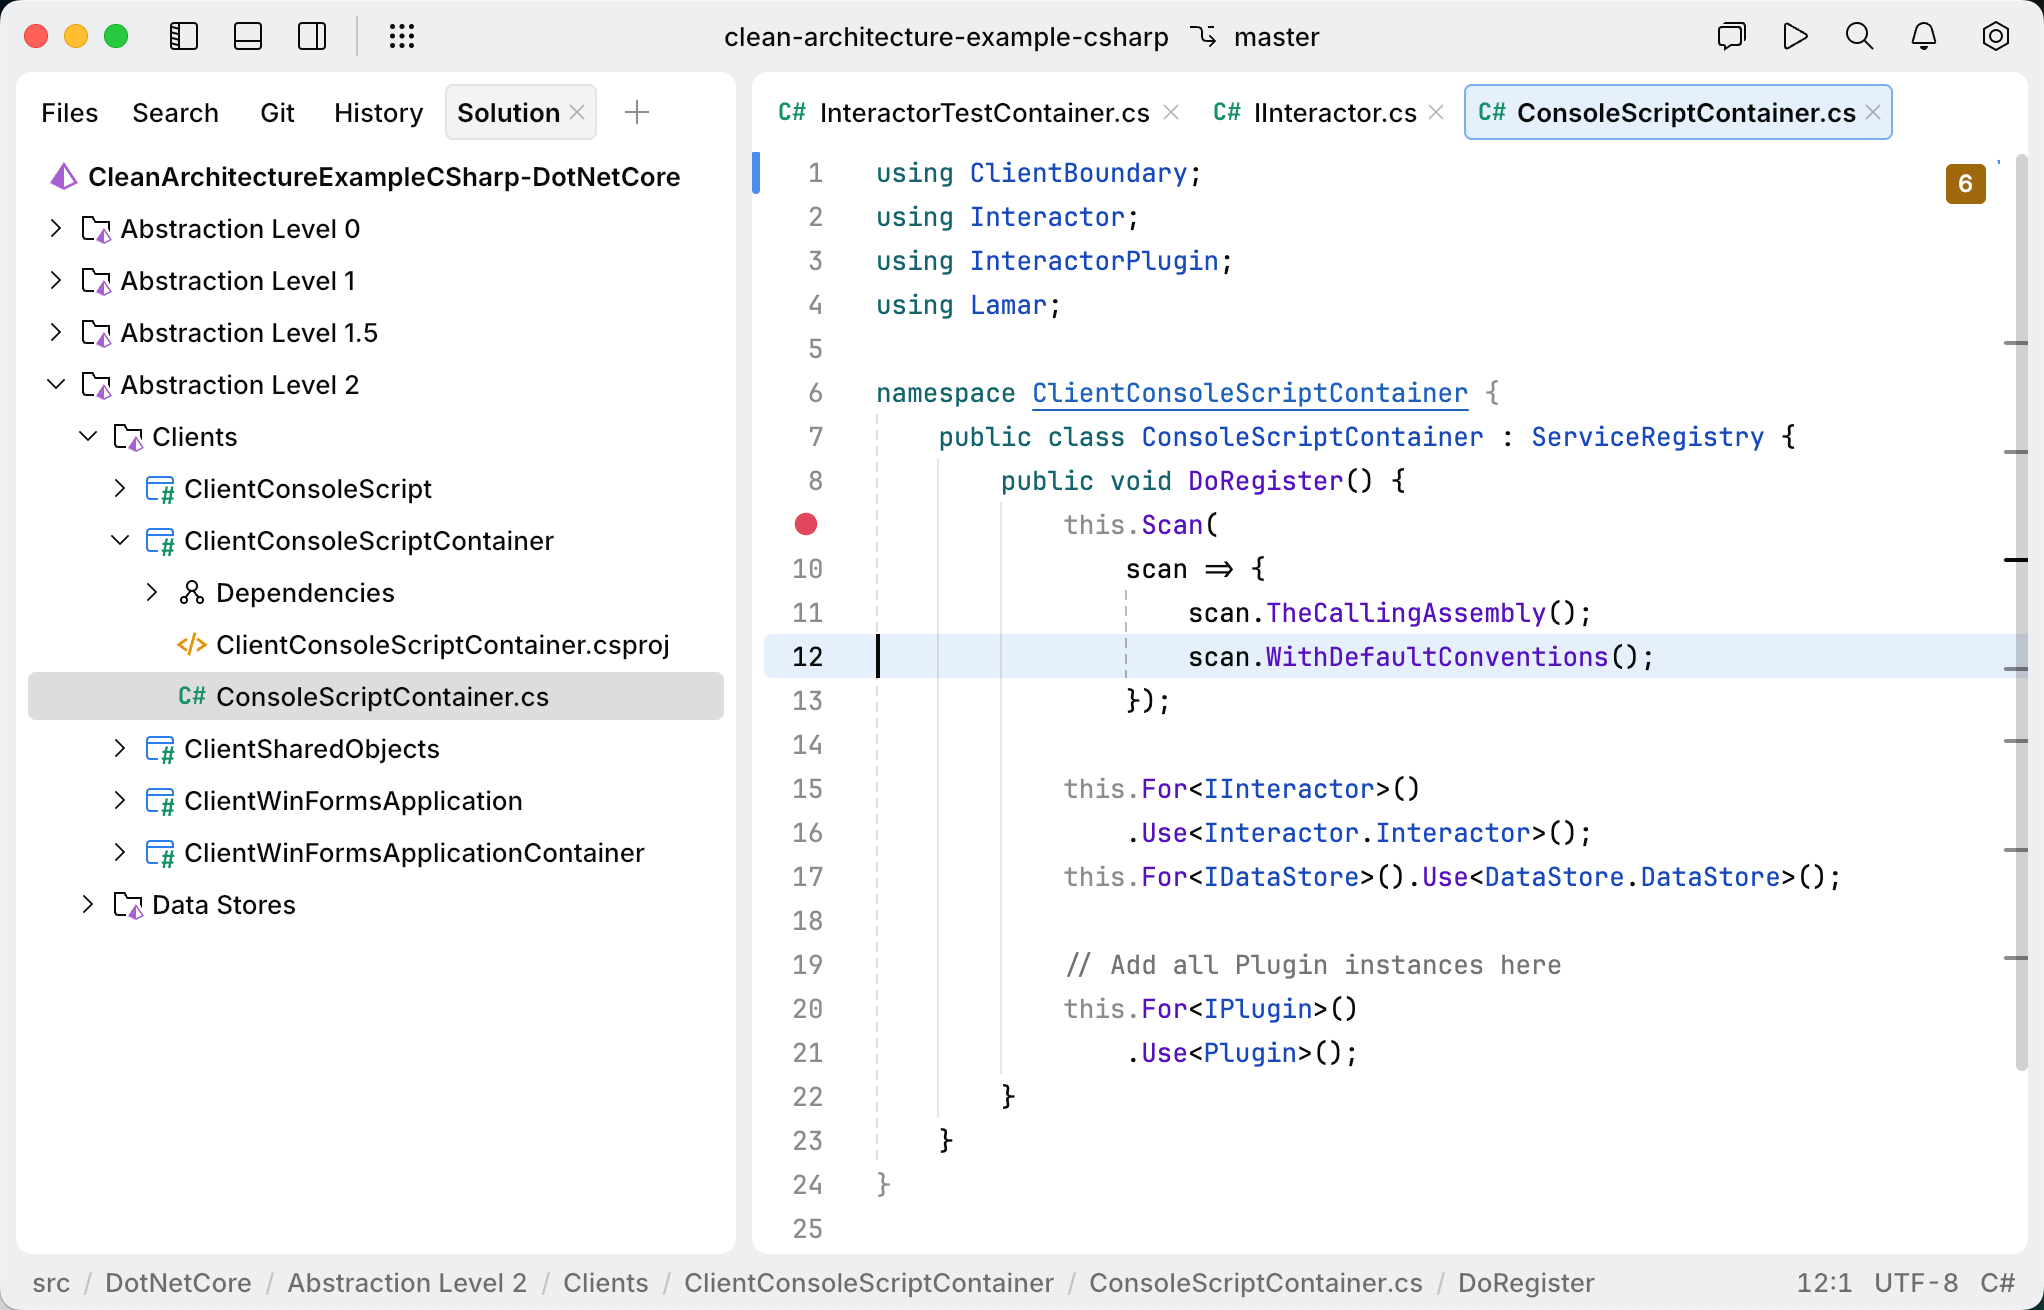
If the workspace contains a single .sln file, the solution opens automatically, otherwise you can choose what solution to open.
Manage .NET projects and solutions
To bridge the gap between a workspace and a project or solution in Fleet, you can use the directory where the .csproj or .sln, .slnx, or .slnf file resides as the workspace.
In the current version, JetBrains Fleet provides a user interface for creating projects, but it does not yet support creating solutions through the UI. However, you can always use the .NET command-line interface (CLI) to create both projects and solutions. The .NET CLI is included in the .NET SDK, which you should already have installed as described in Getting started with C#.
Open an existing project or solution
Press ⌘ O or select File | Open from the main menu.
Select the directory that contains the .csproj file for the target project or the .sln, .slnx, or .slnf file for the target solution, and click Open.
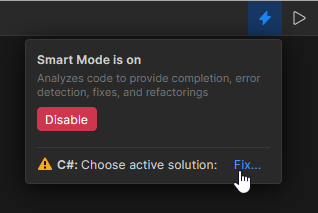
If there are multiple .sln, .slnx, or .slnf files in the directory you open, JetBrains Fleet will help you choose the solution you want to work with. After clicking the Smart Mode Status icon on the toolbar, click the link in the popup and select the desired solution.
If you open a directory that contains one or more solutions in its subdirectories, the .NET-specific features and the Solution view will not be activated until you open a .NET-specific file (for example, .cs or .csproj).
Create a new project and solution
Press ⌘ O or select File | Open from the main menu.
In the file browser, navigate to an empty folder where you want to store your code, then click Open.
This opens the selected folder as a workspace in the Files view.
Select from the main menu or press ⌃ ⇧ ` to open the Terminal view.
Make sure the command line is at the root of the workspace, and create a new project using a .NET project template. For example, to create a new console application named
MyConsoleApp, run:dotnet new console -o MyConsoleAppThis command creates a new MyConsoleApp directory containing the project configuration file MyConsoleApp.csproj and the initial source file Program.cs.
Use the dotnet sln command to create a solution. For example, to create a solution named
TestSolution, run:dotnet new sln --name TestSolutionThen add the project to the solution:
dotnet sln add MyConsoleAppYou can now switch to the Files view to create and open project files.
When you create or open a project or solution in JetBrains Fleet for the first time, you will see its file system structure in the Files view. At this point, you can use basic editor features and perform textual search.
When you enable Smart Mode, JetBrains Fleet analyzes and indexes all the files included in the solution. You will then be able to view the project structure in the Solution view and access a full set of code intelligence features.
Manage projects and files in your solution
Add a new project from the Solution tool
Select from the menu to open the Solution tool.
Right-click the solution node and select New Project.
In the dialog that opens, enter a name for the new project and choose a project template from the Type selector. Optionally, specify a custom directory for the project.
Click Add to create the project and close the dialog.
Add a new project via the command line
Select from the main menu or press ⌃ ⇧ ` to open the Terminal view.
Make sure the command line is in the root of the workspace, where the solution's .sln, .slnx, or .slnf file is located.
Use dotnet project templates to create a project of the required type.
For example, to create a class library named
TestLib, run:dotnet new classlib -o TestLibTo add the new project to the solution, use the
dotnet sln addcommand:dotnet sln add TestLib
Add C# files
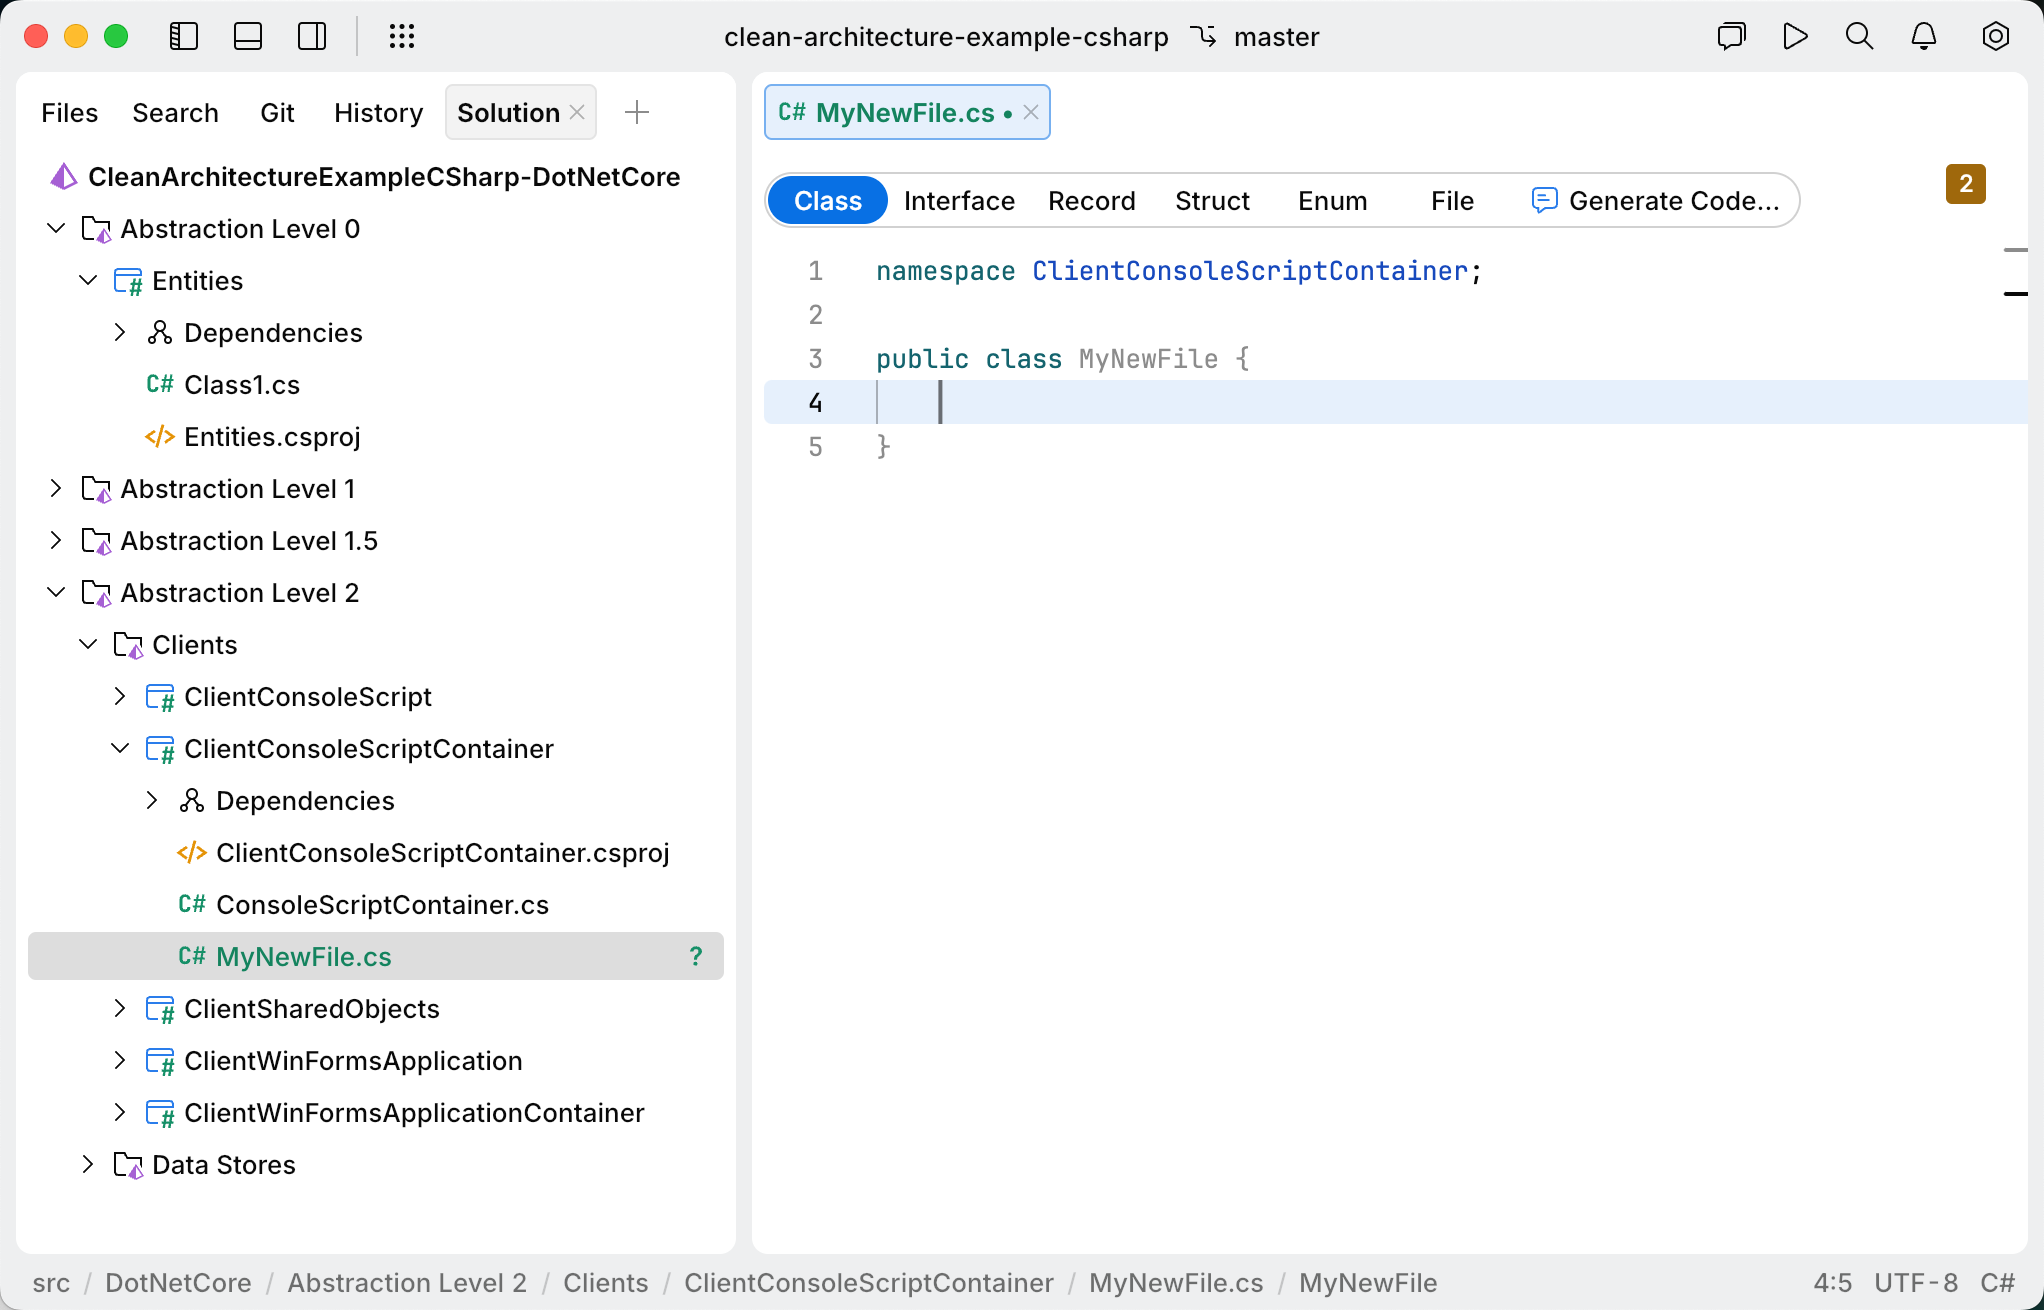
To create a new file in a specific project or folder, select the project or folder in the Solution or Files view, then press ⌘ N or right-click and select New File. Then type a filename with the .cs extension and press ⏎.
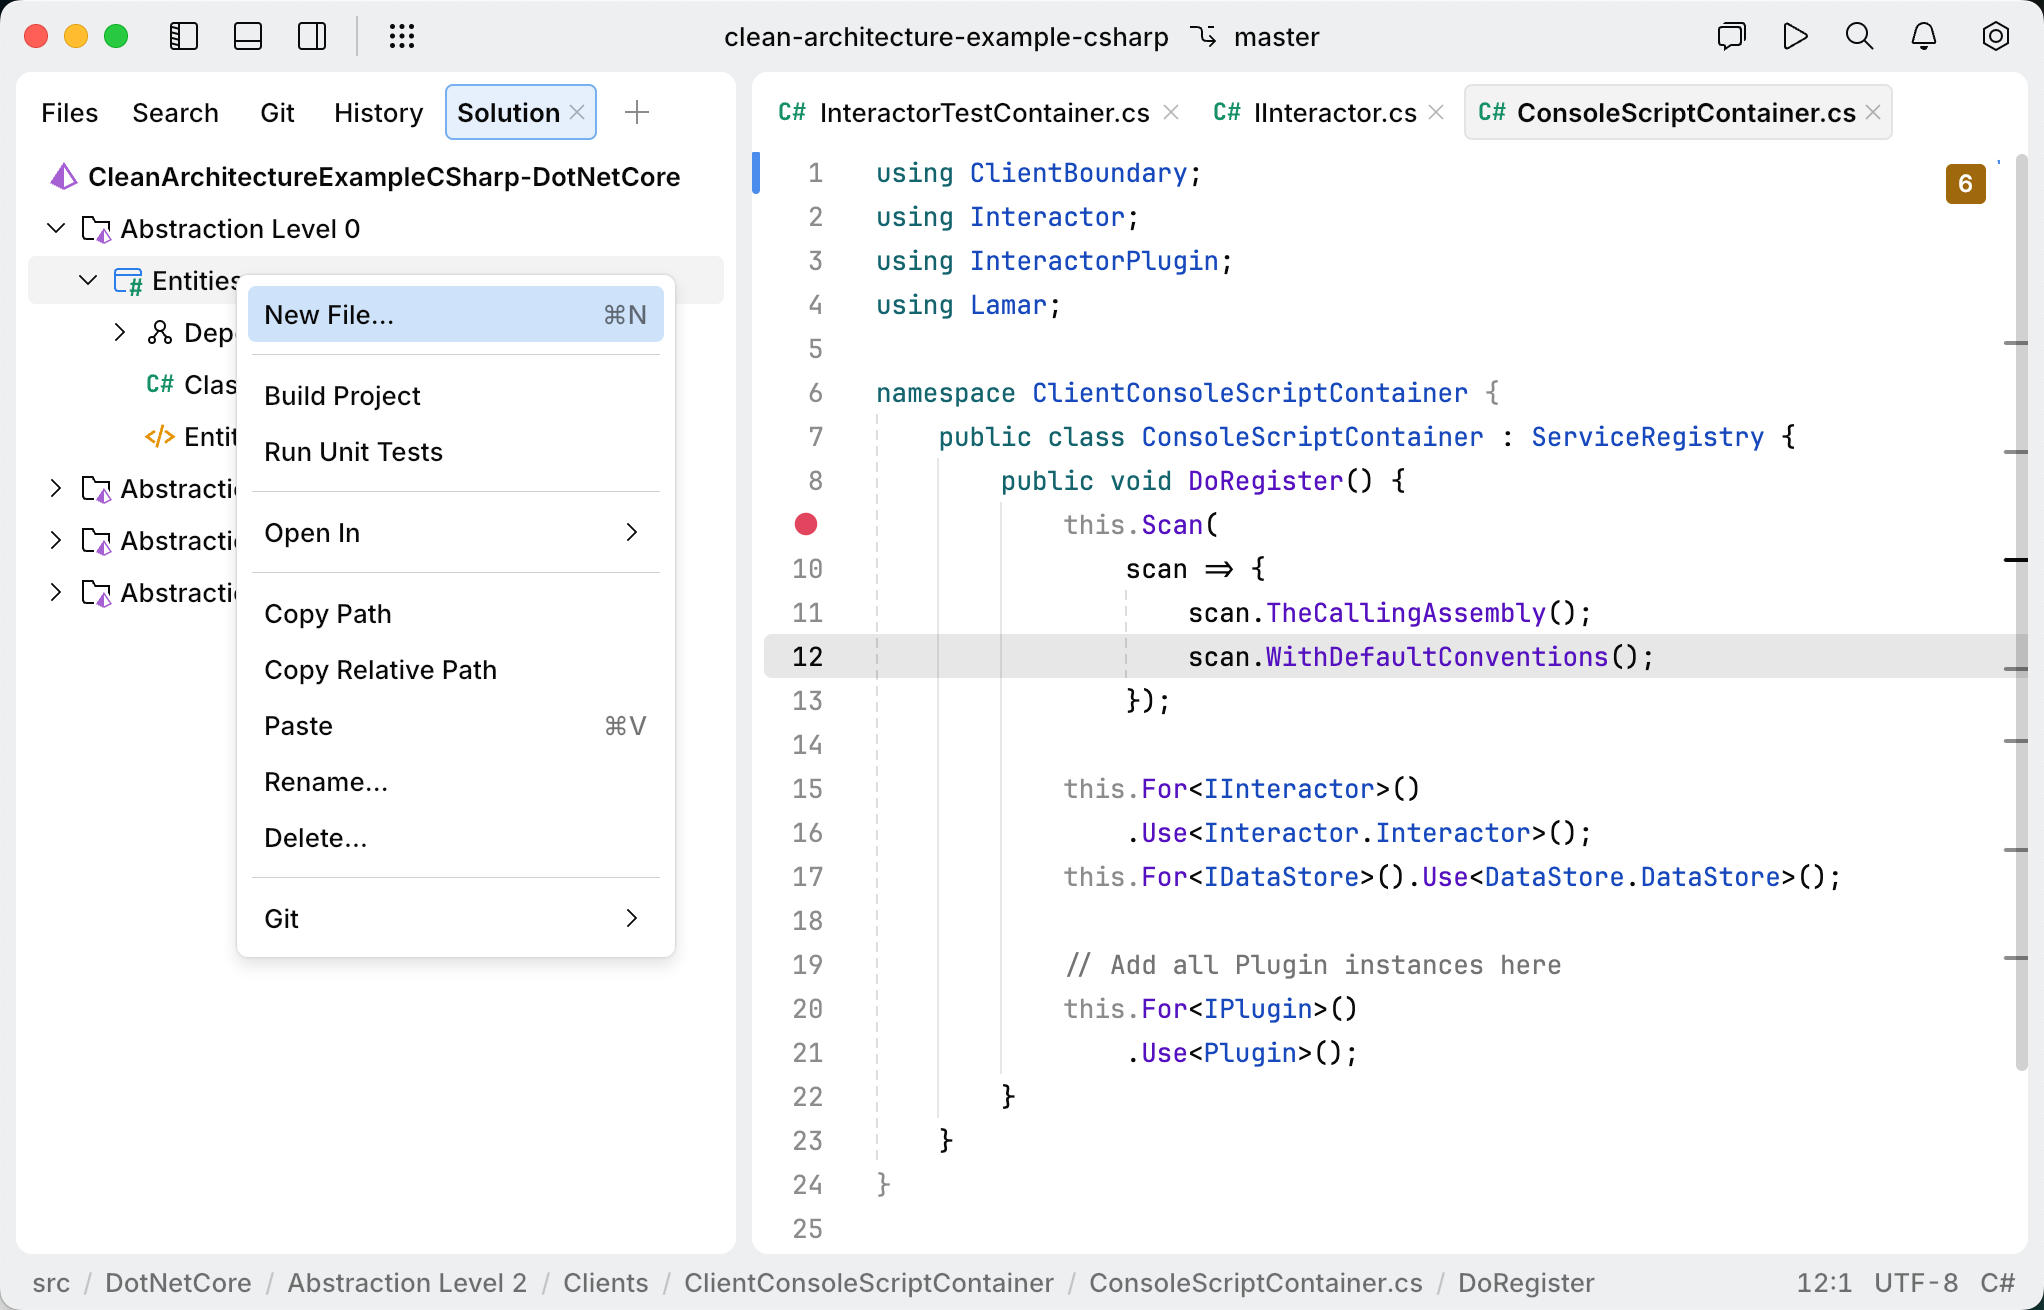
Click the file template link in the new file.
Select the desired template for the new file and press ⏎.
Add references to other projects within the solution
Use a type from a non-referenced project in your code. For example, if that project declares the class
ArchiveFolder, you can typevar archiveFolder = new ArchiveFolder();Place the caret to the name of the class, press ⌥ ⏎, and choose Reference project...:

This will add a new project reference and the corresponding
usingdirective.
Install NuGet packages
Select from the main menu or press ⌃ ⇧ ` to open the Terminal view.
In the command line, switch to the directory that contains the .csproj file of the target project.
Type the following command:
dotnet add package <package.name>For example, to install the
JetBrains.Annotationspackage, version 2025.1.0, type the following command:dotnet add package JetBrains.Annotations --version 2025.1.0For more information about the dotnet CLI, refer to Microsoft Docs.
