Using unittest
Prepare an example
Create a new file named car.py and add the following code. It defines a Car class with two methods: accelerate and brake:
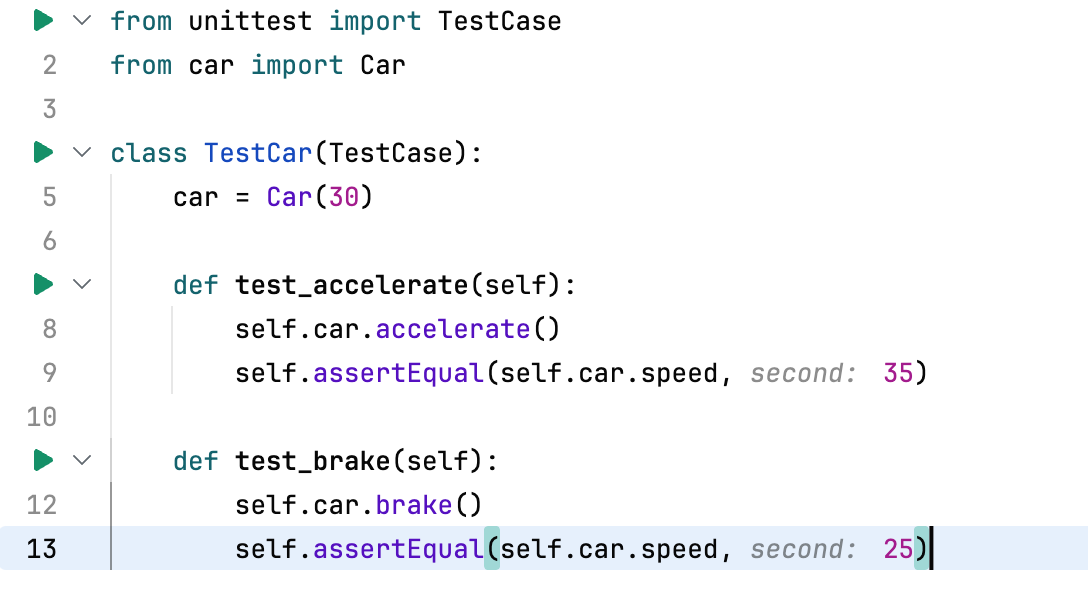
Now create a test file named test_car.py with the following code:
In both examples, we import the Car class from car.py, define TestCar as a subclass of unittest.TestCase, and create an instance of Car with an initial speed of 30.
The test_accelerate and test_brake functions or methods check that the corresponding Car methods behave as expected.
Run tests
If JetBrains Fleet is in Smart Mode, and a Python interpreter has been configured for the project workspace, you will see run icons in the gutter next to test method definitions. You can use these icons to run each test individually:

Alternatively, you can create a run configuration. Click the Run icon (⌘ R) and select Create Run Configurations in run.json.
A run configuration for unittest must include "type": "python-tests" and "testFramework": "unittest". You also need to specify the test file name in the targets field:
To run the configuration, press ⌘ R. The terminal will display the test results:

Fix failing tests
The test_brake method has failed. Click it in the left pane to see the reason:

We expected the car's speed to be 25 after braking, but it was actually 30. Why did this happen? The tests ran sequentially, and test_accelerate changed the initial speed of the car. To prevent this, we need to implement a setUp() method that reinitializes the car before each test method is run:
Now rerun the test_my_car configuration and verify that all tests pass:
