Developing Go SDK and contributing to Go
GoLand is a Go IDE that you can use to write Go code for your applications. But what if you want to work on the Go language itself and contribute to its development? This tutorial shows you how to configure the IDE for that purpose in just a few steps.
Step 1. Clone the Go sources
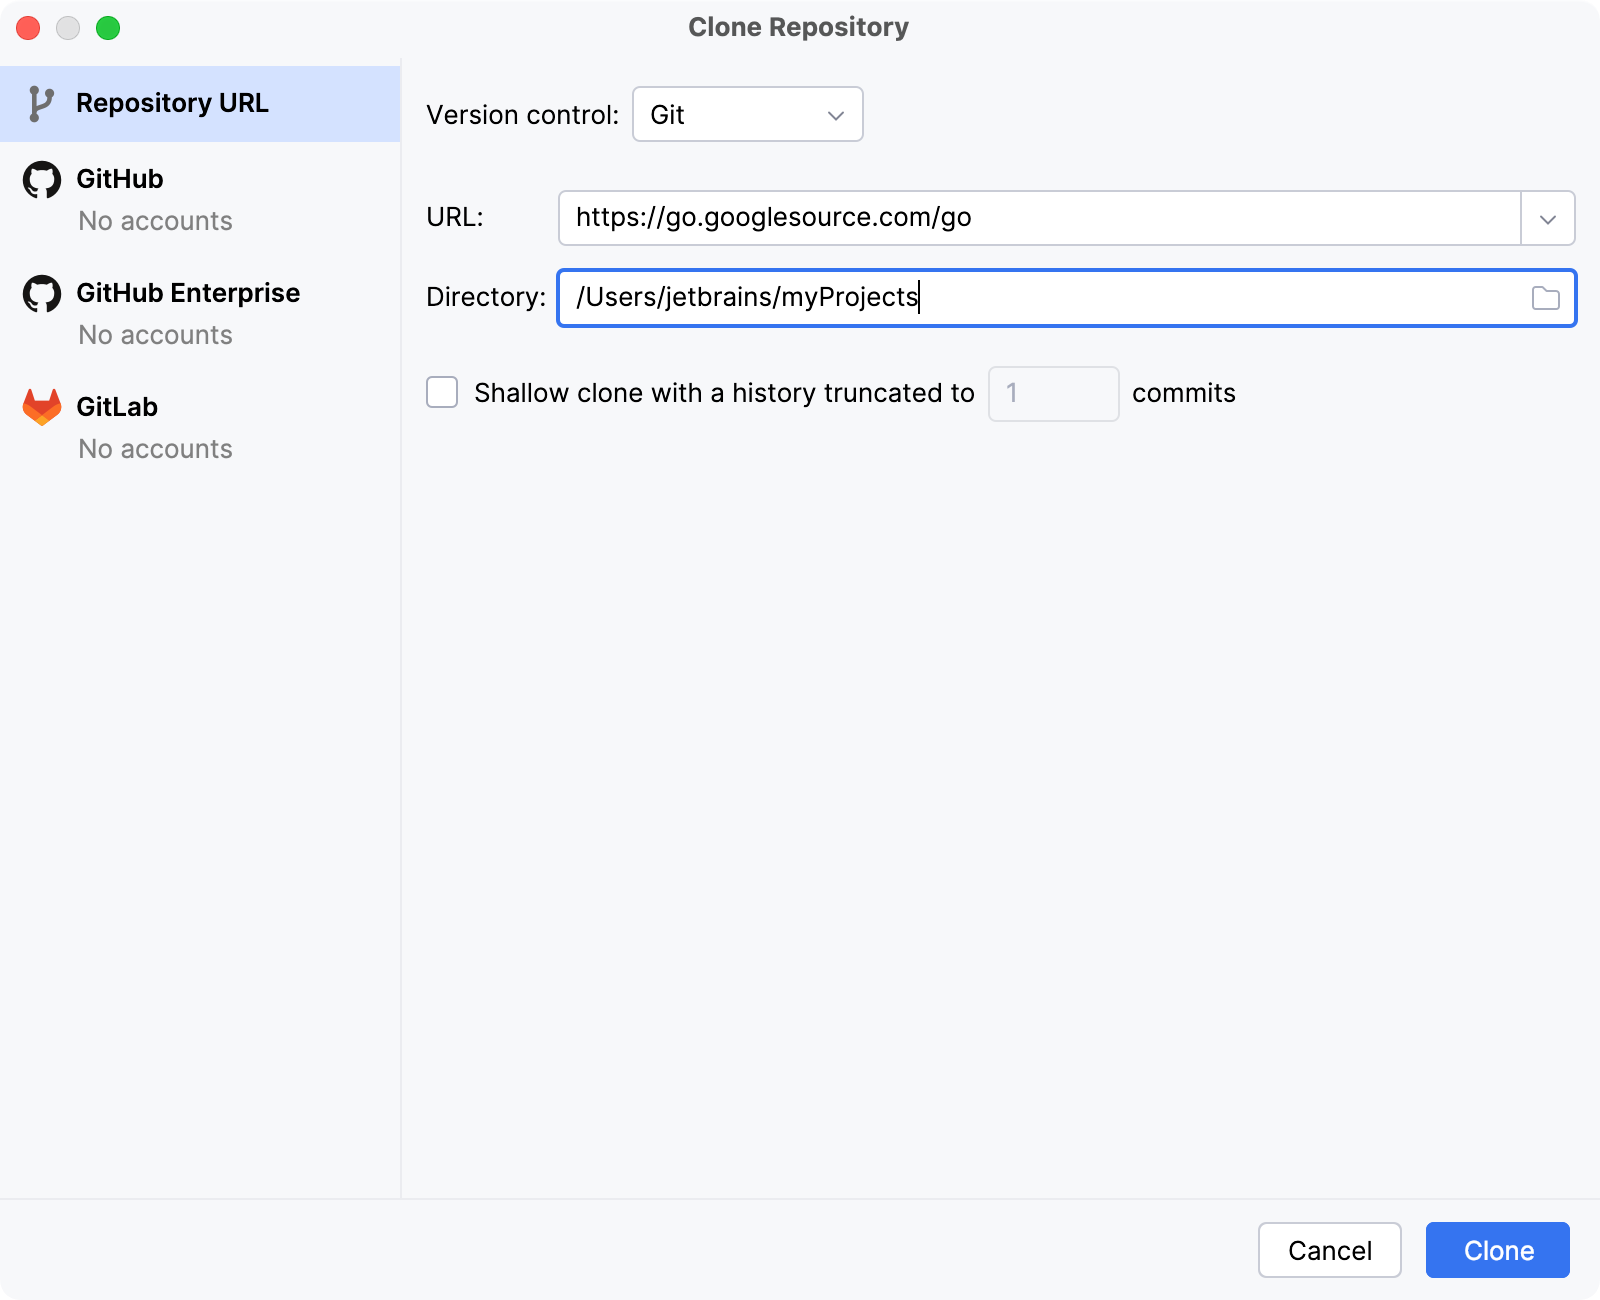
On the Welcome screen, click Clone Repository.
In the Clone Repository dialog, select Git from the Version control list.
In the URL field, paste the following URL:
https://go.googlesource.com/go.In the Directory field, specify the directory where you want to store the Go project.
Click Clone.
Open settings Ctrl+Alt+S and navigate to .
Ensure that the Enable Go modules integration checkbox is cleared.
The Go sources include go.mod files that are used for tests. To disable these tests, turn off Go Modules integration.
Step 2. Compile Go
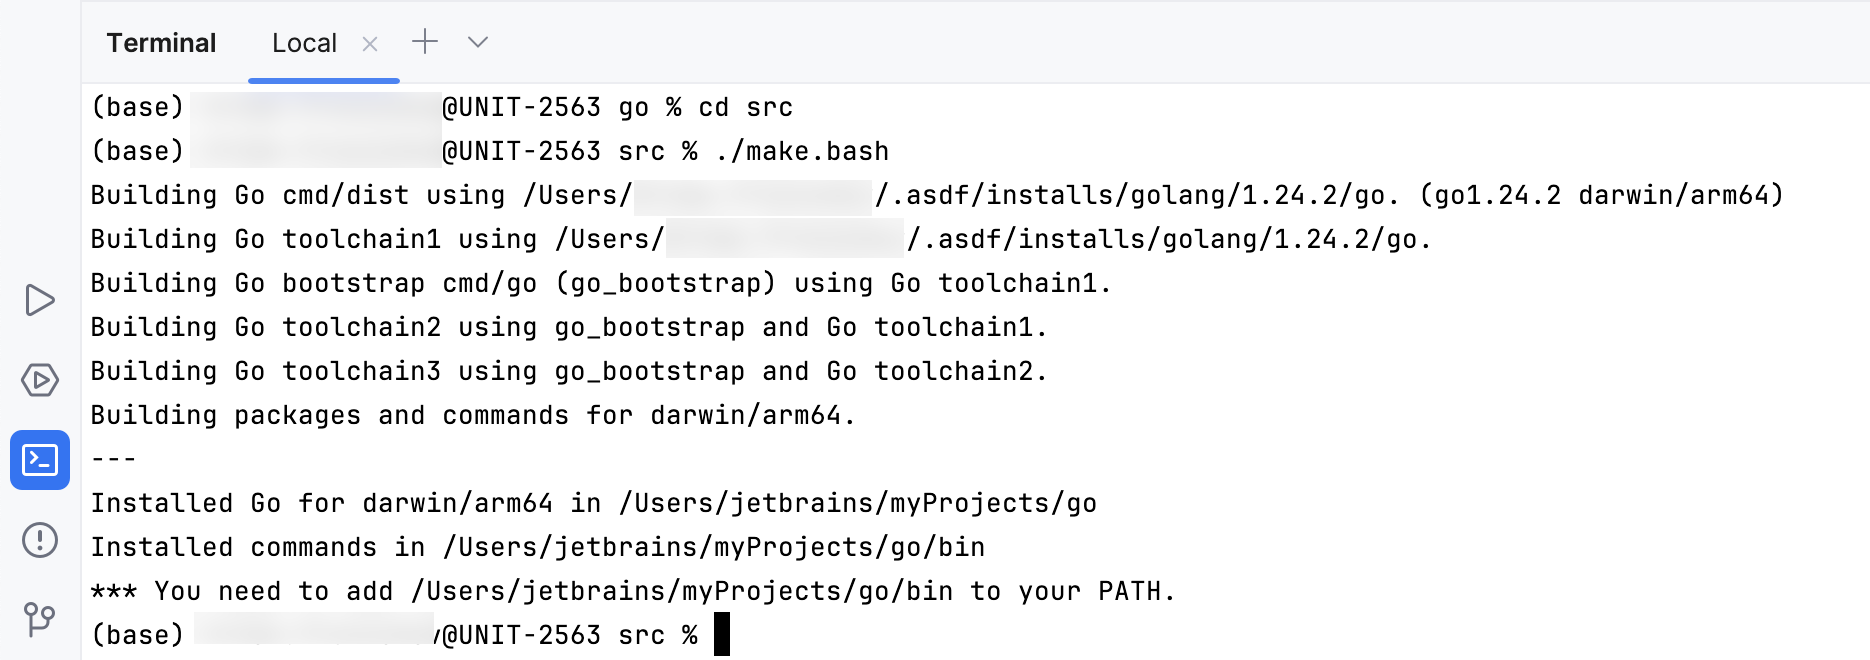
In the Terminal tool window (), navigate to the src directory by running:
cd src.From the src directory, run the following command to compile Go:
./make.bashfor Linux and macOSmake.batfor Windows
Troubleshooting
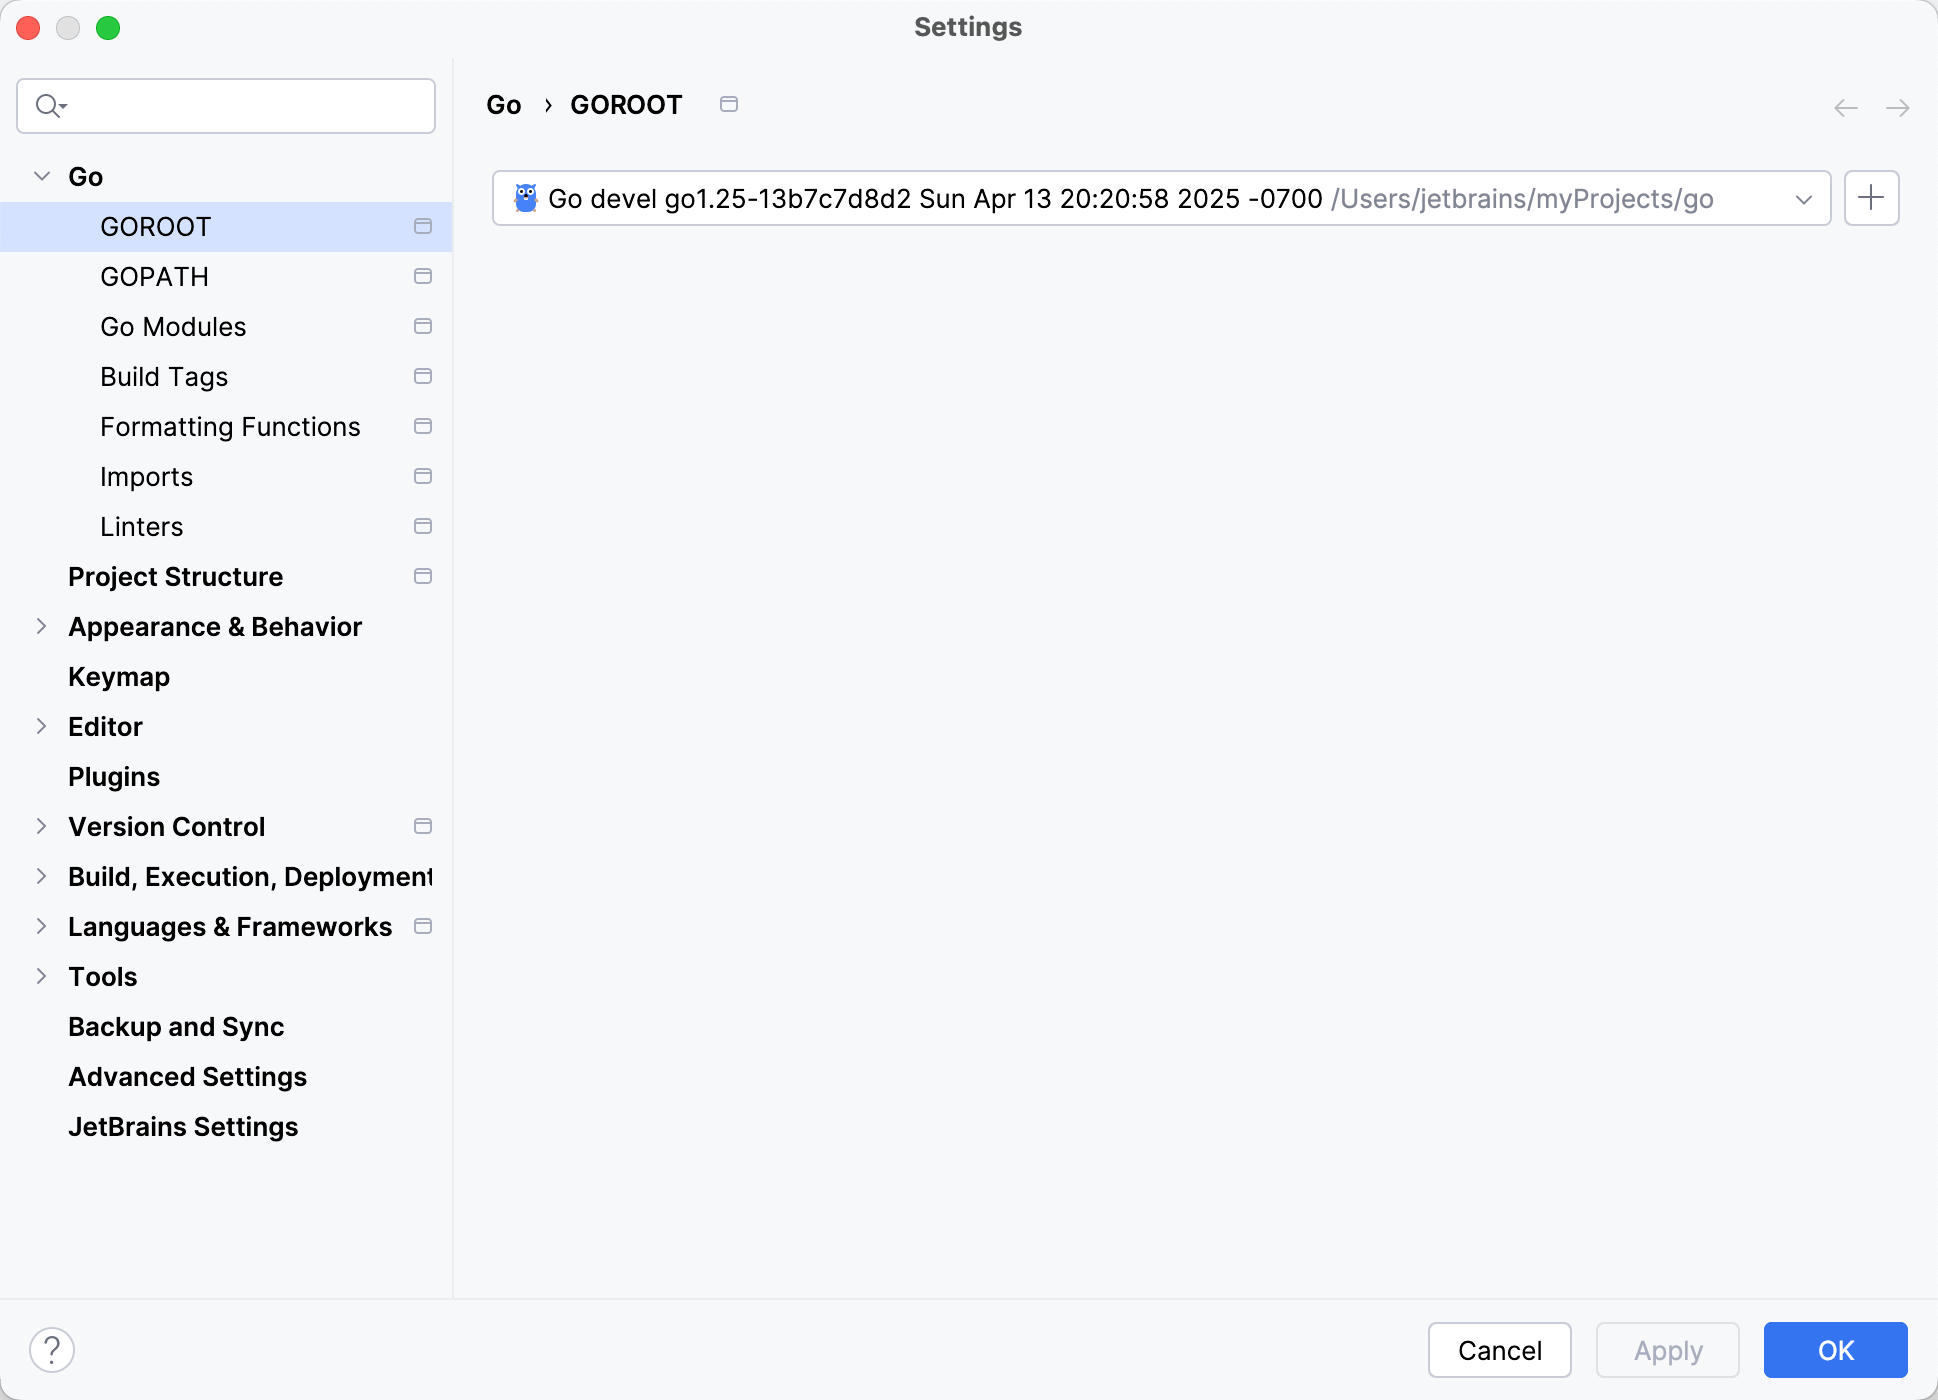
Step 3. Set the cloned Go project as Go SDK
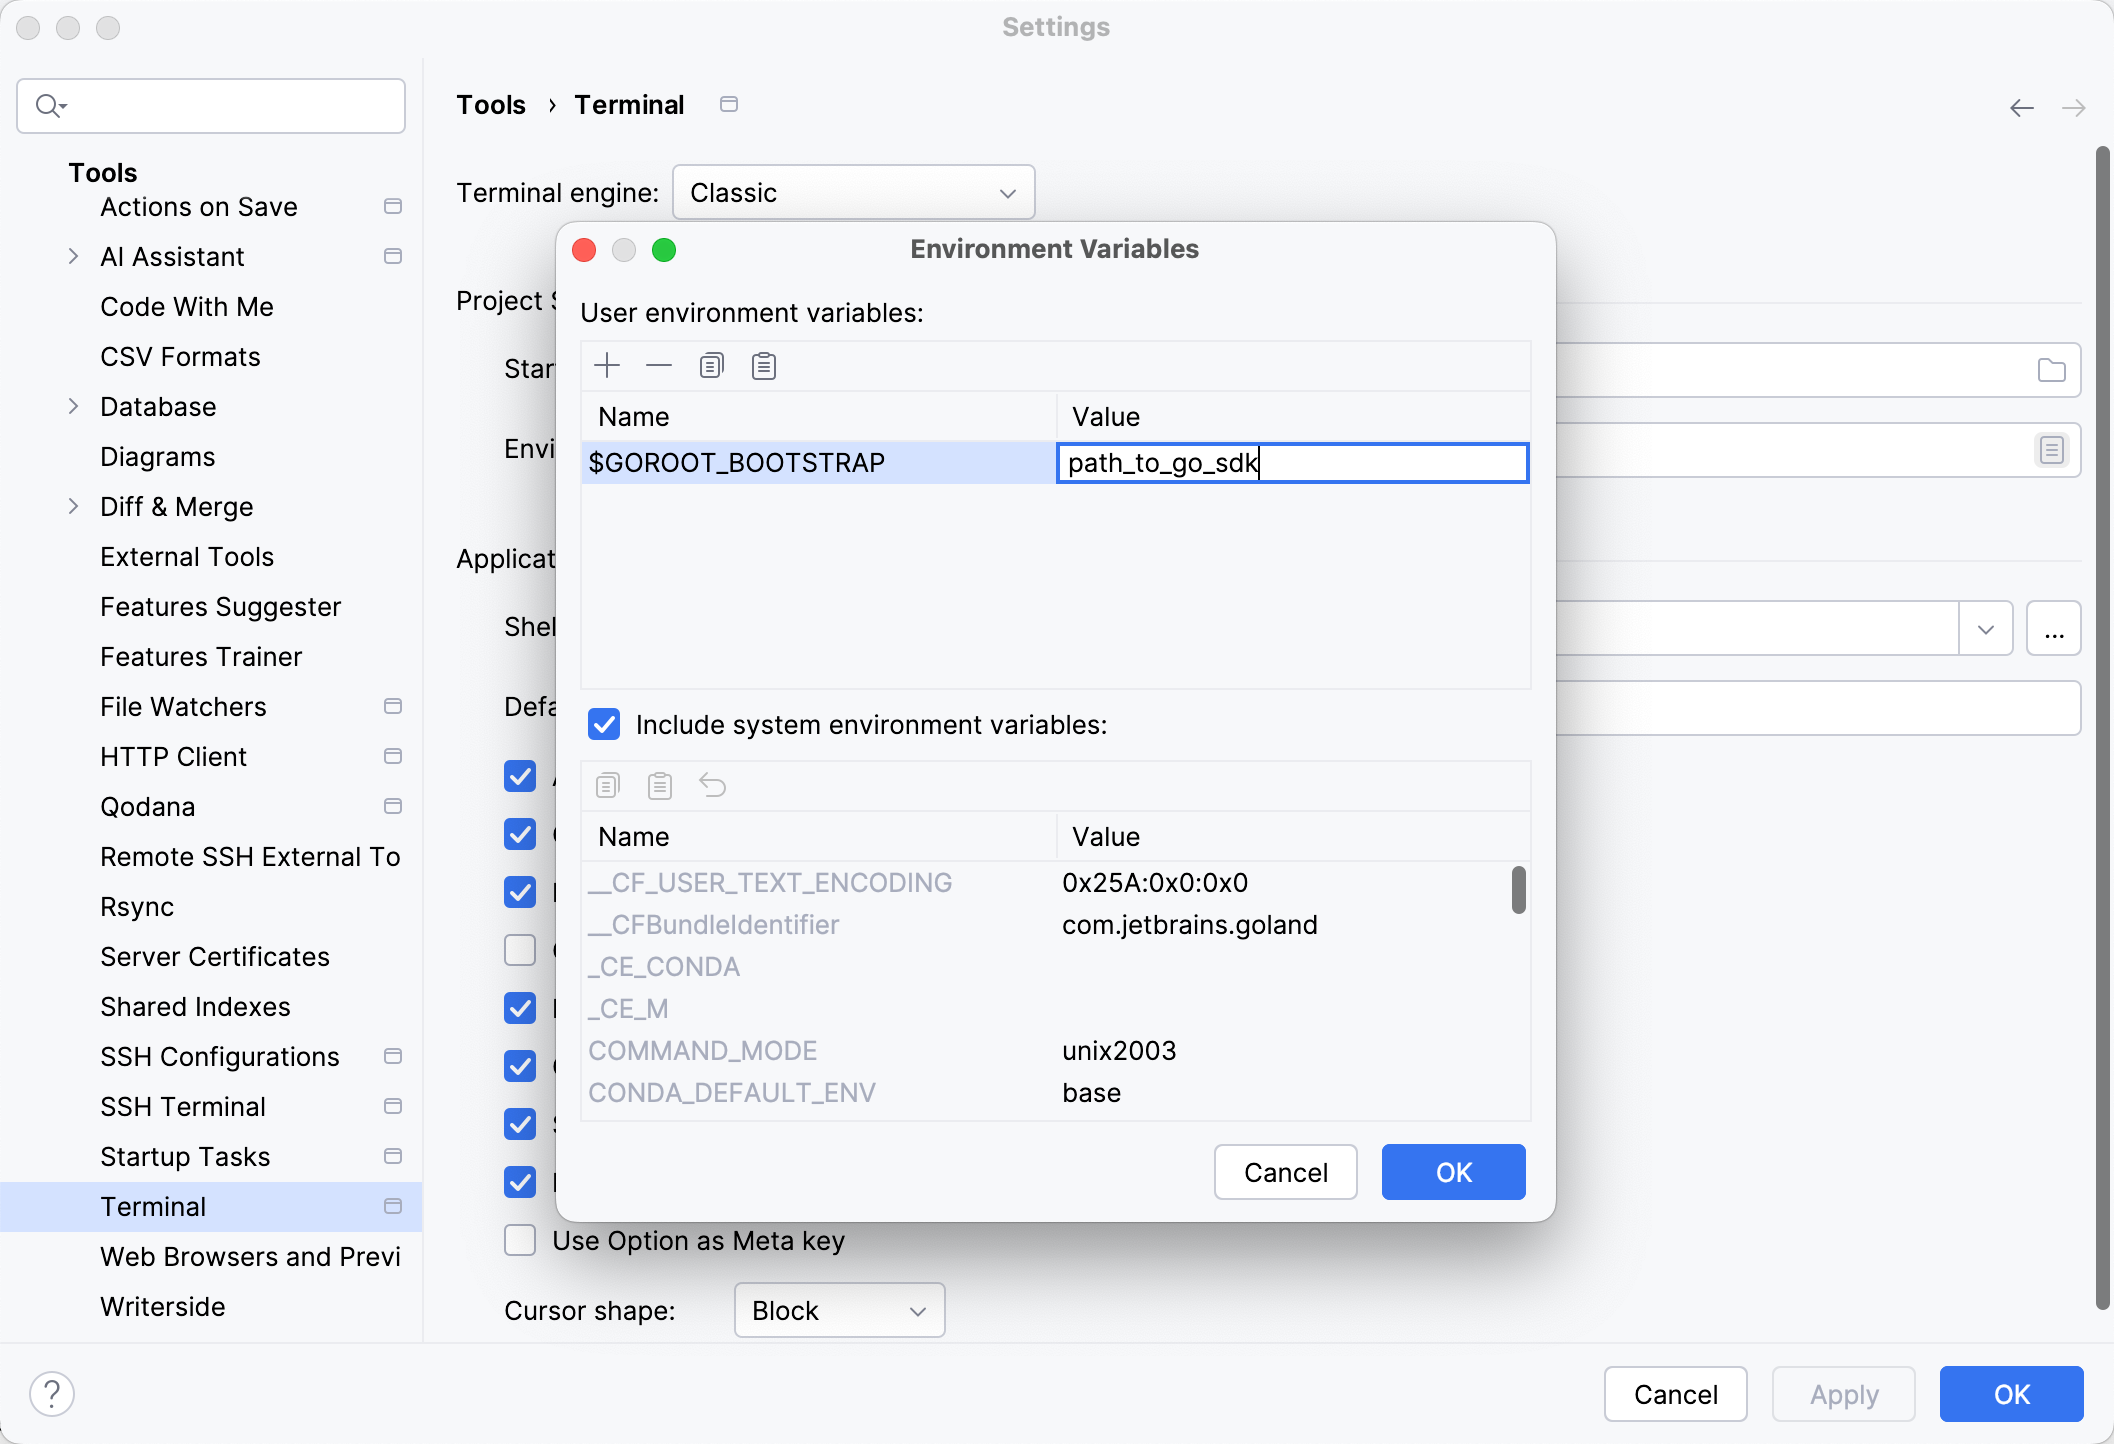
To use the cloned Go source as your SDK, set the root directory as the Go SDK. This enables code completion, navigation, refactorings, and other IDE features.
Press Ctrl+Alt+S to open settings and then select .
Click the Add SDK button
and select Local.
In the file browser, navigate to the root directory of the cloned Go source and click Open.
Click OK.
Step 4. Create a branch for your changes
Go to and select New Branch.
In the Create New Branch dialog, enter a name for the new branch and click OK.
Step 5. Run tests
After you have made your changes, run the tests that you created. You can also run all tests included in the Go source project.
In the Terminal tool window (), navigate to the src directory:
cd src.From the src directory, run:
./all.bashfor Linux and macOSall.batfor Windows
Step 6. Commit your changes
Once you have completed and tested your changes, you can commit them to your fork and create a pull request.
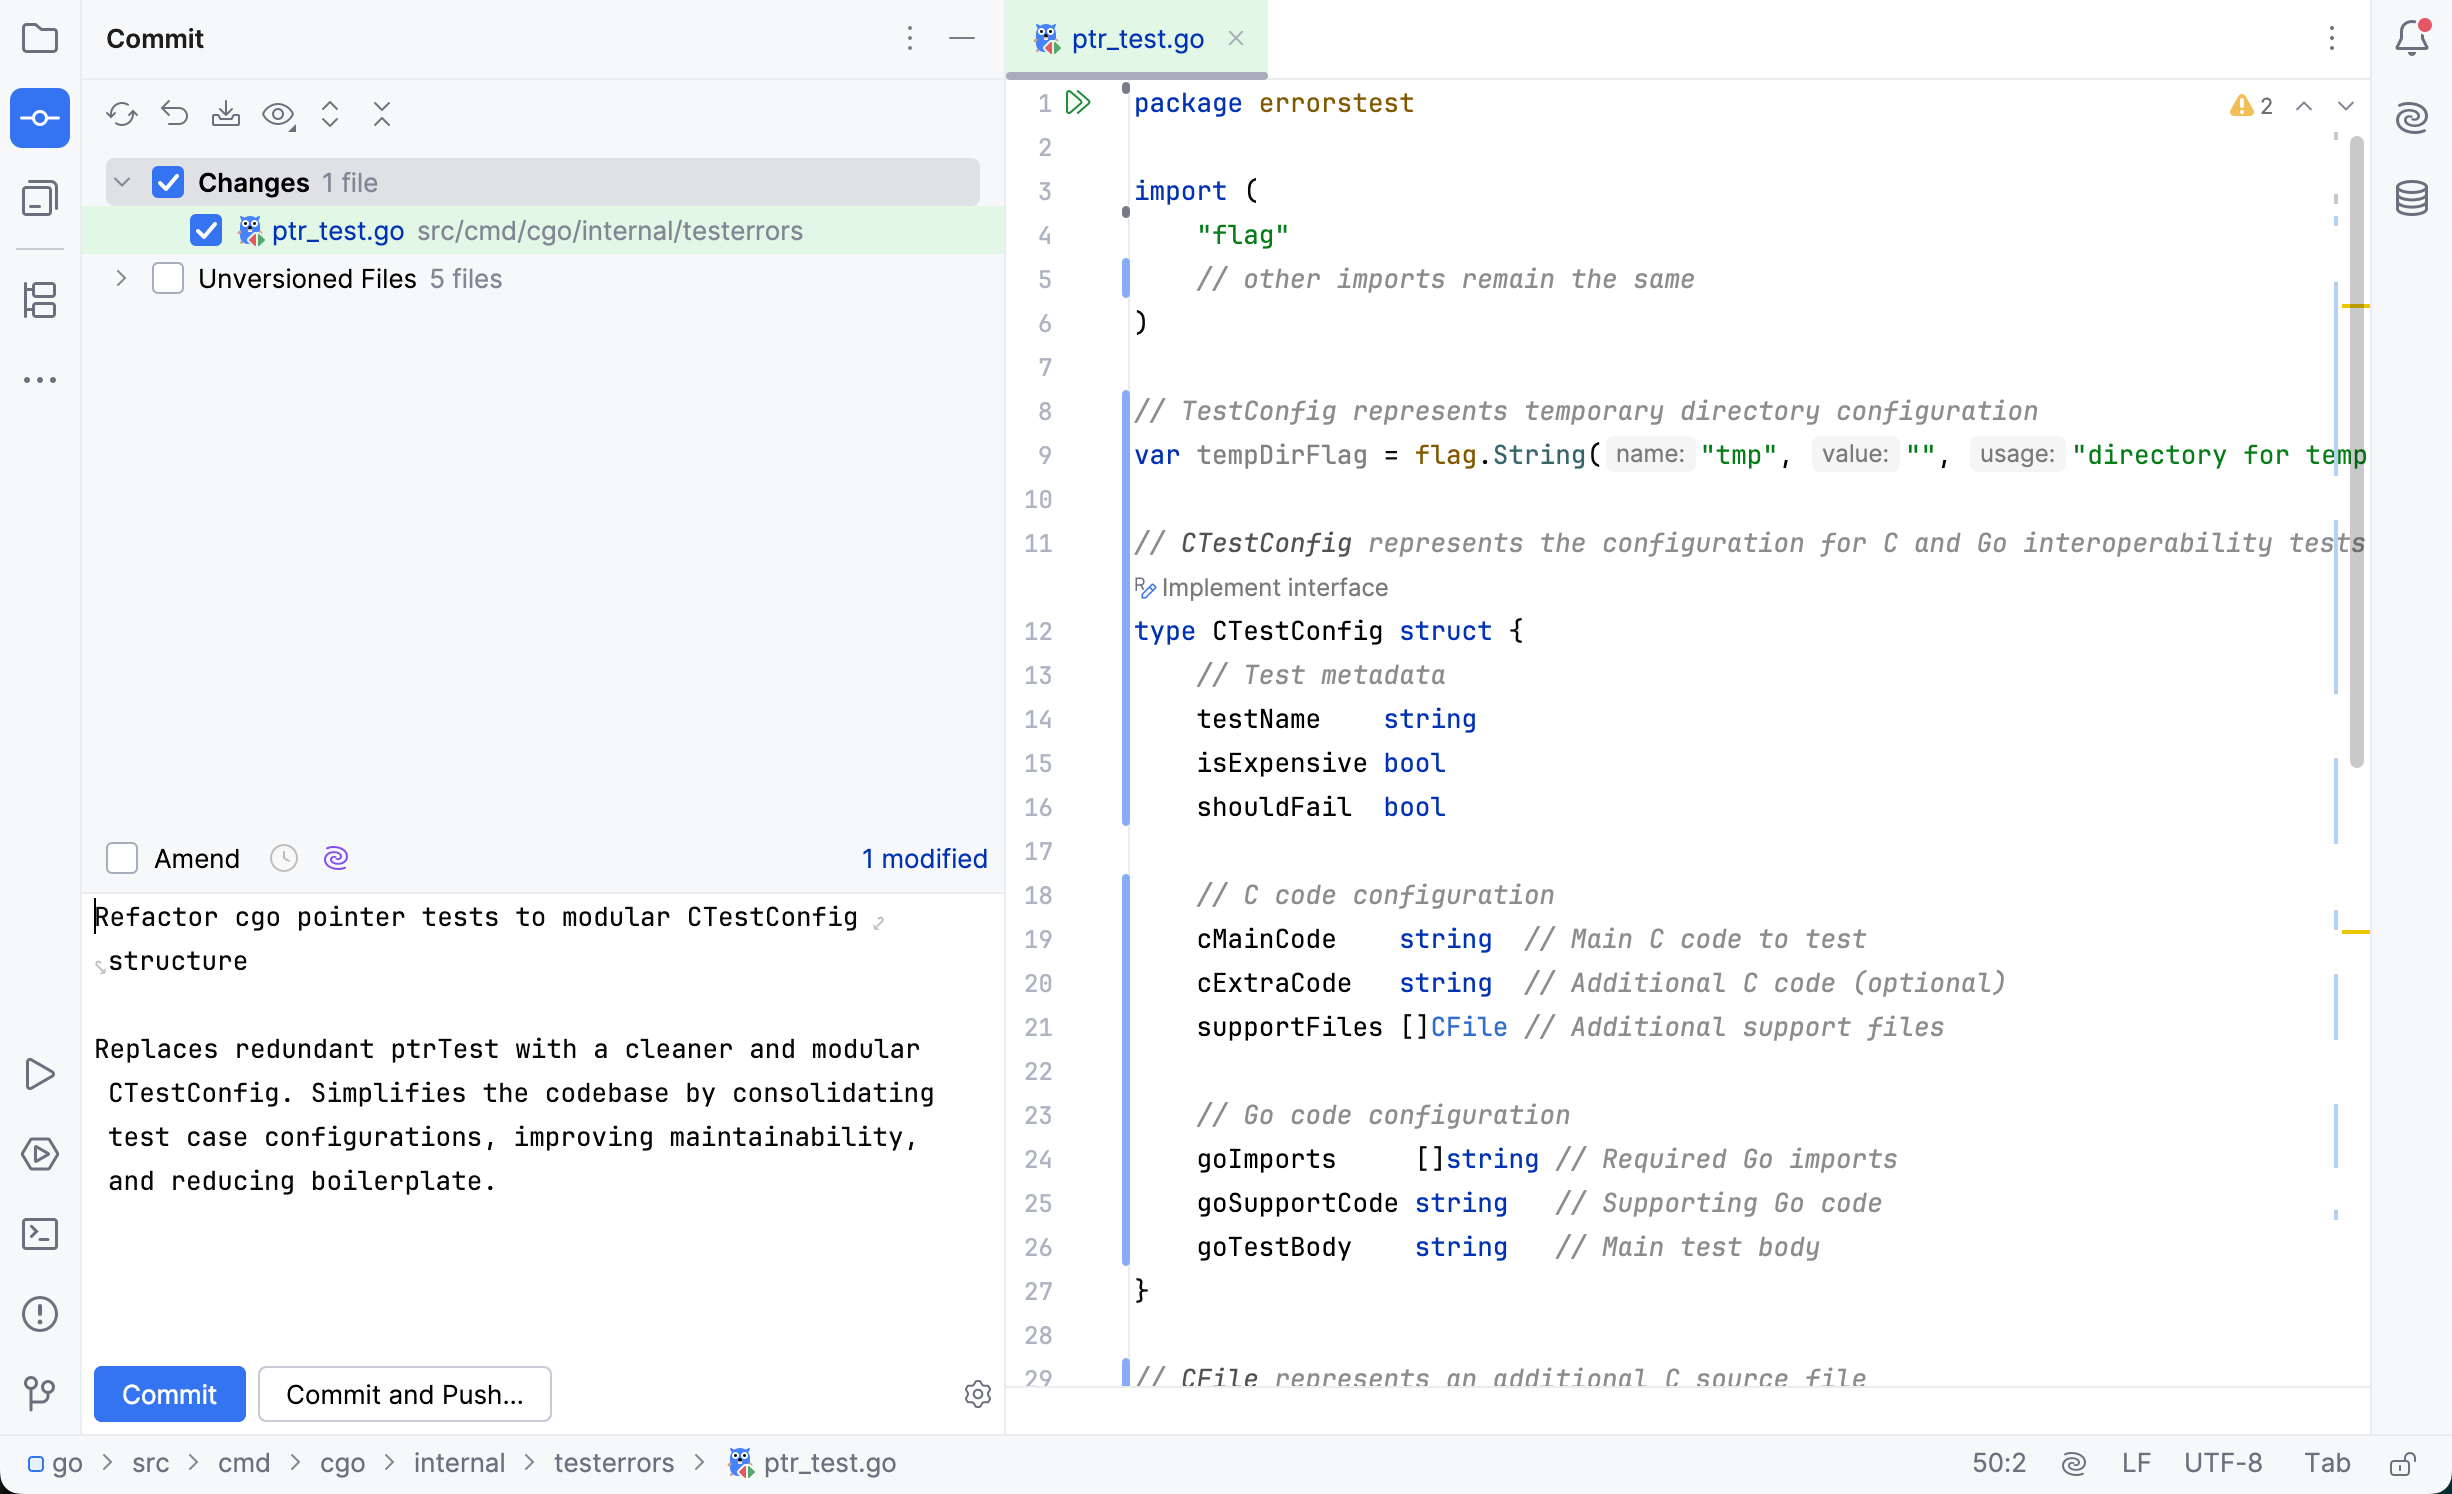
Go to Ctrl+Alt+K.
Select the files you want to include in the commit.
In the Commit Message field, describe the changes you made.
Click Commit.
Step 7. Add a remote and push to your fork
Add a new Git remote pointing to your fork (for example, git@github.com:<your_github_account>/go.git). Then push your branch and open a pull request. For more details, refer to Creating a pull request from a fork on GitHub.
Go to .
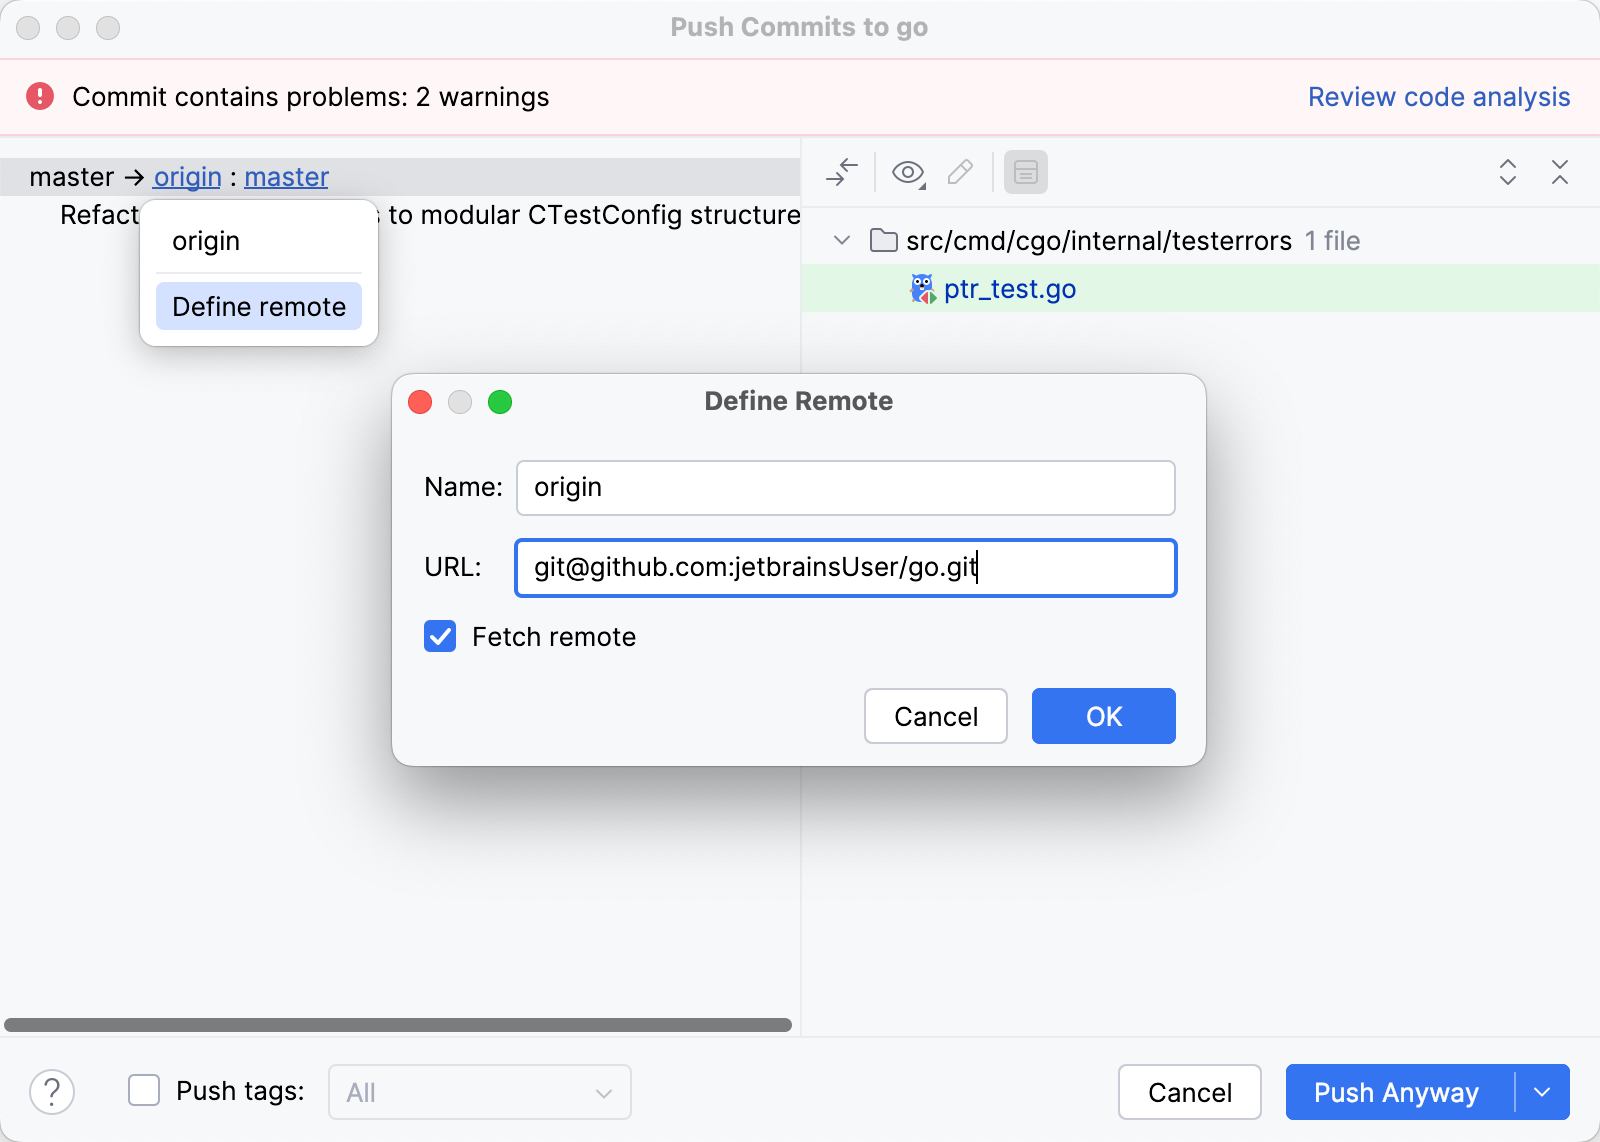
In the Push Commits dialog, click the origin link in the commit title.
Click Define Remote.
In the Name field, enter a name for your fork.
In the URL field, enter the URL of your fork and click OK.
