Tutorial: Configure a new profile
Profiles are a convenient way to provide developers in your organization with the required JetBrains applications, plugins, and settings. In this tutorial, we will create and configure a new profile specifically for Java developers.
Create a new profile
To get started, we will create a new profile that will contain all the necessary configurations.
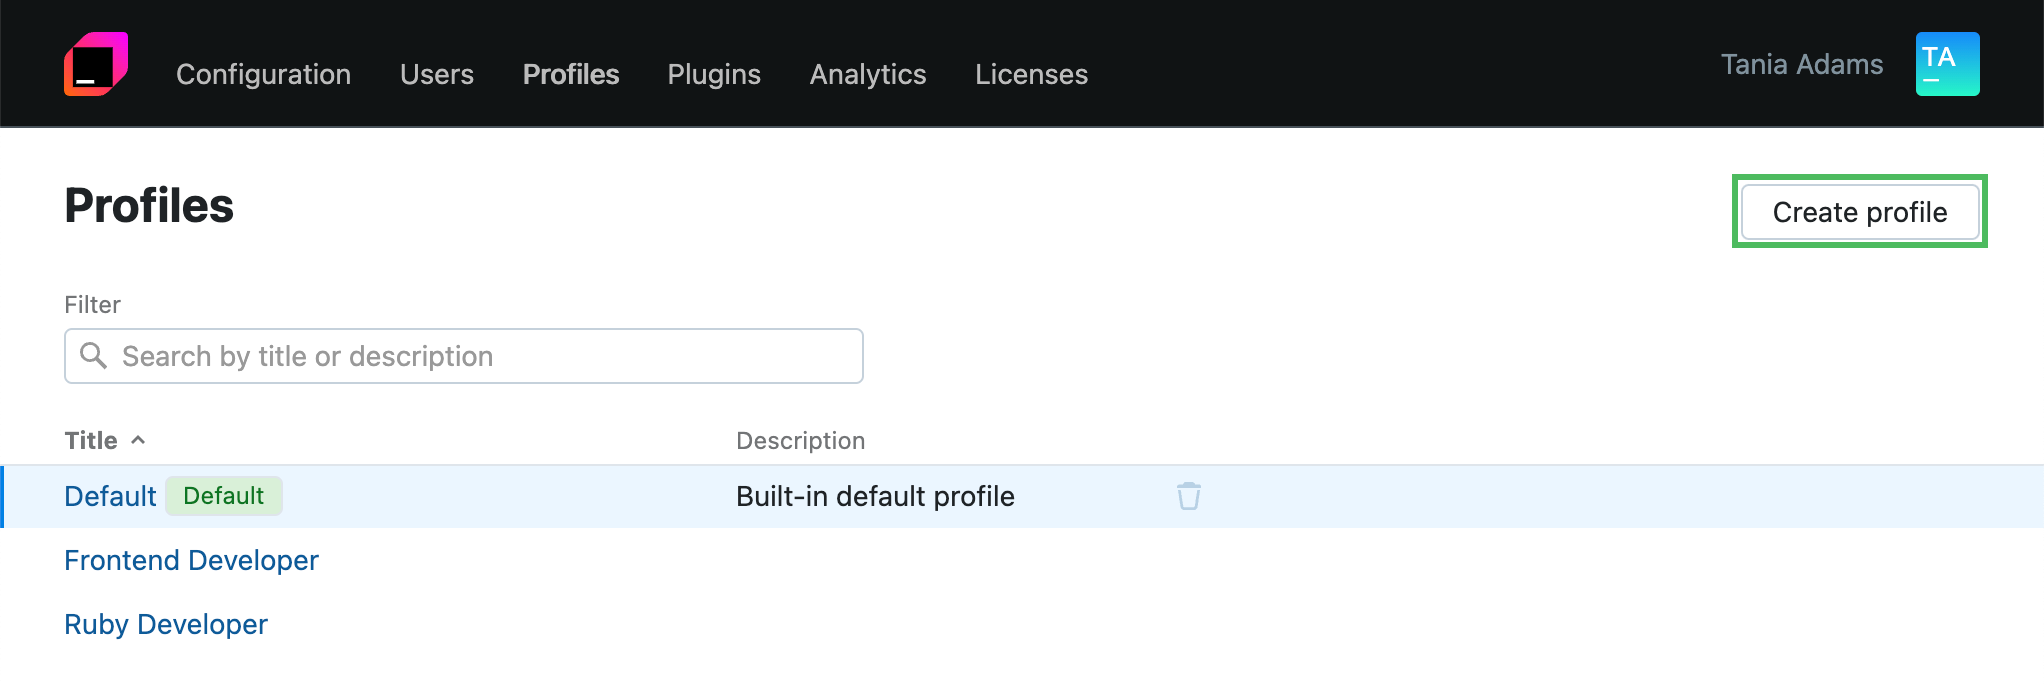
In the Web UI, open the page. Click the Create button.
In the New profile dialog, specify the profile name – Java Developer, and provide a short description – This is a demo profile for Java developers. Leave the Is default option unchecked.
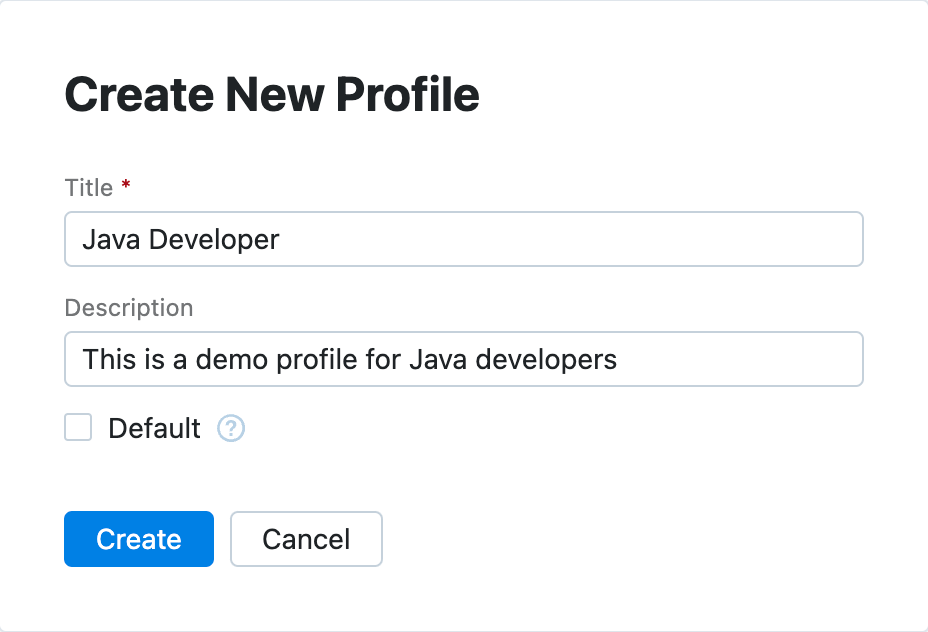
Click OK. IDE Services will redirect you to the profile editor.
Configure available applications
When configuring the new profile, the first step is to set up the list of available applications. This list will affect the filters for settings and plugins.
Since our profile is intended for Java developers, we will include IntelliJ IDEA Ultimate in the list. Additionally, we will configure IDE Services to distribute builds 231.* and 223.* only.
We will also enable the Toolbox App for the profile to avoid IDE Services's malfunction.
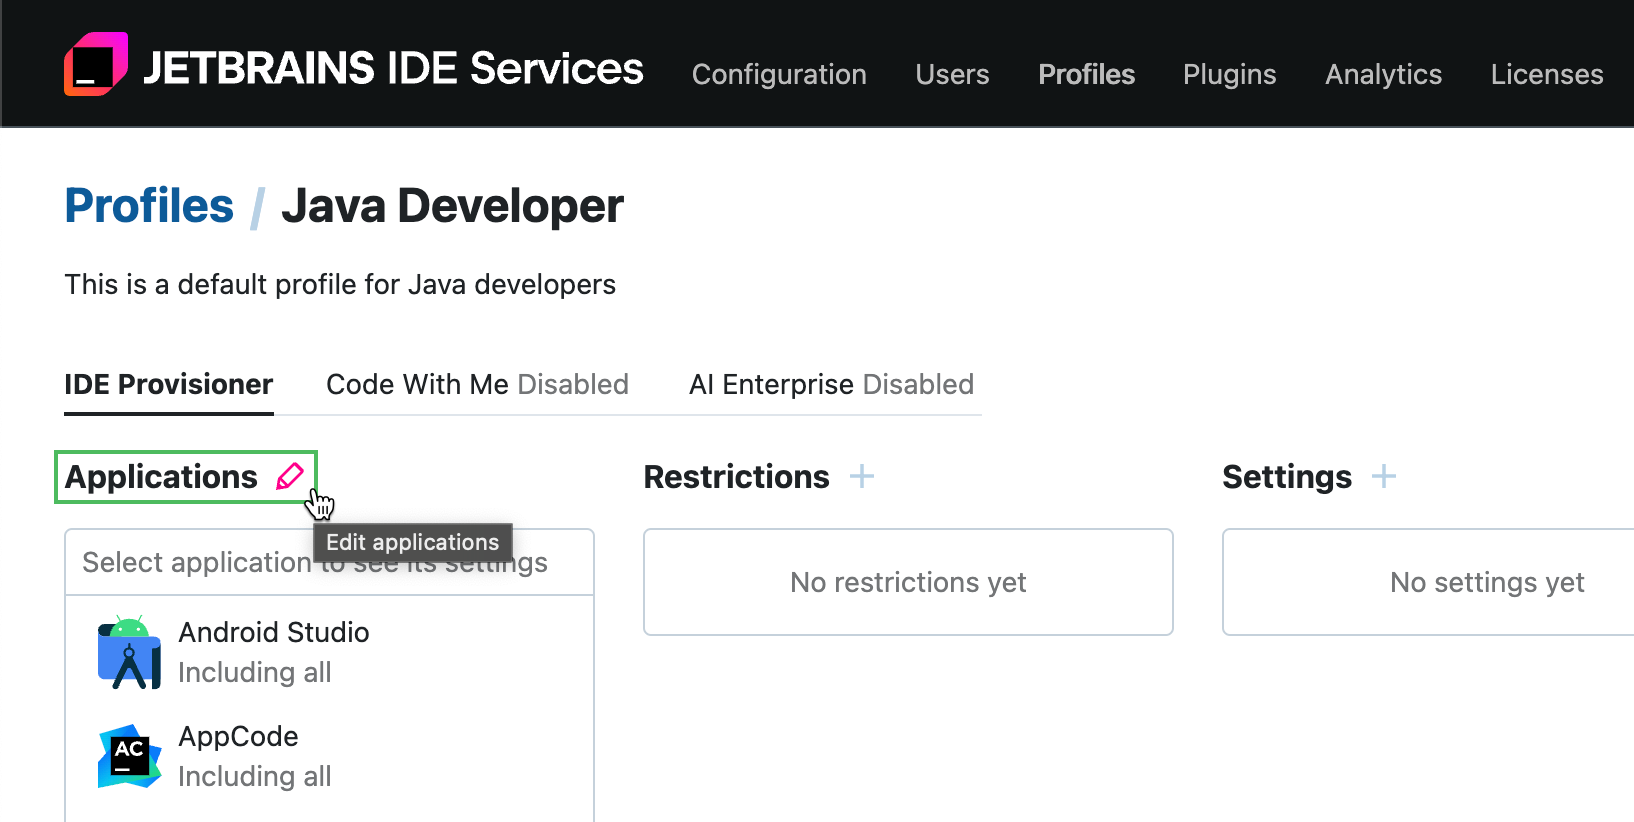
In the Applications section, click
to configure available applications.
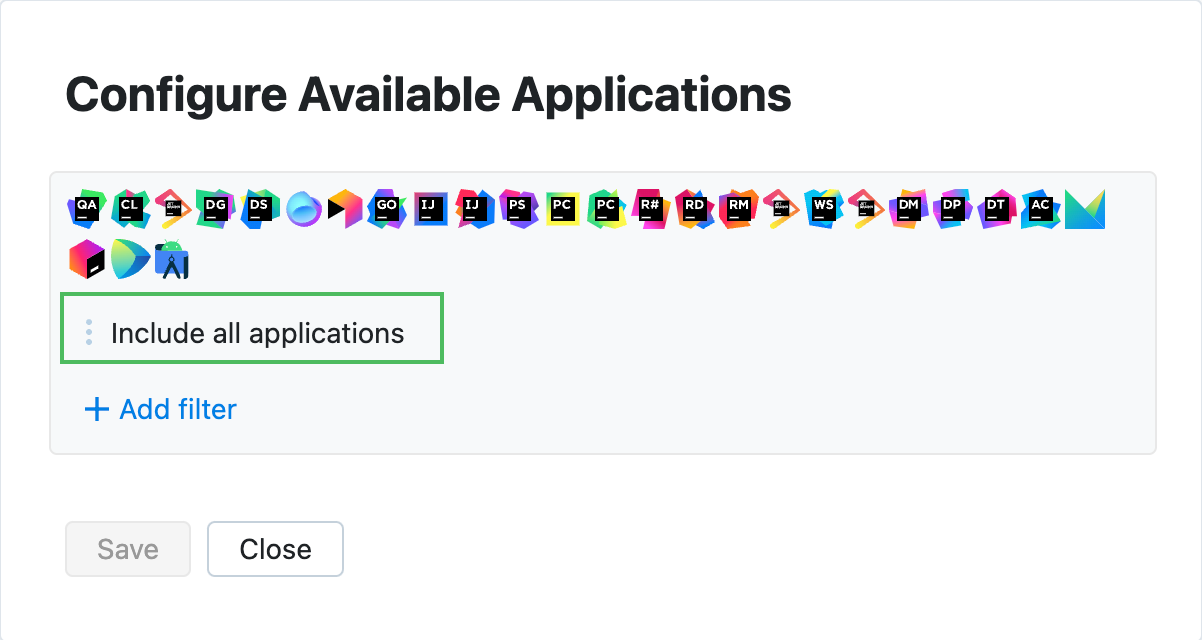
In the Configure Available Applications dialog, you can see that all applications are enabled by default. Click the existing filter to edit it.
In the Add Filter dialog, make sure the Include filter type is selected. Then, start typing
IntelliJ IDEA Ultimatein the IDE field and select the corresponding option from the list. In the Build field, select versions231.*and223.*.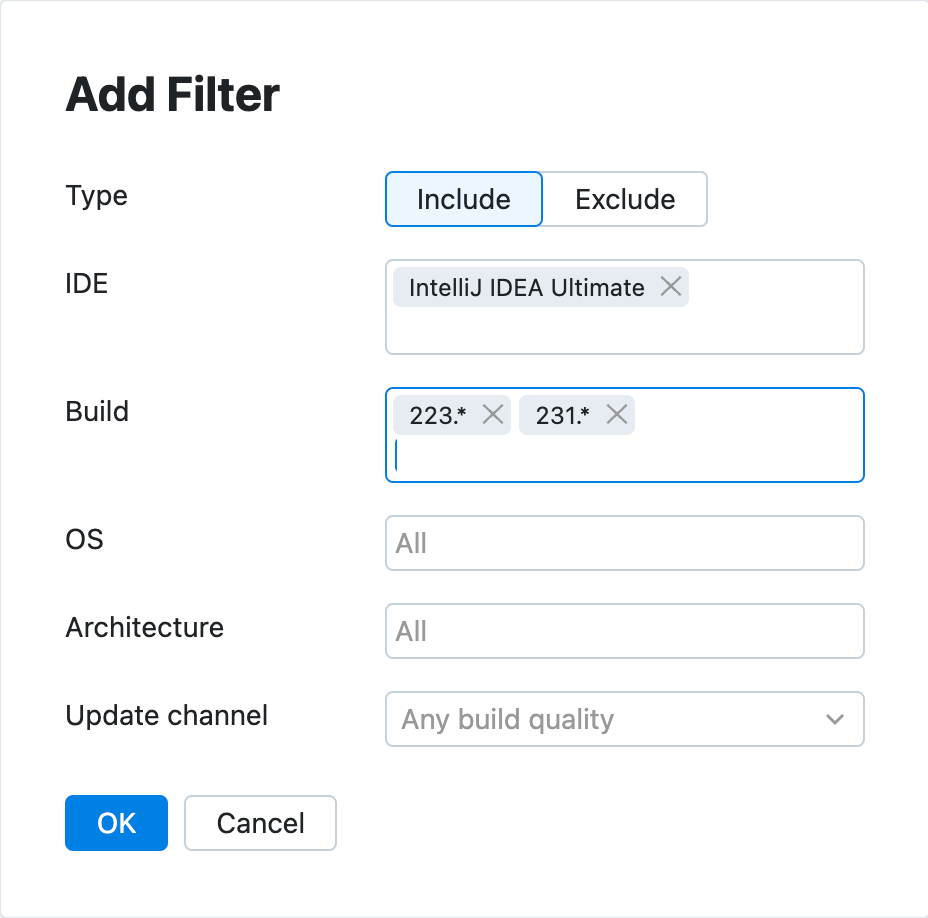
Click OK to save the filter.
In the Configure Available Applications dialog, click Add filter and configure one more filter to include the Toolbox App. In the IDE field, select
JetBrains Toolboxand click OK.Click Save to submit the changes.
Configure VM Options
You can configure Virtual Machine options in the profile, and IDE Services will automatically apply them to selected IDEs.
In our scenario, we will increase the IDE's memory heap using the -Xmx VM option.
In the Settings section, click
and select VM Option.
In the Configure Virtual Machine Options dialog that opens, specify
-Xmx4040min the VM Option field. This VM option will increase the amount of IDE's heap memory to 4040 MiB.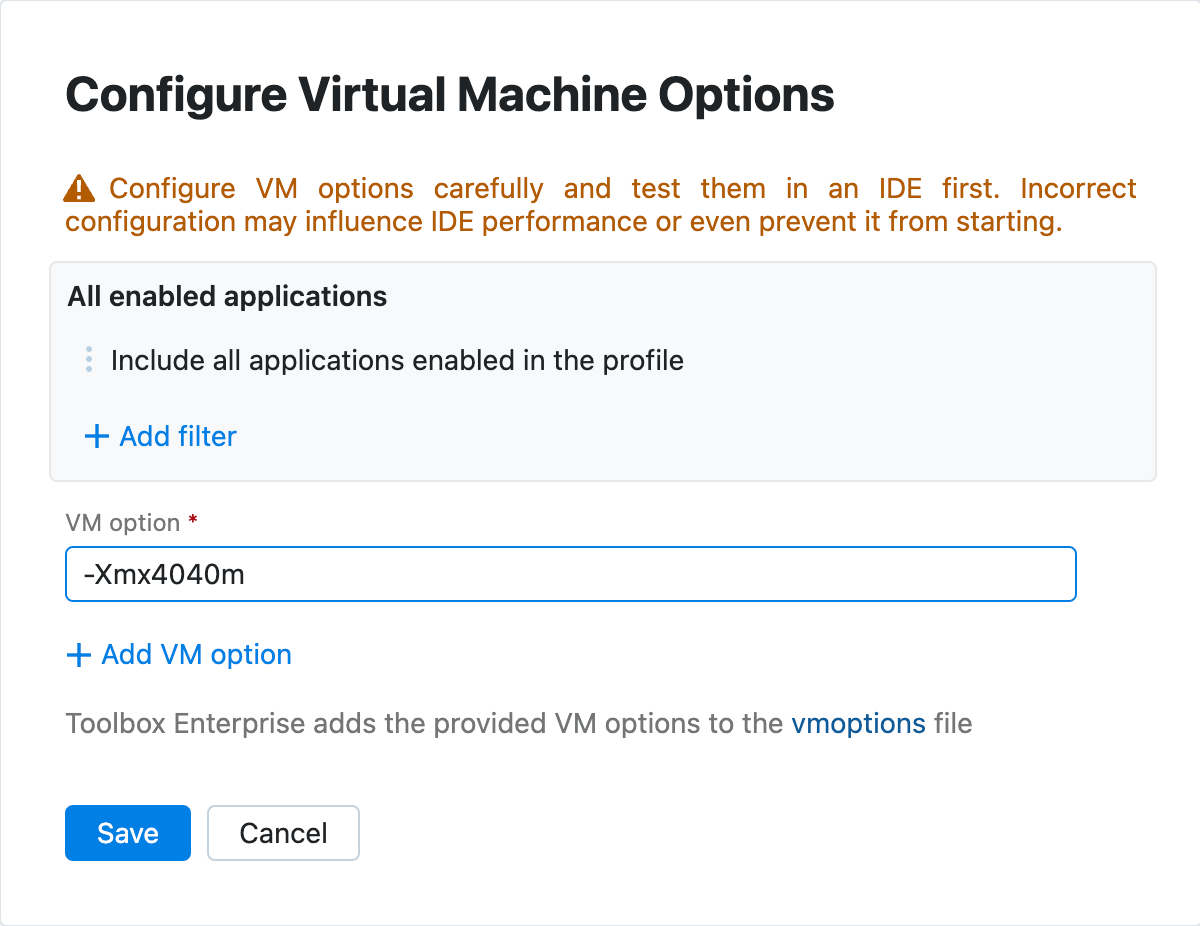
Since we only have IntelliJ IDEA Ultimate enabled in our profile, we can use the default filter. In this case, IDE Services will deliver the configured VM options to all applications enabled in the profile.
Click Save to submit the changes.
Propagate code style settings
As any other IDE setting, you can propagate a desired code style scheme to developer IDEs via profiles. Let's configure an example code style scheme.
In the Settings section, click
and select IDE Setting.
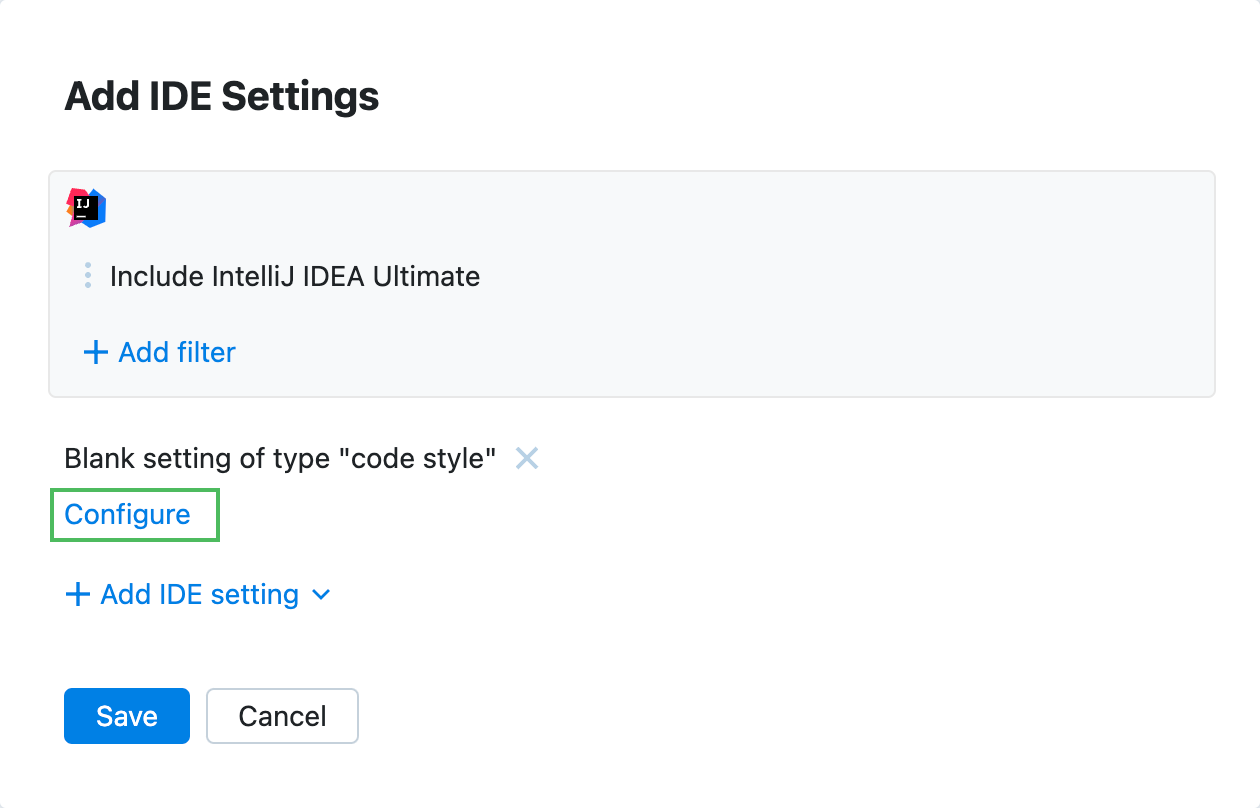
In the Add IDE Settings dialog that opens, click Add setting and select Blank setting of type "code style". Click Configure.
In the Configure dialog, specify a new setting description –
Scala code style.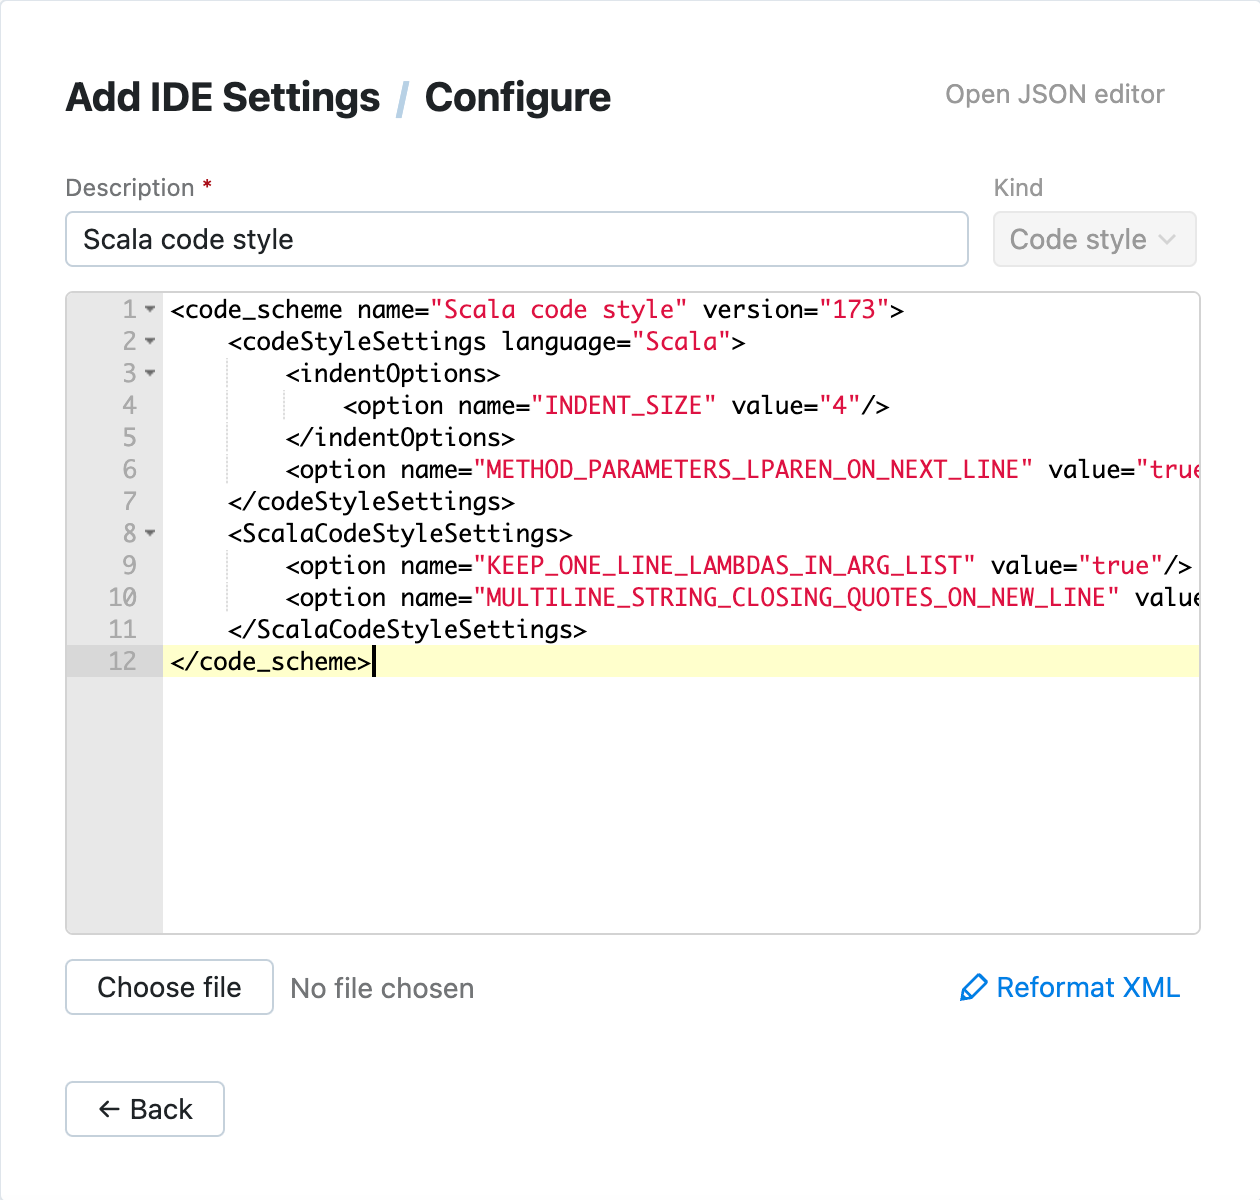
Paste the following XML snippet to the editor:
<code_scheme name="Scala code style" version="173"> <codeStyleSettings language="Scala"> <indentOptions> <option name="INDENT_SIZE" value="4"/> </indentOptions> <option name="METHOD_PARAMETERS_LPAREN_ON_NEXT_LINE" value="true"/> </codeStyleSettings> <ScalaCodeStyleSettings> <option name="KEEP_ONE_LINE_LAMBDAS_IN_ARG_LIST" value="true"/> <option name="MULTILINE_STRING_CLOSING_QUOTES_ON_NEW_LINE" value="true"/> </ScalaCodeStyleSettings> </code_scheme>Click Back.
Click Save to submit the changes.
Configure auto-installed plugins
Now, let's configure plugins that IDE Services will install automatically to IntelliJ IDEA Ultimate on developer machines. As examples, we're going to use the .ignore and Lombok plugins.
In the Plugins section, click
and select Auto-installed plugin.
In the Configure Auto-Installed Plugins dialog that opens, leave the default filter intact.
Click Add plugin, search for the
.ignoreplugin, and select it from the list.In the Add plugin dialog that opens, all the necessary fields are already populated.
We will use the latest plugin version compatible with IntelliJ IDEA Ultimate, so leave the Version field intact.
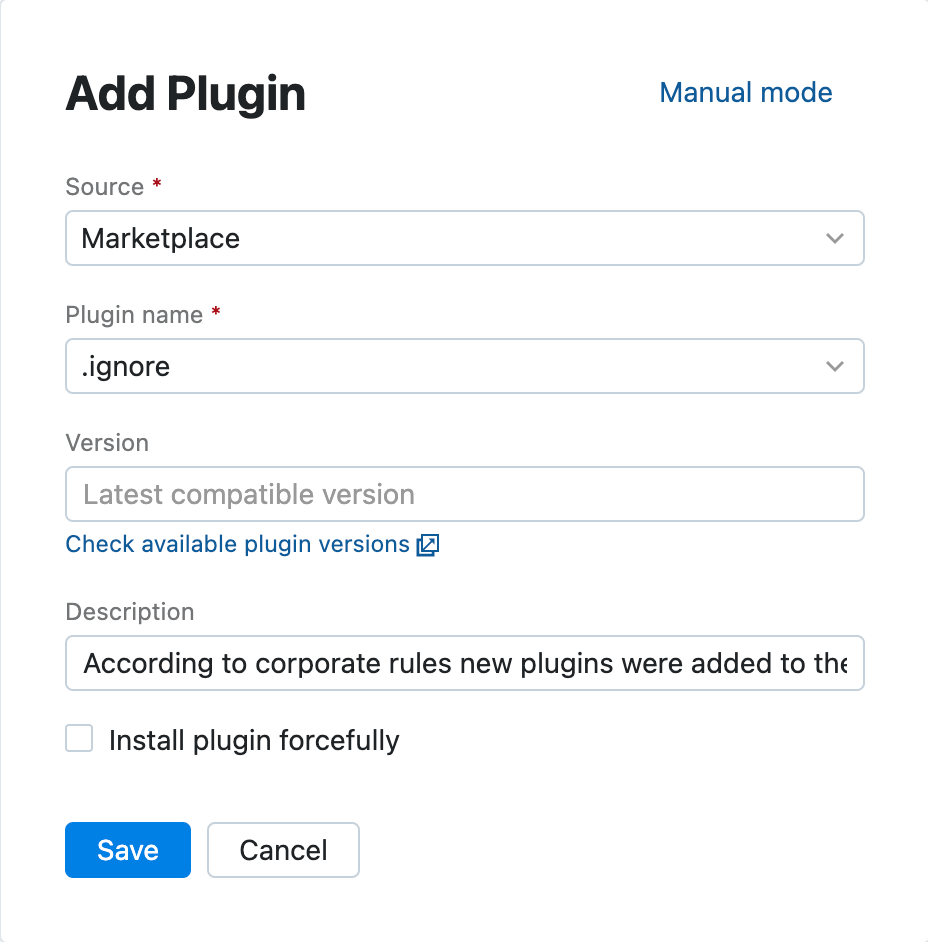
Click Save.
To add another auto-installed plugin, click Add plugin and fill in its details the same way. In the Plugin name field, specify
Lombok.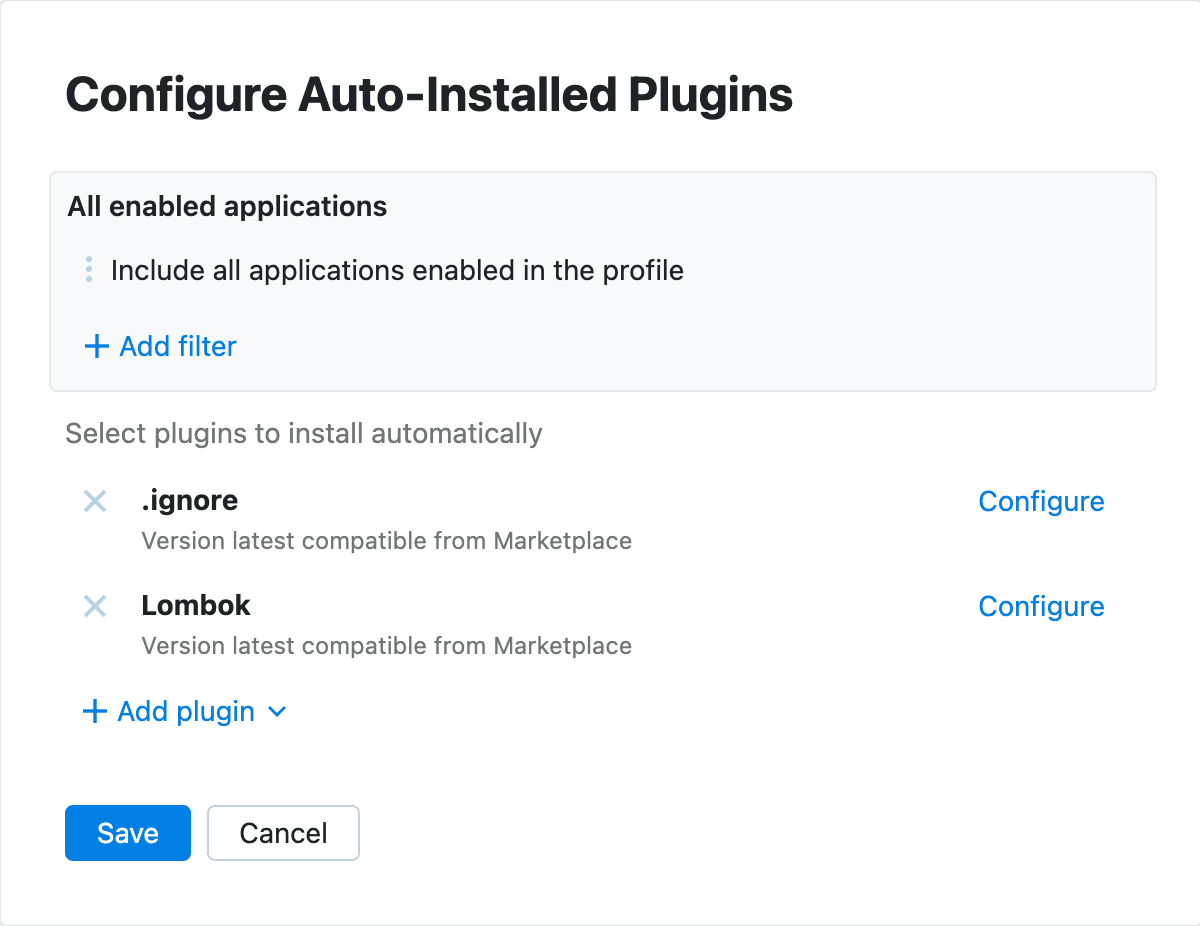
Click Save to submit the changes.
After the configuration, your profile should look like this:
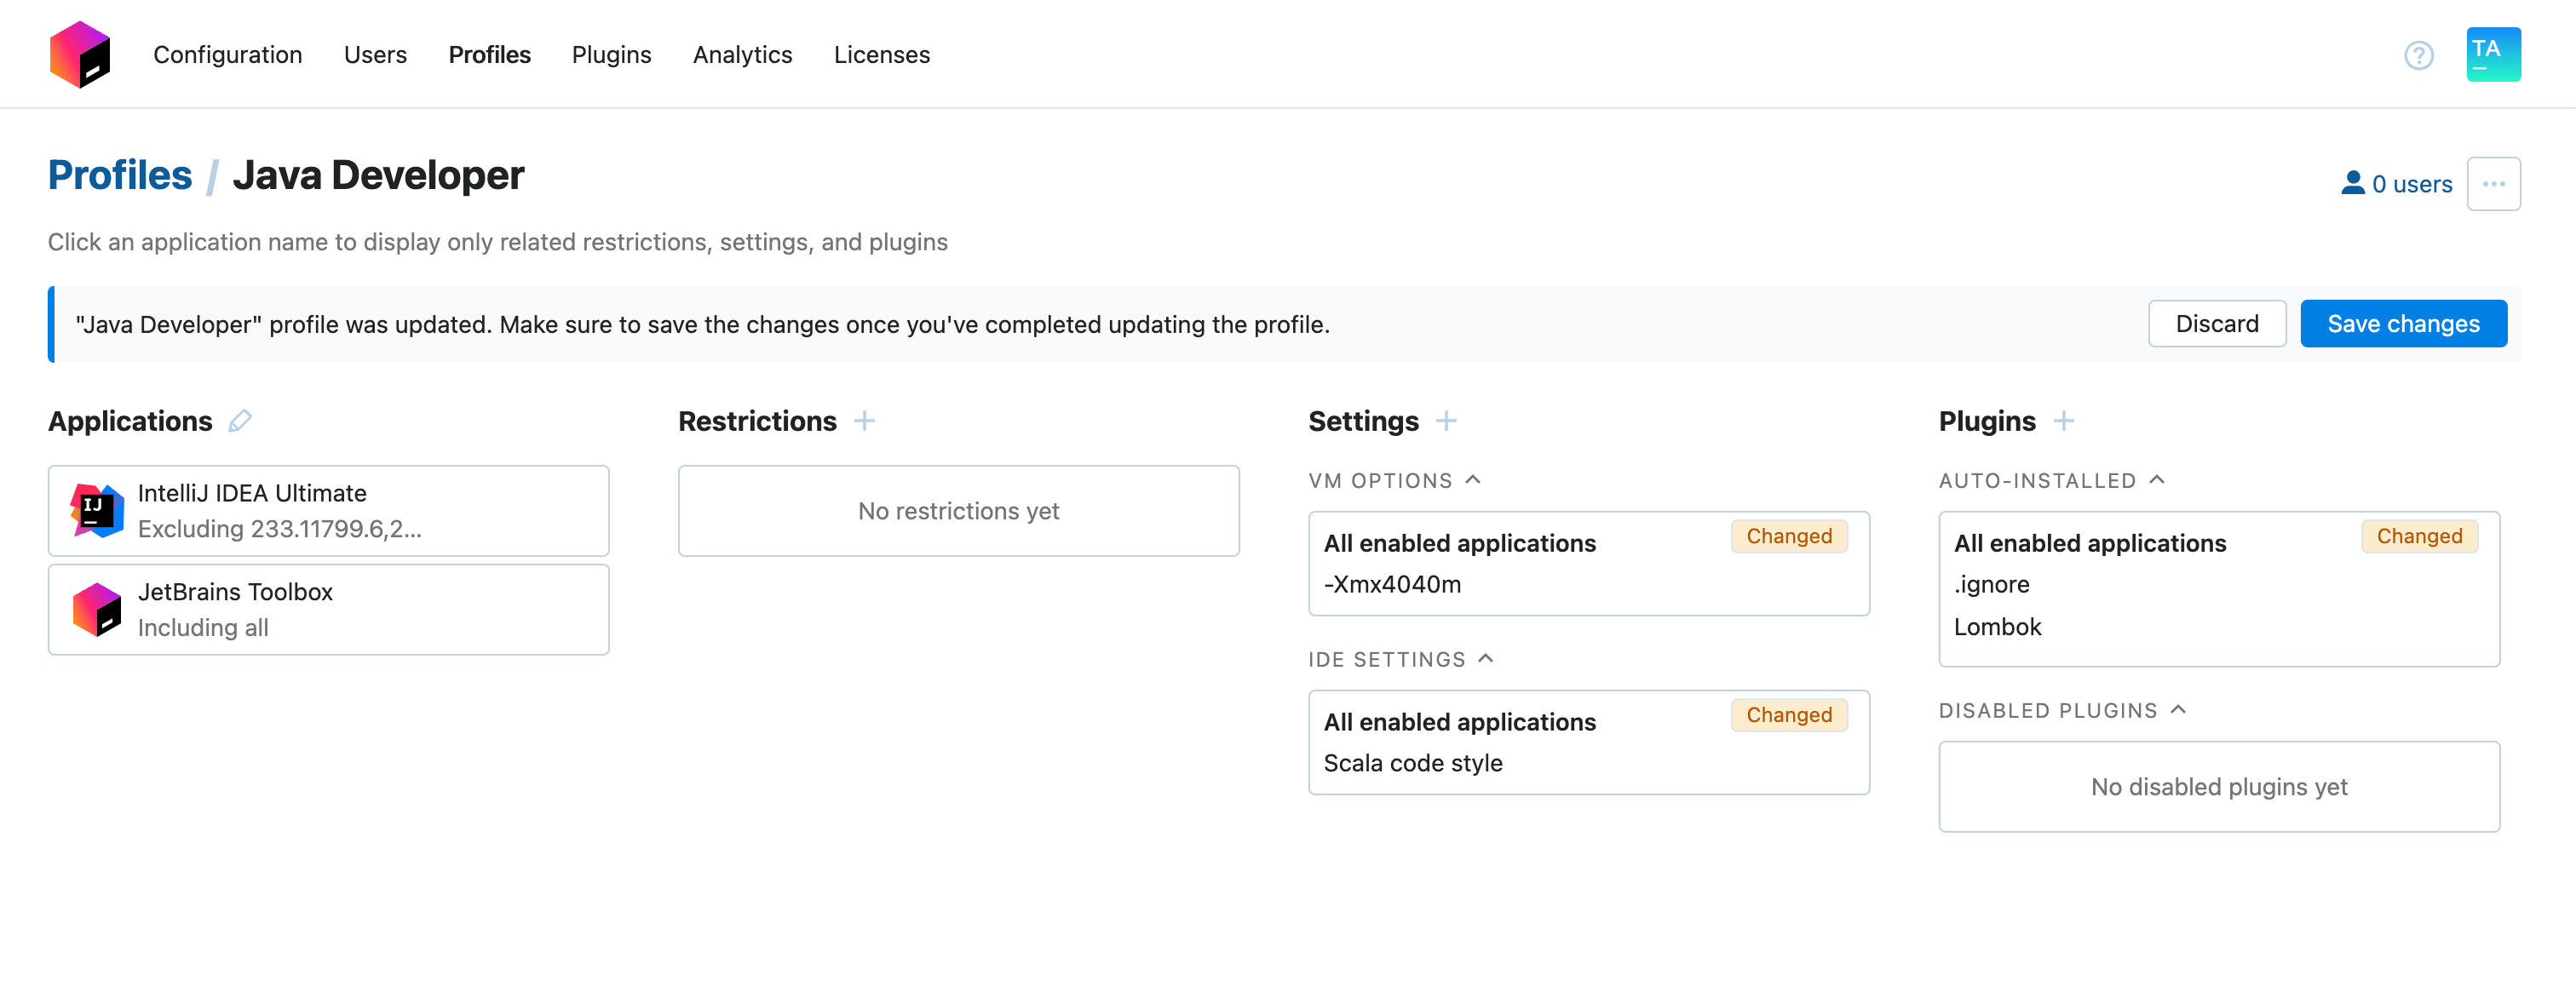
Click the Save changes button on the banner to save the profile.