Create a new JavaFX project
JavaFX is a software platform used for developing desktop applications that can run across a wide variety of devices.
JavaFX support in IntelliJ IDEA includes code completion, search, navigation and refactoring in JavaFX-specific source files (including .fxml and JavaFX .css files), integration with JavaFX Scene Builder, JavaFX application packaging capabilities, and more.
Make sure the JavaFX plugin is enabled
To be able to work with JavaFX in IntelliJ IDEA, the JavaFX bundled plugin must be enabled:
Press Ctrl+Alt+S to open settings and then select .
Switch to the Installed tab and make sure that the JavaFX plugin is enabled.
If the plugin is disabled, select the checkbox next to it.
Apply the changes and close the dialog. Restart the IDE if prompted.
Create a new project
When you create a new JavaFX project, IntelliJ IDEA generates a fully configured sample application.
Launch IntelliJ IDEA.
If the Welcome screen opens, click New Project. Otherwise, go to in the main menu.
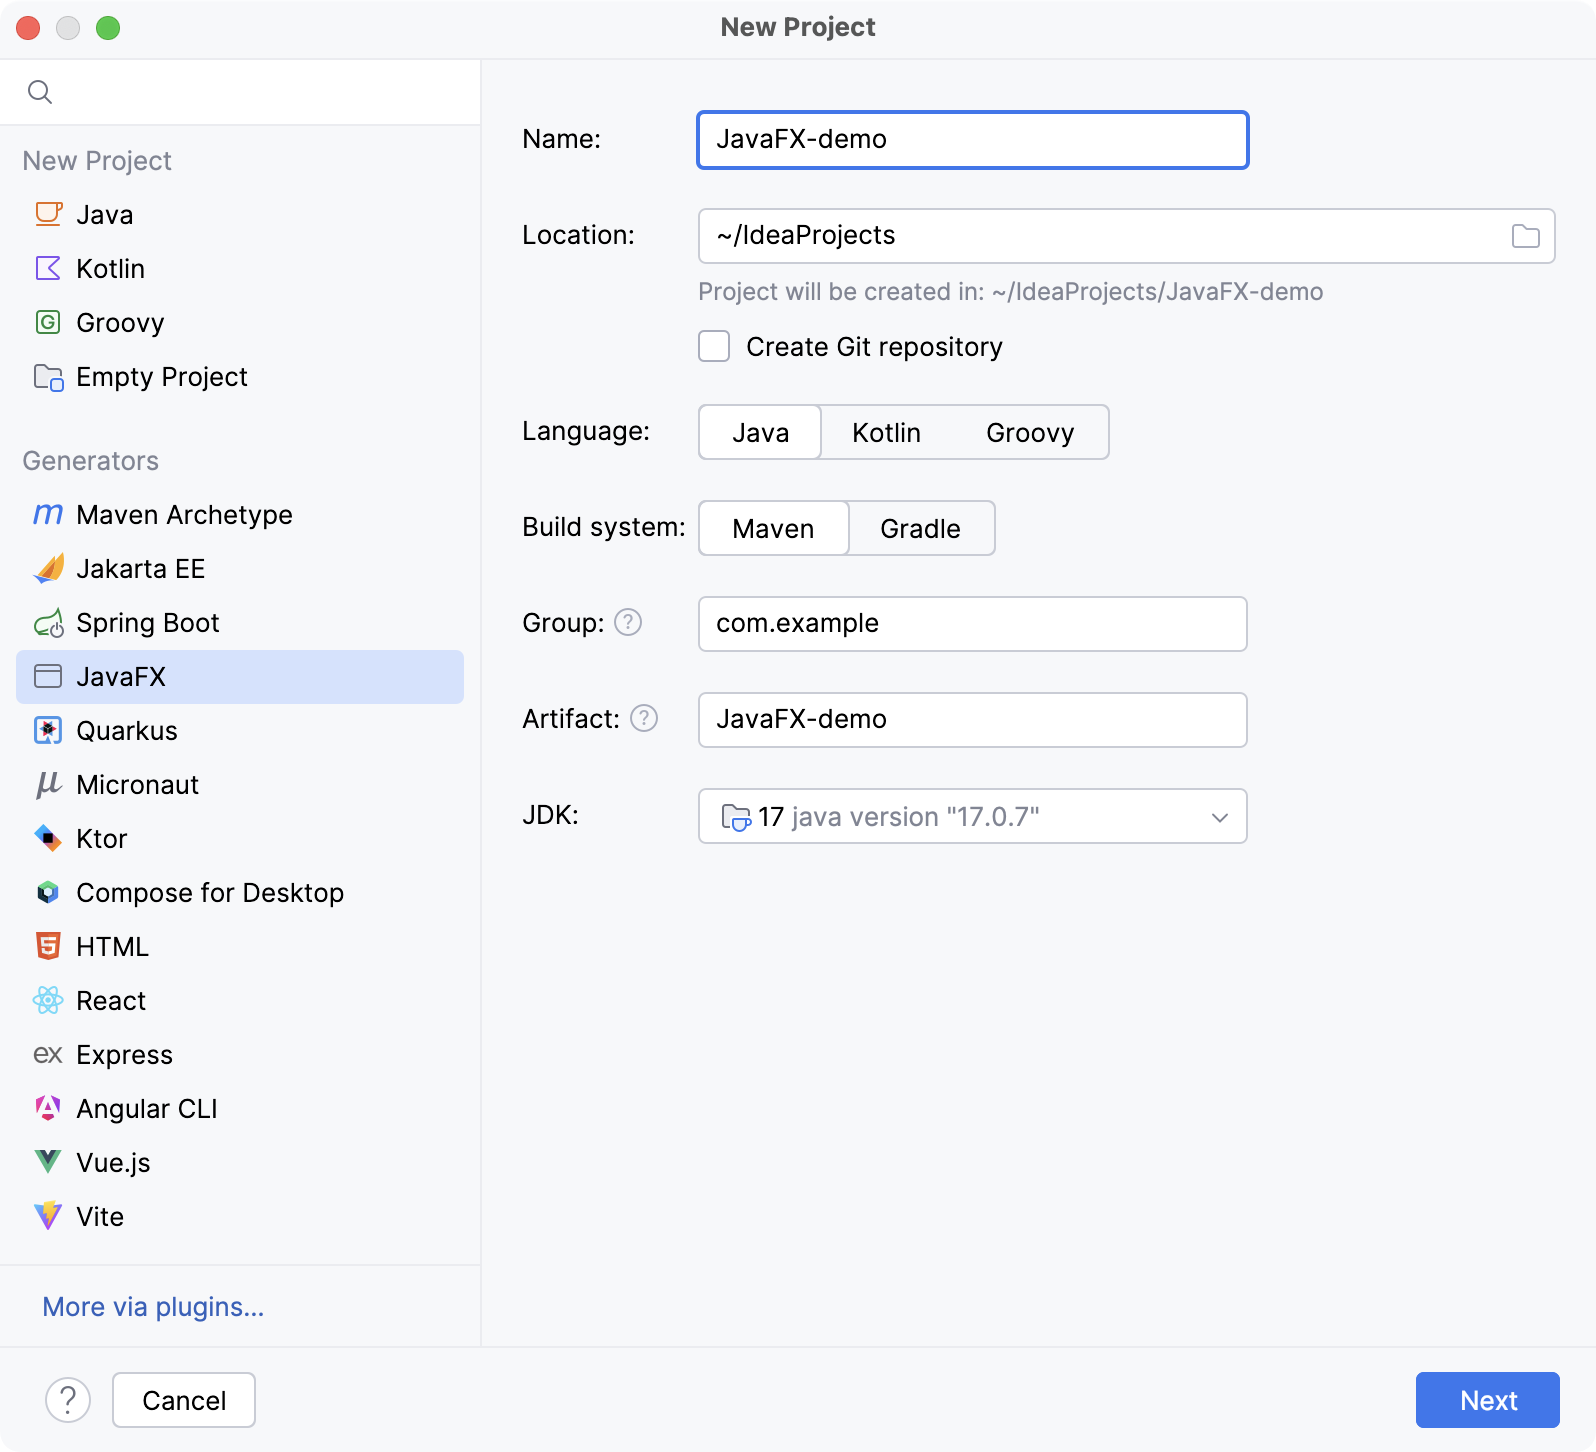
From the Generators list on the left, select JavaFX.
Name the new project, change its location if necessary, and select a language, and a build system.
In the Group field, specify the name of the package that will be created together with the project.
From the JDK list, select the JDK that you want to use in your project.
If the JDK is installed on your computer, but not defined in the IDE, select Add JDK and specify the path to the JDK home directory.
If you don't have the necessary JDK on your computer, select Download JDK.
Click Next.

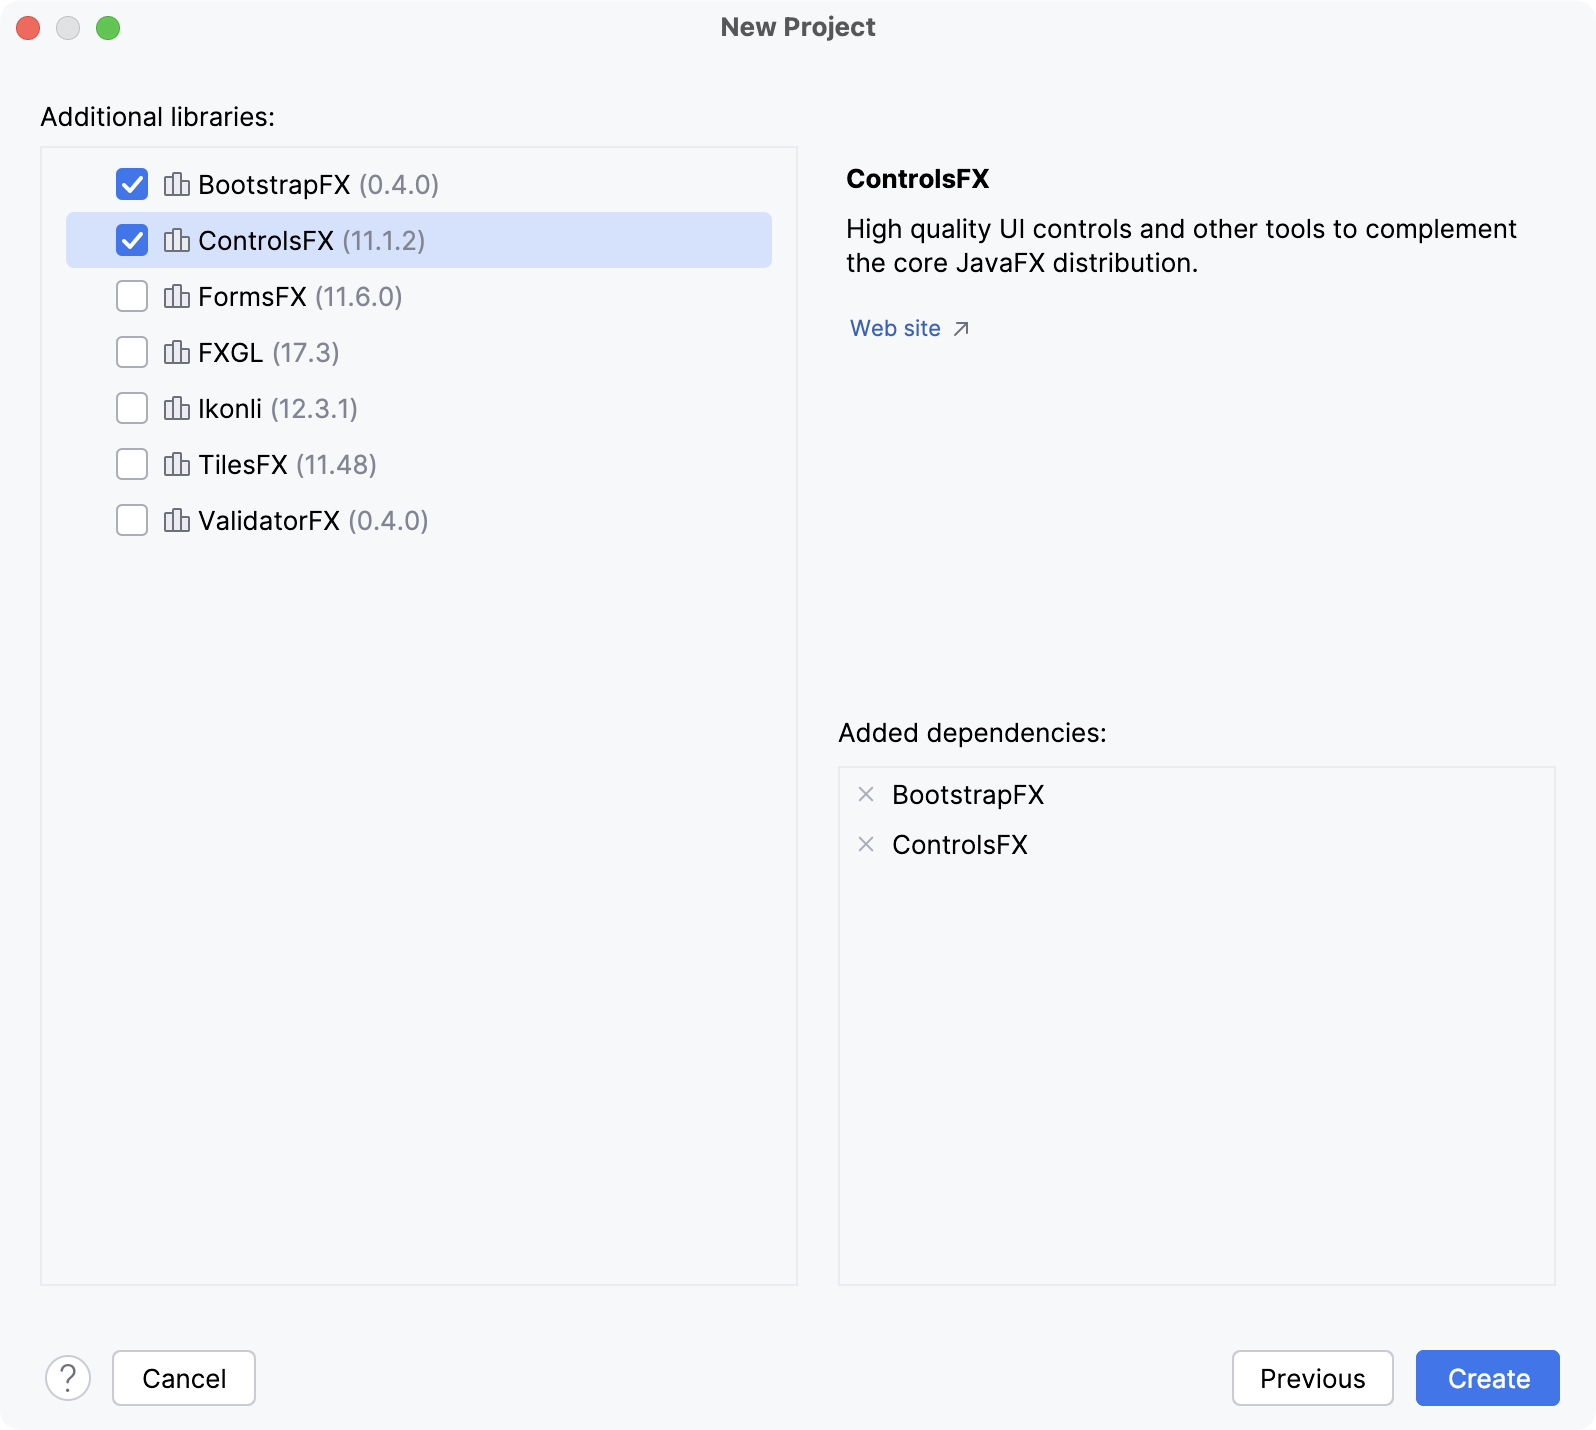
On the next step of the wizard, select the libraries that you want to use in your application and click Create.

Run the application
Open the HelloApplication.java class, click the
icon in the gutter, and select Run 'HelloApplication.main()'.
The IDE starts compiling your code.
When the compilation is complete, the application window appears.
This means that the project is configured correctly and everything works as it should.
When you clicked Run, IntelliJ IDEA created a temporary run configuration named after the HelloApplication class. You can view and edit this configuration: in the main menu, go to .
Package the application with jlink
JavaFX was removed from the JDK starting with Java 11. As a result, JavaFX libraries are no longer bundled with the JDK and are not automatically included when packaging your application into a JAR file.
To package your code with Java 11 and later, you can use the jlink tool that is bundled with the JDK. Maven and Gradle projects that you create in IntelliJ IDEA come with the corresponding tasks to call jlink.
This will build a folder with JRE and application executables. The resulting program will only work on the same operating system and architecture as the host. For example, Linux will produce Linux binaries, macOS will produce macOS binaries, and x64 will produce x64 binaries.
Press Ctrl twice to open Run Anything and run
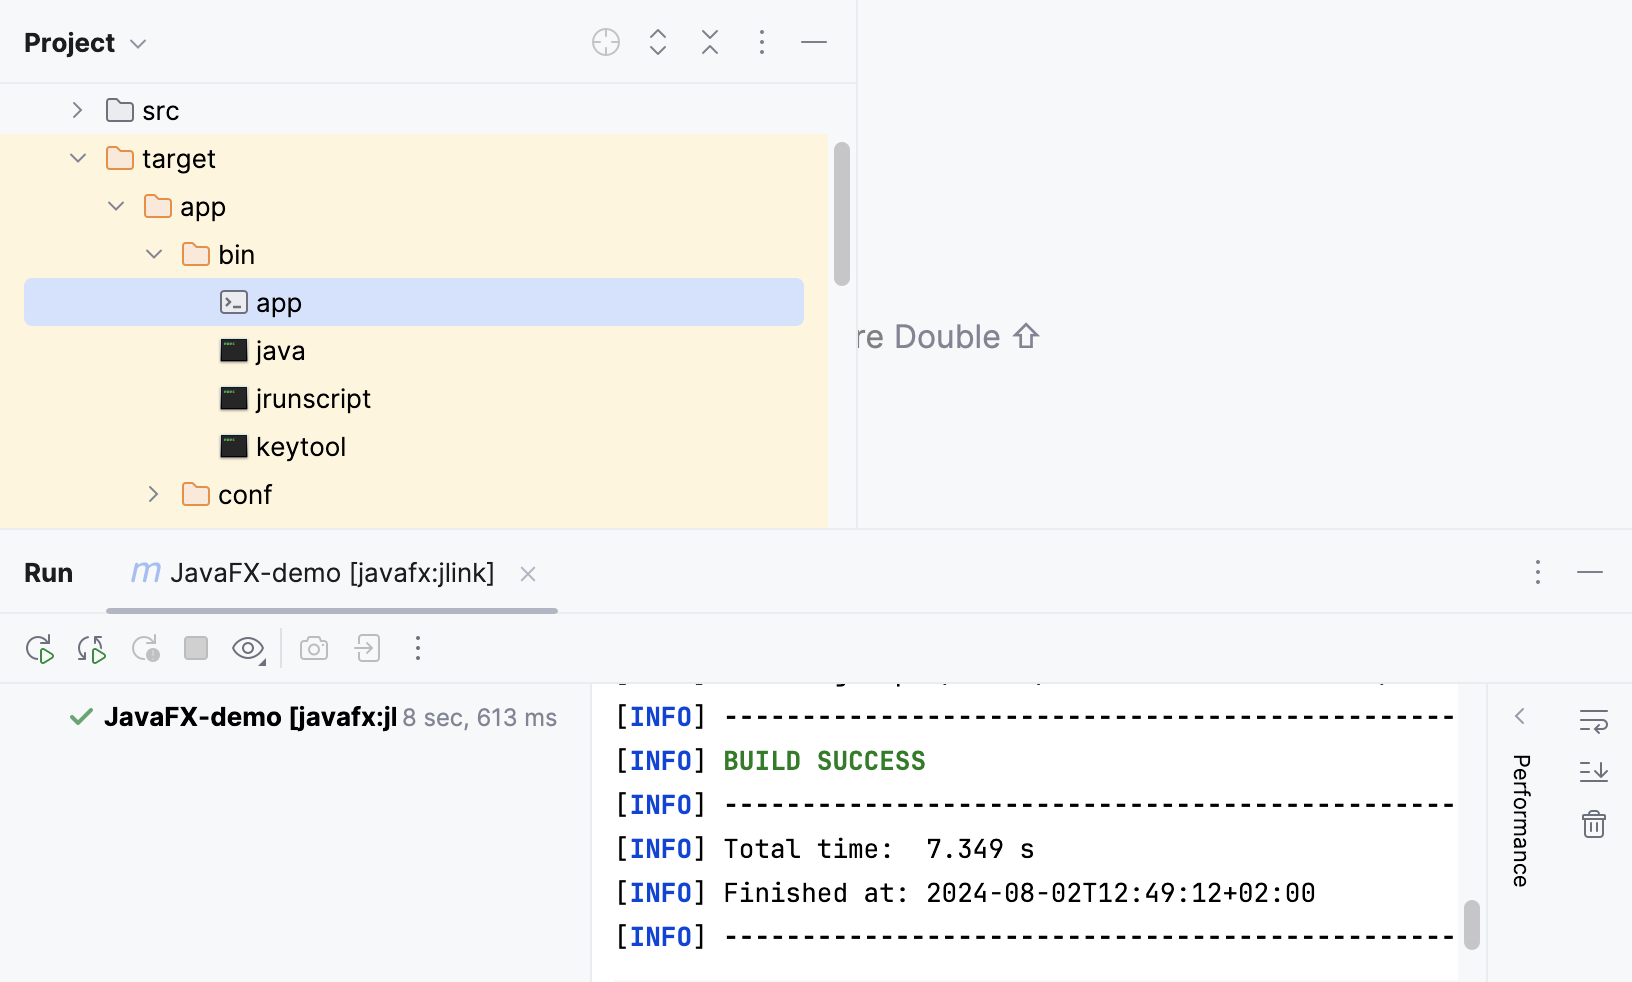
mvn javafx:jlink.
The IDE places the application to the target | app folder.

Press Ctrl twice to open Run Anything and run
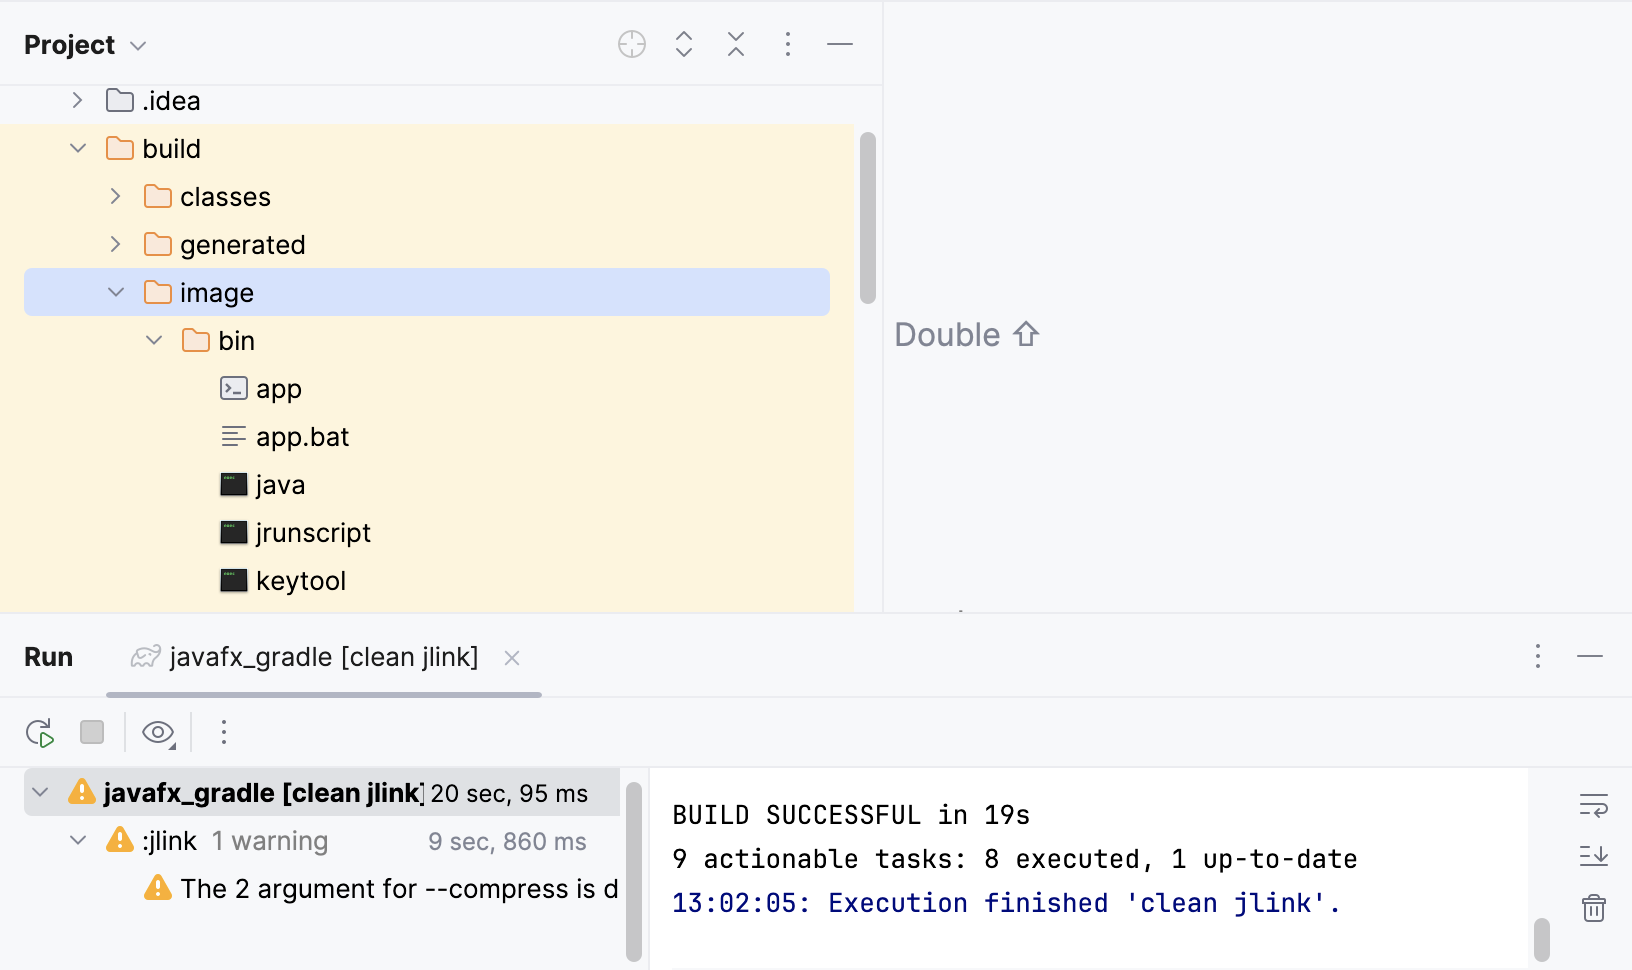
gradle clean jlink.
The IDE places the application to the build | image folder.

Troubleshoot
Process finished with exit code -1073740791 (0xC0000409)The problem is caused by an error in the NVIDIA driver. Update your driver to the latest version. For more information, refer to the community forum.
"..." cannot be opened because the developer cannot be verified.The problem is caused by notarization in macOS software. Follow the steps in the discussion to resolve the problem.