IntelliJ IDEA 2017.3 Help

Working with projects

When you create a new project, you have to select a project type, configure an SDK, and specify the project name and location.

You can also specify the necessary settings right in the New Project wizard, so that when you open your project for the first time, it will be pre-configured. For example, the IDE will load libraries and create files. In case of Maven or Gradle, IntelliJ IDEA will define tasks and declare dependencies.

Configure the JDK when creating a project

To develop applications in IntelliJ IDEA, you need the Java SDK (JDK). The JDK is a software package that contains libraries, tools for developing and testing Java applications (development tools), and tools for running applications on the Java platform (Java Runtime Environment — JRE).

The JRE can be obtained separately from the JDK, but it's not suitable for application development, as it doesn't have essential components such as compilers and debuggers.

IntelliJ IDEA doesn't come with the JDK, so if you don't have a necessary JDK version, you must download and install it.

  1. In the New Project wizard, click Download JDK below the Project SDK list. You will be redirected to the official Oracle website.
  2. Select and download the necessary JDK version.
  3. Run the Java installation wizard and follow its steps until Java is installed.
  4. Click New next to the Project SDK list and select the JDK installation folder (home directory).

    On Windows, go to C:\Program Files\Java, on macOS go to /System/Library/Java. Then select the Java directory, for example, jdk1.8.0_144 (numbers stand for the JDK version you have installed).

    To make sure that you're specifying the path to the JDK directory, check if there's the bin/javac executable file, as the JRE directory doesn't have it.

configure sdk
You can specify another JDK version, configure additional SDKs, and change SDK levels any time as you work with a project.

Project formats

In IntelliJ IDEA, there are two types of formats in which a project's configuration can be stored — the file-based format format (legacy) and the directory-based format (default and recommended).

For file-based projects, the IDE creates the .ipr, .iws and .iml files. For projects stored in the directory-based format, the IDE creates the.iml file and the .idea directory that keeps project settings.

The .iml file is created for each module in a project. For more information, refer to Working with modules.

If you want to change the project's format to directory-based, go to File | Save as Directory-Based Format.

Import a project

To import a project in IntelliJ IDEA, go to File | New | Project from Existing Sources.

In IntelliJ IDEA, you can import a project that comes from Eclipse, Bnd/Bndtools and Flash Builder. You can also import a collection of source files to create a new project from them.

If you're importing a project that uses build tools such as Maven or Gradle, it's recommended that you import the associated build file (pom.xml or build.gradle). In this case, IntelliJ IDEA will recognize the dependencies and artifacts in the project, and will automatically restore their configuration.

For Maven and Gradle projects, consider enabling the Store generated project files externally option in the project import dialog if you share the project through VCS. For more information on how to work with VCS, refer to Managing Projects under Version Control.

Usually, IntelliJ IDEA recreates the .iml file every time you make changes in the descriptor file and these changes get imported. You can avoid placing the .iml file under version control, but in this case some changes in the module configuration won't be shared (such as added facets, for example). With the Store generated project files externally option on, generated files will be stored separately, and you won't have to exclude files from version control.

Project settings

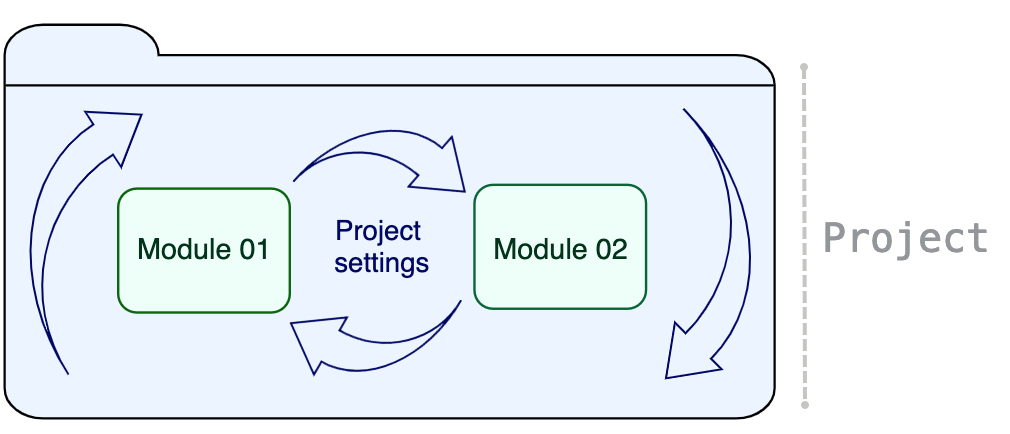
For projects in IntelliJ IDEA, you can configure a name, specify an SDK, set a language level and a compiler output. To change project's settings, go to File | Project Structure or press Ctrl+Shift+Alt+S, and select Project.

project structure settings

Not that the changes will only be applied to the current project. If necessary, you can configure a global SDK, language level and compiler output that will be applied to all newly created projects. To change global project settings, go to File | Other Settings | Default Project Structure | Project.

For instructions on how to configure the IDE (including code styles, inspections, etc.), refer to Configuring the IDE.

Last modified: 6 March 2018

See Also