Create tests
The simplest way of creating a new test class in IntelliJ IDEA is by using a dedicated intention action that you can invoke from your source code. In this case, the IDE creates a new test class and generates test code for this class, package, or function.
Add a new test
In your production code in the editor, place the caret at the class for which you want to create a test, press Alt+Enter, and select Create Test.
In the Create Test dialog, select the library that you want to use.
If you do not have the necessary library yet, you will be prompted to download it. To do that, click Fix.
Configure the test class name and its location and select the methods that you want to test. Click OK.
As a result, IntelliJ IDEA creates a new test class with the specified name and generated test methods in the Test Sources Root.
Create Test dialog controls
Item | Description |
|---|---|
Testing library | Select the testing framework that you are going to use. |
Fix | This button is available when a library for the selected testing framework is missing. Click it to download and install the necessary library. If you are using Maven, the IDE will add the missing dependencies to your pom.xml. For Gradle projects, add the necessary dependencies manually. |
Class name | Enter the name for the test class or accept the default name. You can change the way test classes are named in the settings. |
Superclass | For JUnit3, the superclass |
Destination package | Specify the name of the package where the generated test class will be stored. |
Generate
| Include stub methods for test fixtures and annotations in the generated test class. |
Show inherited methods | Select this option to show all methods, including the inherited ones. |
Generate test methods for | Select the methods for which you want to generate test methods. |
Create a new test class manually
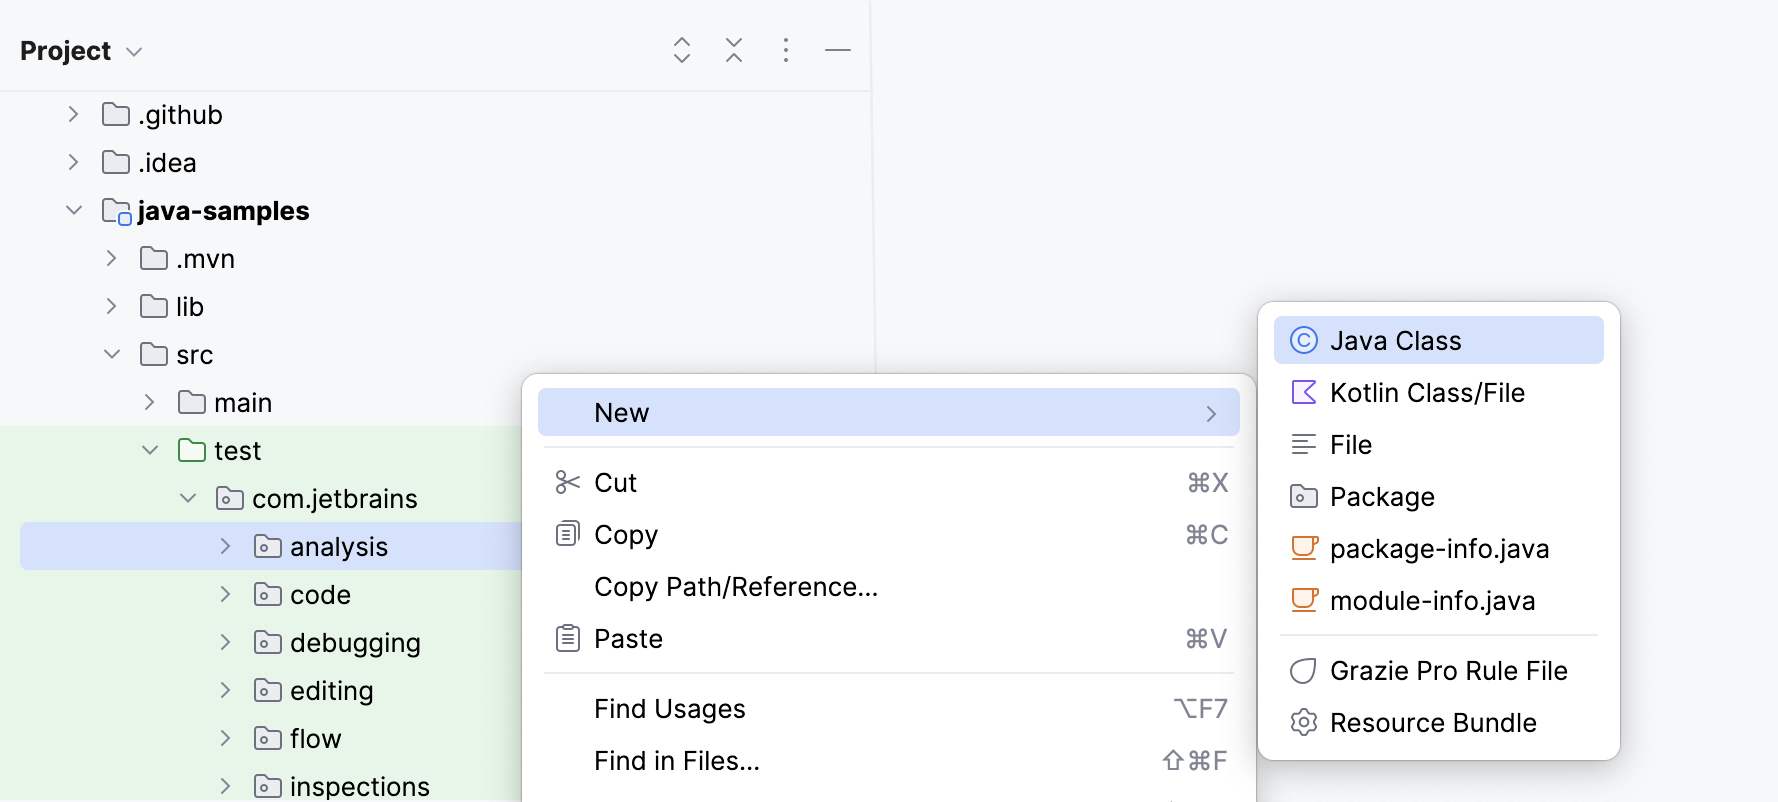
Right-click the test root folder or package in the test root folder in which you want to create a new test and select .

Name the new class and press Enter.
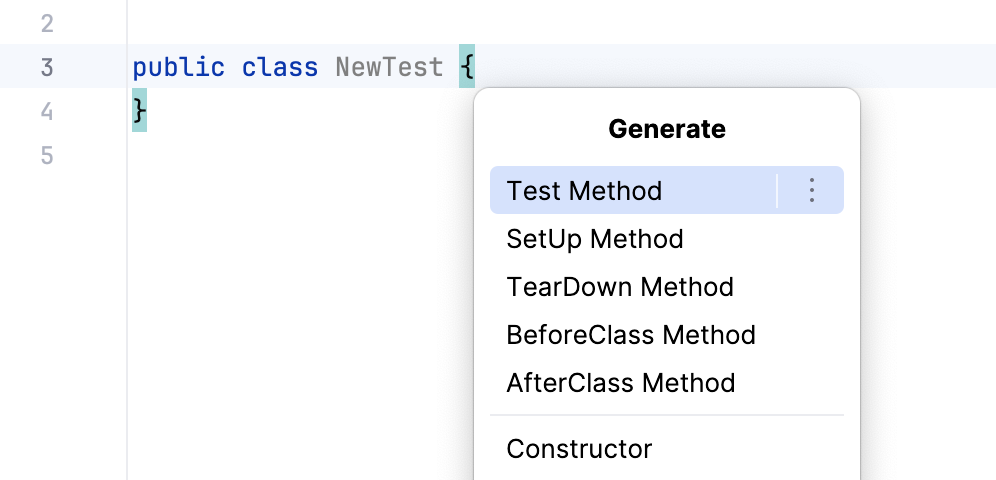
Press Alt+Insert and select Test Method to generate a new test method for this class. Name the new method and press Enter.

Configure naming pattern for test classes
By default, IntelliJ IDEA adds the Test suffix to class names when generating test classes. For example, if you create a test class for HelloWorld, its name by default is HelloWorldTest. You can change the naming pattern in the settings.
Press Ctrl+Alt+S to open settings and then select .
Switch to the Code Generation tab.
In the Naming section of the tab, locate the Test fields and type a suffix or a prefix (or both) that you want to use for generated test classes into the corresponding fields.
Navigate between tests and production code
In IntelliJ IDEA, you can jump between test classes and production code.
In the editor, place the caret at the test class or at the test subject in the source code and press Ctrl+Shift+T ( or ).

When navigating to the test subject, the IDE will take you there right away. When navigating to the test, it might prompt you to select the necessary test from a popup or create a new test.