Migrate
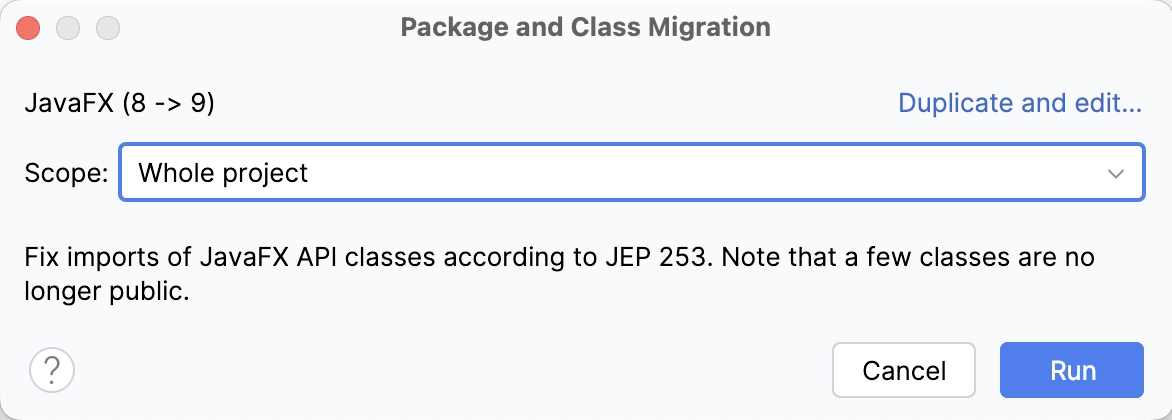
The Migrate refactoring lets you easily switch between the old packages and classes used in your project and the new ones. IntelliJ IDEA comes with a set of predefined migration maps.
Run the migration refactoring
In the main menu, go to .
Select the desired migration map from the list.
In the dialog that opens, select the scope of file in which you want to refactor your code and click Run.

Create a new migration
In the main menu, go to and click Create New Migration.
Specify the name of the map and an optional map description.
Click the
icon to create a new migration rule.
In the dialog that opens, select whether you want to migrate packages or classes and specify the old and the new names of the package or class. Click OK.
Create or edit as many migration rules as required. Use the
button to edit the exiting rules.
Click Save. After than, you can run it from the main menu.
Edit an existing migration map
You can edit a migration map that you have created previously. If you want to modify a predefined map, create its copy first and then change the map as necessary.
Go to and click the migration map that you want to edit.
If you are modifying a predefined map, click Duplicate and edit.
In the dialog that opens, select Edit and modify the existing migration rules.
Click Save. After than, you can run it from the main menu.
Share a migration map
Go to the IntelliJ IDEA configuration directory.
Find the migration directory and locate the relevant migration map .xml file you want to share.