Connect to a remote server from IntelliJ IDEA
Since working remotely became a necessity, IntelliJ IDEA offers the Remote Development functionality to help you code, run, debug, and deploy your projects remotely.
Connection via SSH
The connection to a remote server is done by using SSH and can be started right from the IntelliJ IDEA home screen.
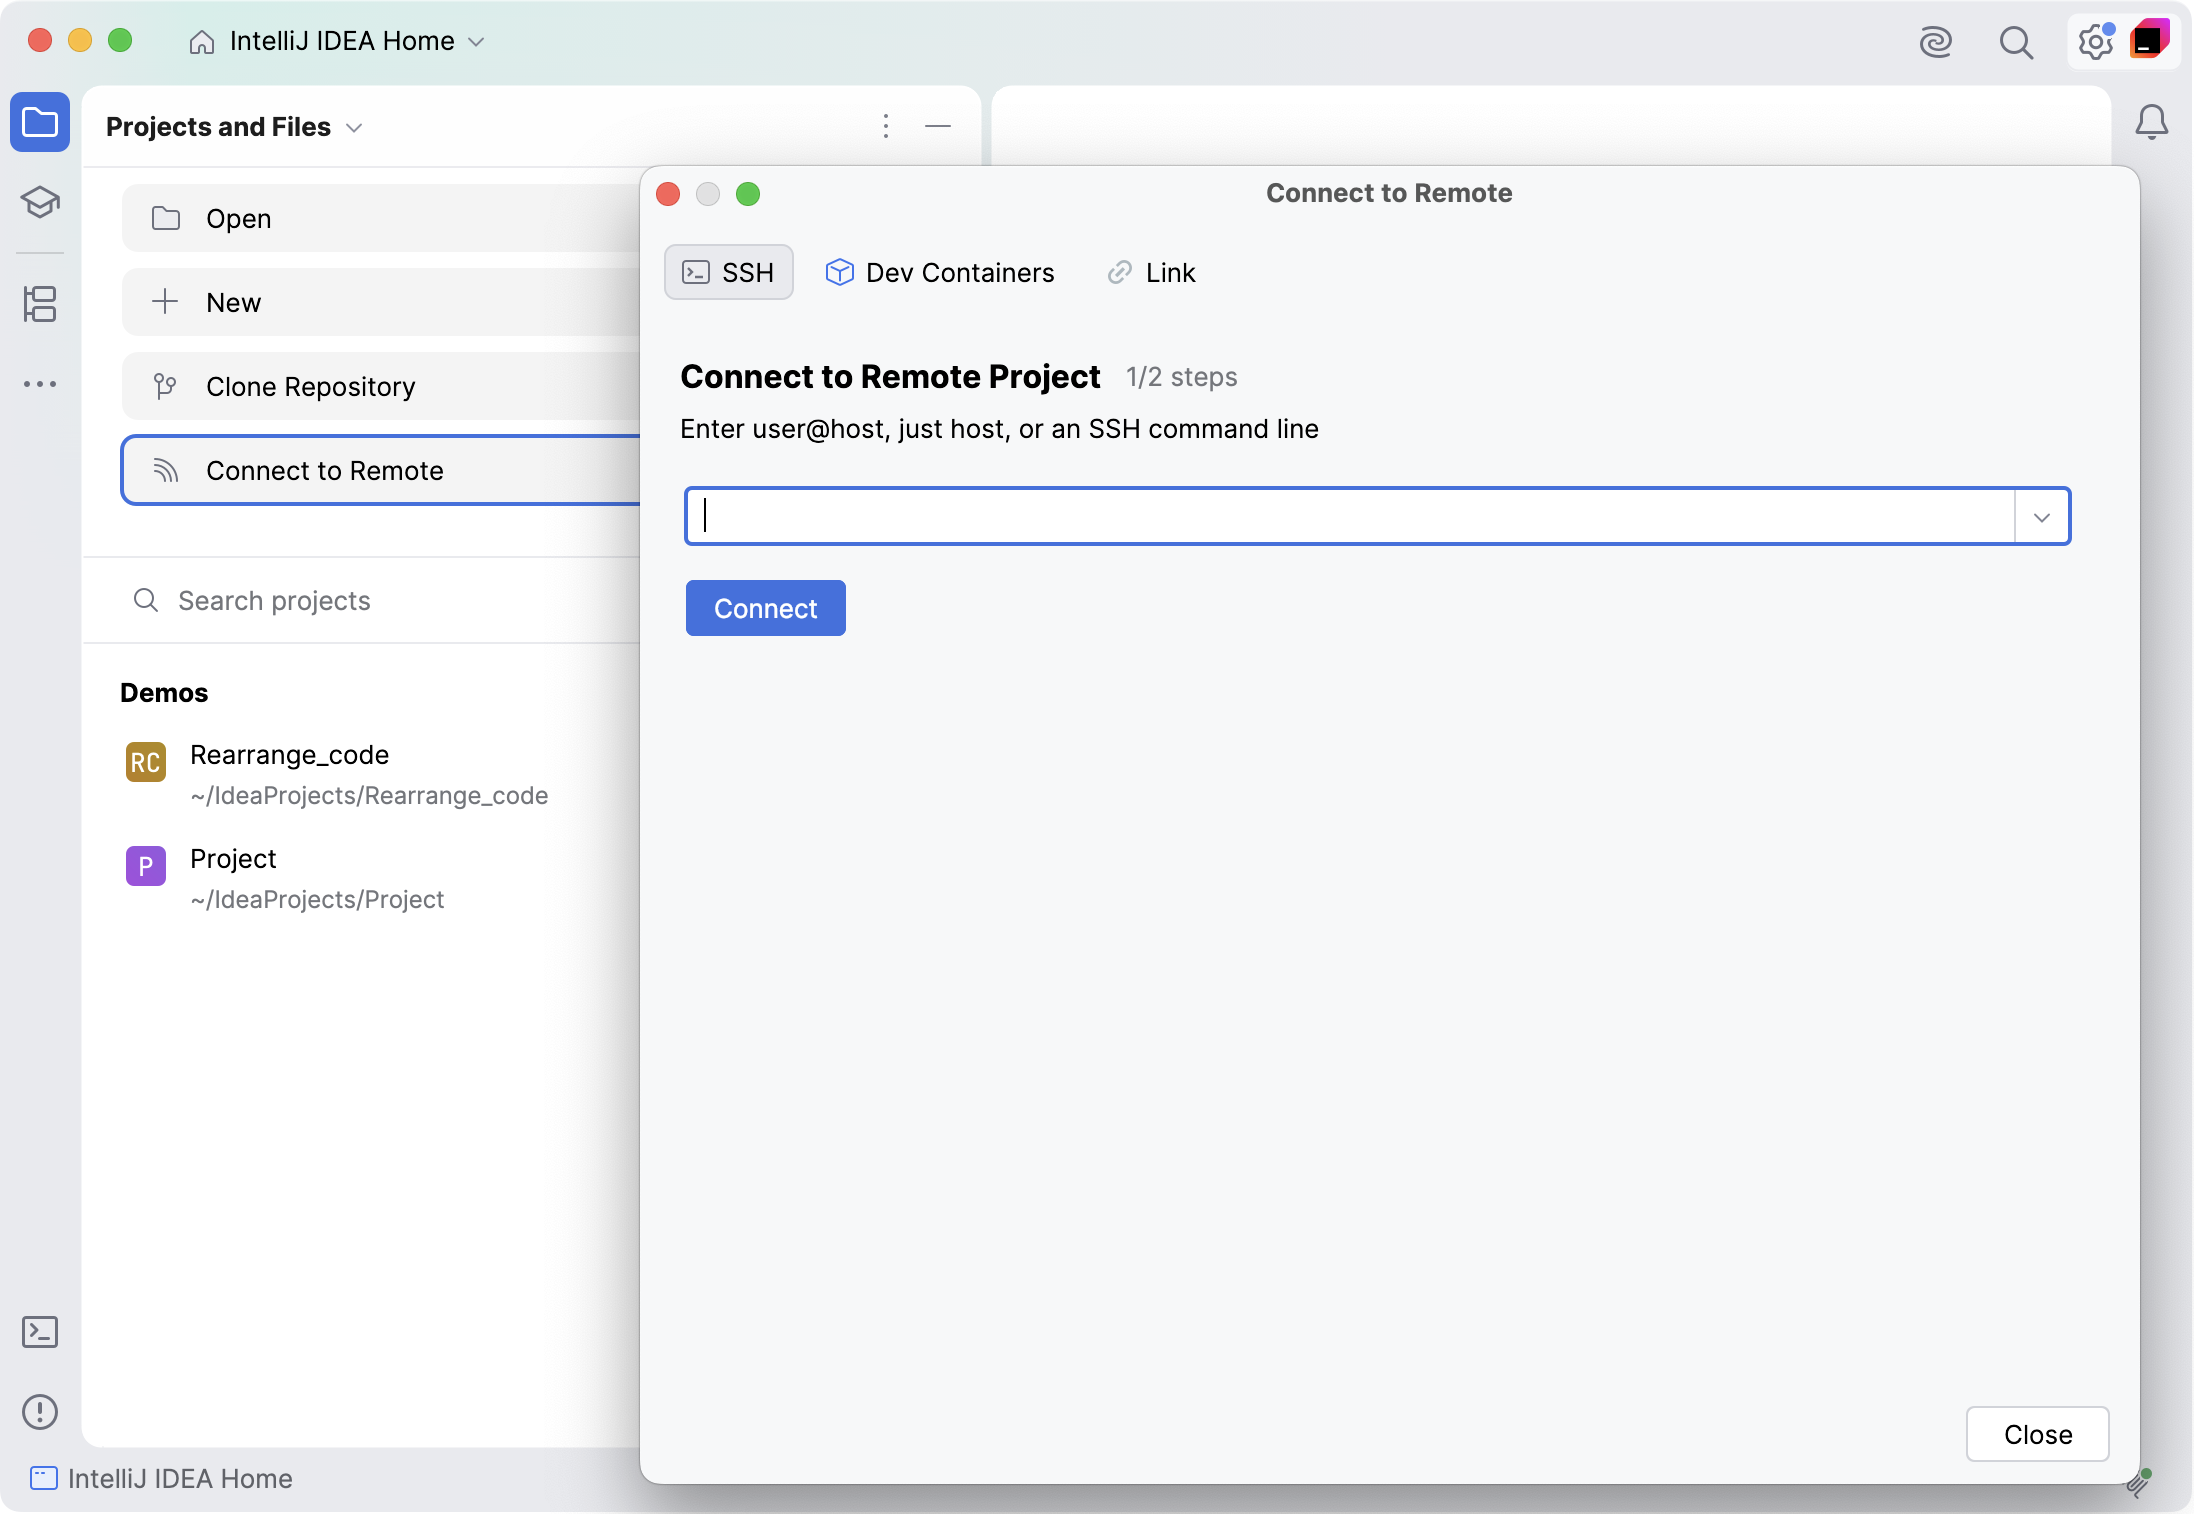
Connect to a remote server and open the remote project
Ensure you have the bundled JetBrains OS integration and Remote development plugins enabled.
On the IntelliJ IDEA Home screen, click Connect to Remote. Alternatively, go to in the main menu.
In the Connect to Remote window, click the SSH tab.
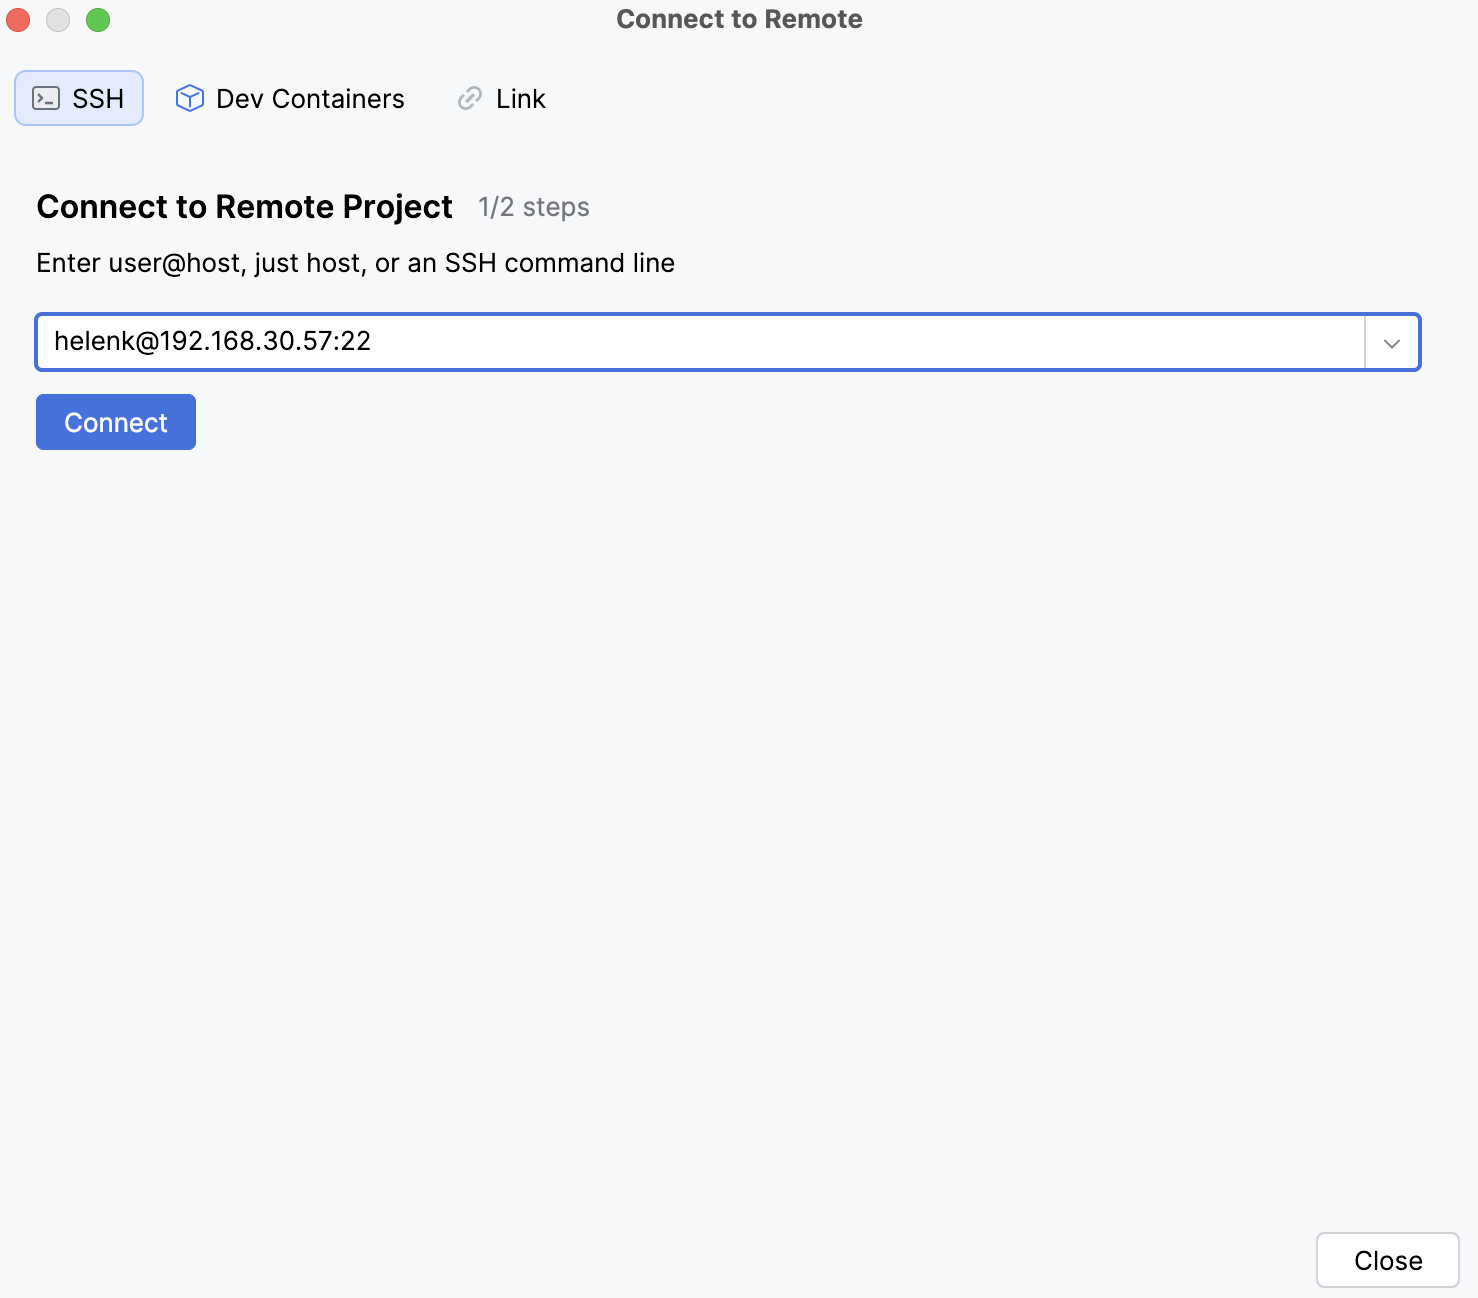
If you have the IDE already running on the remote server, and you have a connection link, you can click Link and add the actual link to the field under the Connect to Running IDE section.
Click the drop-down to see connections from the recent history, the Toolbox App, OpenSSH, and the IDE settings.
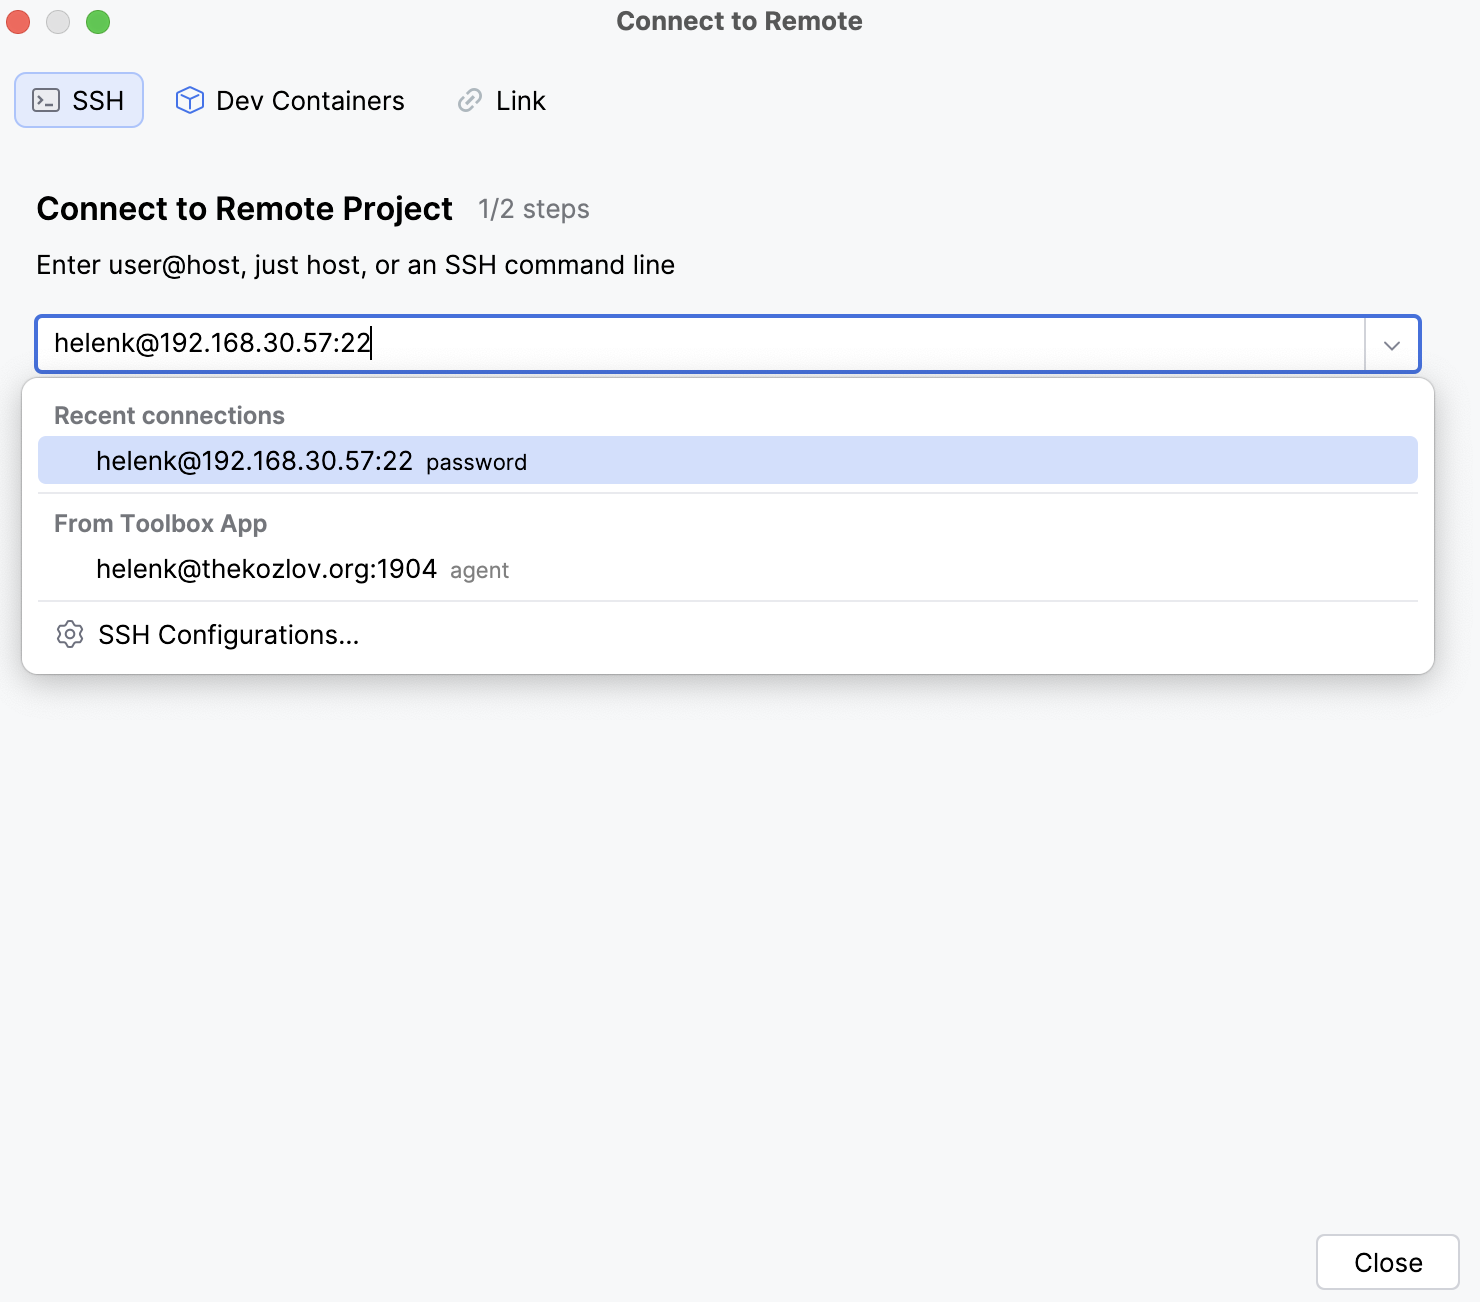
If you do not have any recent configurations, from the drop-down, select SSH Configuration to open the SSH Configuration settings.
Configure the remote server connection parameters, click Test Connection to ensure the connection to the remote server is successful, and click OK to save the changes.
After the remote server configuration, add the SSH connection and click Connect.
Specify a project directory and click Open Project to start working on the project right away in Light Mode while the backend IDE is being configured.
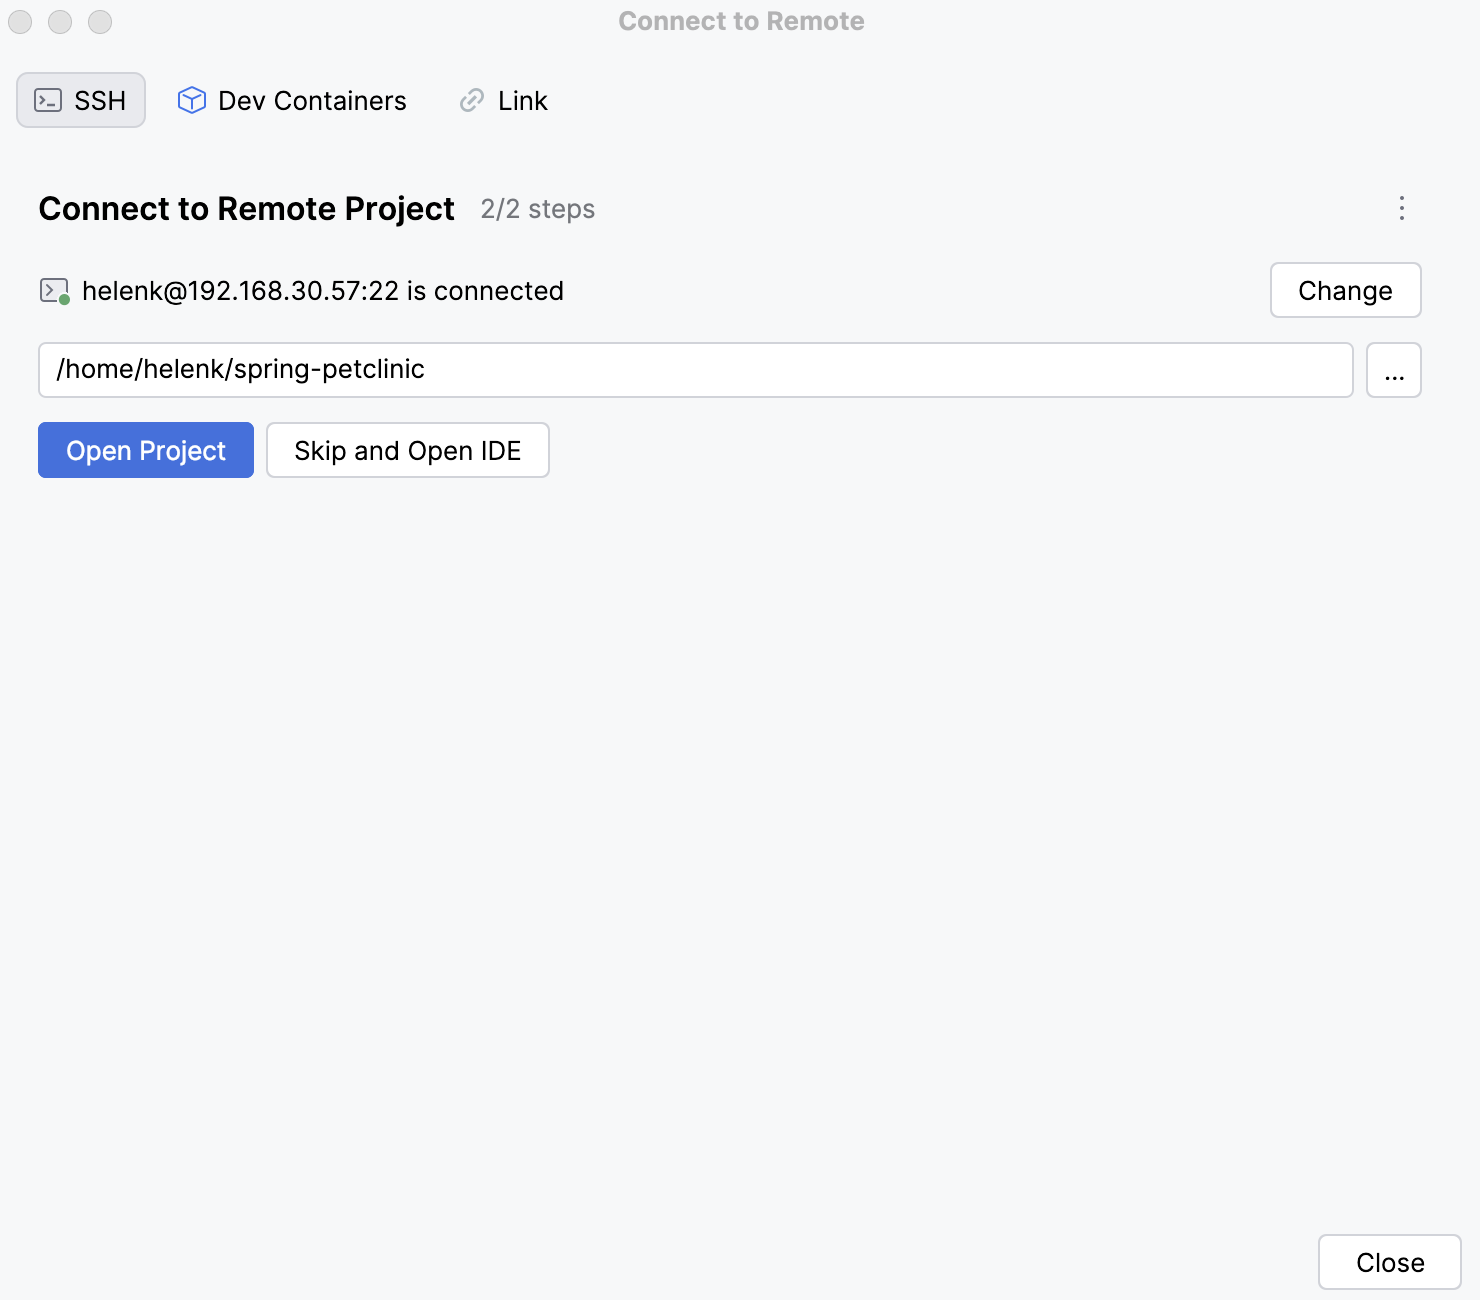
Alternatively, click Skip and Open IDE to finish the backend configuration first and then open your project.
If you need to switch to other SSH connection, click the Change button to return to the previous page of the wizard.
For the information on how to start working with a separate JetBrains Gateway installer, refer to JetBrains Gateway.
For more information about adding plugins or SDK, refer to the appropriate Getting Started section.
Connect to a project running on WSL2
You can configure your IDE backend to launch directly in WSL2.
Before you start connecting to WSL, check the existing prerequisites and make sure the additional ones are met:
You have the Windows 10 or 11 version installed on your machine with the Ubuntu 20.04 version installed under WSL2.
You have WSL2 configured on your Windows machine. For more information, refer to the WSL2 configuration section.
Connect to WSL
Install and run IntelliJ IDEA locally on Windows as you normally would.
On the IntelliJ IDEA Home screen, click Connect to Remote. Alternatively, go to in the main menu.
In the Connect to Remote window, click the WSL tab.
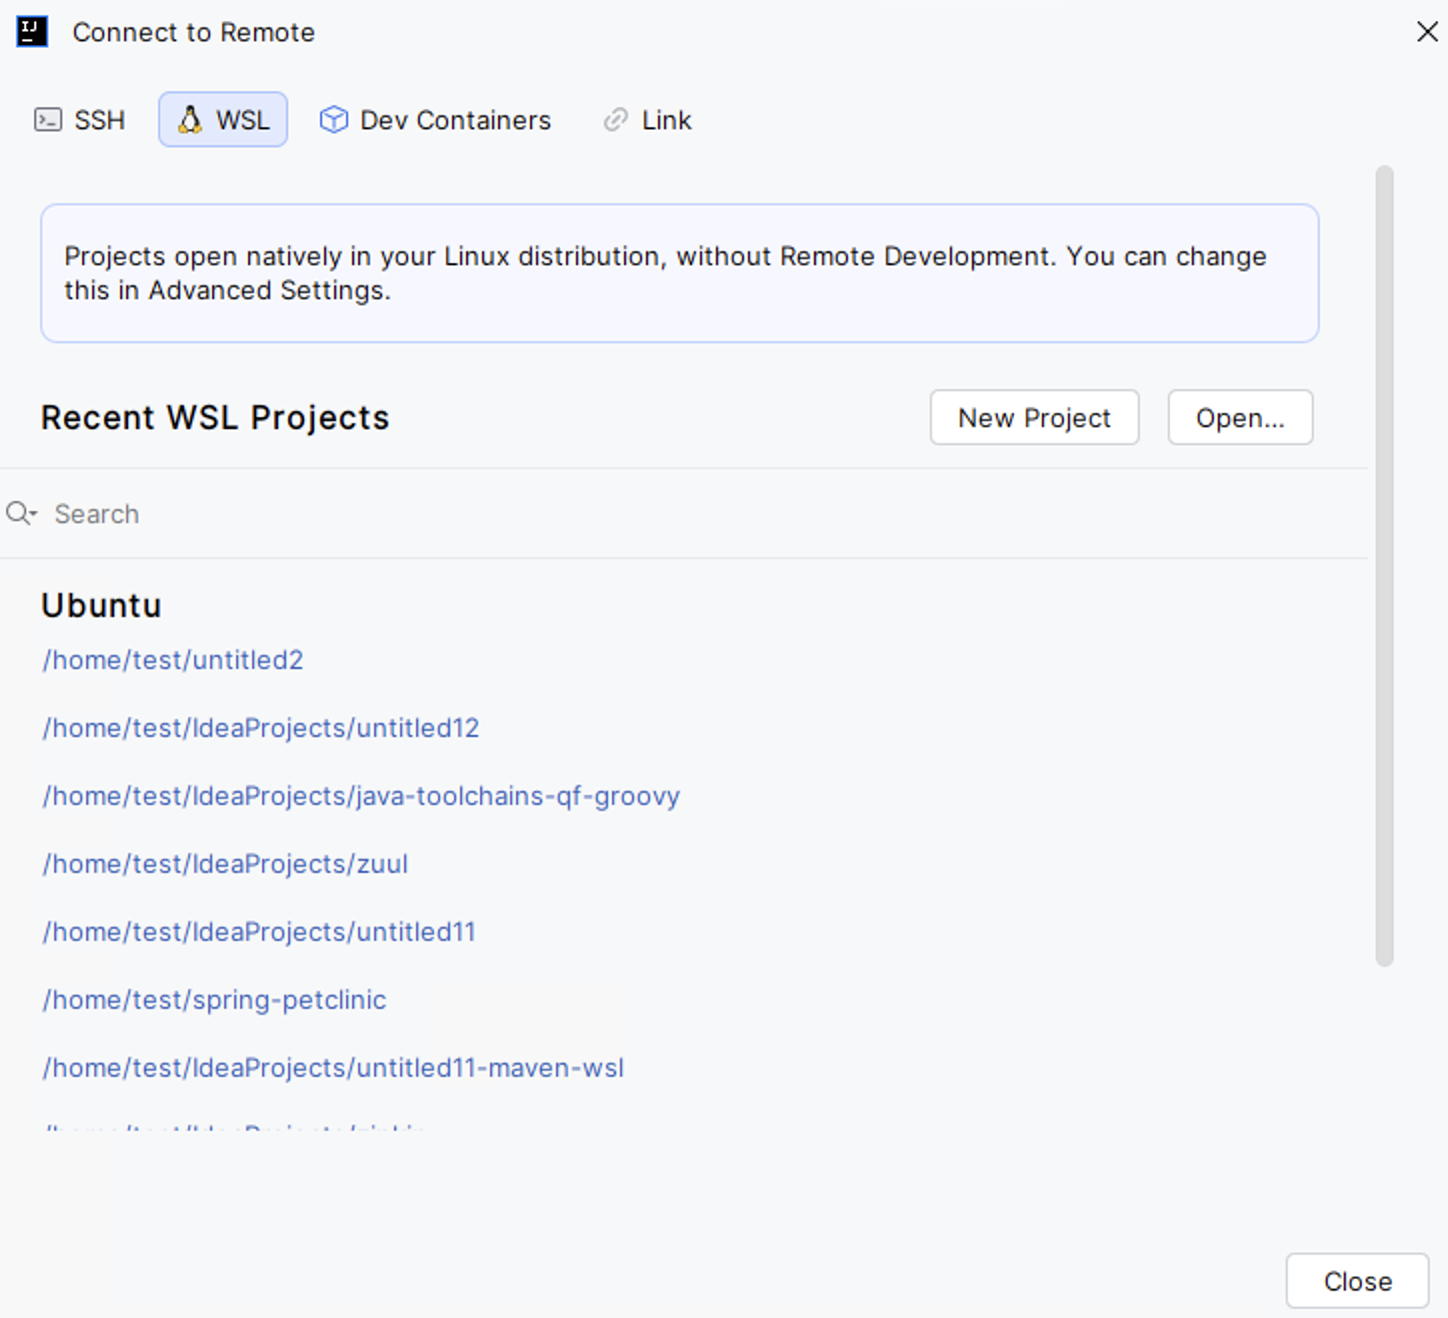
Click New Project to create the new project in the WSL system.
On the Choose WSL Instance page, in the Location field specify a directory where your project will reside.
Alternatively, click
 ,in the dialog that opens select the location you need and click OK.
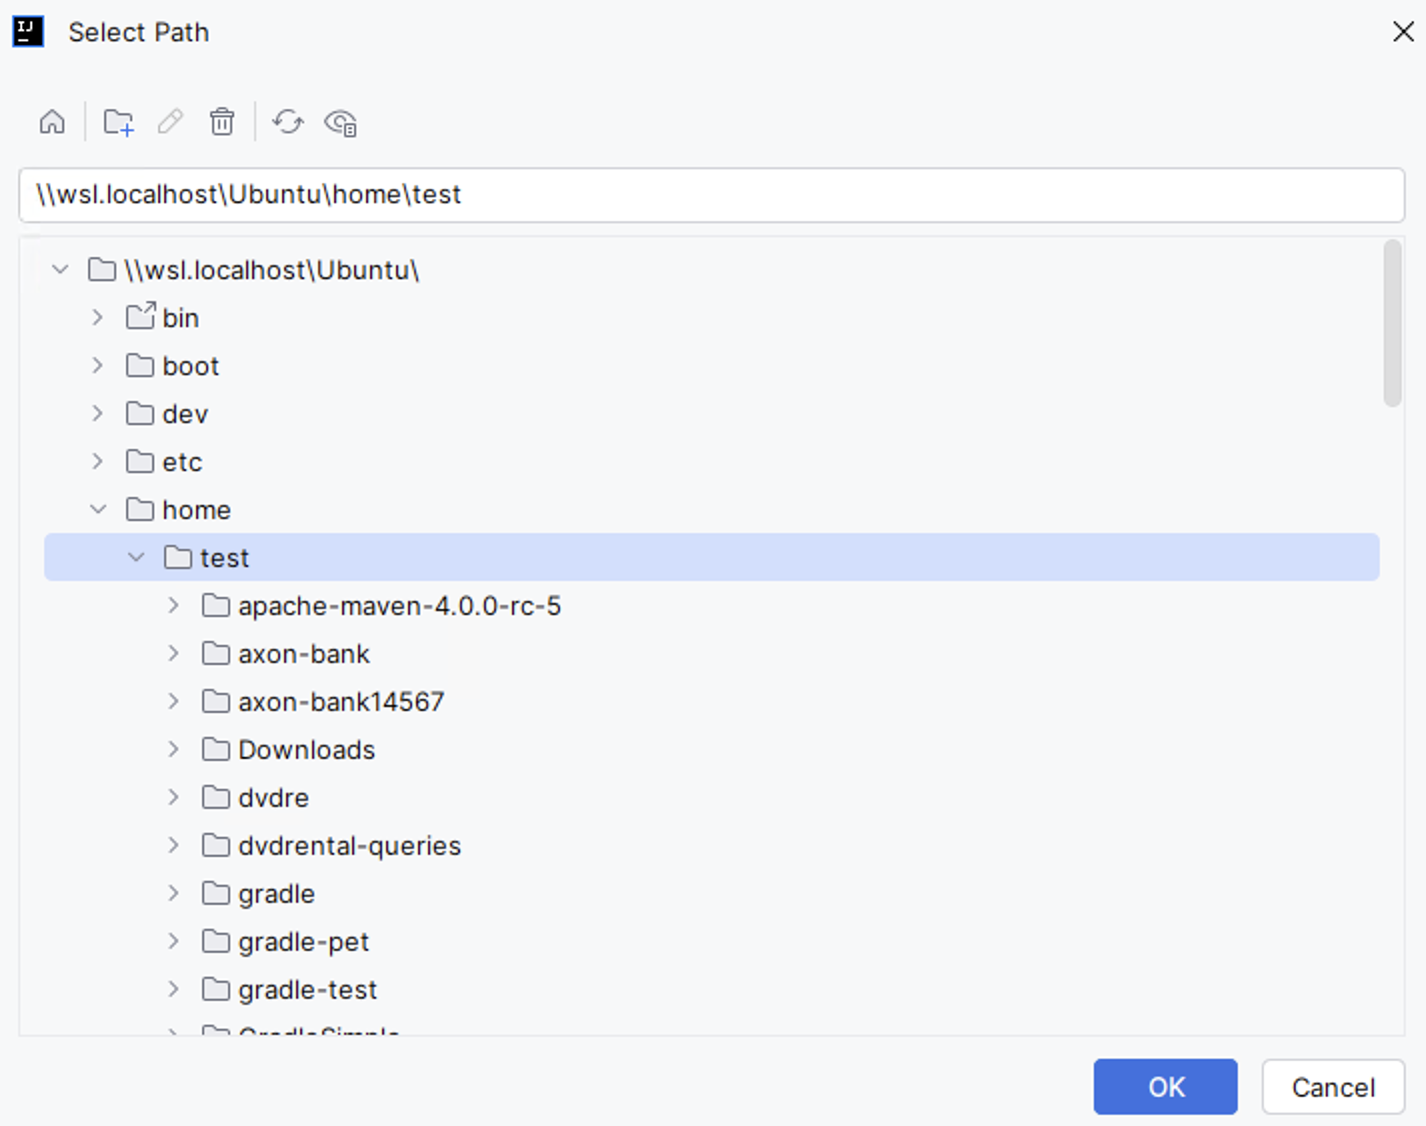
Click Next.
On the page that opens, select the following options:
Name: type the name of your project.
Create Git repository: select this checkbox if you want to add your project to Git.
Location: specify the location of your new project on WSL.
The syntax of the path to a project is as follows:
\\wsl.localhost\DistributionName\home\UserName\ProjectNameDistributionNameis the name of the Linux distribution,UserNameis the name of your user directory.Check the following example:
\\wsl.localhost\Ubuntu\home\test\MyProject.Build system: specify a build tool for your project.
JDK: specify your project SDK located on WSL.
Add sample code: select this option for IntelliJ IDEA to add a simple, runnable code to your project.
Advanced settings: depending on your project, the settings contain additional options.
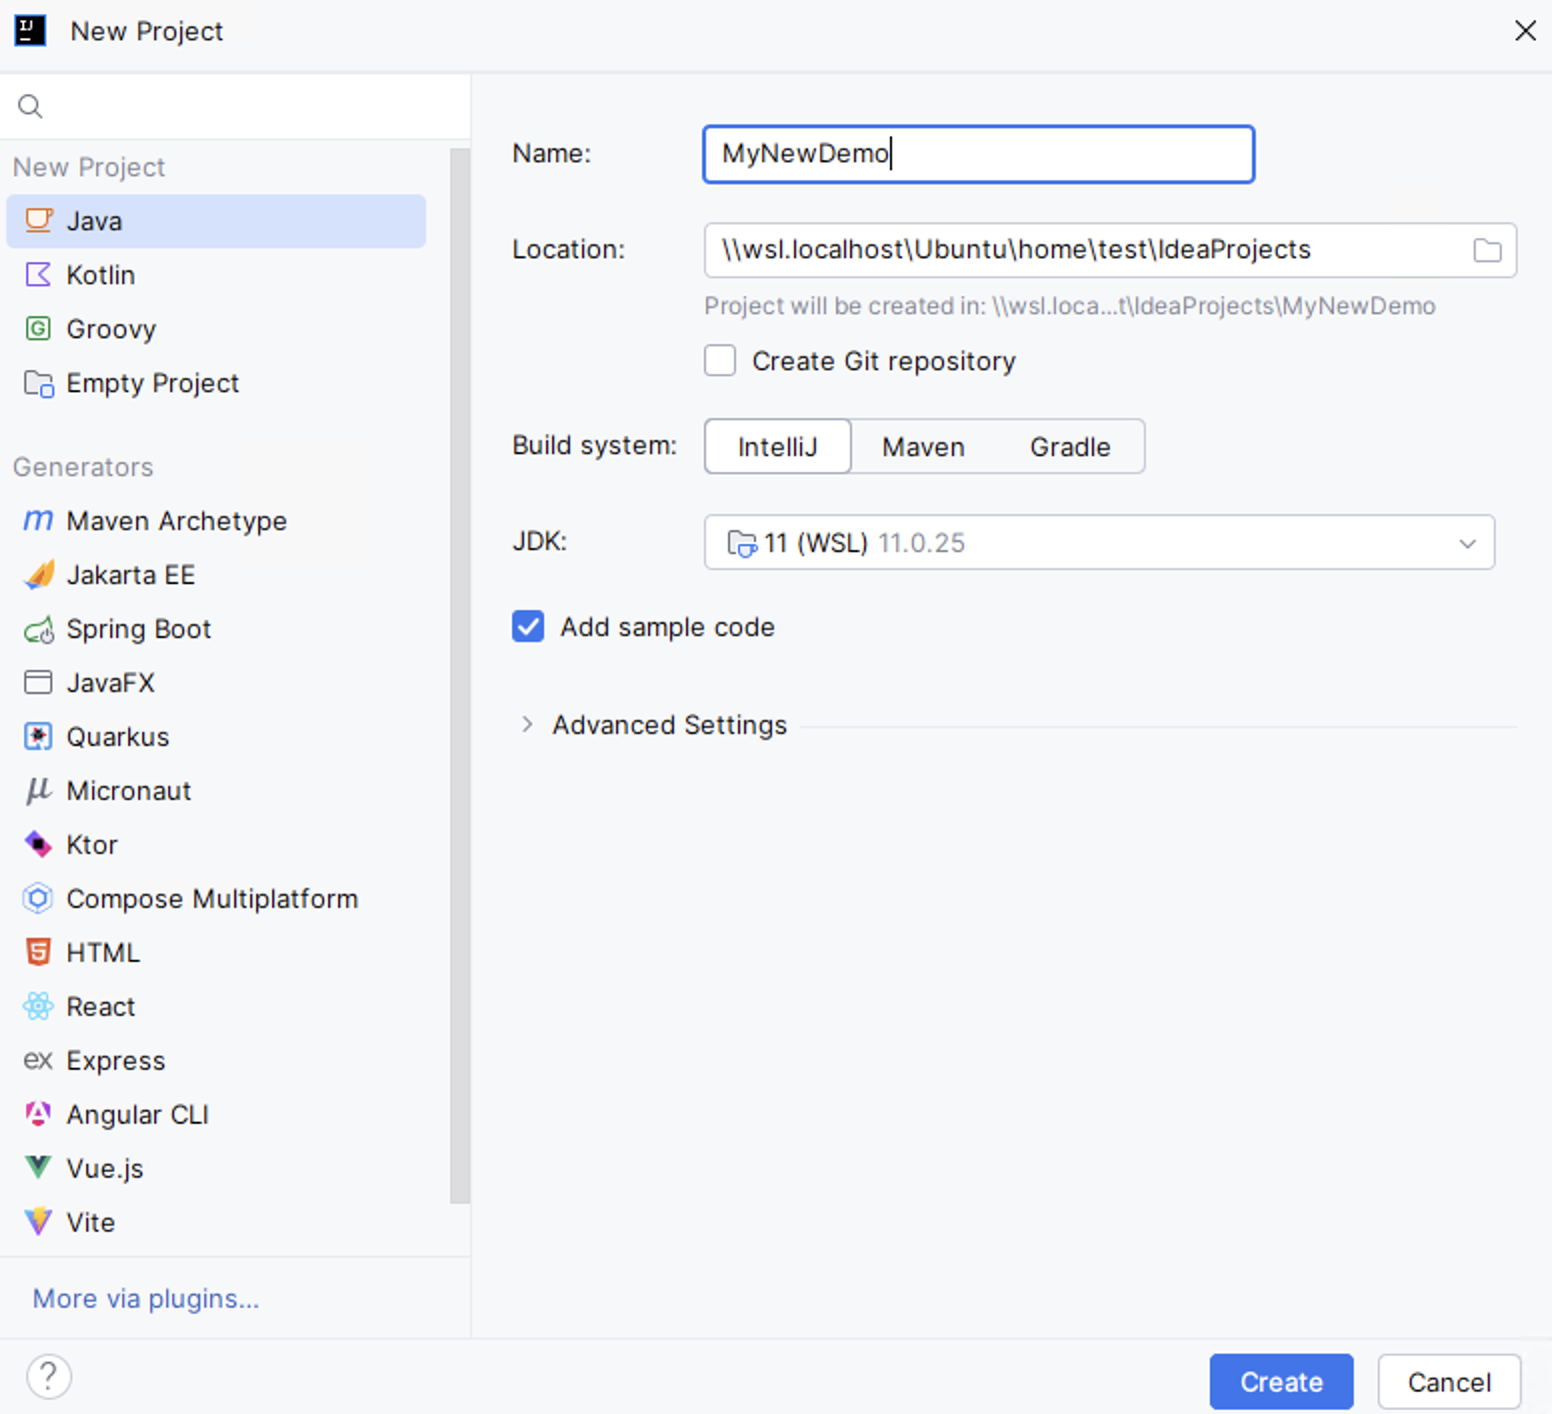
Click Create.
IntelliJ IDEA creates a project located in WSL, and you can develop and build your project inside the WSL environment without leaving the IDE.