Manage teams
You can view, create, delete, or edit teams in to manage your licenses more efficiently.
View teams
Log in to JetBrains Central Console.
In the sidebar, under Licensing, select Teams.
If you don't see this page, or the controls on this page are inactive, your role doesn't have the necessary permissions.
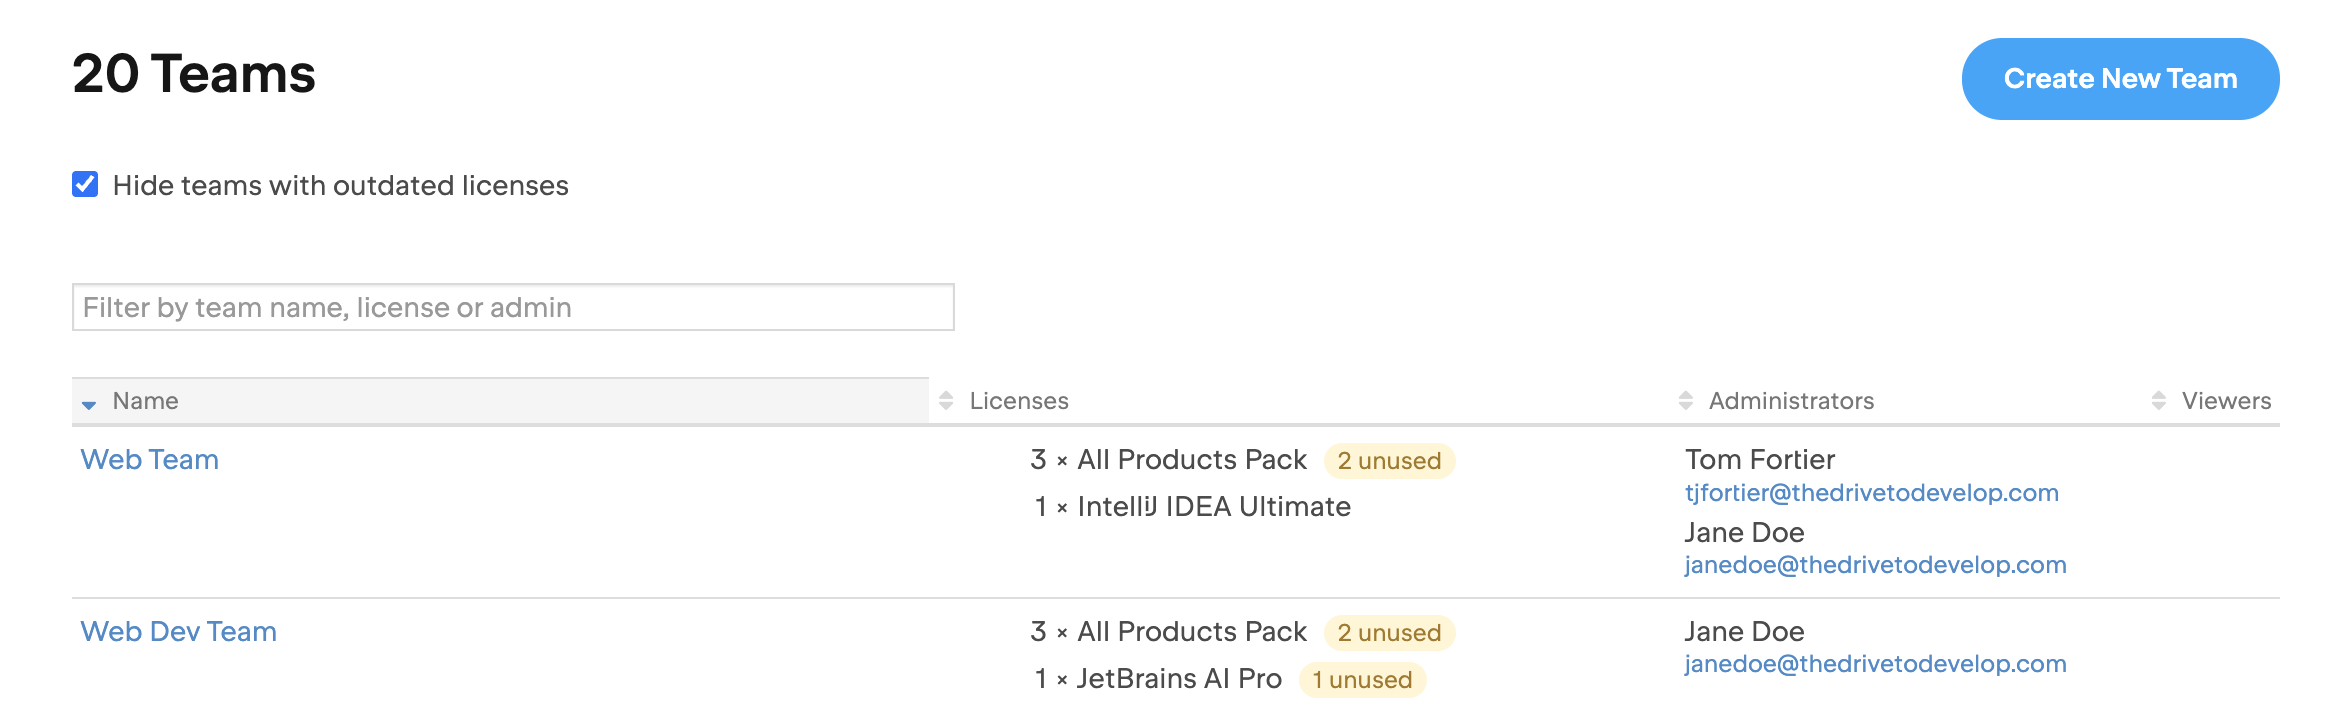
You’ll see a list of teams with the following details:
Name: The name you entered when creating the team. You can update it anytime.
Licenses: The licenses in this team. You can always transfer licenses between teams.
Administrators: Team admins, who can manage the team.
Viewers: Team viewers, who can see the team’s licenses and settings but can’t make changes.
To only see teams with active licenses, select Hide teams with outdated licenses at the top of the list. This hides any teams whose licenses all expired more than a month ago.
Create a team
Log in to JetBrains Central Console.
In the sidebar, under Licensing, select Teams.
If you don't see this page, or the controls on this page are inactive, your role doesn't have the necessary permissions.
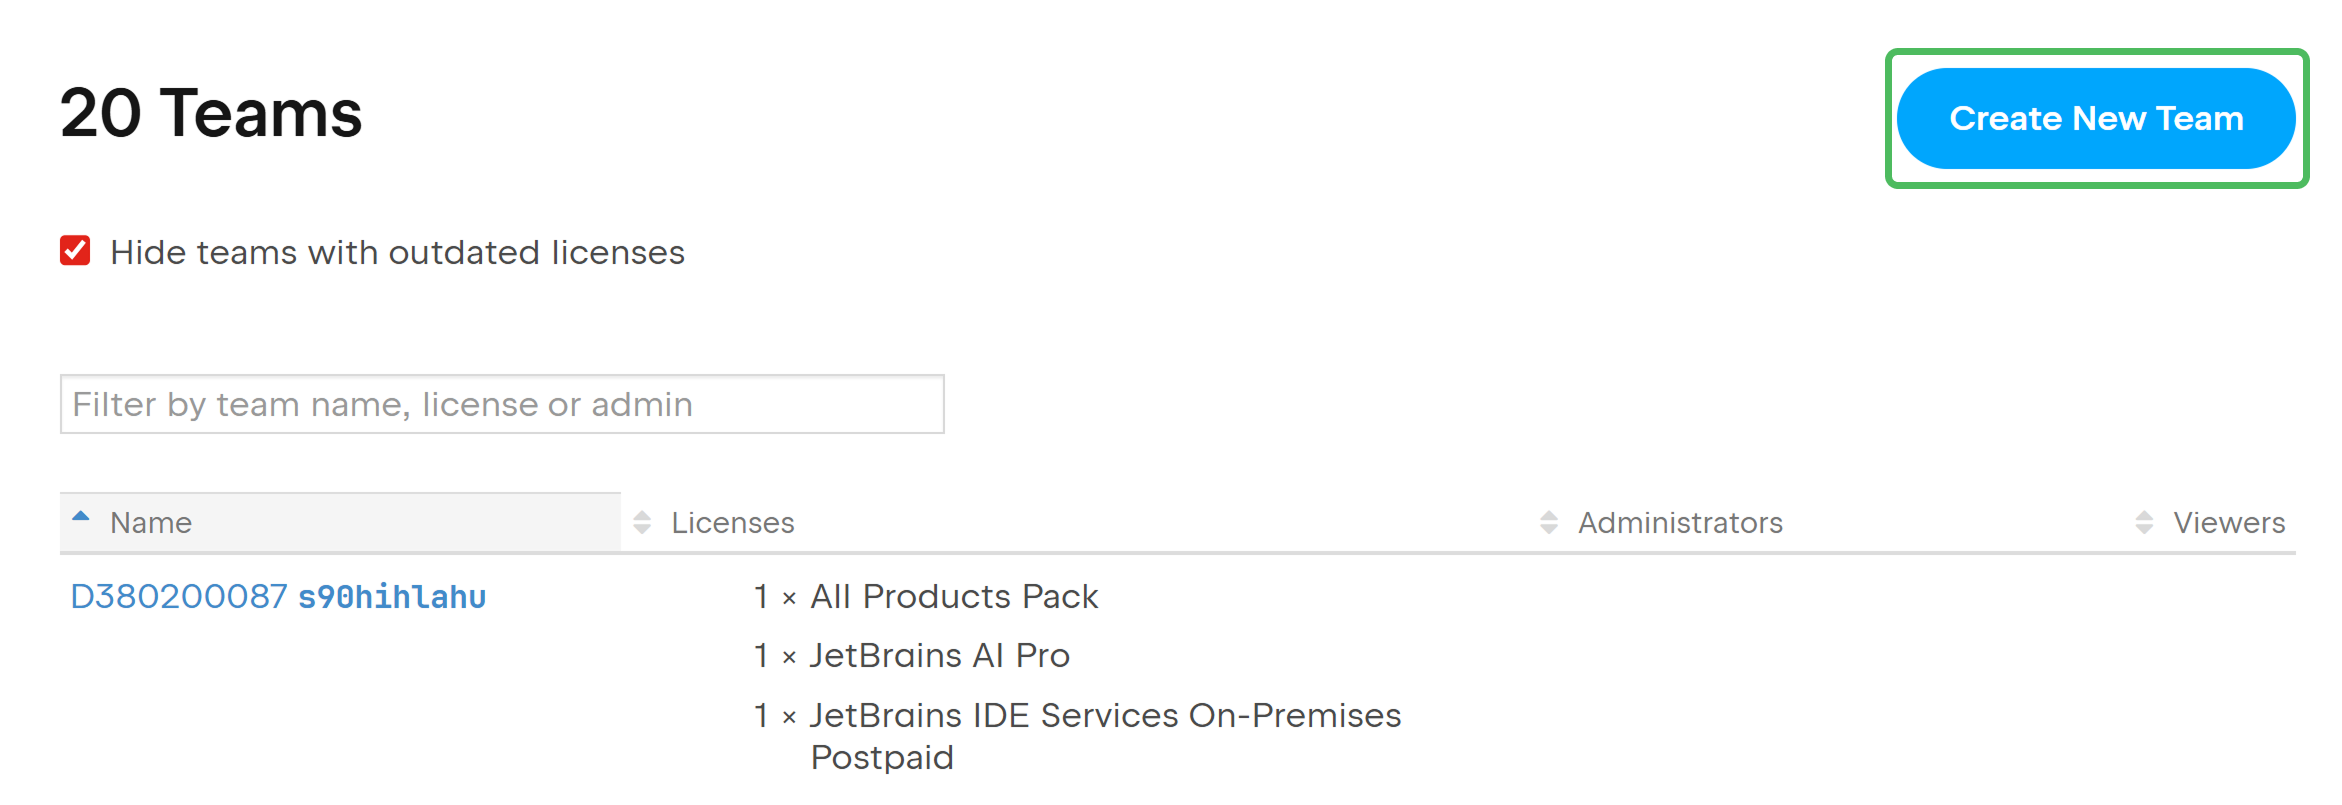
Click the Create New Team button in the upper-right corner.
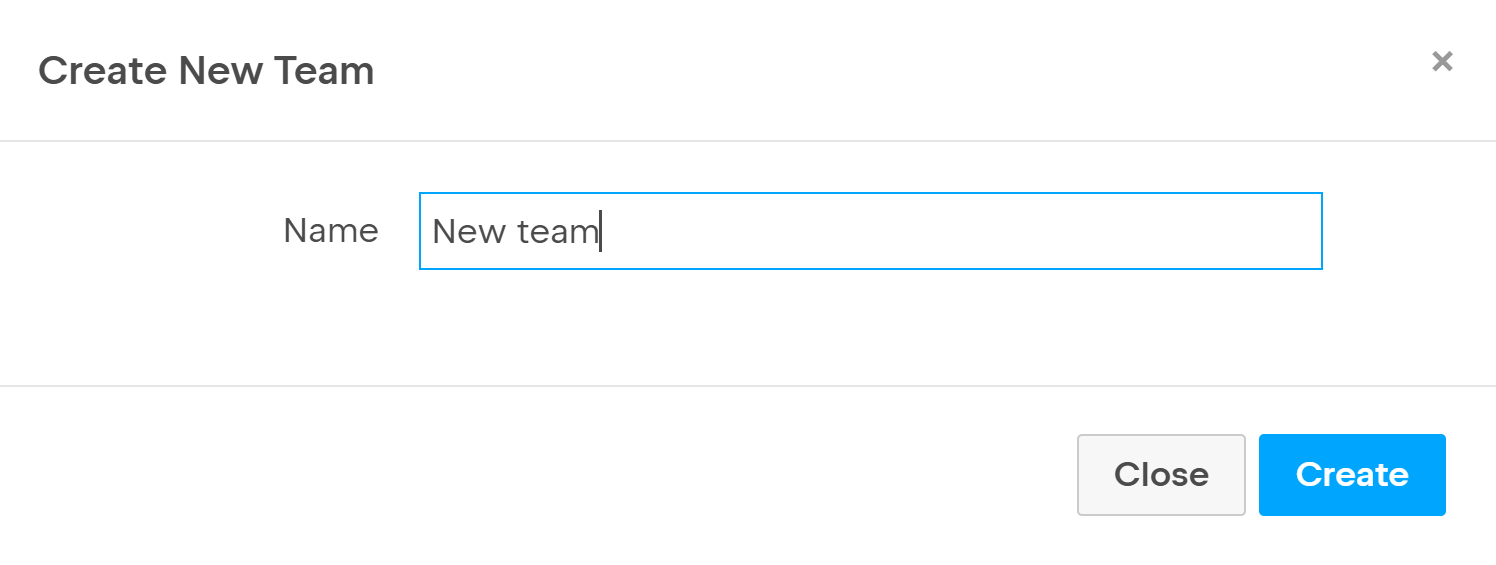
In the popup that appears, enter the name of your new team and click Create.
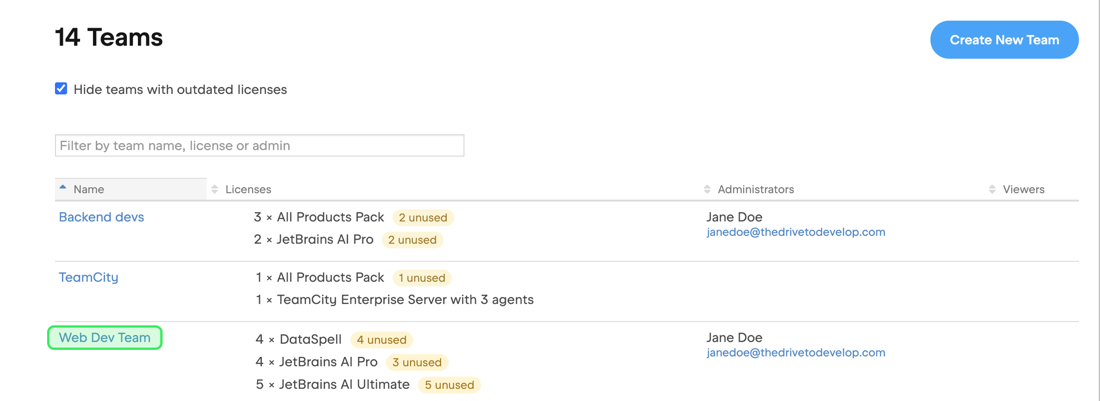
The new team is created immediately, and you become its admin. You can add other team admins, transfer licenses, and merge existing teams into it.
Edit a team's settings
Log in to JetBrains Central Console.
In the sidebar, under Licensing, select Teams.
If you don't see this page, or the controls on this page are inactive, your role doesn't have the necessary permissions.
In the list of teams, click on the name of the team whose settings you want to edit.
In the menu on the left, click Administration.
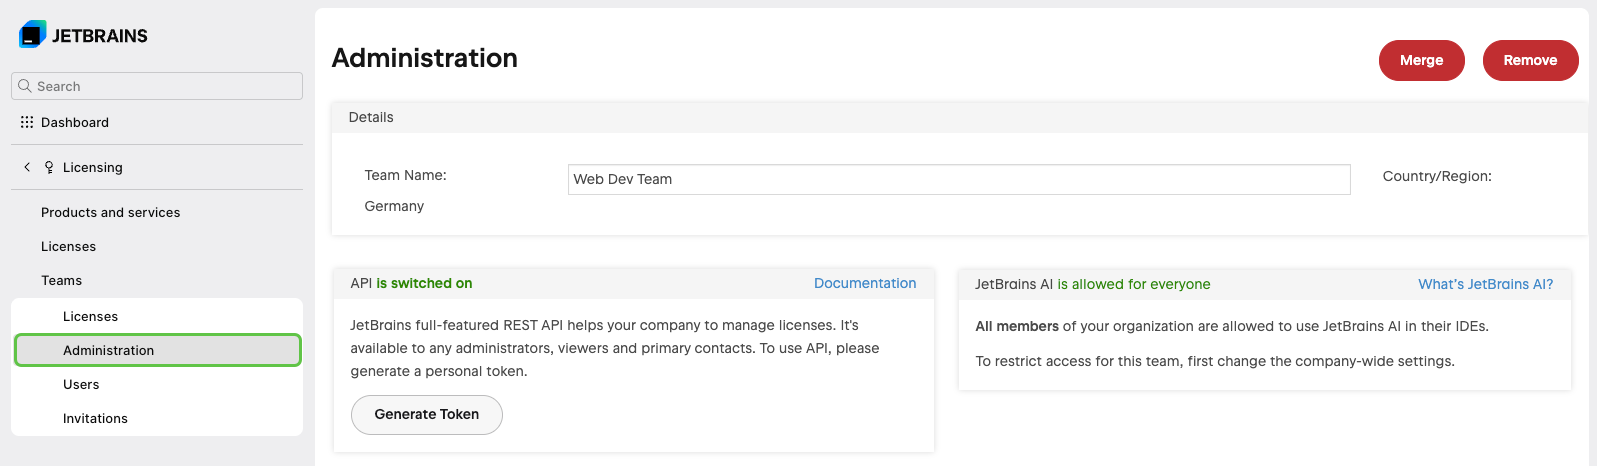
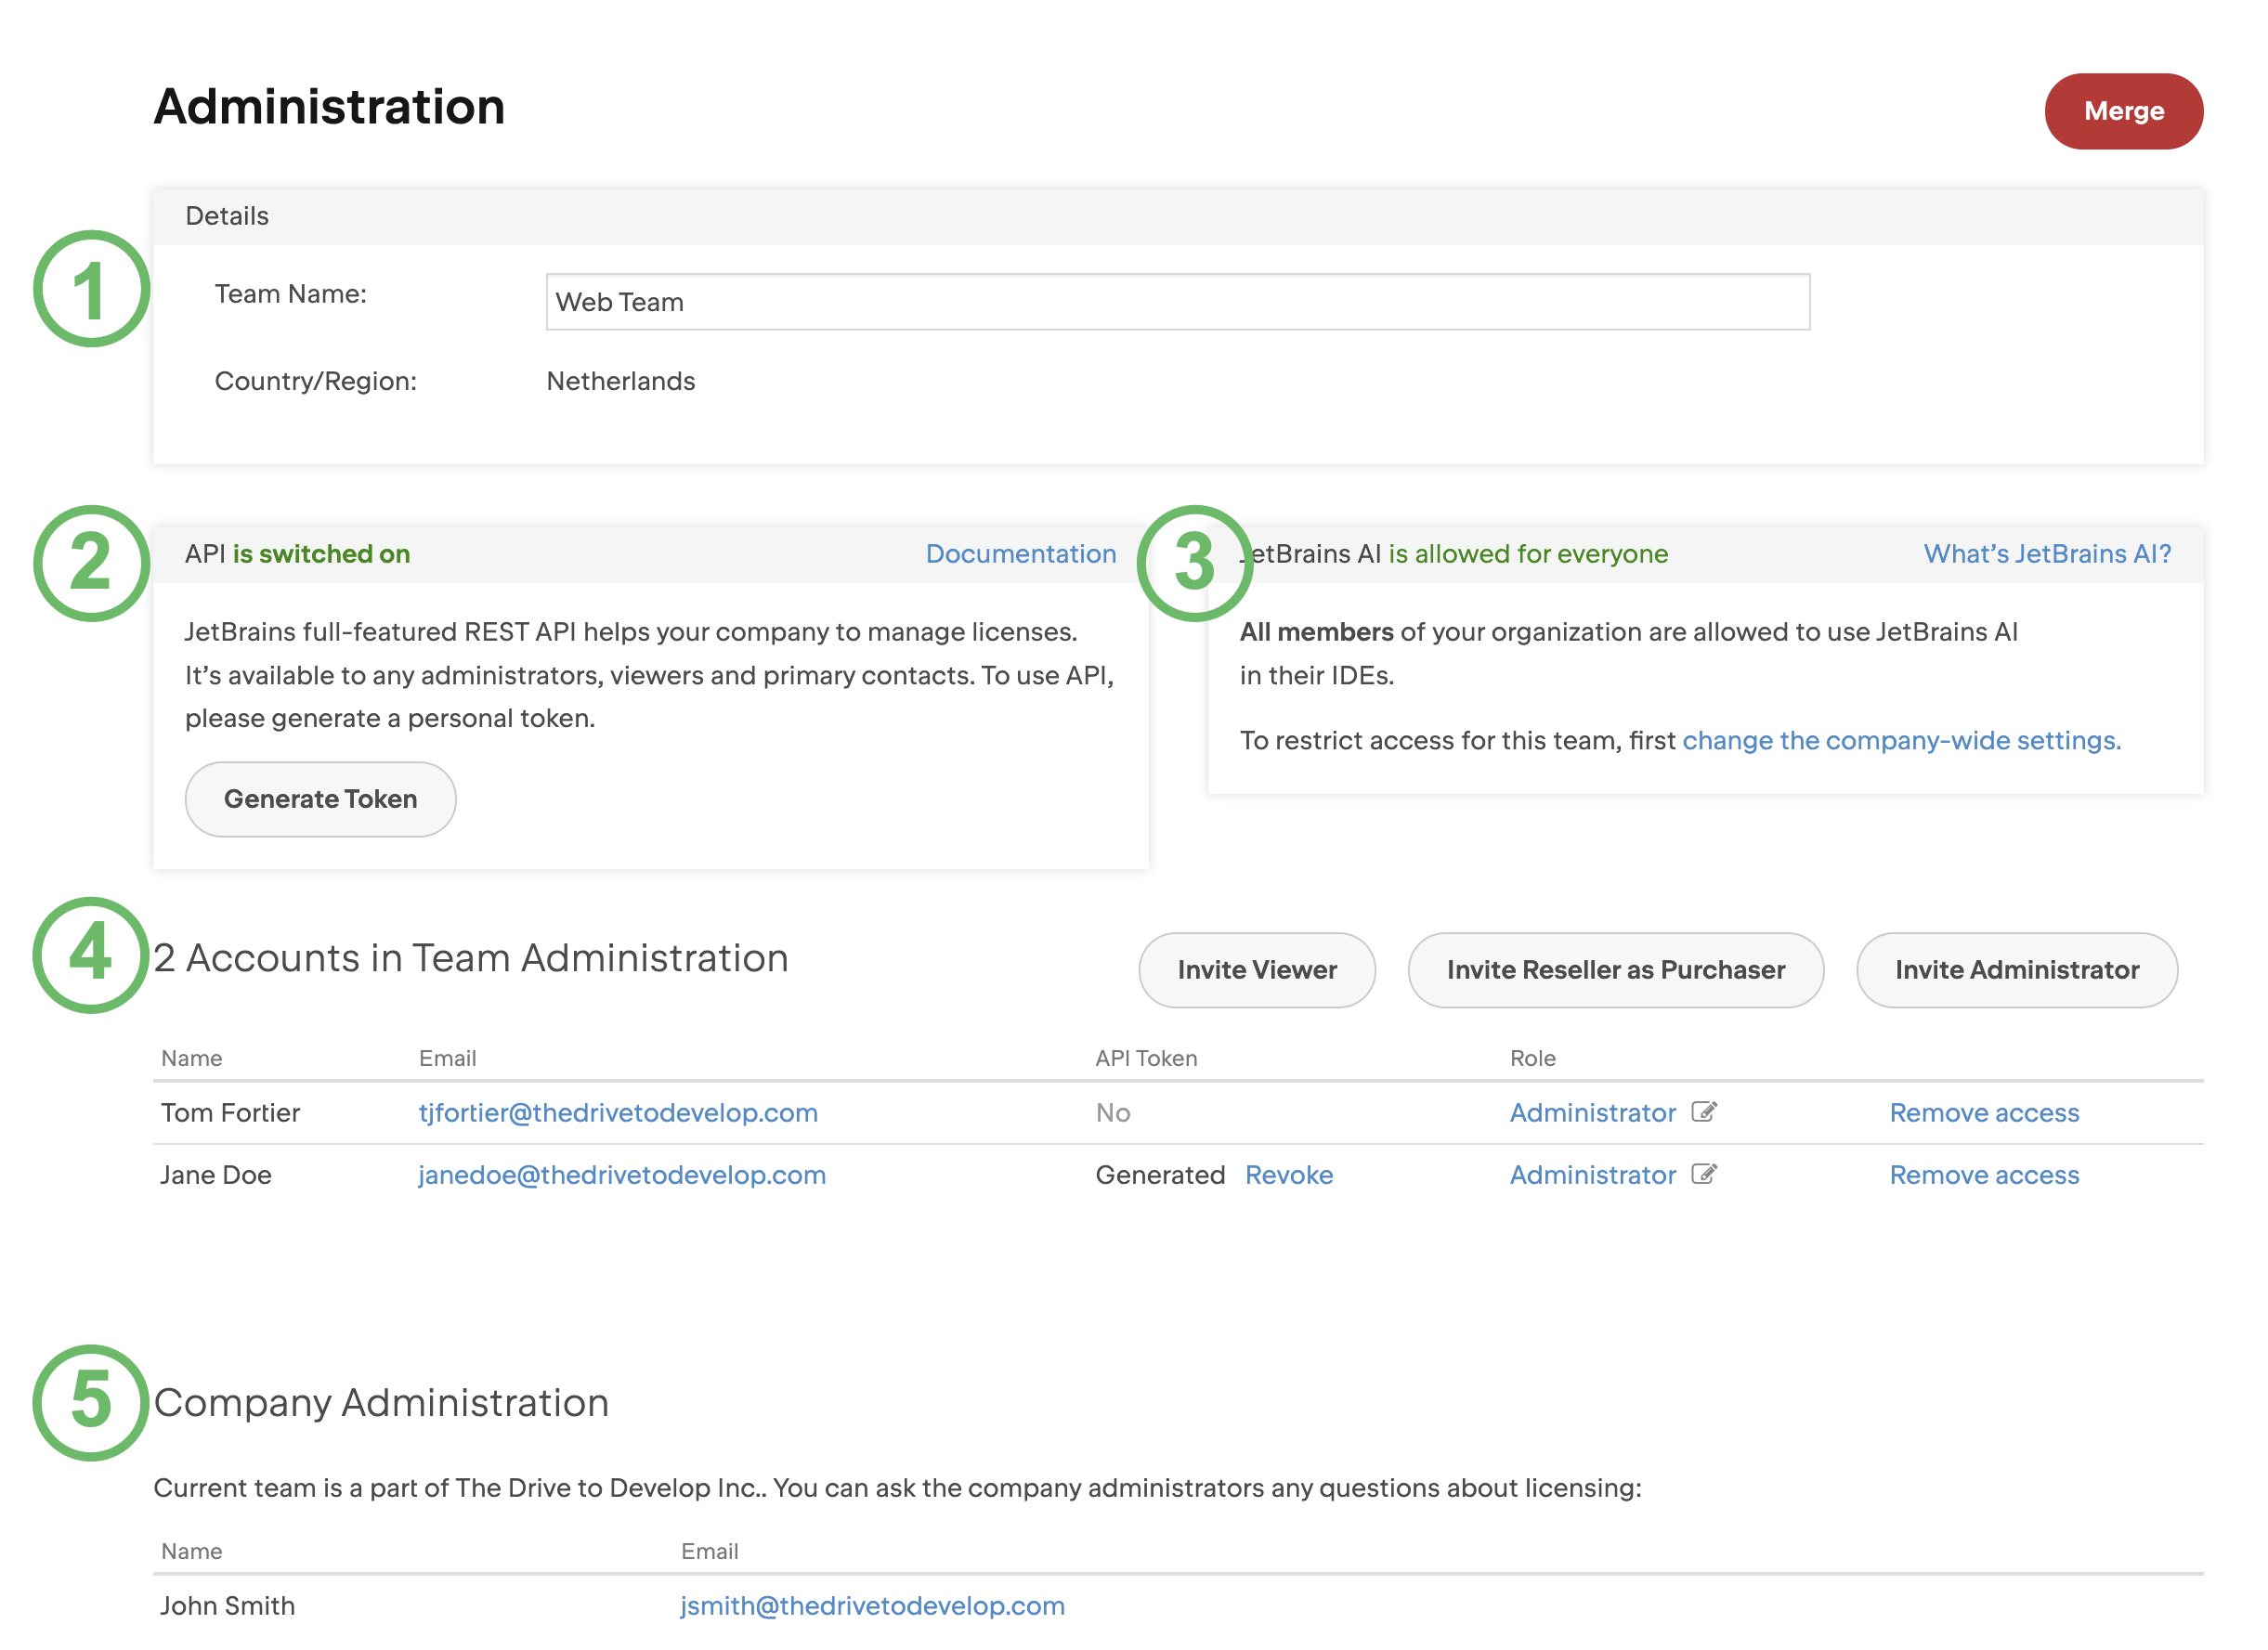
On the Administration page, you'll see:
The name you entered when creating the team. To update it, enter the new name in the field. It'll be saved automatically as soon as you stop typing.
The JetBrains Account API status (on or off) and token generation.
X Accounts in Team Administration. A list of team admins who manage this team. You can remove them or invite new ones.
Org admins, who manage your entire organization.
Merge teams
You can merge two teams to rearrange your organizational structure. See Merge teams for details.
Delete a team
If a team is no longer in use, you can delete it. You can only delete empty teams. If the team you want to delete still has licenses, transfer them to another team.
Log in to JetBrains Central Console.
In the sidebar, under Licensing, select Teams.
If you don't see this page, or the controls on this page are inactive, your role doesn't have the necessary permissions.
In the list of teams, click on the name of the team you want to delete.
In the menu on the left, click Administration.
In the top-right corner of the screen, click Remove.

If you don't see the Remove button
If the Remove button doesn’t appear on a team’s Administration page, it could be because:
Your team isn't empty. Make sure you transfer all the licenses to another team.
Your team is connected to a License Vault or IDE Services instance, so it can't be deleted.
Your team is connected to a legacy License Server instance with True-Up billing enabled. In this case, contact our support team to delete the team.