Editor basics
The AppCode editor is the main part of the IDE that you use to create, read and modify code.
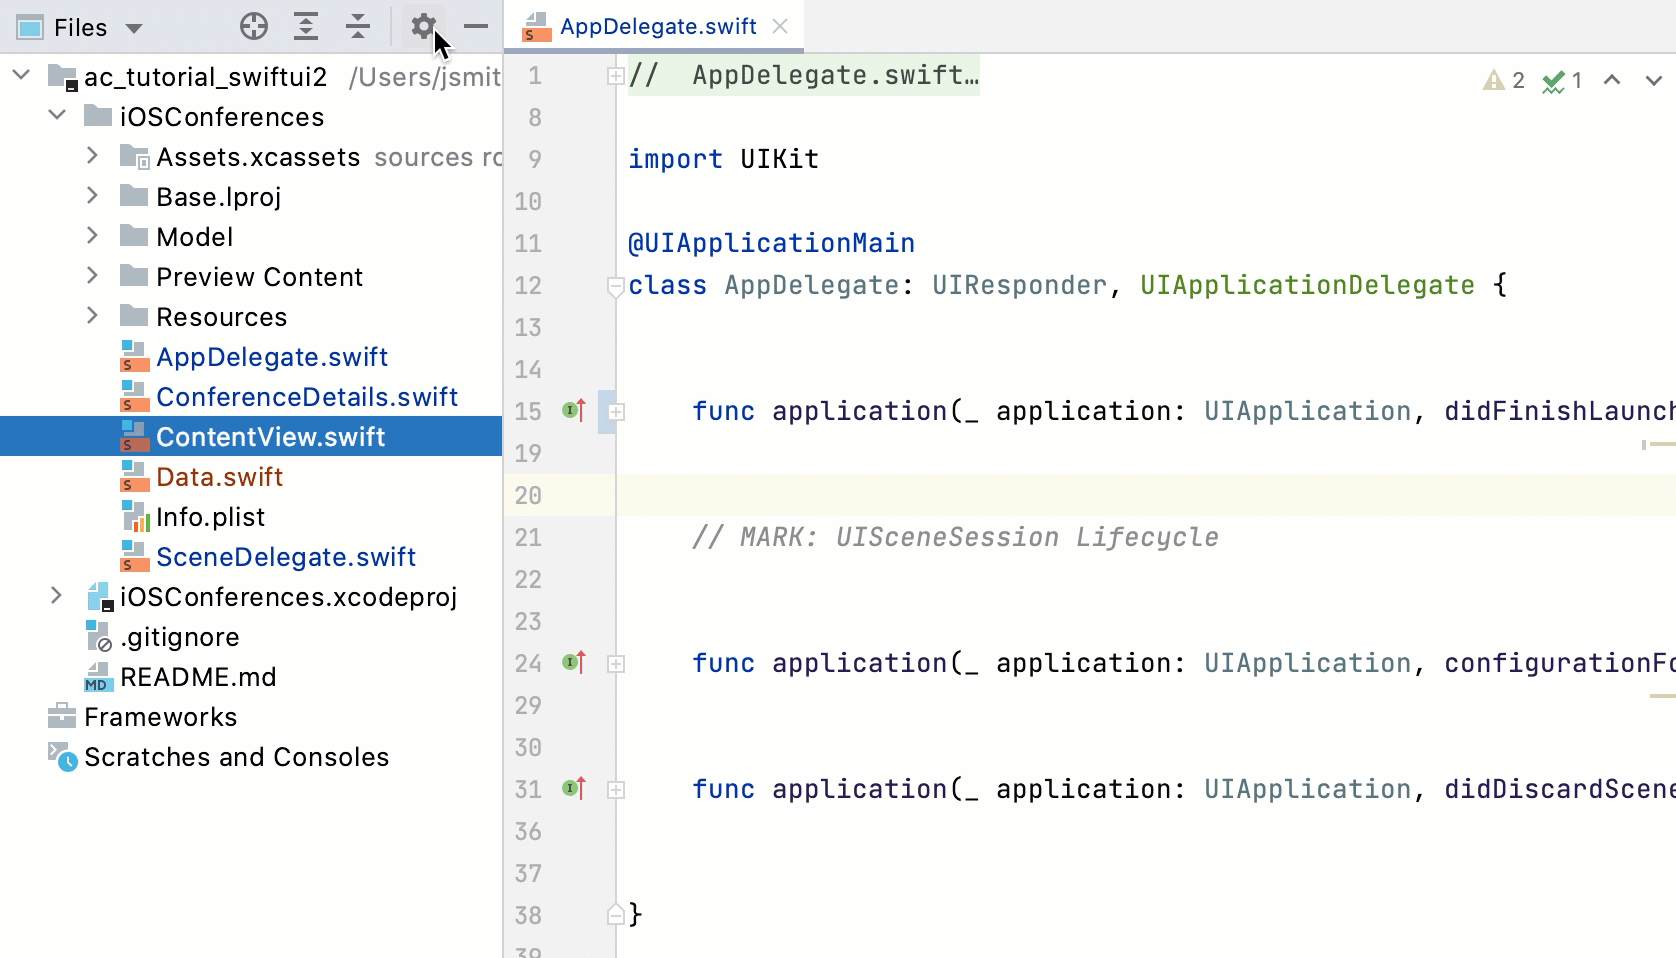
The editor consists of the following areas:

The scrollbar shows errors and warnings in the current file.
Breadcrumbs help you navigate inside the code in the current file.
The gutter shows line numbers and annotations.
Tabs show the names of the currently opened files.
Navigation
You can use various shortcuts to switch between the editor and different tool windows, change the editor size, switch focus, or return to the original layout.
Maximize editor pane
- In the editor, press ⌃⇧F12. AppCode hides all windows except the active editor.
You can maximize a split screen as well. In this case the active screen is maximized and other screens are moved aside.
Switch the focus from a window to the editor
Press ⎋. AppCode moves the focus from any window to the active editor.
Return to the editor from the command-line terminal
Press ⌥F12. AppCode closes the terminal window.
If you need to keep the terminal window open when you switch back to the active editor, press ⌃⇥.
Return to the default layout
Press ⇧F12.
To save the current layout as the default, from the main menu select . You can use the same shortcut ⇧F12 to restore the saved layout.
Jump to the last active window
Press F12.
Use the switcher for navigation
To jump between the opened files and tool windows with the switcher, press ⌃⇥.
Keep Ctrl pressed to leave the switcher popup open.
Press Tab to move between elements. Press ⌫ to remove the selected file from the list and close it in the editor.
Change the IDE appearance
You can switch between schemes, keymaps, or viewing modes.
Press ⌃`.
In the Switch menu, select the option you need and press ⏎. Use the same shortcut ⌃` to undo your changes.
You can also find and adjust the color scheme settings including the high contrast color scheme for people with eyesight deficiency on the page and the keymap settings on the page of the Preferences dialog ⌃⌥S.
Editor tabs
You can close, hide, and detach editor tabs. Every time you open a file for editing, a tab with its name is added next to the active editor tab.
To configure the settings for editor tabs, use the page of the Preferences dialog ⌃⌥S. Alternatively, right-click a tab and select Configure Editor Tabs from the list of options.
Open or close tabs
To close all opened tabs, select from the main menu.
To close all inactive tabs, press Alt and click
 on the active tab. In this case, only the active tab stays open.
To close all inactive tabs except the active one and the pinned tabs, right-click any tab and select Close Other Tabs.
To close only the active tab, press ⌃F4. You can also click the mouse's wheel button anywhere on a tab to close it.
To reopen the closed tab, right-click any tab, and from the context menu, select Reopen Closed Tab.
To open a new tab at the end of the already opened one, select the Open new tabs at the end in the tab settings.
Copy path or filename
Right-click the tab.
From the list that opens, select Copy Path.
- From the list that opens, select your copy option.

AppCode copies the item to the clipboard and you can paste it (⌃V) wherever you need.
Move, remove, or sort tabs
To move or remove the
icon on a tab, in the Preferences dialog ⌃⌥S, go to and select the appropriate option in the Close button position field.To place the editor tabs in a different part of the editor frame or hide the tabs, right-click a tab and select Configure Editor Tabs to open the Editor Tabs settings. In the Appearance section, in the Tab placement list, select the appropriate option.
To sort the editor tabs alphabetically, right-click a tab and select Configure Editor Tabs to open the Editor Tabs settings. In the Tab order section, select Sort tabs alphabetically.
Pin or unpin a tab
You can pin an active tab in the editor so that it will stay open when the tab limit is reached or when you use the Close Other Tabs command.
To pin or unpin an active tab, right-click it and select Pin Tab or Unpin Tab form the context menu.
To close all tabs, but the pinned ones, right-click any tab and select Close All but Pinned.
To assign a keyboard shortcut for the Pin Tab action, in the Preferences dialog ⌃⌥S, go to , find the Pin Active Tab action, right-click it, select Add Keyboard Shortcut, and press the key combination you want to use.
Detach a tab
When you detach a tab, the tab opens in a separted window and the window becomes reserved for the detached tab. If you try to detach another tab from the main frame, it will be opened in the new window.
To detach an active tab, press ⇧F4.
Drag the tab you need outside of the main window and drag the tab back to attach it.
You can also use Alt+mouse for the same action.
In the Project tool window, select a file you want to detach and press Shift+Enter.
Switch between tabs
To move between tabs, press ⌥→ or ⌥←.
You can also switch between recently viewed tabs or files.
In the editor, press ⌃⇥. Keep pressing Ctrl for the Switcher window to stay open. Use Tab to switch between tabs and other files.
Assign a shortcut for the opened tab
In the Preferences dialog ⌃⌥S, go to .
In the list of directories, click the directory and from the list of tabs, select the one for which you need to add a shortcut. The limit of tabs to which you can assign shortcuts is 9.

Change the default tab limit
AppCode limits number of tabs that you can open in the editor simultaneously (the default tab limit is 10).
In the Preferences dialog ⌃⌥S, go to .
In the Tab closing policy section, adjust the settings according to your preferences and click OK.
Open files in the preview tab
The preview tab allows you to view files in a single tab one by one without opening each file in a new tab. This is helpful if you need to look through several files without exceeding the tab limit.
In the Project tool window ⌥1, click
 and select the Enable Preview Tab option.
You can also enable the preview tab in .
In the Project tool window, select a file that is not already open in any other tab.
The name of the file is written in italic to indicate the preview mode. Any other file that you select will replace the previous one in the preview tab.
Start editing the file to exit the preview mode and change it to a regular tab.
Note that when the preview tab is enabled, the Open Files with Single Click option is ignored. Double-click a file to open it in a regular tab.
Hide editor tabs if there is no more space
In the Preferences dialog ⌃⌥S, go to .
Select the Hide tabs if there is no space option. Extra tabs will be placed in the list located in the upper right part of the editor.
Change the font size in tabs
In the Preferences dialog ⌃⌥S, go to .
In the Size field, specify the font size and click OK to save the changes.
Keep in mind that the font size will change not only for tabs, but for tool windows as well.
Split screen
AppCode offers various actions that you can invoke from main or context menu, editor, or the project tool window to split the editor screen.
In the editor, right-click the desired editor tab and select how you want to split the editor window (Split Right or ). AppCode creates a split view of the editor and places it according to your selection.
As an alternative, from the main menu, select and the Split and Move Right or Split and Move Down option.
If necessary, you can assign keyboard shortcuts for these actions. To do this, in the Preferences dialog ⌃⌥S, go to , find the Split Right or Split Down action, right-click it, select Add Keyboard Shortcut, and press the key combination you want to use. You can do the same for the Split and Move Right or Split and Move Down action.
You can drag a tab vertically or horizontally in order to split the editor, and drag the tab back to unsplit the screen.
You can open a file in the editor in the right split.
In the Project tool window, right-click a file and select Open in Right Split from the context menu (or press ⇧⏎). AppCode will open a file in the split on the right of the editor.
If there are two splits and focus is in the left split, the file will be opened in the existing right split. If the focus is in the right split, the file will be opened in the next right split.
You can move files between split screens. Right-click the needed file tab in the editor and from the context menu select Move To Opposite Group or Open In Opposite Group.
You can maximize the active split screen. Place the cursor in the screen you want to maximize and press ⌃⇧F12.
In this case, AppCode hides all tool windows and moves other split screens aside.
An an alternative, you can double-click the active split screen to maximize it.
To unsplit the screen, from the context menu, select Unsplit or Unsplit All to unsplit all the split frames.
Move the split screen
Place the caret inside the desired split frame.
From the main menu, select .
From the list of options, select one of the following options:
Stretch Editor to Top
Stretch Editor to Left
Stretch Editor to Bottom
Stretch Editor to Right
You can assign a shortcut to each option and use a keyboard to stretch the split frame.
To move between the split frames which you've created, from the main menu, select . From the list of options select Goto Next Splitter ⌥⇥ or Goto Previous Splitter ⌥⇧⇥ respectively.
Quick popups
| Description | Action/Access | Good to know |
|---|---|---|
| View quick definition of a symbol (tag, class, method/function, field, and so on.) | ⌃⇧I | AppCode displays the information in a popup. If you need, click the |
| View quick documentation for a code element or a file. | ⌃Q | AppCode displays a popup with the appropriate information. You can press ⌃Q twice to open the popup in the Documentation tool window. (Press same shortcut to switch back to the popup). If you invoke the quick documentation popup when you look for a class ⌃N, you can look up the documentation on any class displayed in the list. To switch focus to the popup, press the same shortcut. |
| View the context information. | ⌥Q | The action shows the current method or class declaration when it is not visible. |
| View a description of the error or warning at the caret. | ⌃F1 | Click the code analysis marker to see the list of found errors. Use F2 or ⇧F2 to navigate to next or previous error. |
| Copy tooltip text to the clipboard. | Hold Alt and click the tooltip | With this action, you can save some important information that is shown in a tooltip instead of, for example, making a screenshot. |
| View all usages for code element. | ⌃⇧F7 | To control the usages highlighting, select or clear the Highlight usages on element at caret option, in (the Highlight on Caret Movement area). If you turn on the Power Save mode ( ), the usages are not highlighted. |
Useful editor configurations
You can use the Preferences dialog ⌃⌥S to customize the editor's behavior.

Check the following popular configurations:
Configure code formatting
In the Preferences dialog ⌃⌥S, go to .
From the list of languages select the appropriate one and on the language page, configure settings for tabs and indents, spaces, wrapping and braces, hard and soft margins, and so on.
Configure fonts, size, and font ligatures
In the Preferences dialog ⌃⌥S, go to .
Change the font size in the editor
In the Preferences dialog ⌃⌥S, go to (Mouse Control section).
Select the Change font size (Zoom) with Command+Mouse Wheel option.
Return to the editor, press and hold Ctrl, and using the mouse wheel, adjust the font size.
Configure the color scheme settings for different languages and frameworks
In the Preferences dialog ⌃⌥S, go to .
Open the Color Scheme node and select the needed language or framework. You can also select the General option from the node's list to configure the color scheme settings for general items such as code, editor, errors and warnings, popups and hints, search results, and so on.
Configure code completion options
In the Preferences dialog ⌃⌥S, go to . Here you can configure the case sensitive completion, auto-display options, code sorting, and so on.
Configure the caret placement
In the Preferences dialog ⌃⌥S, go to . In the Virtual Space section, you can configure the caret placement options.
Select the Allow placement of caret after end of line option to place the caret at the next line in the same position as the end of the previous line. If this option is cleared, the caret at the next line is placed at the end of the actual line.
Select the Allow placement of caret inside tabs option to help you move the caret up or down inside the file while keeping it in the same position.
Configure the behavior of trailing spaces on save
In the Preferences dialog ⌃⌥S, go to . In the Other section, you can configure options for trailing spaces.
For example, when you save your code either manually or automatically and want to preserve trailing spaces on the caret line regardless of what option is selected in the Strip trailing spaces on save list, select the Always keep trailing spaces on caret line option.
Configure the editor appearance options
In the Preferences dialog ⌃⌥S, go to .
For example, you can configure showing the hard wrap guide, or showing parameter hints.
Manage the appearance for long lines
In the Preferences dialog ⌃⌥S, go to .
In the Soft Wraps section, specify the appropriate options.
Configure smart keys
You can configure a certain behavior for different basic editor actions depending on the language you use.
In the Preferences dialog ⌃⌥S, go to .
For example, you can select the Jump outside closing bracket/quote with Tab option to enable navigation outside the closing brackets or quotes with Tab when you type your code.