Figma Connect
Figma Connect lets you bring designs from Figma into PhpStorm and use them as context for JetBrains Air in IDEs. Select any layer in Figma Desktop — a frame, a component, or a group, reference it from Air Chat, or copy the reference into an agent running in the Terminal — without switching back and forth between the design and PhpStorm.
The Bring Your Own Key (BYOK) approach is also supported, so you can use models from compatible AI providers with your own API keys.
PhpStorm connects to Figma Desktop through the JetBrains Connect plugin for Figma, which streams your current selection to the Figma Layers tool window in real time.
Before you start
Make sure you have a paid Figma seat with Dev Mode or Full Design access. Figma Connect relies on the Figma Desktop MCP server, which cannot be enabled on View, Collab, or Starter seats.
Make sure the JetBrains Air in IDEs bundled plugin is enabled in the Installed tab of the Settings | Plugins page as described in Plugins.
Optionally:
Install the Figma Desktop application and open the design file you want to work with.
Although it is strongly recommended that you use JetBrains Air in IDEs, you can also use AI Assistant.
Make sure AI Assistant is installed. You can use it either with an active JetBrains AI subscription or with your own model provider connected — a paid subscription is not required.
To use the Bring Your Own Key (BYOK) approach, make sure no authentication method is configured in the AI Assistant. To do so, open the Settings dialog Ctrl+Alt+S, go to , and then revoke agent authorization, log out of JetBrains AI, or select None from the Provider list.
Refer to Bring Your Own Key (BYOK) for details.
Set up Figma Connect in PhpStorm
PhpStorm provides you with a Figma Connect wizard that guides you through the setup process, including installation of the AI Assistant plugin and the Figma Desktop application, installing the JetBrains Connect plugin in Figma, and connecting the Figma Desktop application to PhpStorm.
Open the Figma Layers tool window () and click Set Up.
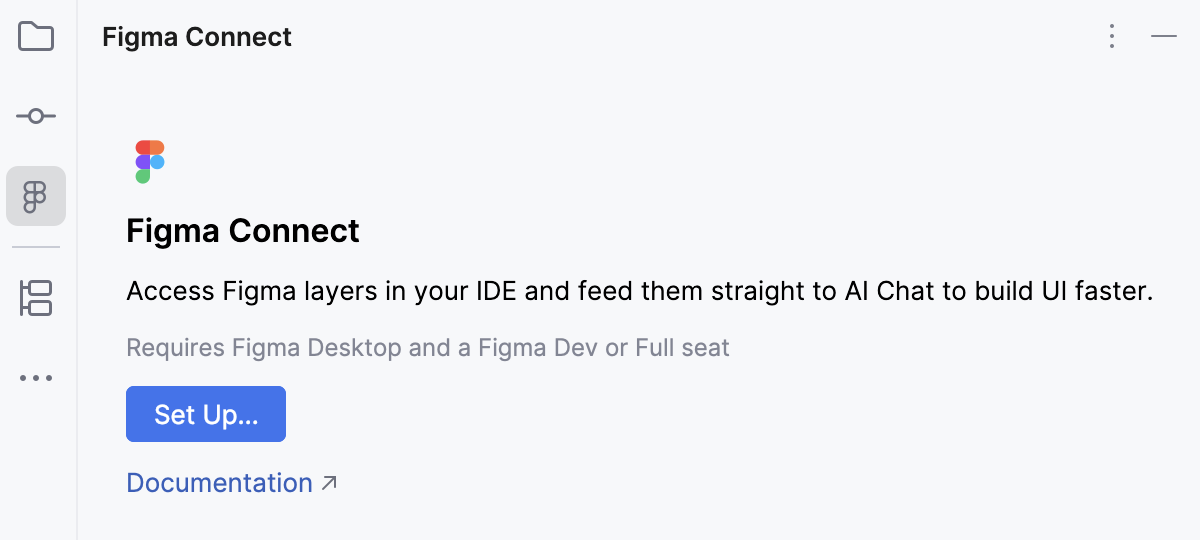
Follow the on-screen instructions to set up Figma Connect.
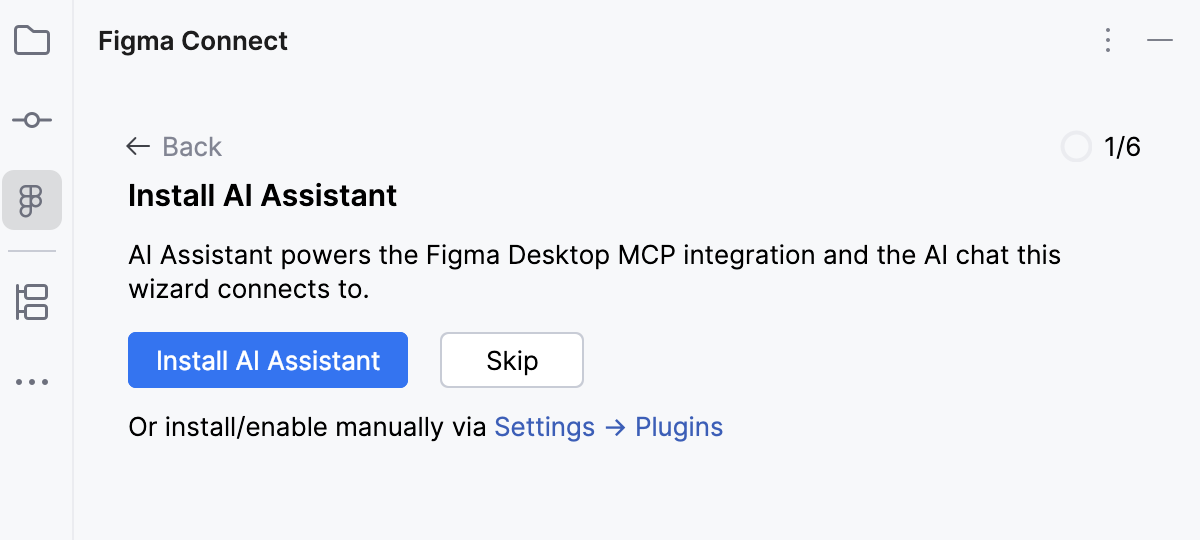
If you have not installed the AI Assistant plugin yet, click Install on the Install AI Assistant page.
Alternatively, click Skip to install the plugin on the page, as described in Plugins.
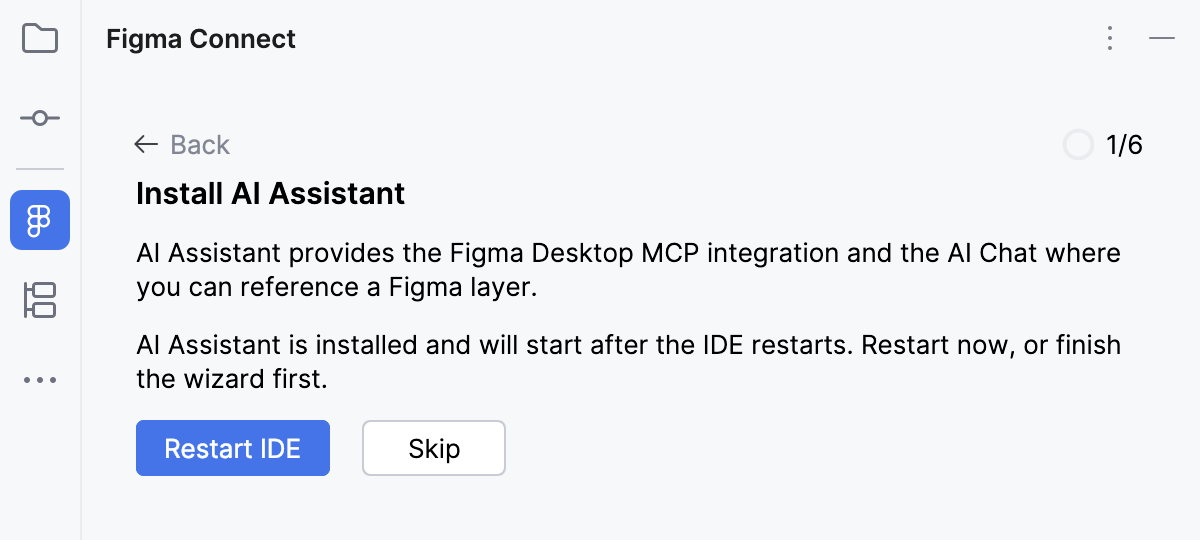
When the installation is completed, click Restart IDE or Skip to do that later.
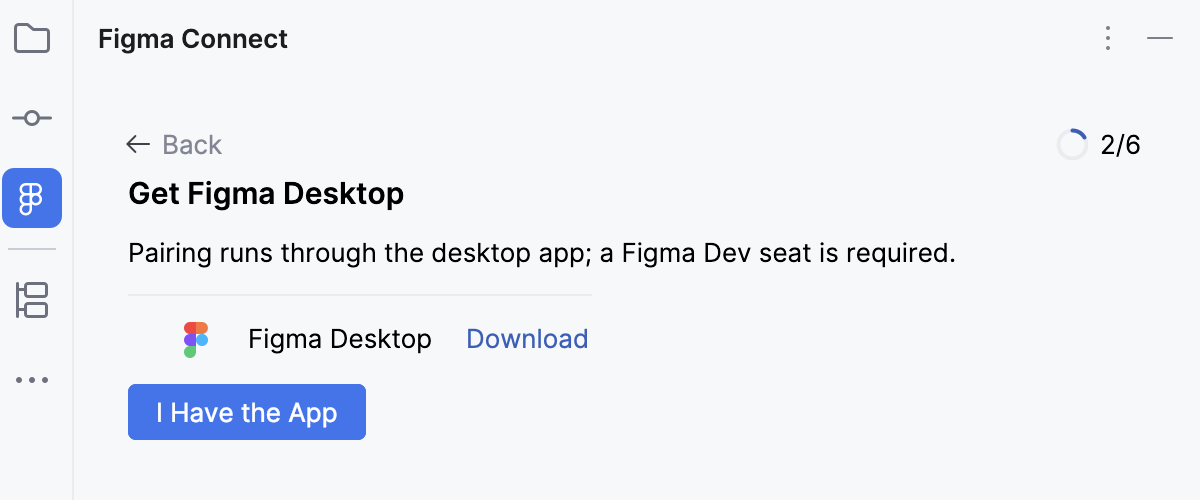
On the Get Figma Desktop page of the wizard, click Download to install the Figma Desktop application.
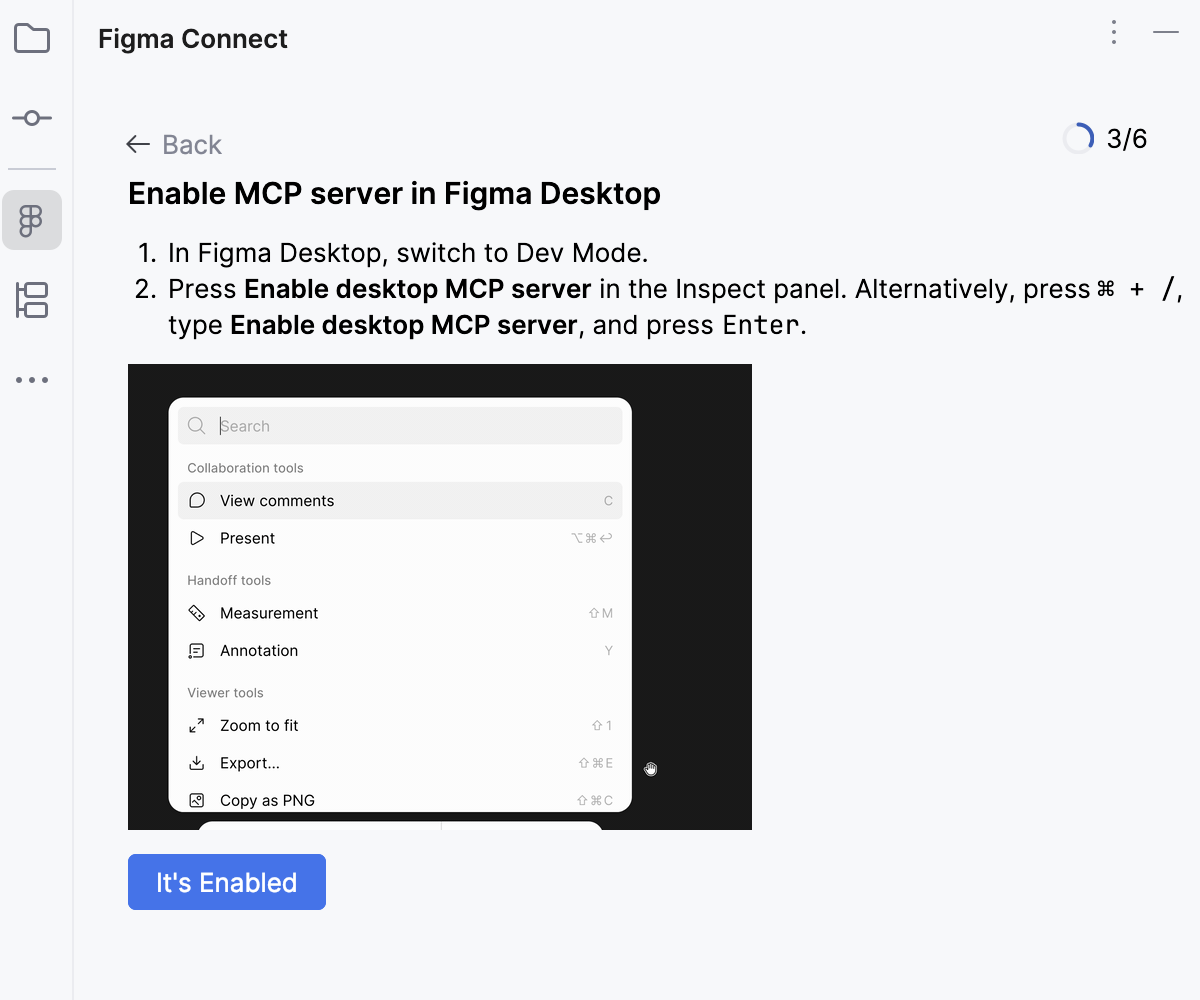
Follow the instructions on the Enable MCP server in Figma Desktop page.
First, go to the Figma Desktop application and switch to the
Dev Mode. Then click Enable desktop MCP server on the Inspect pane.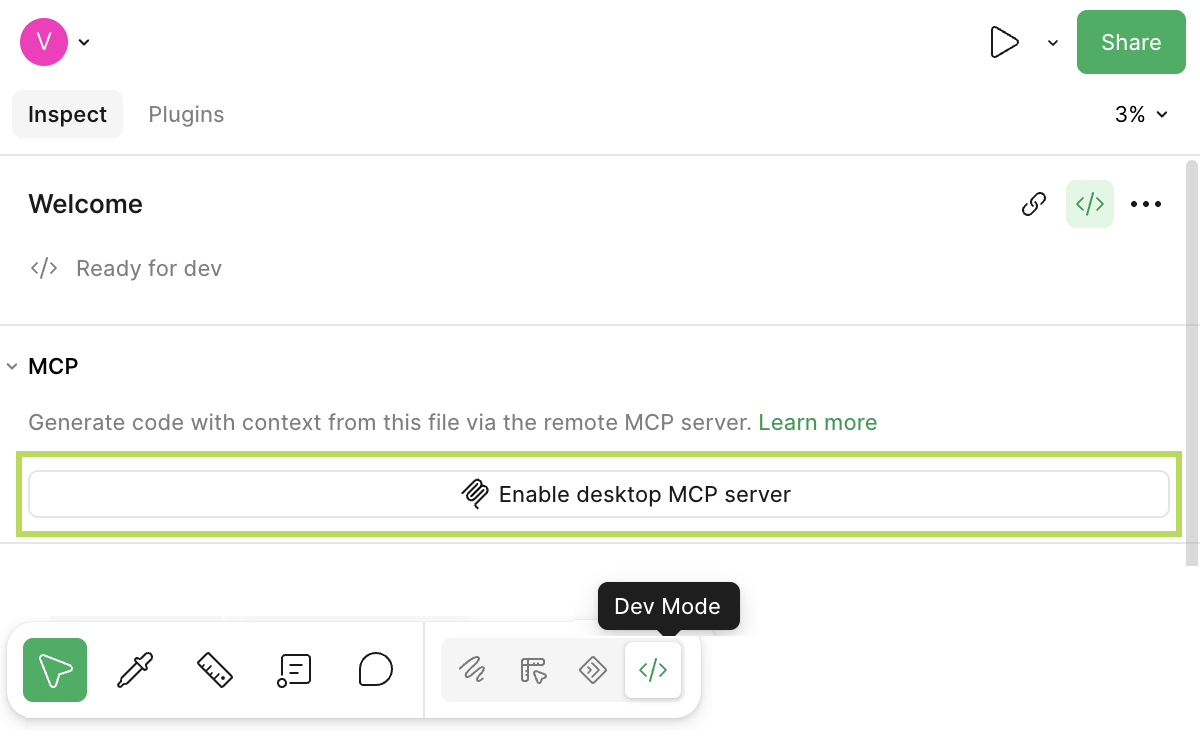
When ready, click It's Enabled on the Enable MCP server in Figma Desktop page of the wizard.
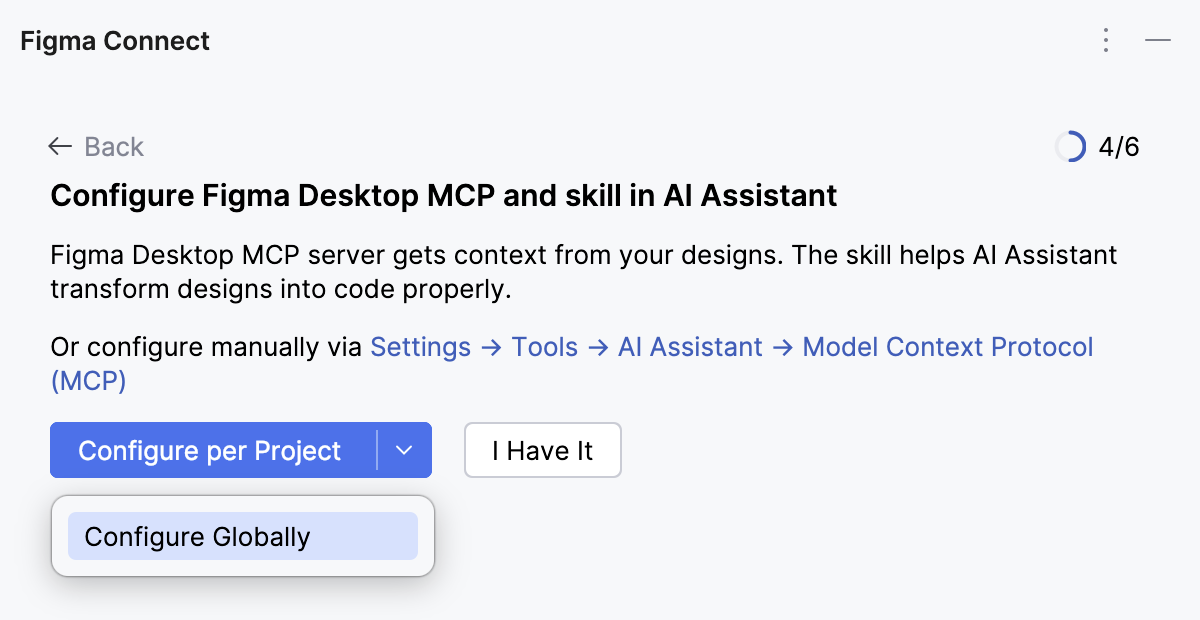
On the Configure Figma Desktop MCP and skill in AI Assistant page, specify the scope to apply the skill in - Per Project or Globally.
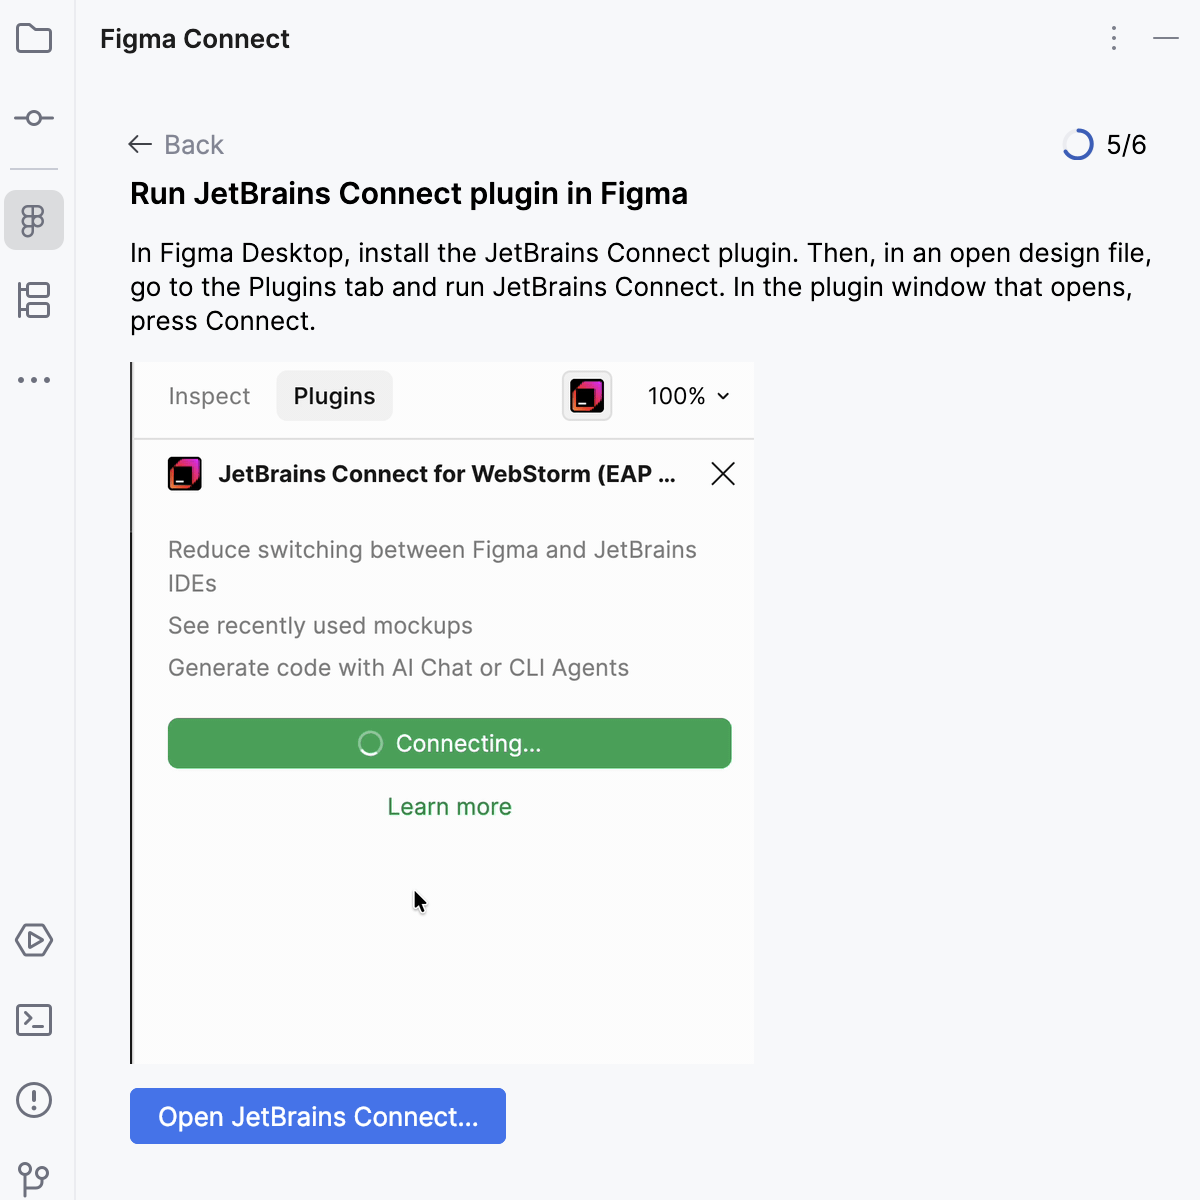
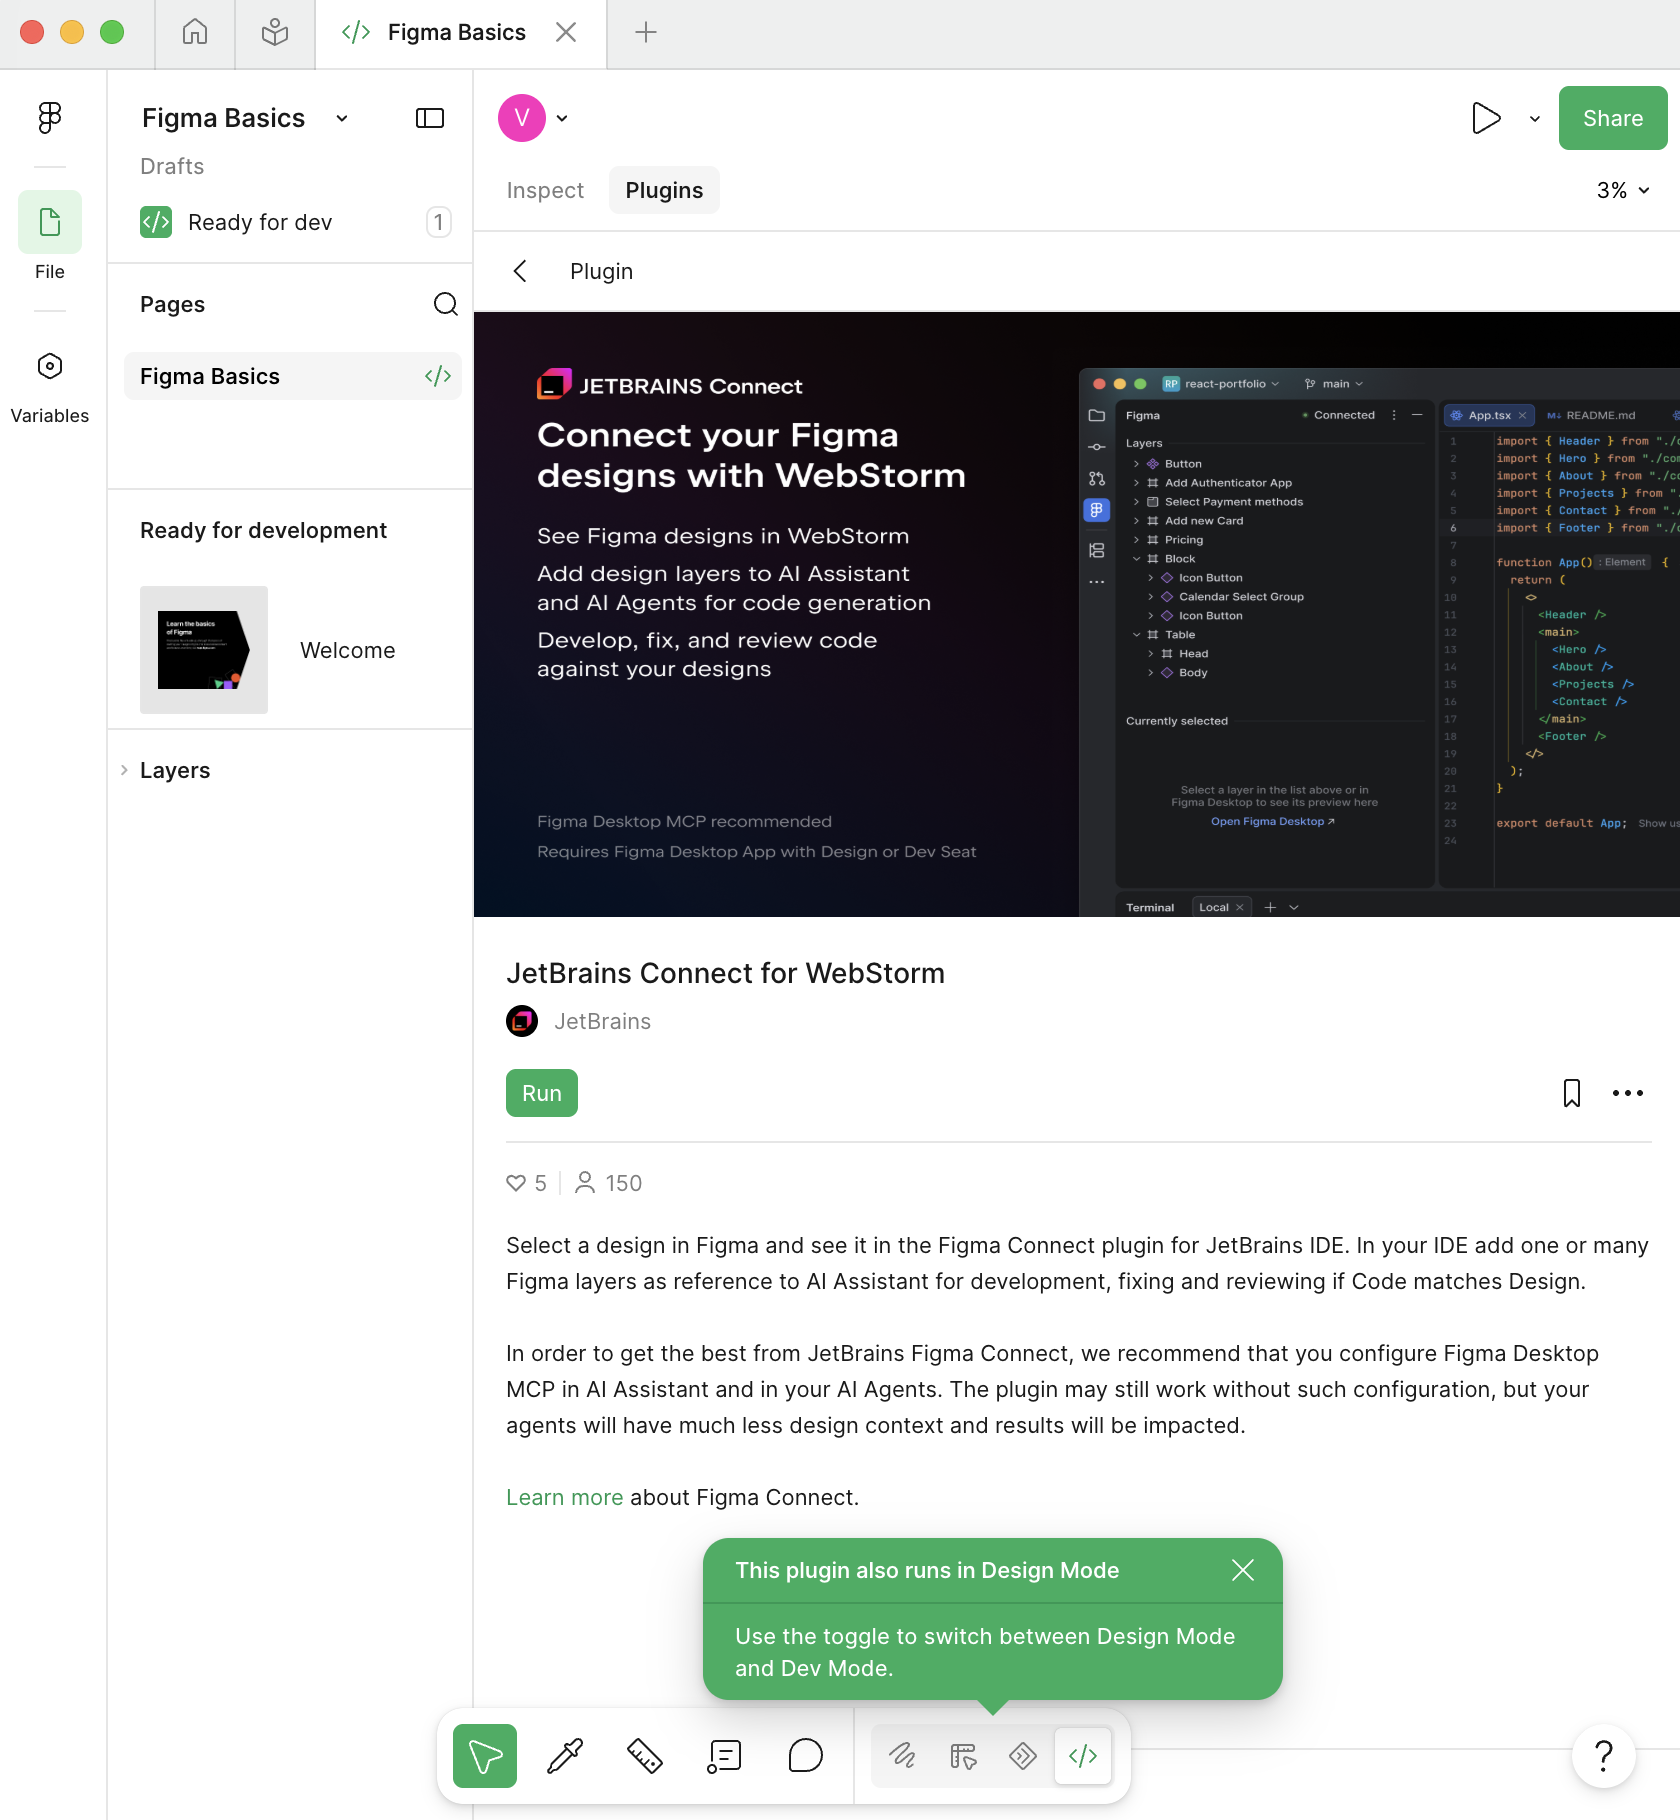
On the Run JetBrains Connect plugin in Figma page, click Open JetBrains Connect.
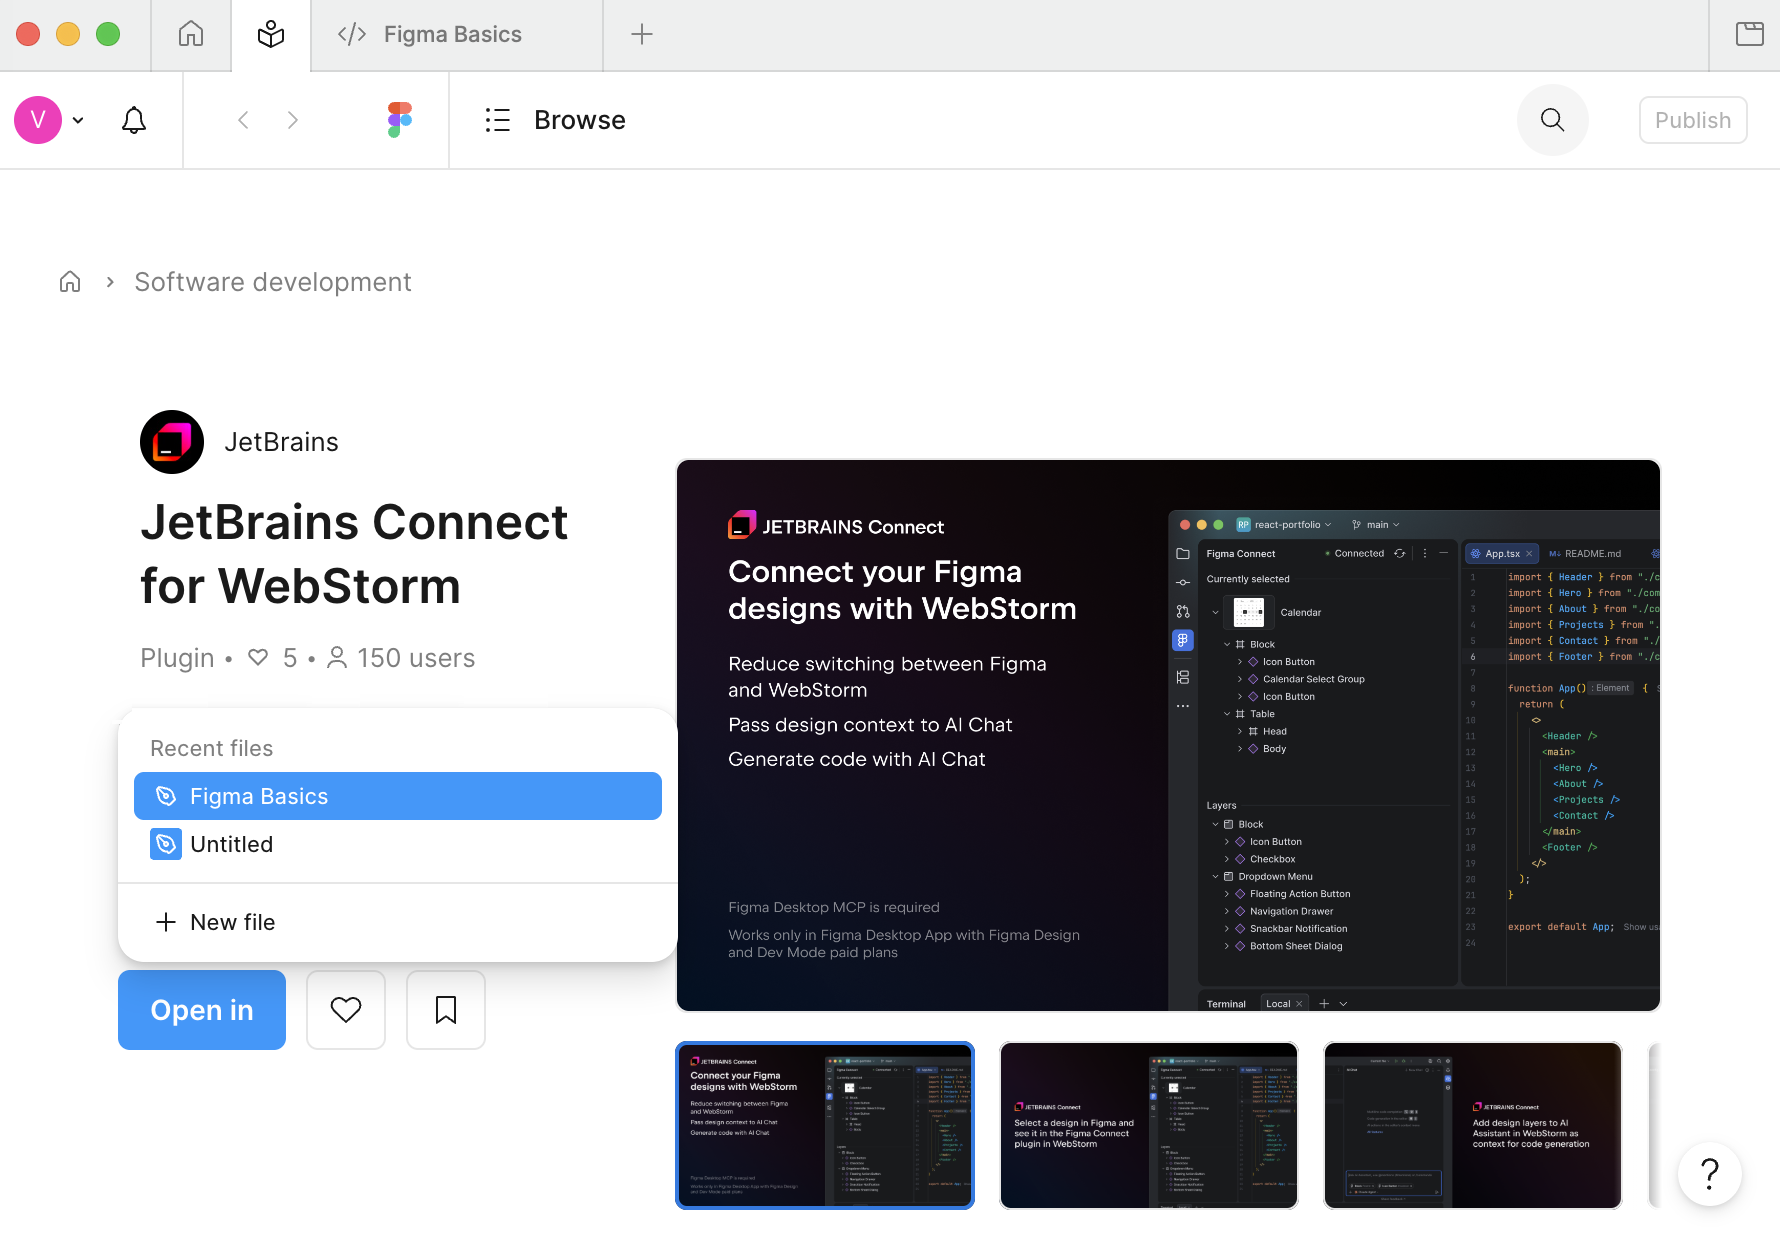
On the JetBrains Connect page, click Open in and select the design file to open the plugin in.
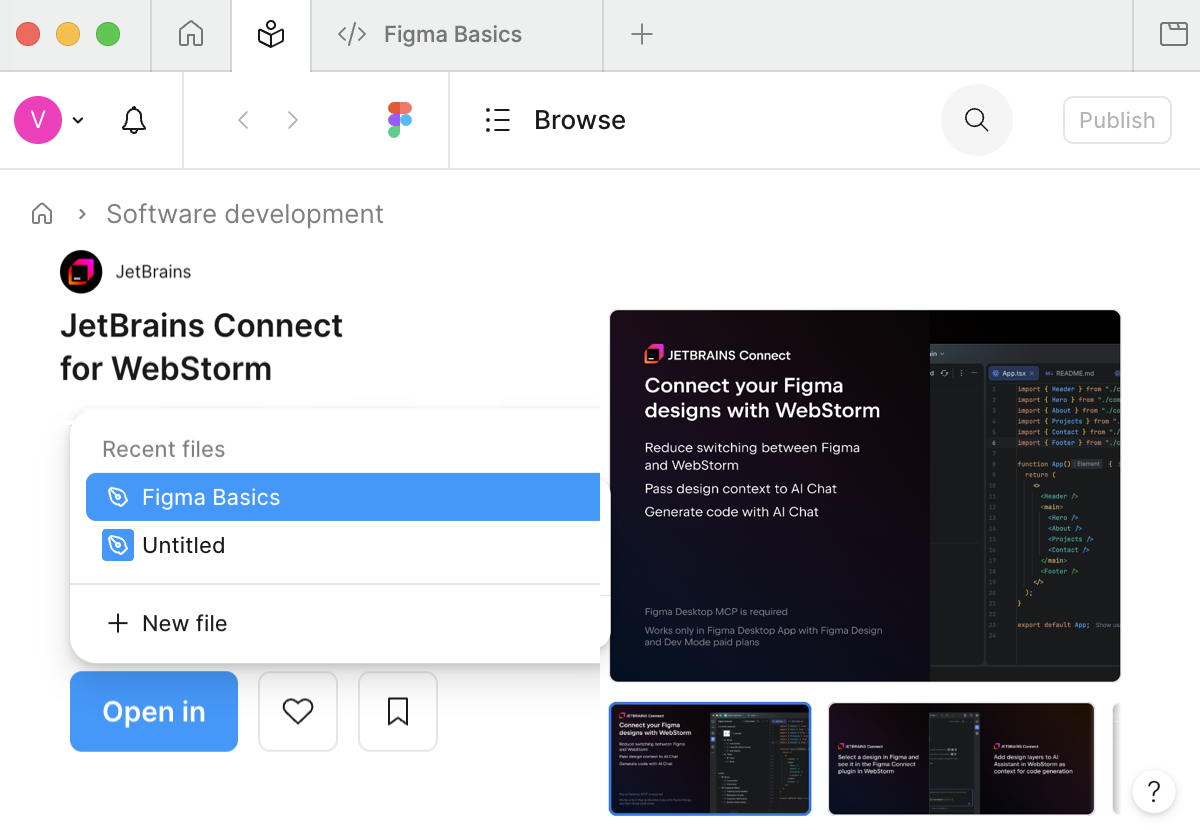
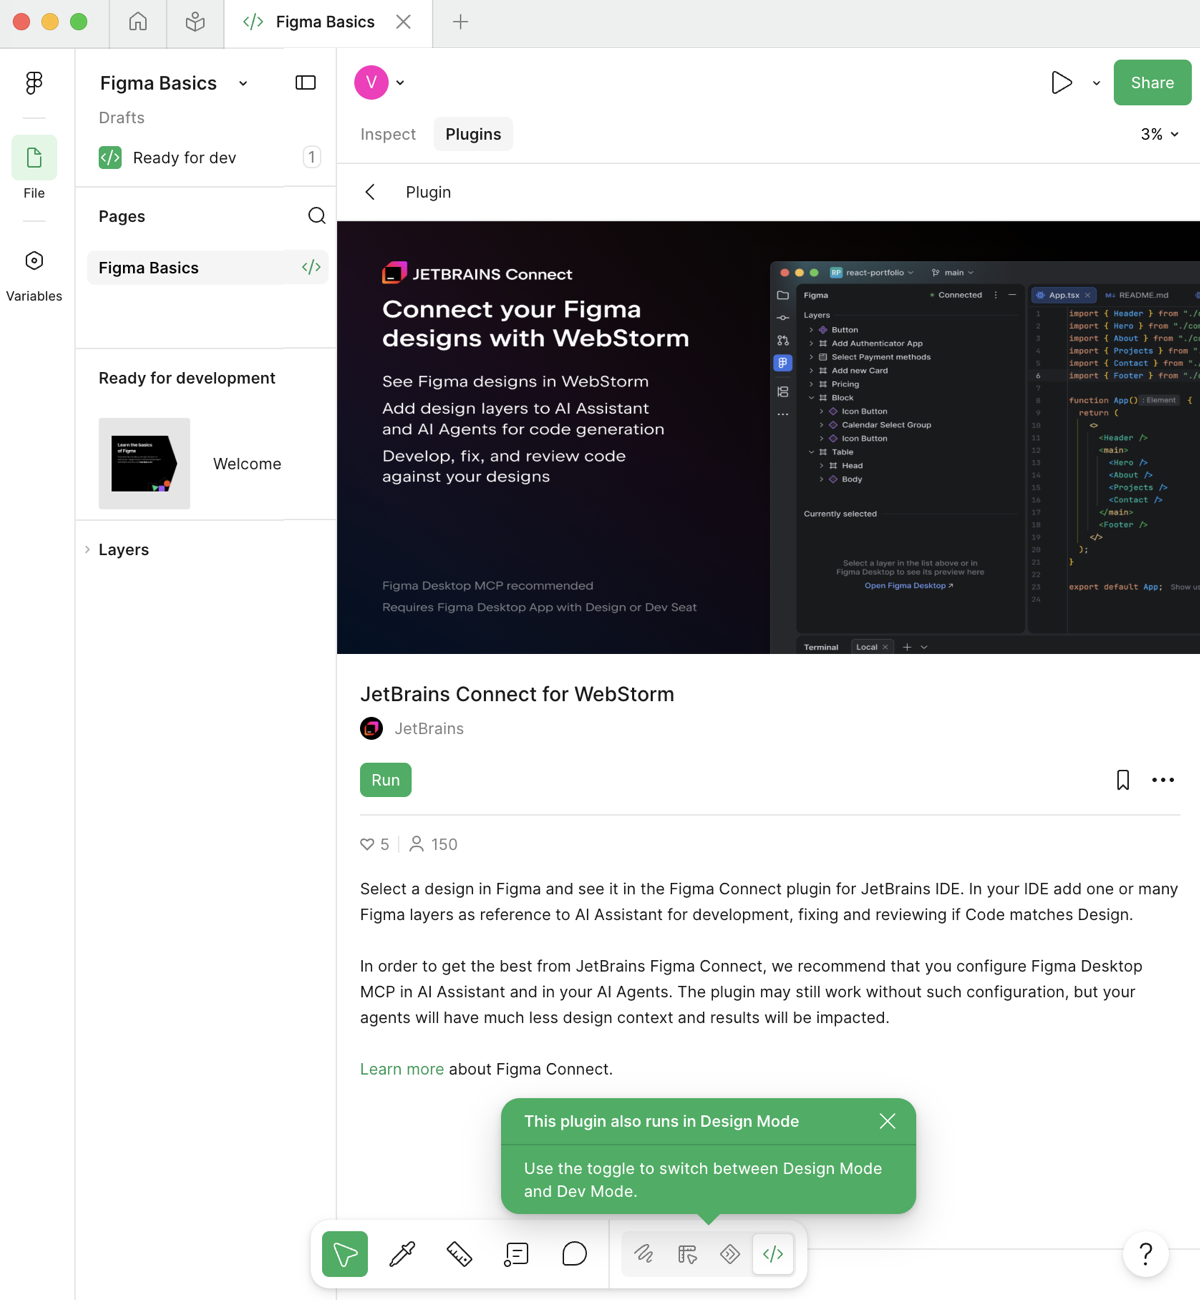
In the right-hand, Plugins, pane, click Run.
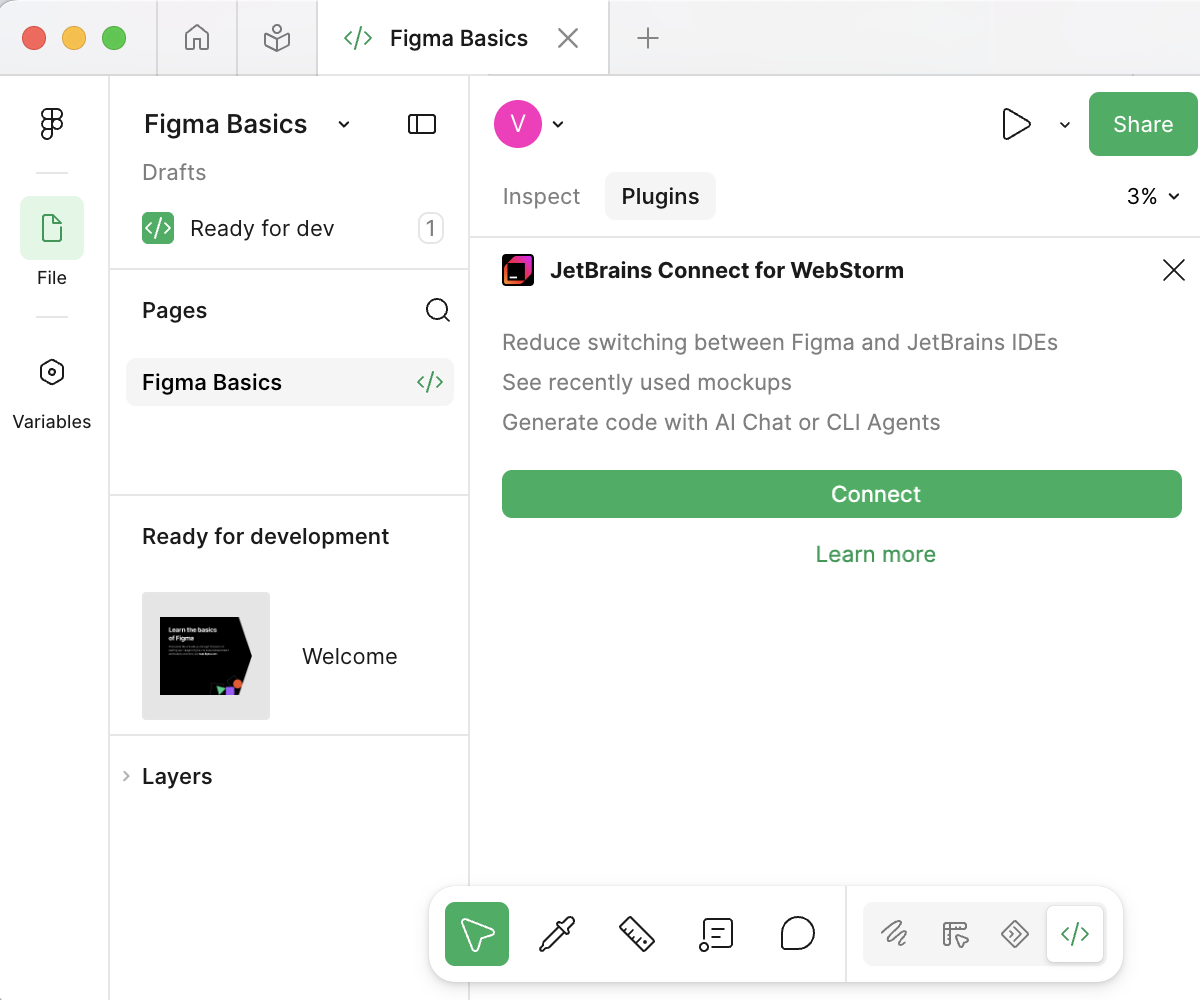
In the Plugins pane, click Connect to send a request to PhpStorm.
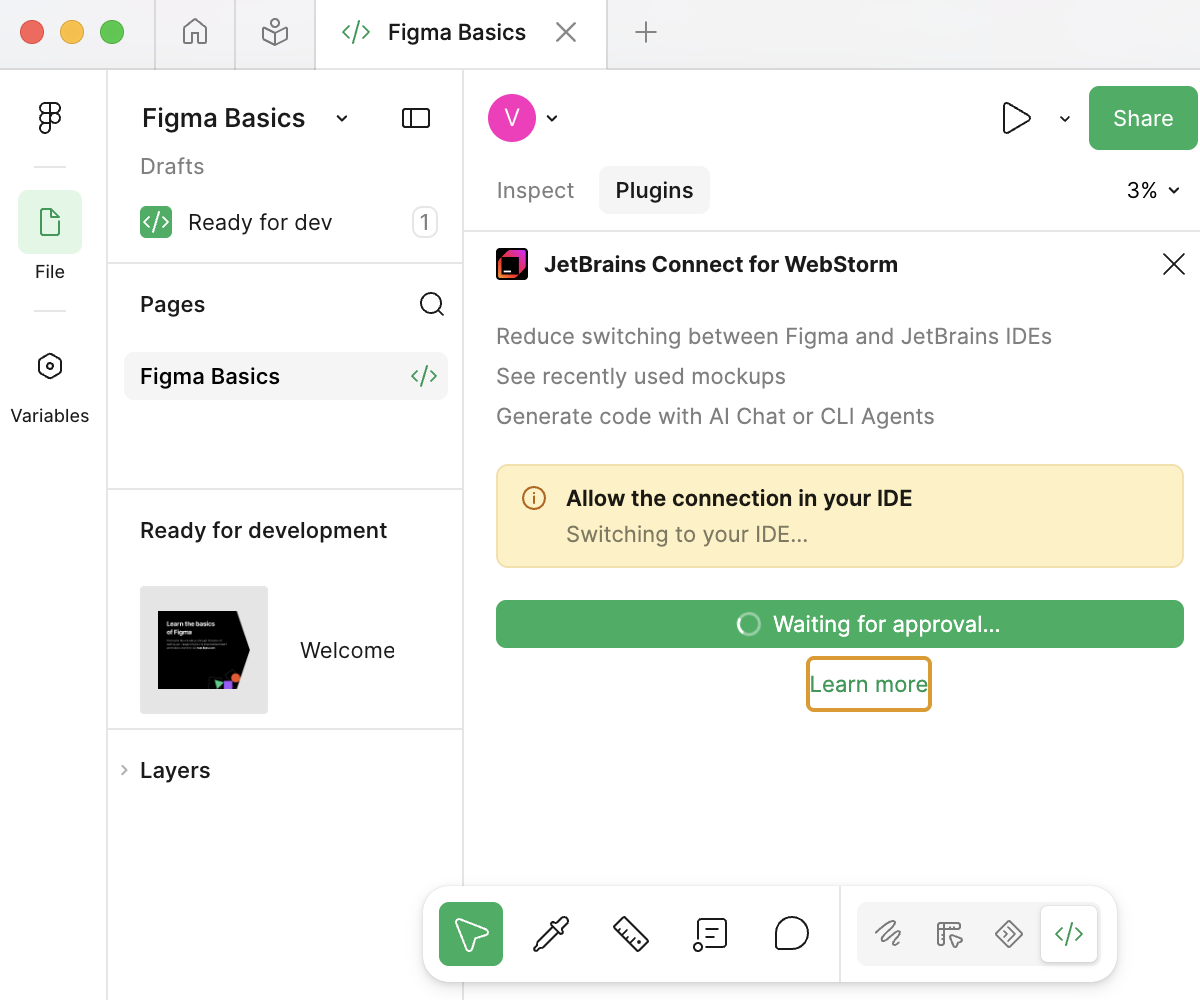
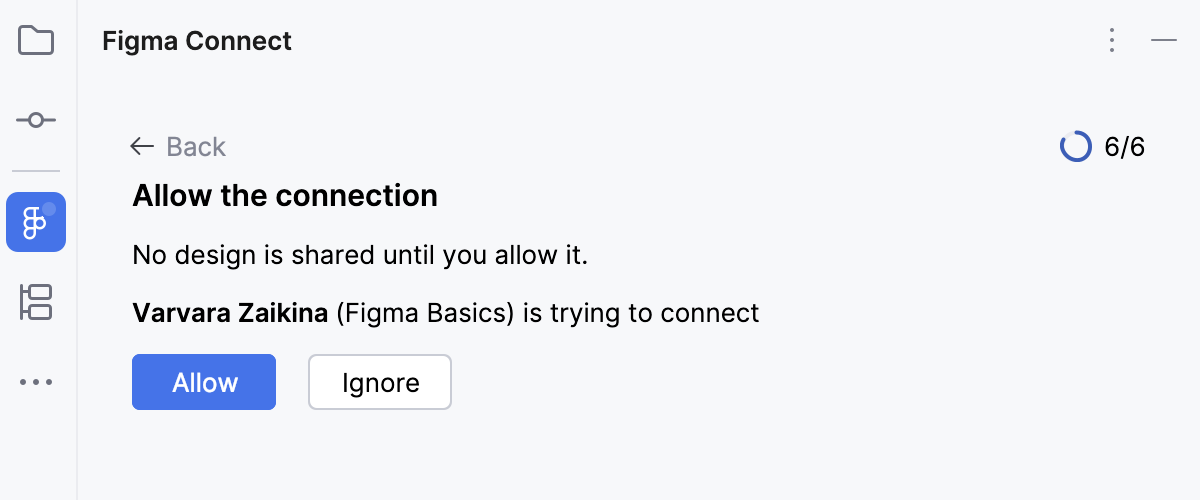
After that the plugin stays waiting for your approval from PhpStorm to establish connection.
On the Allow the connection page of the wizard, click Allow.
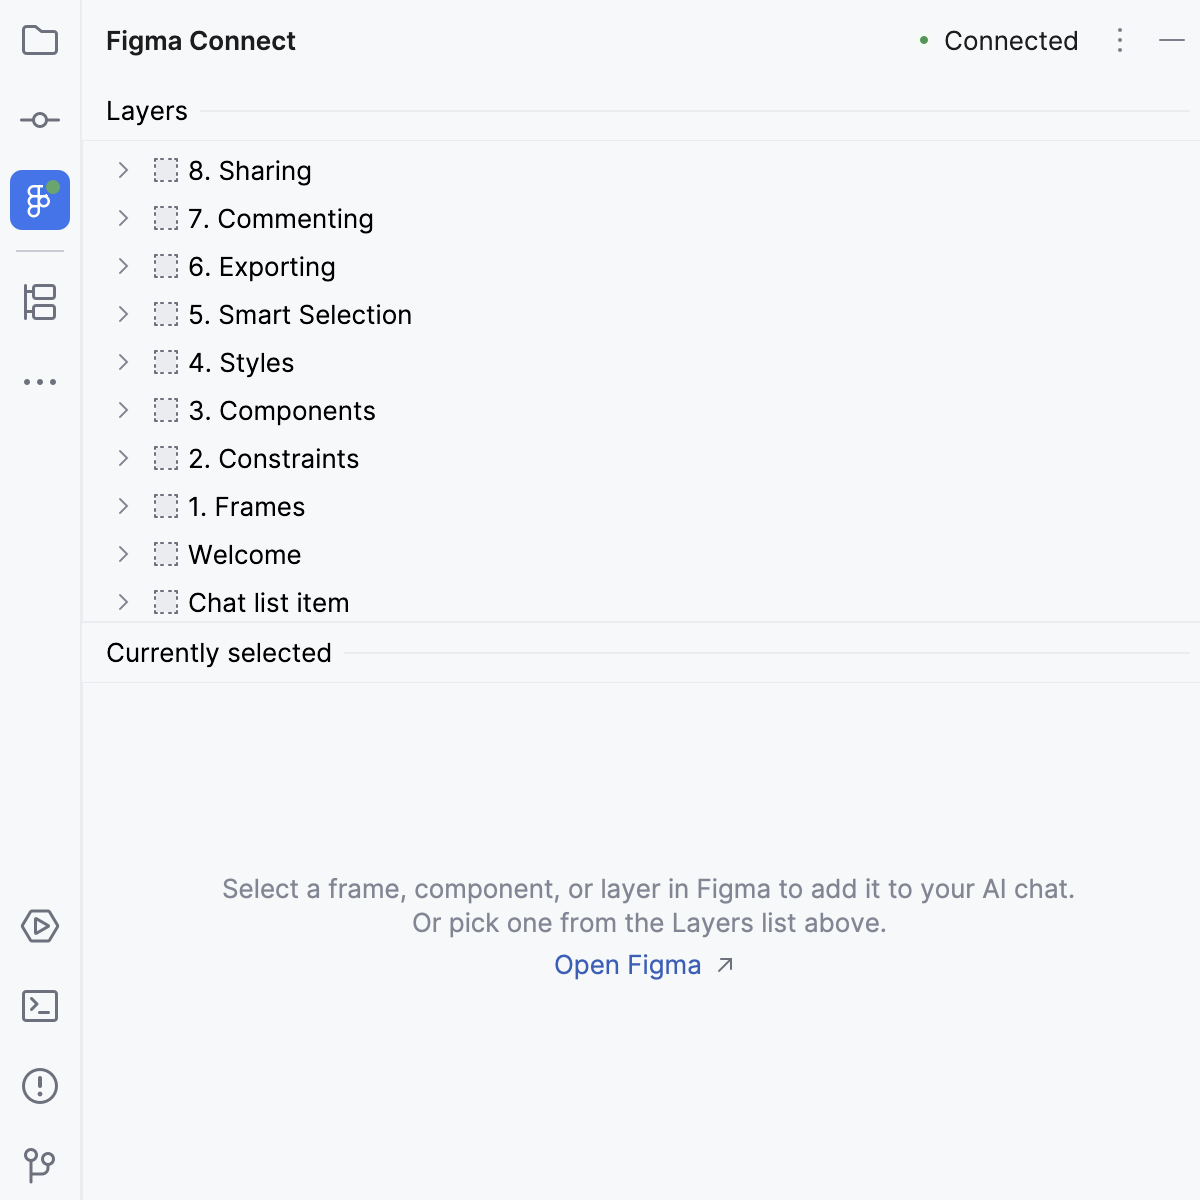
After the setup is complete, the state of the tool window changes to Connected.
PhpStorm remembers the approval, so in the future connection is accepted automatically. To require approval again, use Revoke All Paired Sessions in the tool window settings (click
 on the toolbar, select , and then select ).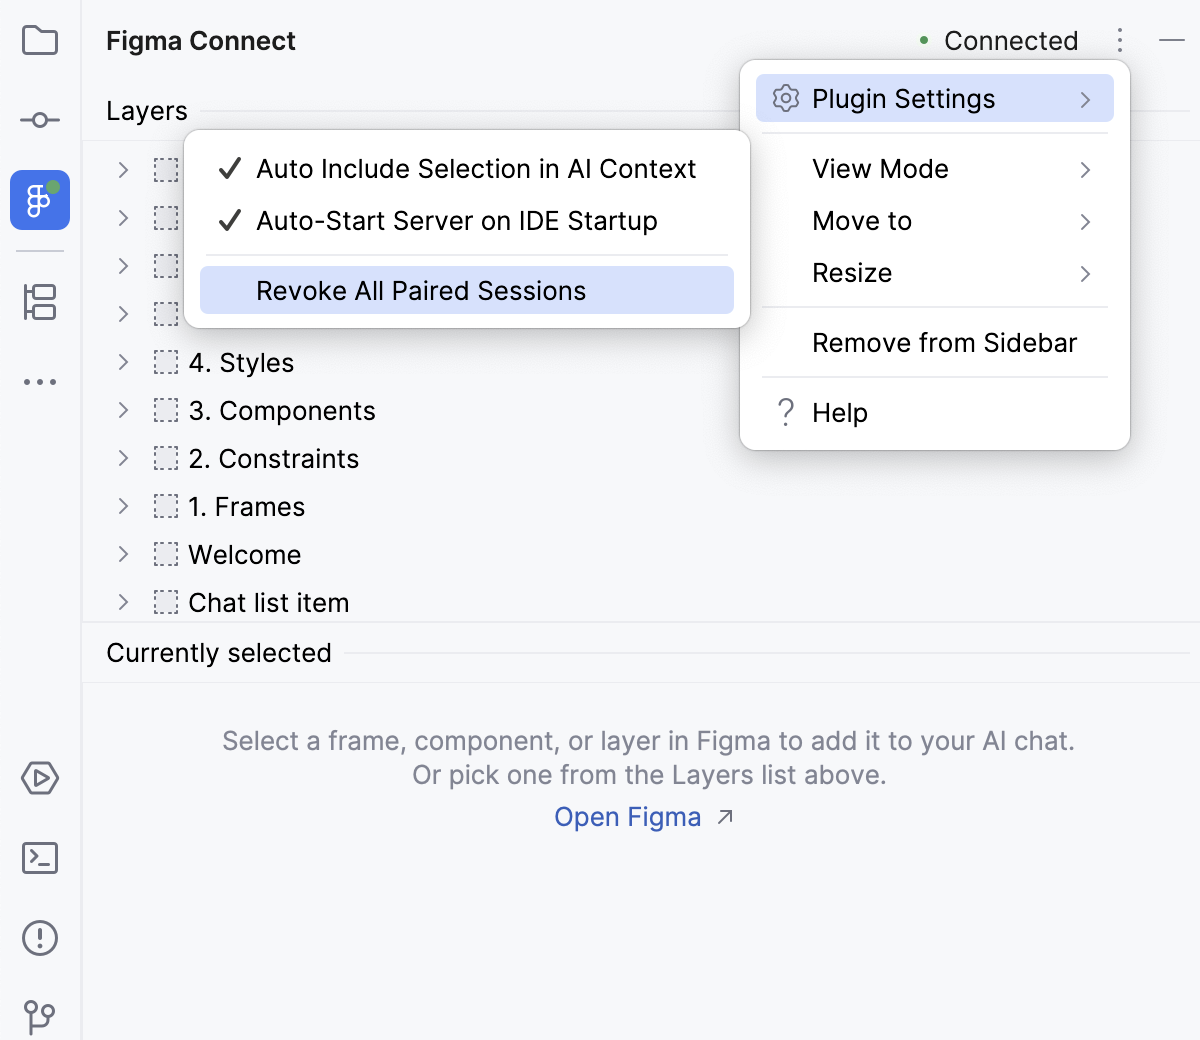
Set up Figma skills
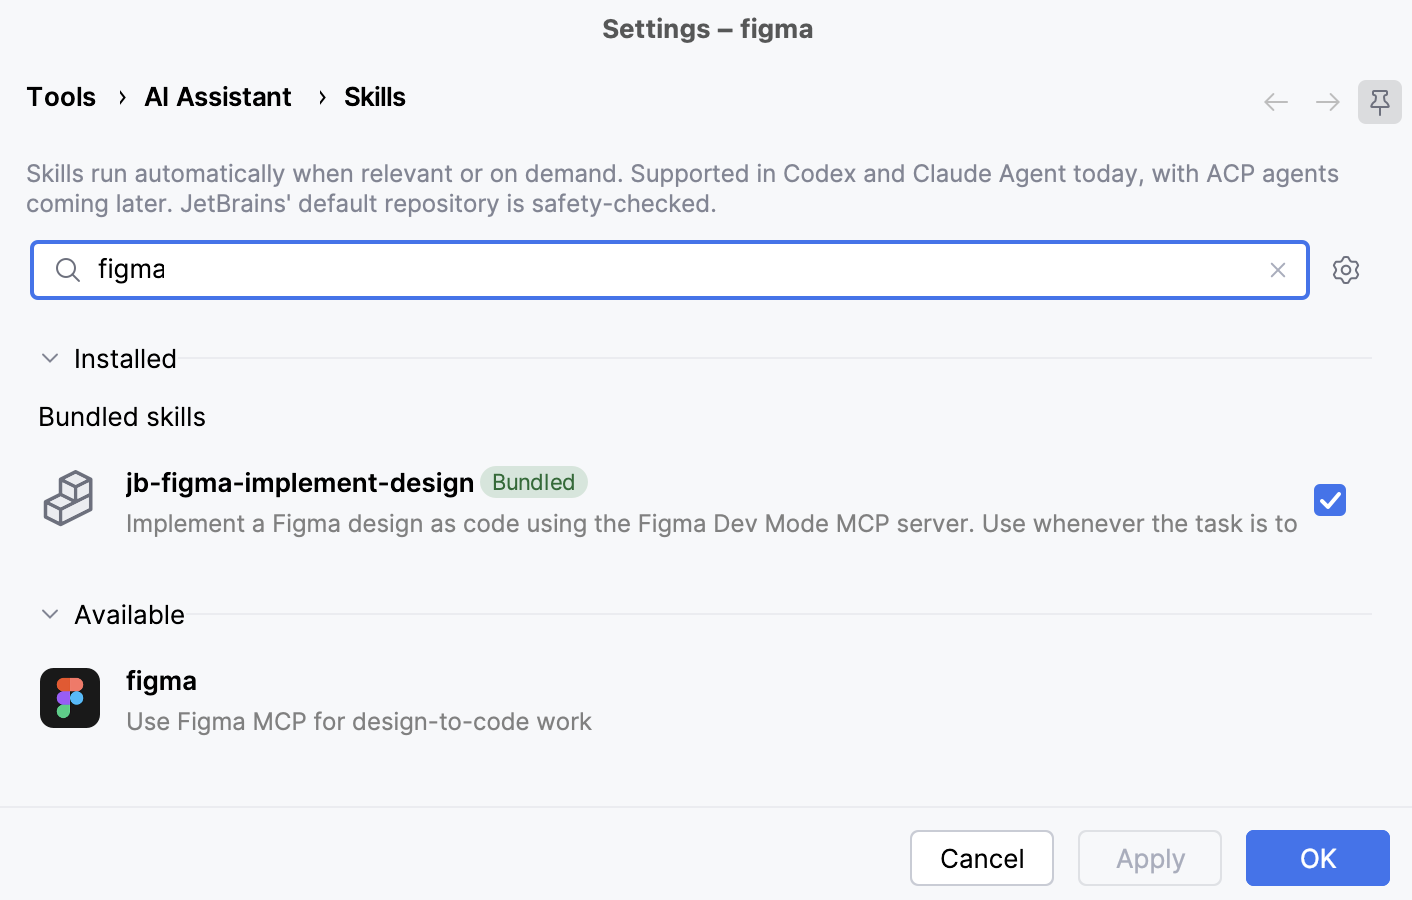
The jb-figma-implement-design skill is bundled with PhpStorm and enabled automatically.
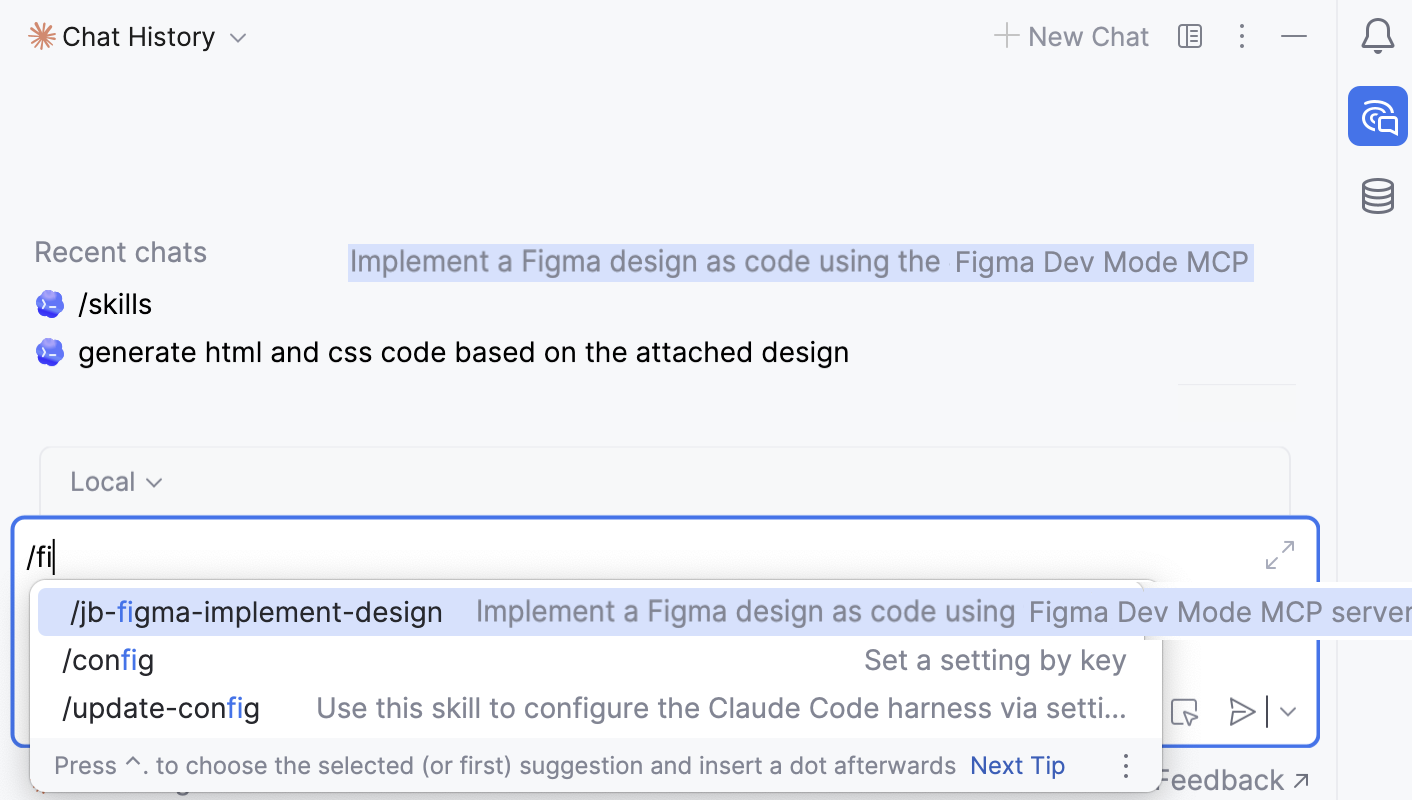
The skill is suggested in the completion popup when you start typing a command in the AI Chat tool window.
View the current selection and layers
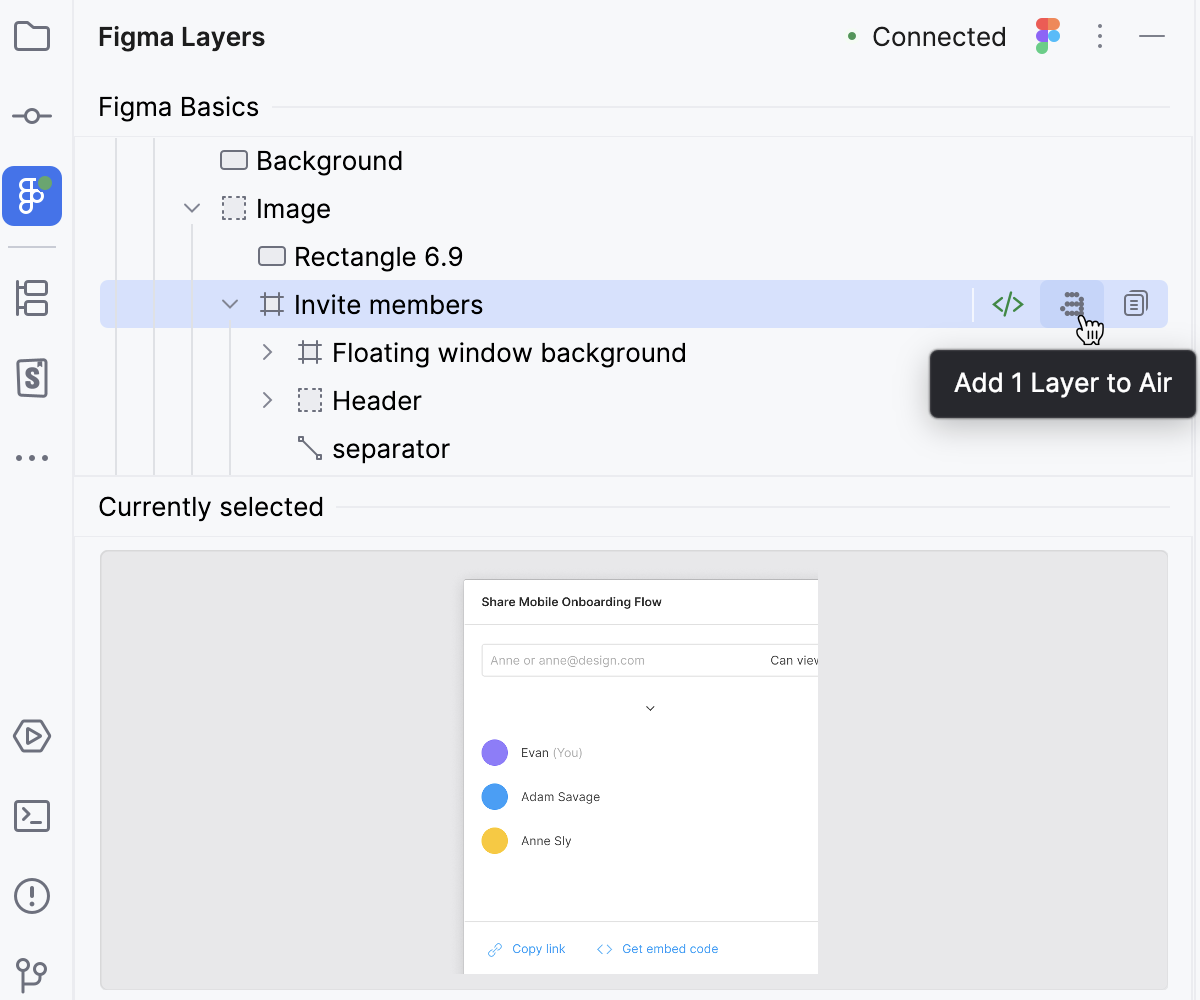
The layers on the current Figma Desktop page are listed in the Figma Layers tool window.
Expand a layer to browse its child layers.
Use the preview in the Currently selected area to easily locate the required layer.
Synchronize Figma Desktop with PhpStorm.
Figma Connect keeps your selection in sync between Figma Desktop and PhpStorm in real time, so you switch back and forth less. The synchronization works both ways:
When you select a frame, a component, or a layer in Figma, the selection appears in the Figma Layers tool window.
When you click a node in the Figma Layers tool window, it captures the focus on the page in Figma.
Add a design to AI Context
Use AI Context to generate, review, and modify the code that implements a design. Although it is strongly recommended that you use Air, PhpStorm still supports integration with the AI Assistant.
To use a design as context for the AI, point to the required item in the Layers pane and click
 .
.
If you already have an open Air tab in the editor, the selected layer is automatically added to the prompt area. Otherwise, PhpStorm opens a New Session popup where the selected design is already attached.
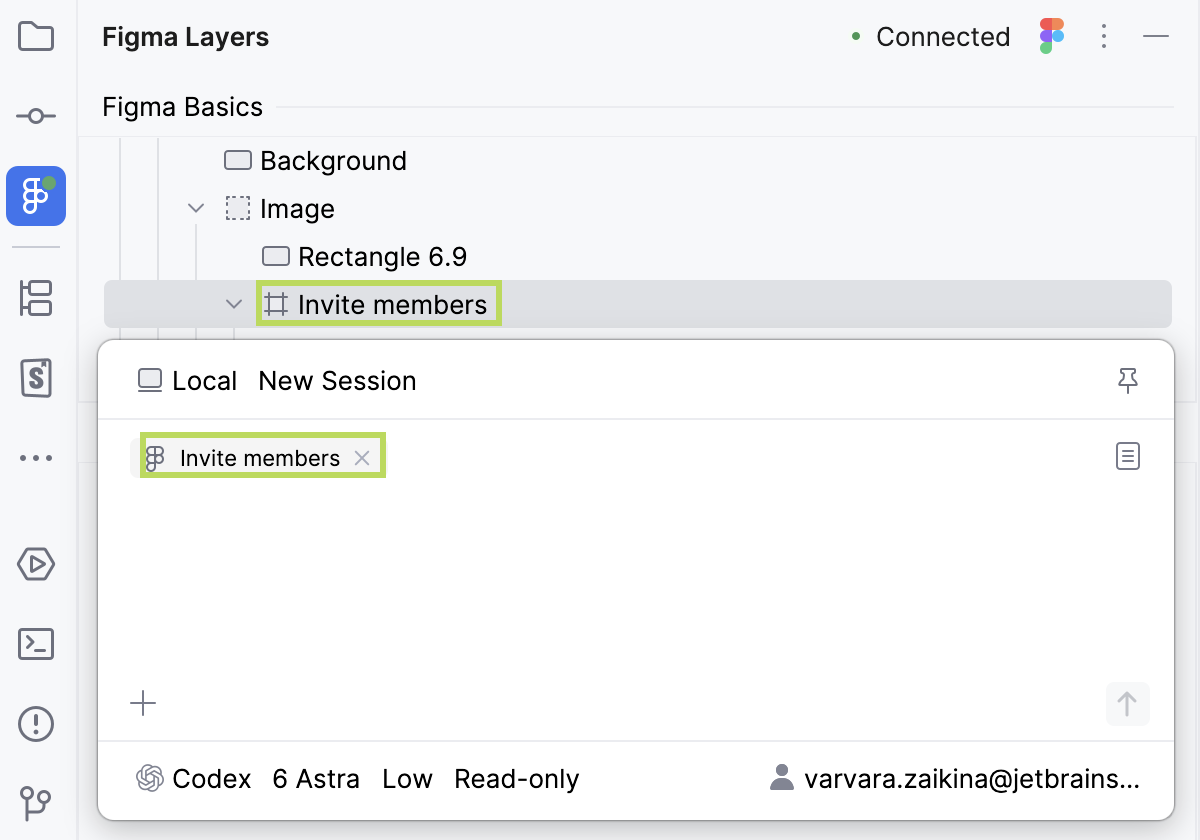
Type your prompt and send it together with the attached design.
Be specific in your prompt. For example, "Compare my current home page implementation with the attached Figma design and fix any visual or layout differences."
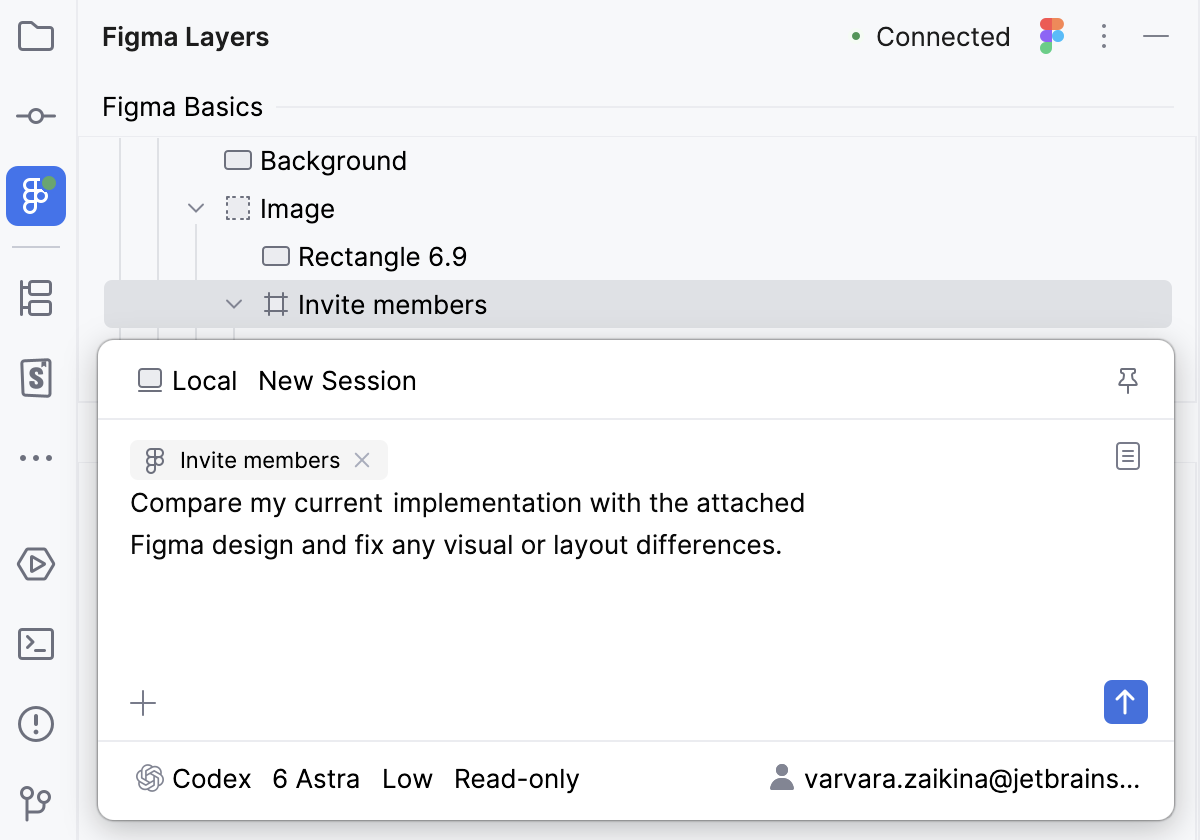
By default, PhpStorm attaches the current selection to every new AI Context automatically. To change this behavior, disable the Auto Include Selection in AI Context option as described in Configure Figma Connect settings and behavior.
To use a design as context for the AI Chat, point to the required item in the Layers pane and click
 .
.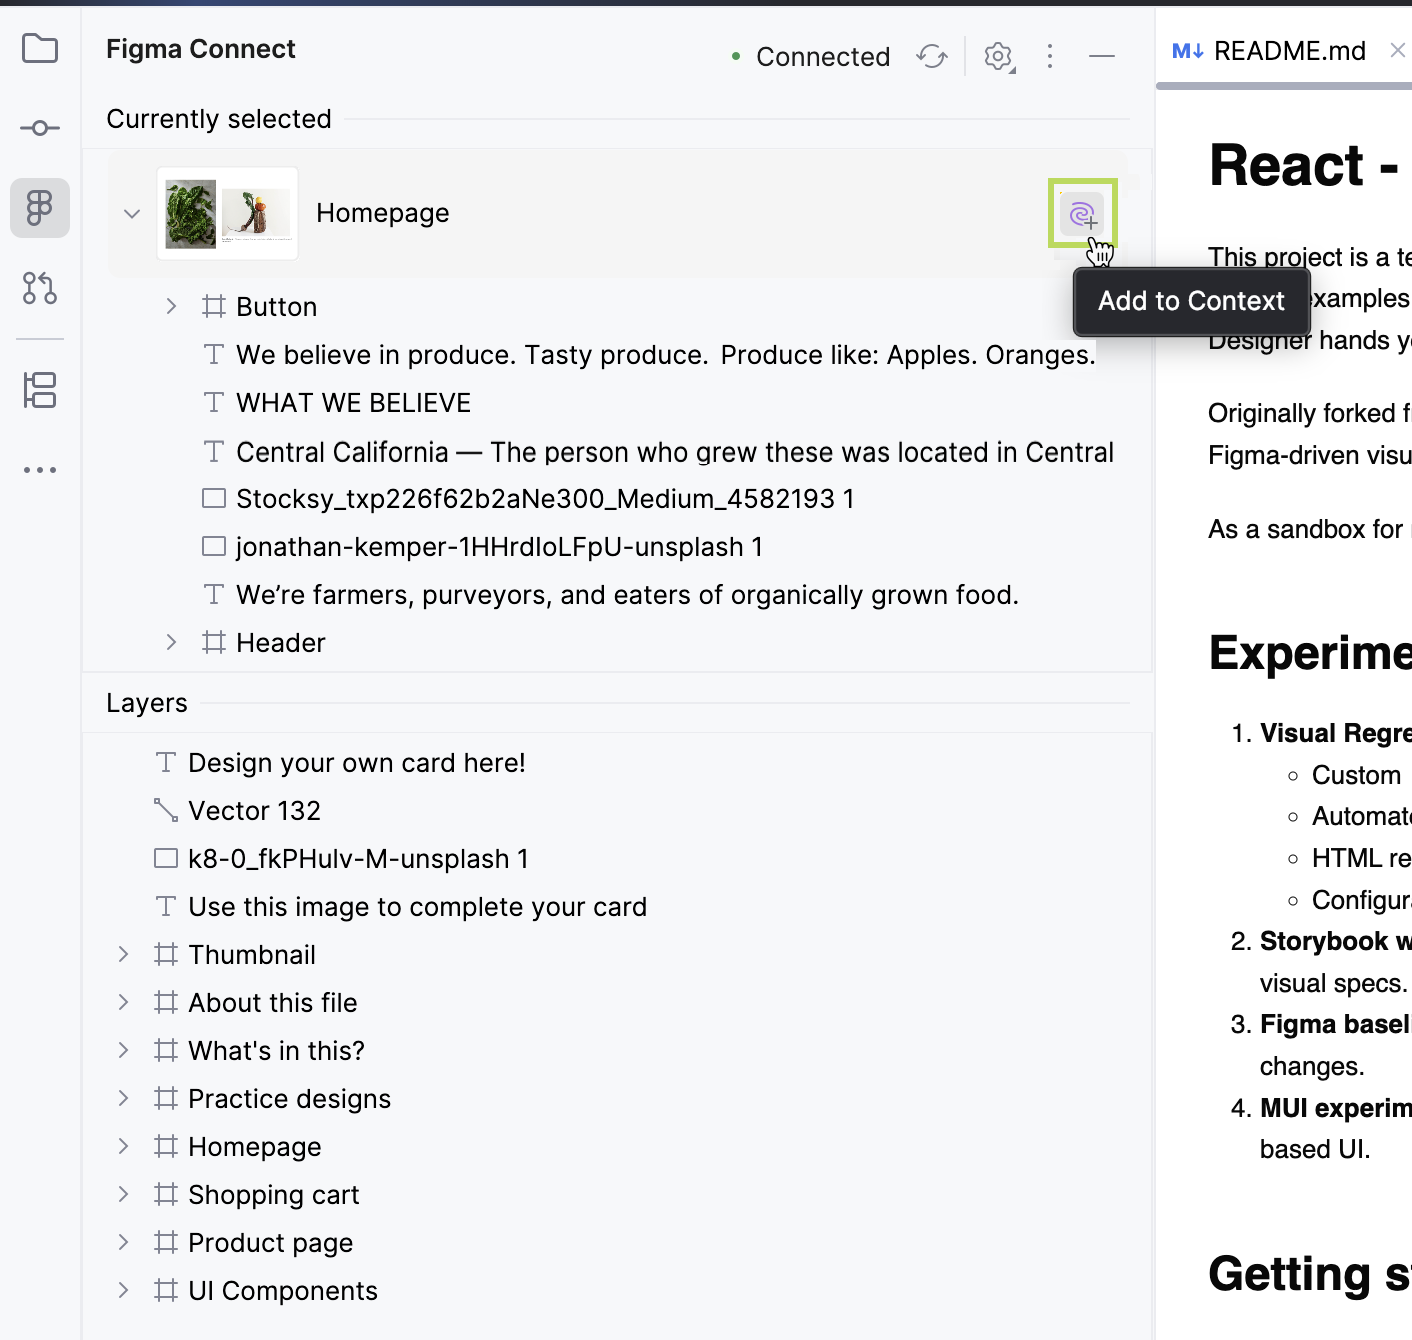
PhpStorm opens the AI Chat tool window where the selected design is already attached.
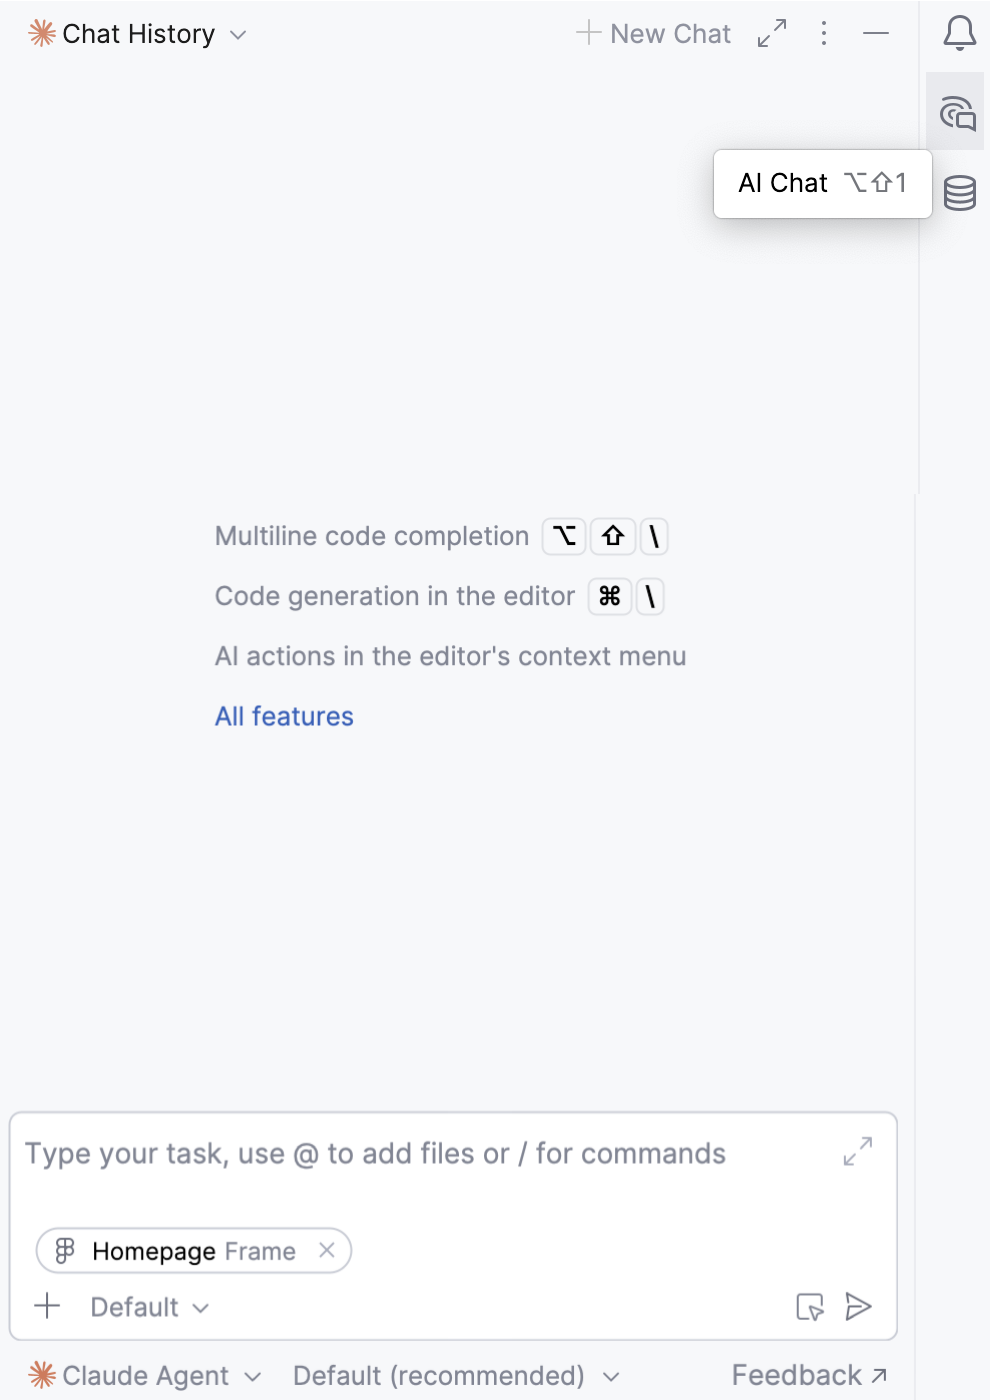
In the AI Chat tool window, type your prompt and send it together with the attached design.
Be specific in your prompt. For example, "Compare my current home page implementation with the attached Figma design and fix any visual or layout differences."
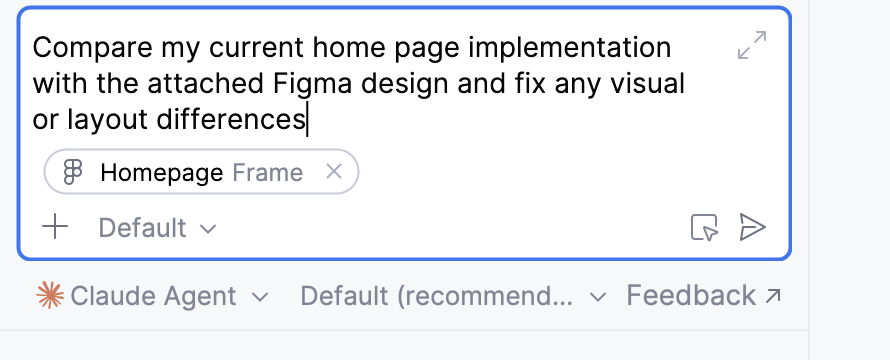
By default, PhpStorm attaches the current selection to every new AI chat automatically. To change this behavior, disable the Auto Include Selection in AI Context option as described in Configure Figma Connect settings and behavior.
Reference designs and layers by their id
You can reference a design or a layer by its id in the AI Chat tool window or in the Terminal.
Before you start
If you connected with a Figma Remote MCP server, make sure you have a file key.
It is recommended that you set up agent-specific skills.
Reference a design or a layer by id in AI Chat
To insert a reference to a design or a layer in a prompt, select the corresponding node in the Figma Layers tool window and then drag the selection to the AI Chat. This may be helpful if you only need to target one layer instead of regenerating an entire screen.
Alternatively click
 next to the required node in the Figma Layers tool window and then paste the
 idin theAI Chat.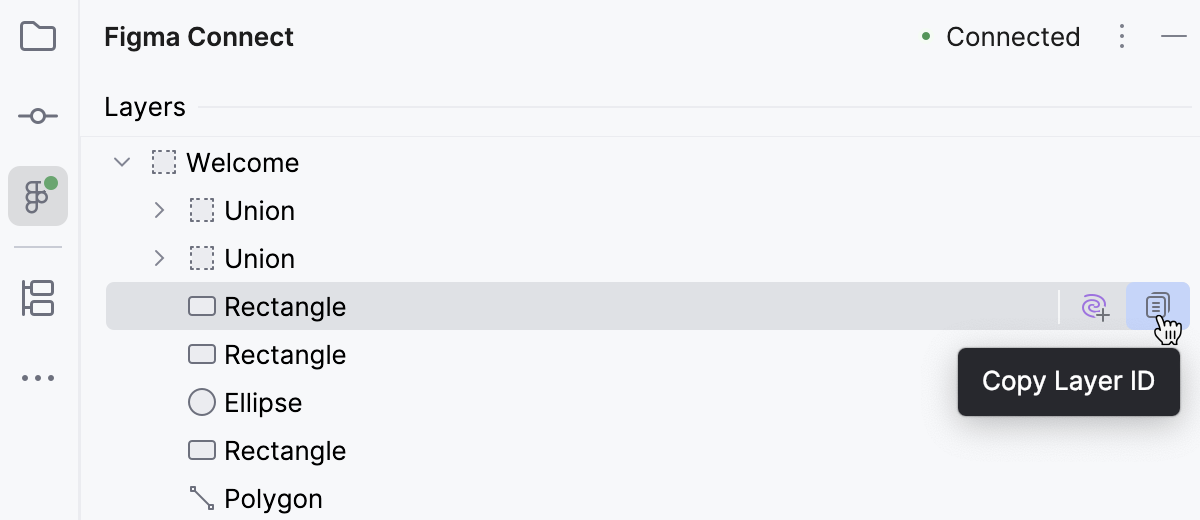
Reference nodes by id in the Terminal
You can also reference designs and layers by their id when running agents from the command line.
Make sure the agent running in the Terminal has its own Figma MCP server configured. That is necessary because PhpStorm configures the MCP server only for AI Assistant.
Make sure the agent in the Terminal is connected to the file that is currently open in Figma Desktop.
Drag-and-drop the required node from the Figma Layers tool window to the built-in Terminal.
Alternatively click
next to the required node in the Figma Layers tool window and then paste the idin the Terminal.
Manage styles, layouts, and colors
You can work with styles and colors right from PhpStorm, in the dedicated Figma Inspect tool window.
To inspect a node, select it in the Figma Layers tool window and click
 next to it.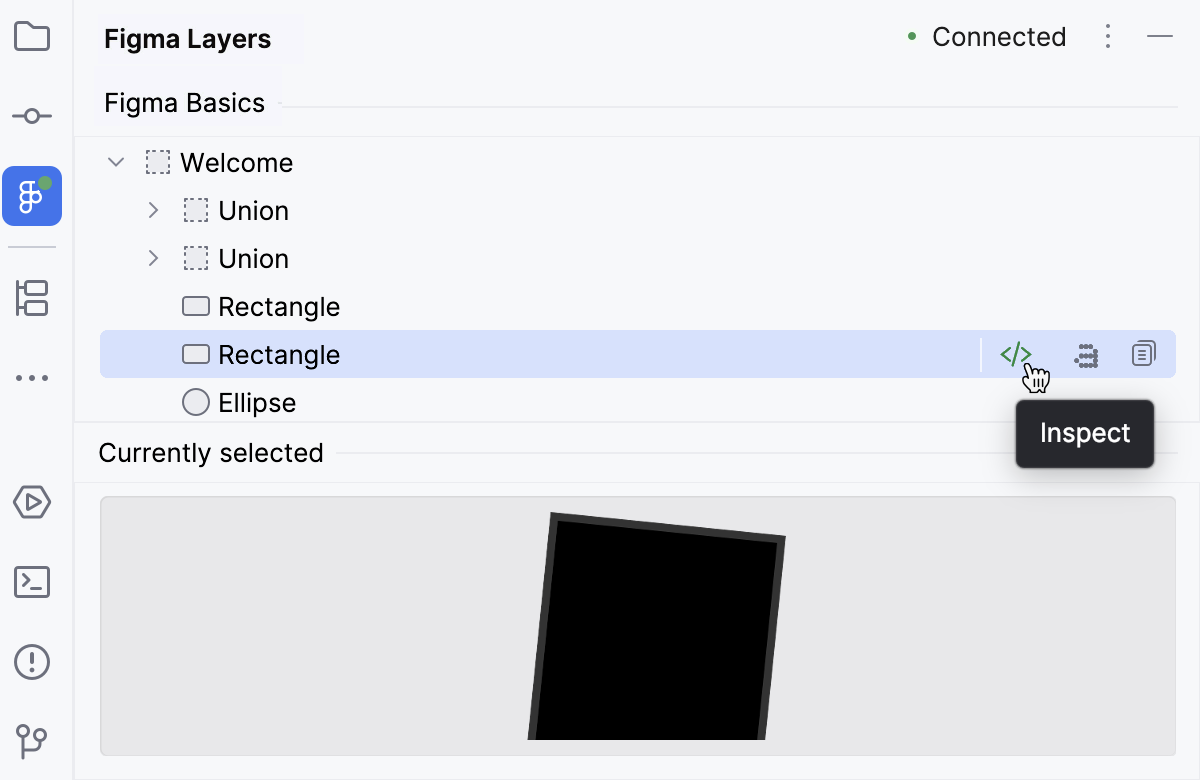
The Figma Inspect tool window shows the styles, layouts, and colors of the selected node.
Switch the color notation between Hex, RGB, and HSL.
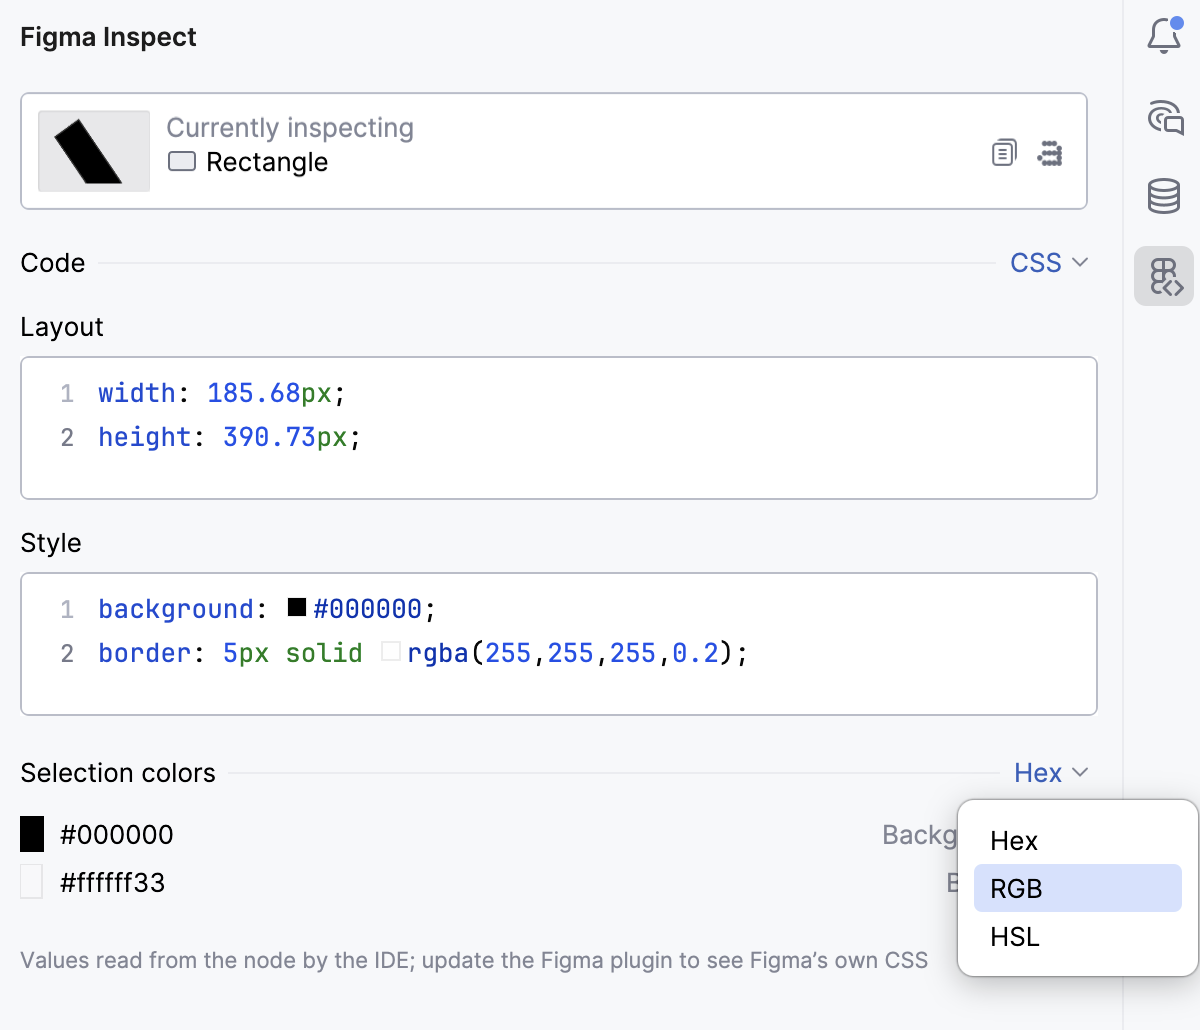
Switch the language from CSS to Android: Compose or to Android: XML, compare the XML with Figma's own Dev Mode output for the same node.
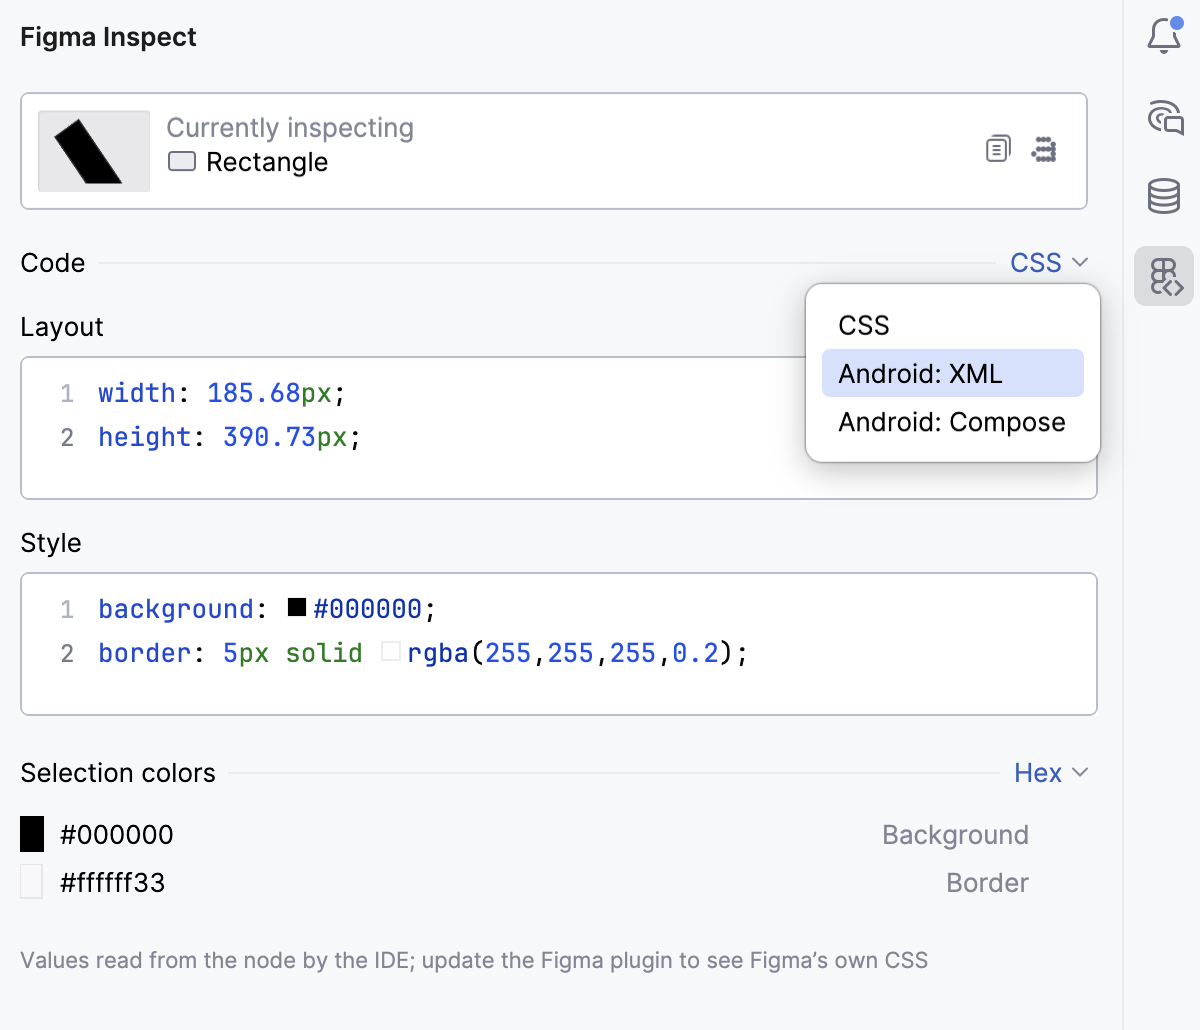
To copy the code of a layout, a style, or a color, click
next to it.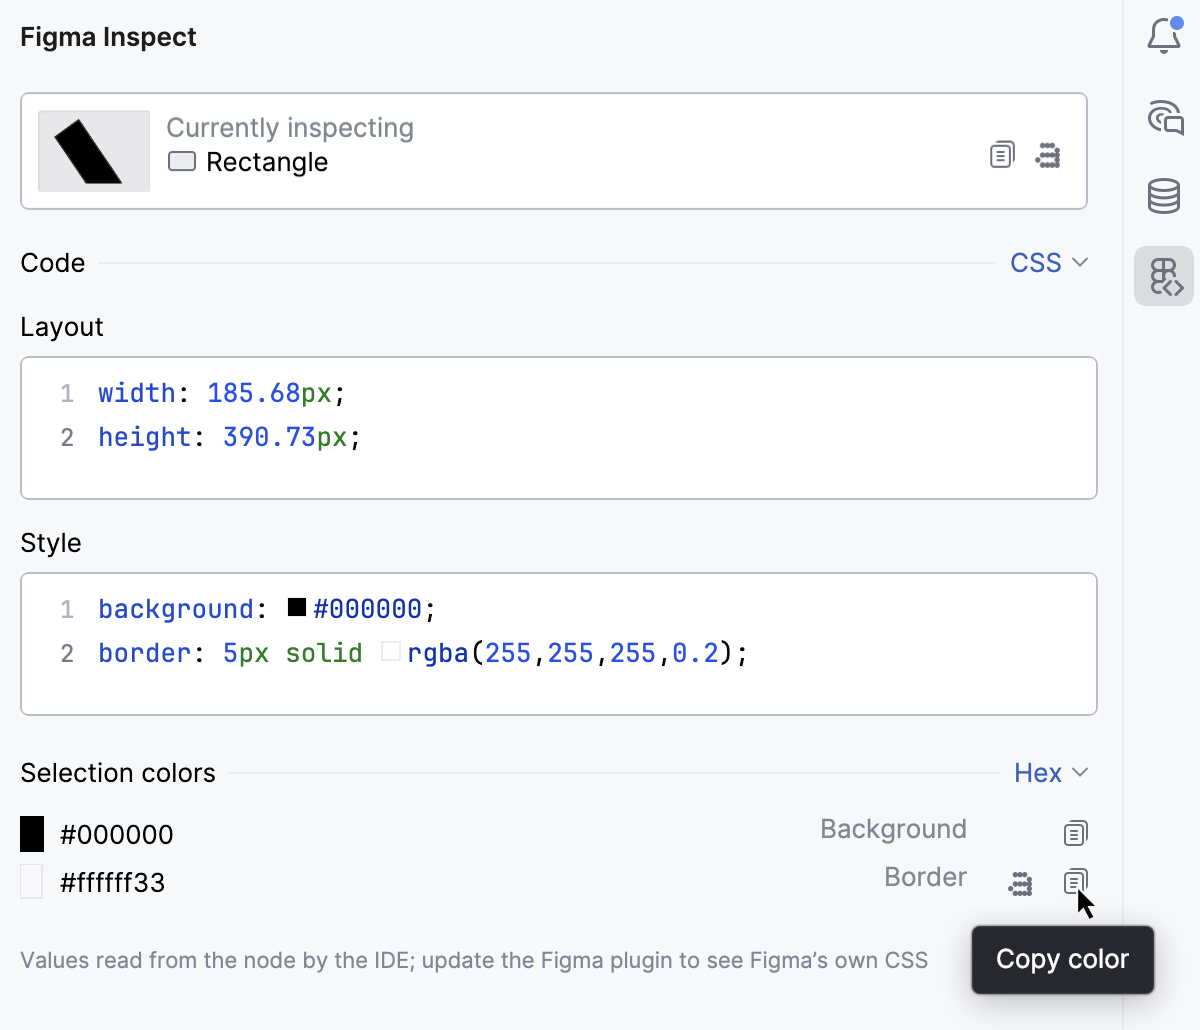
To add a style, a layout, or a color to the AI Chat, click
next to it.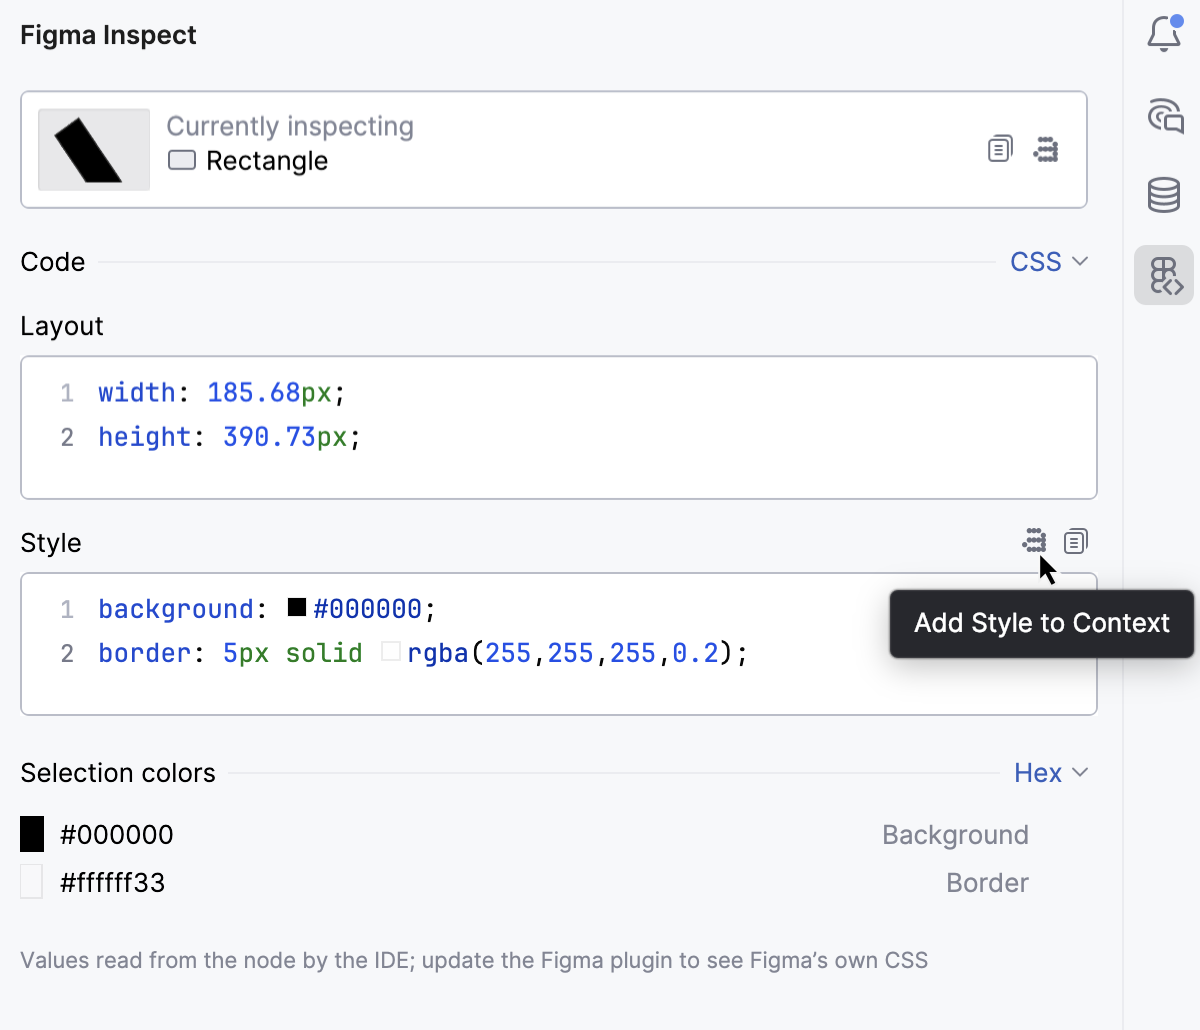
To copy the code of the style, the layout, and the colors of a node at once as text, click
in the Currently inspecting area.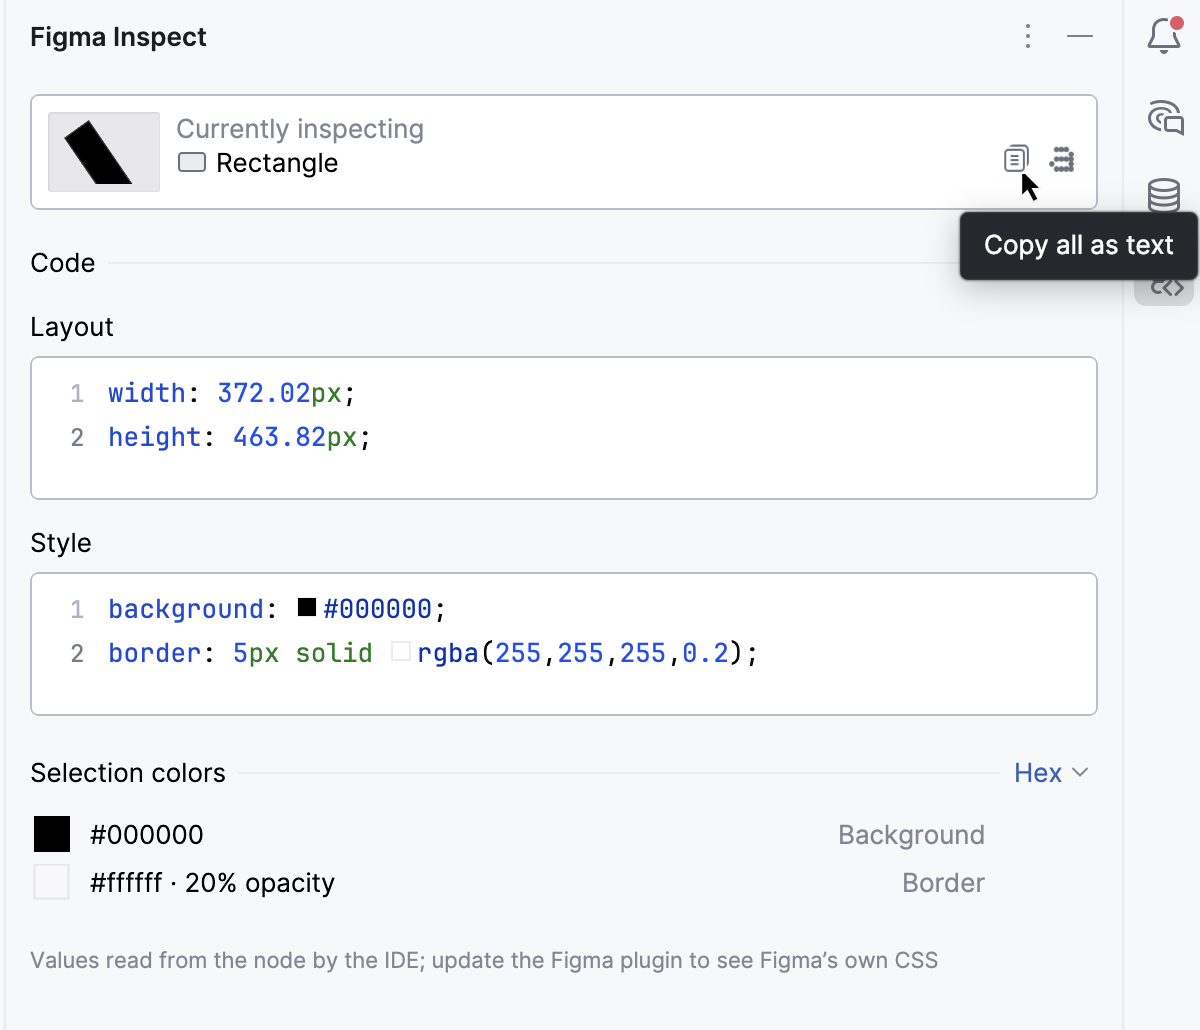
To add them to the AI Chat, click
.
Embedded Figma canvas
You can edit designs right in the embedded editor (canvas) without switching to Figma Desktop.
To enable the embedded canvas editor, go to on the main menu, find Registry in the Search Everywhere popup, and then select the checkbox next to
figma.embedded.editor.enabled.To open a layer in the canvas, click it in the Currently selected area.
Click
 or
or  on the toolbar to zoom the selection in or out.
To restore the original size of the selection, click
 .
.To have the zoom level set automatically to ensure that the selection content fits within the embedded editor, click
 .
.To show the chessboard background, press
 .
.
Configure Figma Connect settings and behavior
Click
on the toolbar of the Figma Layers tool window and then select  from the list.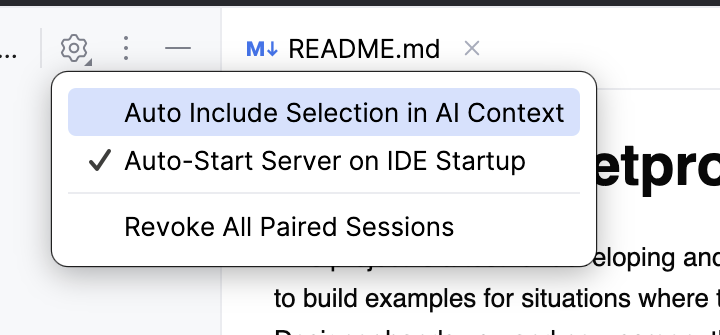
Configure the settings as needed. To enable a setting, set a tick next to it in the popup list, the opens.
- Auto Include Selection in AI Context
Attach the current Figma selection to every new AI Context automatically.
- Auto-Start Server on IDE Startup
Start the connection automatically when you open a project. This option is enabled by default.
- Revoke All Paired Sessions
Remove all saved approvals. After that, the next connection from Figma must be approved again.